
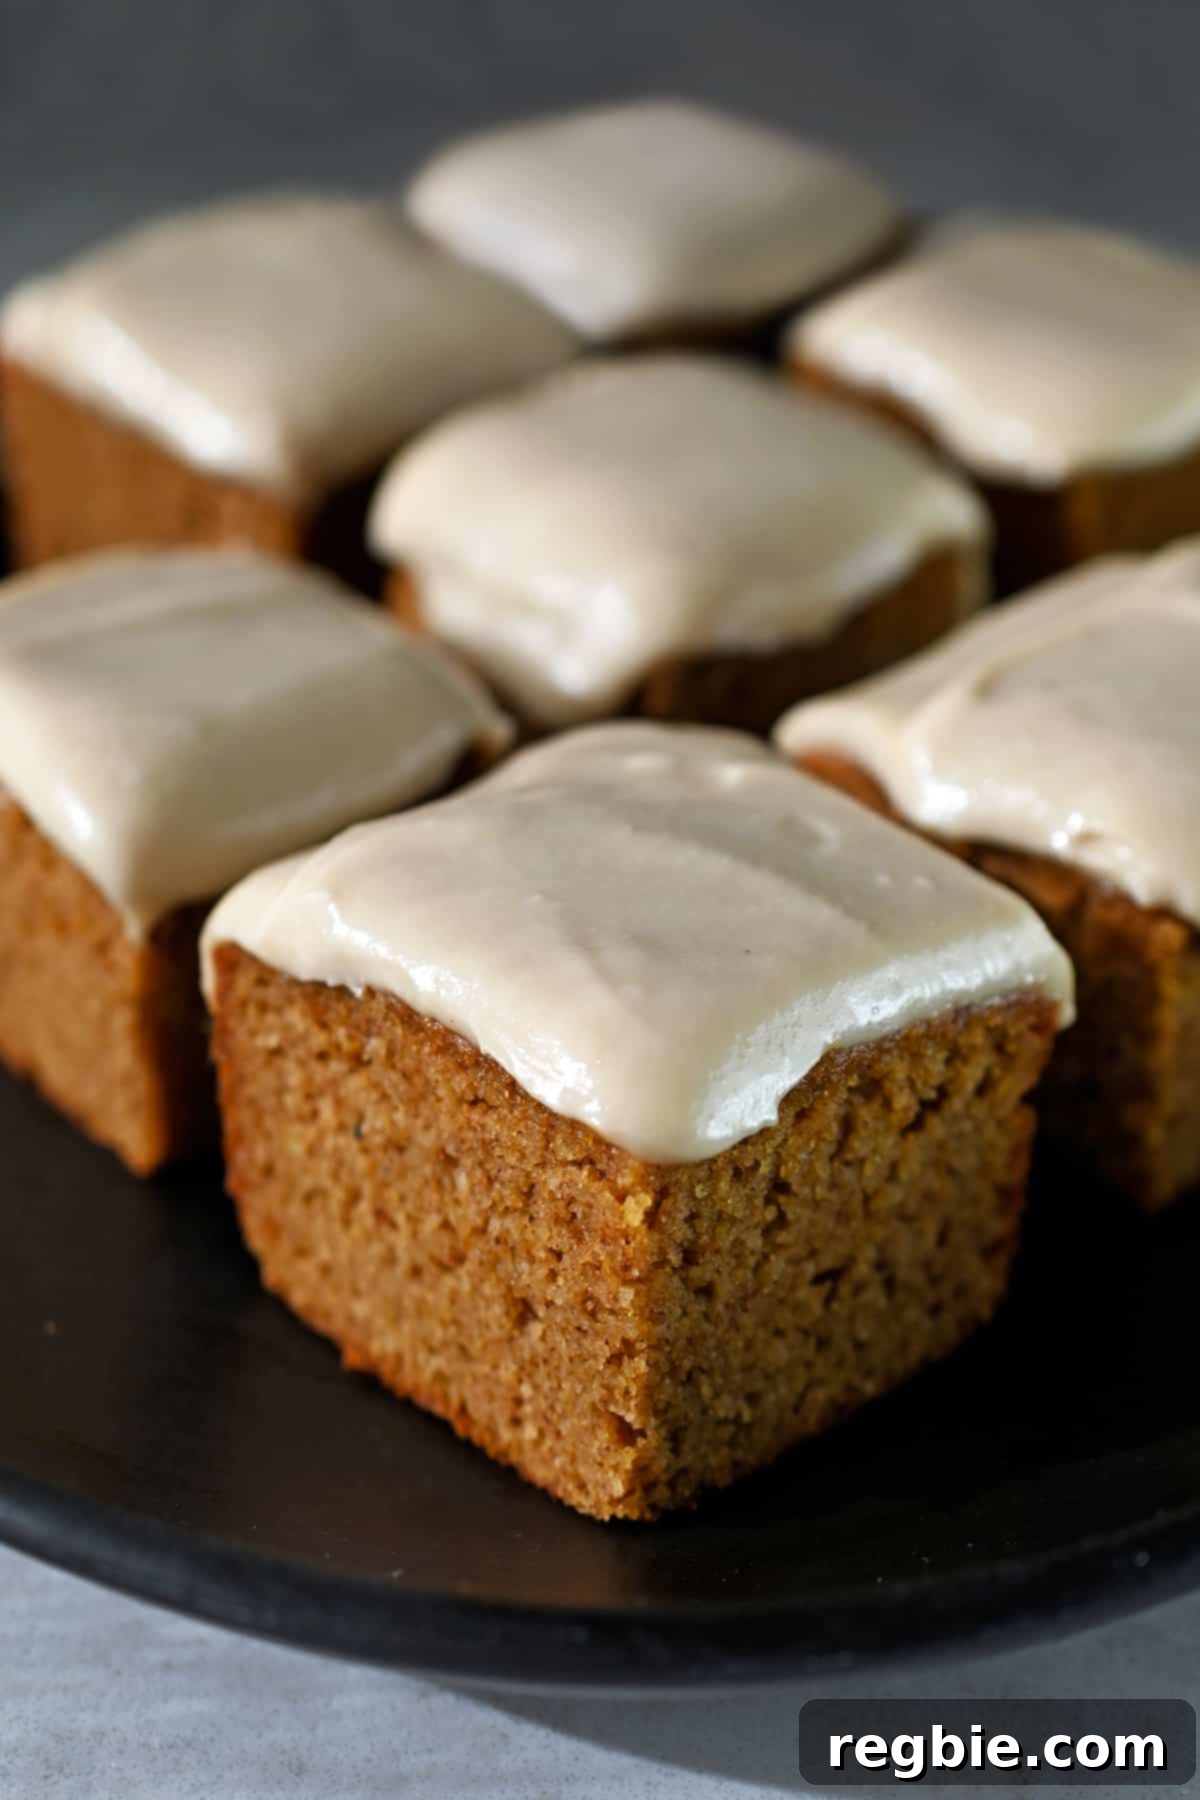
Welcome the flavors of autumn with these delightful grain-free and gluten-free paleo pumpkin bars. Each bite offers a moist, tender crumb infused with the perfect blend of warming pumpkin spices. These bars are not only incredibly simple to prepare using readily available ingredients but also encapsulate the very essence of fall in a wonderfully healthy treat.
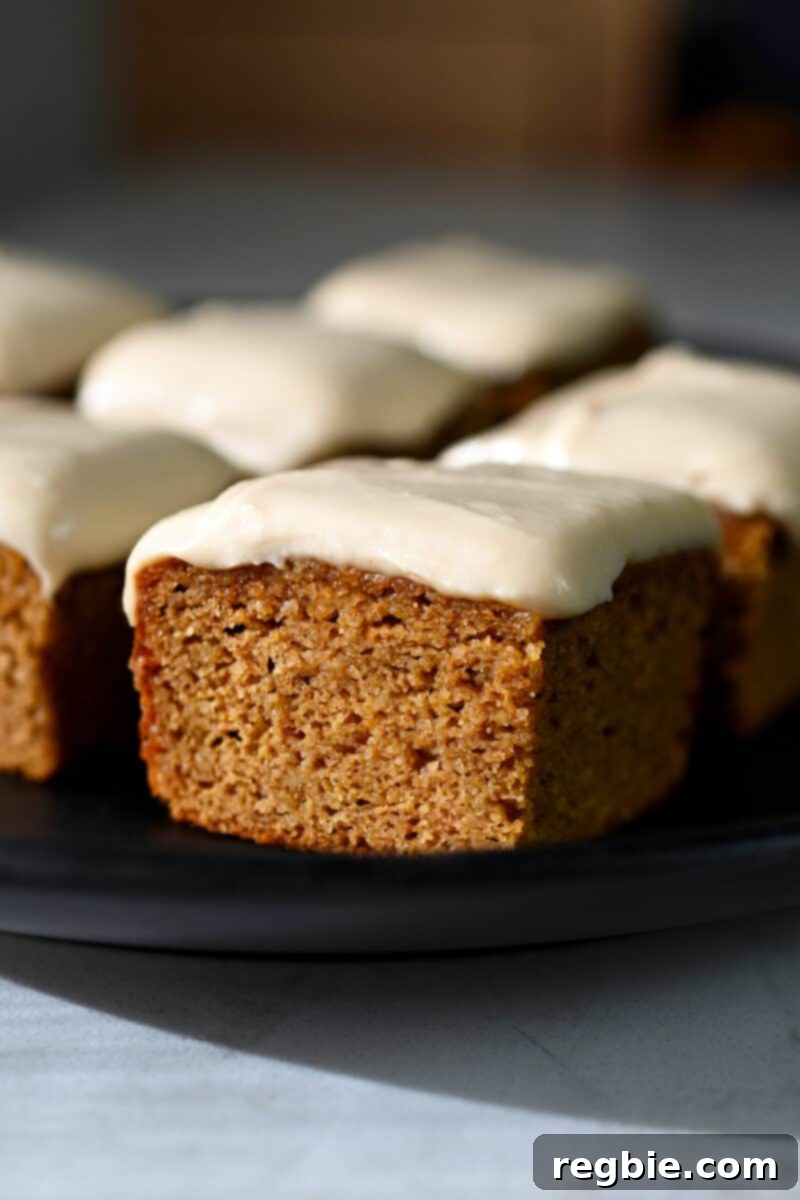
If you’re on the hunt for a wholesome yet utterly satisfying fall dessert, look no further than these easy-to-make pumpkin bars. The rich, authentic pumpkin flavor and aromatic spice blend are truly exceptional, so much so that no one will ever guess this delicious snack cake is refined sugar-free, gluten-free, and low in carbohydrates. Elevate the experience by generously slathering on my luscious dairy-free cream cheese frosting, and I can almost guarantee you won’t have a single crumb left to spare!
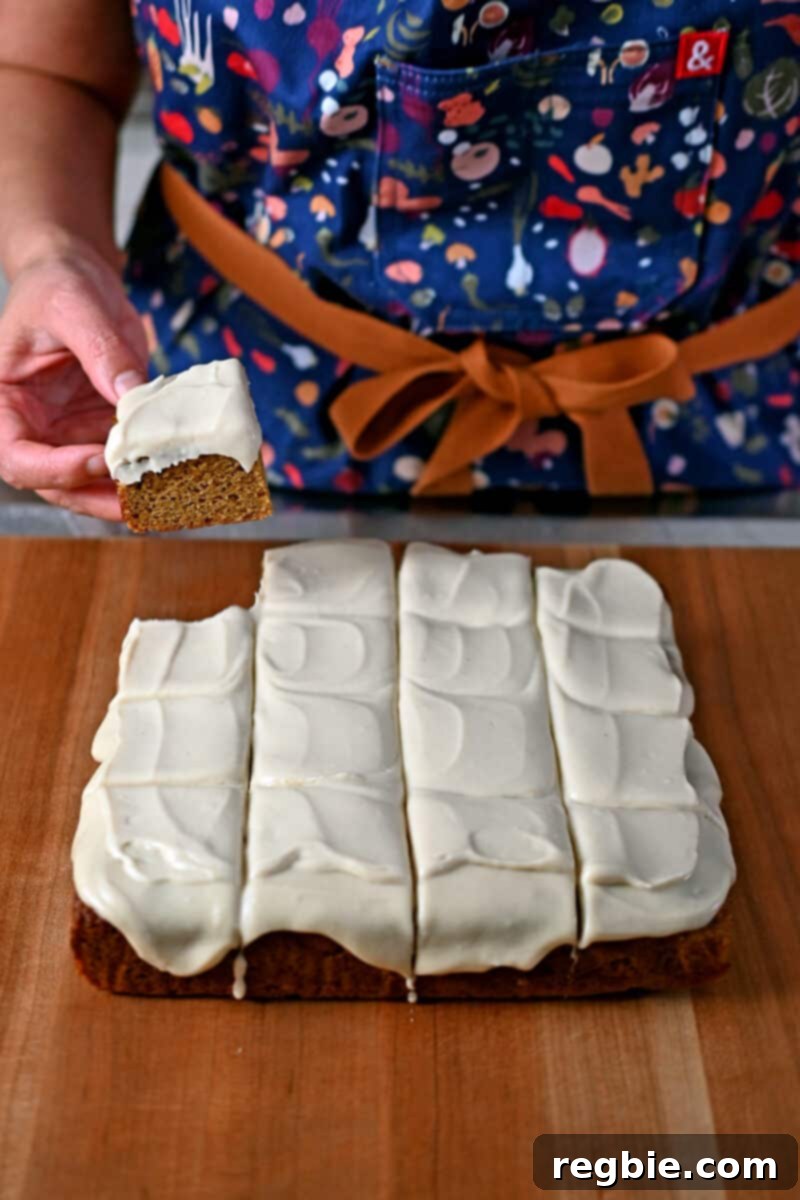
Table of Contents
- Why Choose Paleo & Gluten-Free Pumpkin Bars?
- Essential Ingredients for These Paleo Pumpkin Bars
- Ingredient Substitutions and Variations
- Expert Tips for Baking Perfect Paleo Pumpkin Bars
- Step-by-Step Guide to Making Paleo and Gluten-Free Pumpkin Bars
- Storage and Freezing Instructions
- More Irresistible Paleo Pumpkin Recipes
- Printable Recipe Card
Why Choose Paleo & Gluten-Free Pumpkin Bars?
In a world often saturated with sugary, gluten-laden treats, finding a dessert that aligns with healthier dietary choices without sacrificing flavor can be a challenge. These paleo and gluten-free pumpkin bars are a testament to the fact that wholesome ingredients can create truly extraordinary results. Opting for a paleo and gluten-free approach means embracing ingredients that are naturally free from grains, refined sugars, and dairy, focusing instead on nutrient-dense whole foods.
This recipe specifically caters to those seeking alternatives due to allergies, sensitivities, or lifestyle choices. Gluten, a protein found in wheat, barley, and rye, can cause digestive issues and other health concerns for many. Similarly, grains and refined sugars can lead to inflammation and blood sugar spikes. By utilizing almond flour and natural sweeteners like honey, these bars offer a delicious way to enjoy a classic fall dessert while supporting your well-being. They provide sustained energy, fiber, and healthy fats, making them a more satisfying and guilt-free indulgence.
Essential Ingredients for These Paleo Pumpkin Bars
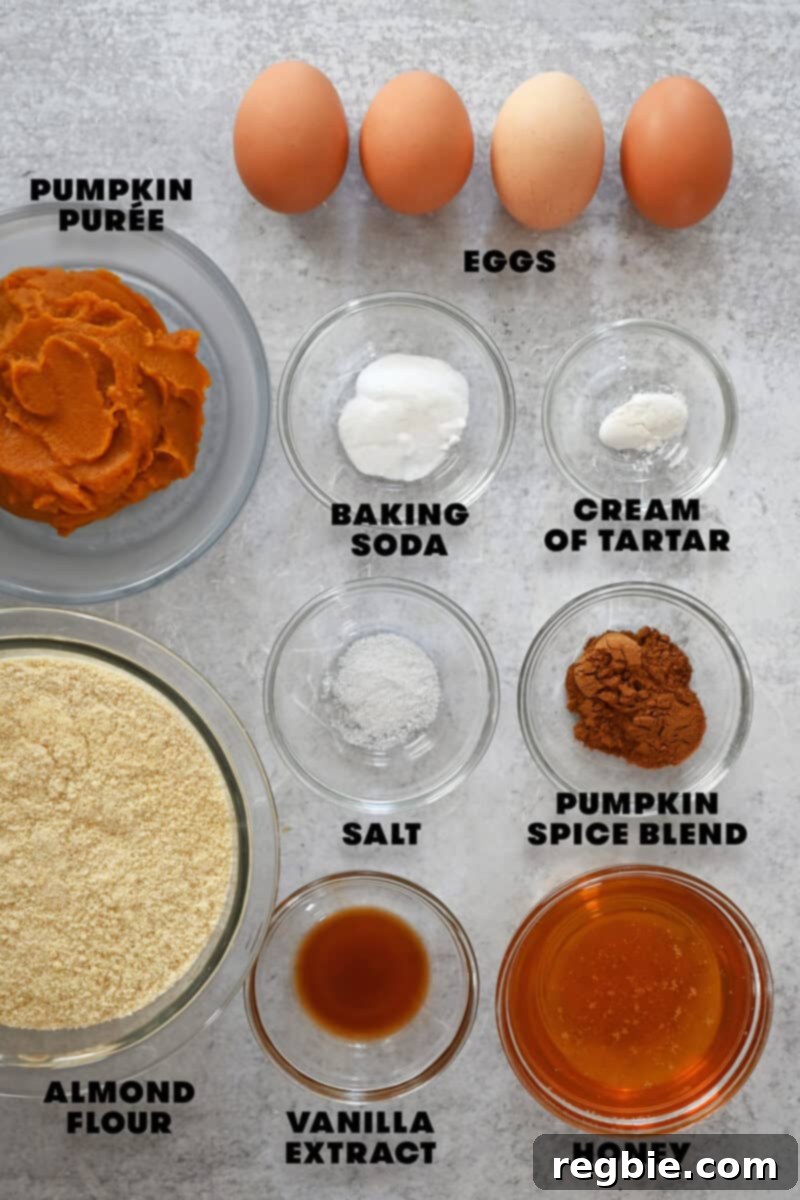
- Finely Ground Almond Flour: This is the star of our grain-free and gluten-free base. Almond flour not only makes these bars suitable for many dietary needs but also imparts an incredibly tender, moist texture and a subtle nutty flavor. Its high protein and healthy fat content also eliminate the need for additional butter or vegetable oil, contributing to a healthier profile. When selecting almond flour, always opt for a finely ground variety for the best results, as coarser grinds can lead to a gritty texture.
- Nut-Free Alternative: If you need a nut-free version, consider substituting with Otto’s cassava flour or tiger nut flour. Keep in mind that these flours absorb liquids differently, so you might need slight adjustments to the liquid content for the perfect consistency.
- Canned Pumpkin Purée: Essential for that unmistakable pumpkin flavor and moistness. Ensure you’re using pure pumpkin purée, not pumpkin pie filling, which contains added sugars and spices. My personal favorite is Libby’s organic pumpkin purée. This recipe doesn’t use a whole can, so save any leftover purée for delicious Pumpkin Mug Cakes or other fall recipes. Pumpkin is packed with Vitamin A, Vitamin C, and fiber, adding a healthy boost to your dessert.
- Eggs: These are crucial for the structure and binding of the pumpkin bars, providing the necessary lift and cohesion. Without them, the bars would likely crumble. I haven’t experimented with egg substitutes for this particular recipe, and given their vital role, I’m skeptical about success. However, if you’re adventurous enough to try, please share your results in the comments to help fellow bakers!
- Honey: I love using honey to naturally sweeten these pumpkin bars, which gives them a delightful subtle sweetness and moisture. Maple syrup is another excellent paleo-friendly alternative that works beautifully. For those following a low-carb or keto diet, liquid allulose can be used; simply increase the amount to ⅔ cup to achieve the desired sweetness level.
- Pumpkin Spice Blend: This blend brings all the warm, comforting flavors of autumn to life. While store-bought blends are convenient, you can easily make your own fresh pumpkin pie spices by combining: 2 teaspoons ground cinnamon + ½ teaspoon ground ginger + ½ teaspoon ground nutmeg + ⅛ teaspoon ground cloves. Adjust to your personal preference for a stronger or milder spice profile.
- Vanilla Extract: A touch of vanilla extract rounds out the flavors, adding depth and a pleasant aroma that complements the pumpkin and spices perfectly.
- Baking Soda: This acts as a leavening agent, helping the bars rise and become light and fluffy. It reacts with an acid to produce carbon dioxide.
- Cream of Tartar: When combined with baking soda, cream of tartar creates a leavening system similar to baking powder, ensuring a good rise without relying on commercial baking powder (which can sometimes contain cornstarch). If you don’t have cream of tartar, you can substitute 1 teaspoon of apple cider vinegar or lemon juice. Just remember to add it along with the wet ingredients to ensure the proper reaction.
- Diamond Crystal Kosher Salt: A small amount of salt is essential for balancing and enhancing all the sweet and savory flavors in the bars. It prevents the dessert from tasting flat and brings out the richness of the pumpkin and spices.
- Dairy-Free Cream Cheese Frosting: While optional, this frosting takes these pumpkin bars to an entirely new level of deliciousness. Its tangy sweetness perfectly complements the spiced pumpkin.
Ingredient Substitutions and Variations
When it comes to baking, precise measurements and specific ingredients often play a critical role in the final outcome. As a general rule, if an ingredient substitution isn’t explicitly mentioned within this recipe, it signifies that I haven’t personally tested it and therefore cannot guarantee its success. Baking with alternative flours and natural sweeteners can be particularly finicky, so deviating too much from the original recipe without proper knowledge might alter the texture, moisture, or flavor significantly.
However, experimentation can also lead to wonderful discoveries! If you do successfully make any ingredient substitutions, please be a hero and share your insights and results in the comments section below. Your experience could be invaluable to others in our community who might have similar dietary needs or ingredient availability challenges.
Beyond substitutions, consider these variations to customize your pumpkin bars:
- Chocolate Chips: Fold in a cup of paleo-friendly dark chocolate chips (check for dairy-free and refined sugar-free options) into the batter for a delicious pumpkin chocolate chip bar.
- Chopped Nuts: Add ½ cup of chopped pecans or walnuts for extra crunch and nutty flavor.
- Zest: A teaspoon of orange or lemon zest can brighten the flavors beautifully.
- Spicier Kick: Increase the amount of ginger or add a pinch of black pepper to your pumpkin spice blend for a warmer, bolder flavor.
Expert Tips for Baking Perfect Paleo Pumpkin Bars
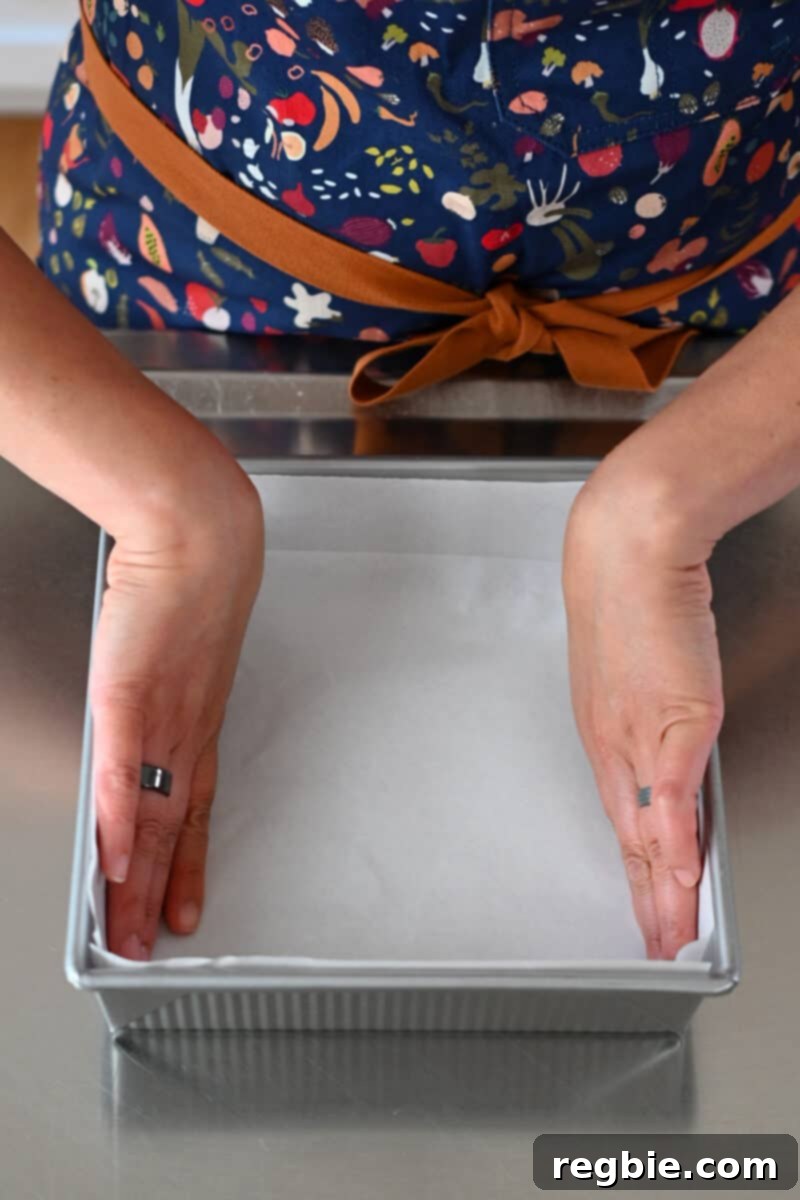
- Always Line the Pan with Parchment Paper! This seemingly small step is a game-changer. Lining your baking pan with parchment paper, leaving an overhang on the sides, makes it incredibly easy to lift the entire baked pumpkin cake out of the pan once cooled. This prevents sticking, ensures clean edges, and allows for much easier frosting and cutting, resulting in beautifully presented pumpkin bars every time. You’ll achieve much prettier, intact bars if you remove the cake from the pan *before* applying the cream cheese frosting.
- Measure Dry Ingredients with a Kitchen Scale! For accurate and consistent baking results, especially with gluten-free and alternative flours, a trusty kitchen scale is your best friend. Measuring by weight (grams) rather than volume (cups) is far more precise, as the density of flours can vary significantly. My printable recipe card at the bottom of this page always includes metric measurements to help you weigh out your ingredients with utmost accuracy. This precision helps ensure the perfect texture and rise.
- Don’t Dawdle After Combining Wet and Dry Ingredients! Once you mix the wet and dry ingredients, the baking soda and cream of tartar will immediately begin their chemical reaction, producing carbon dioxide gas which creates the rise. To capitalize on this leavening power and ensure your pumpkin bars achieve their optimal light and airy texture, transfer the batter to the prepared pan and get it into the preheated oven as quickly as possible. Every moment counts for that perfect rise!
- Room Temperature Ingredients: Ensure your eggs and pumpkin puree are at room temperature. This helps them incorporate more smoothly and evenly into the batter, leading to a more consistent texture in your baked goods.
- Avoid Overmixing: Once the wet and dry ingredients are combined, mix only until just incorporated. Overmixing can develop any gluten (even in gluten-free flours, some structure can be affected) and potentially lead to tougher, denser bars.
- Cool Completely Before Frosting: Patience is key! Frosting warm bars will cause the frosting to melt and slide right off, creating a messy situation. Allow the pumpkin cake to cool entirely on a wire rack before you even think about slathering on that delicious cream cheese frosting.
How to Make Paleo and Gluten-Free Pumpkin Bars
Follow these detailed steps to create your perfect batch of paleo pumpkin bars:
Step 1: Prepare Your Baking Pan and Oven
Preheat your oven to 350ºF (175ºC) with the oven rack positioned in the middle. This ensures even heat distribution and proper baking. Take an 8-inch (20 cm) square baking pan and line it generously with parchment paper, allowing the paper to overhang on two sides. Alternatively, grease the pan thoroughly with ghee or coconut oil if you don’t have parchment paper. The parchment paper method is highly recommended for easy removal.
Step 2: Combine the Dry Ingredients
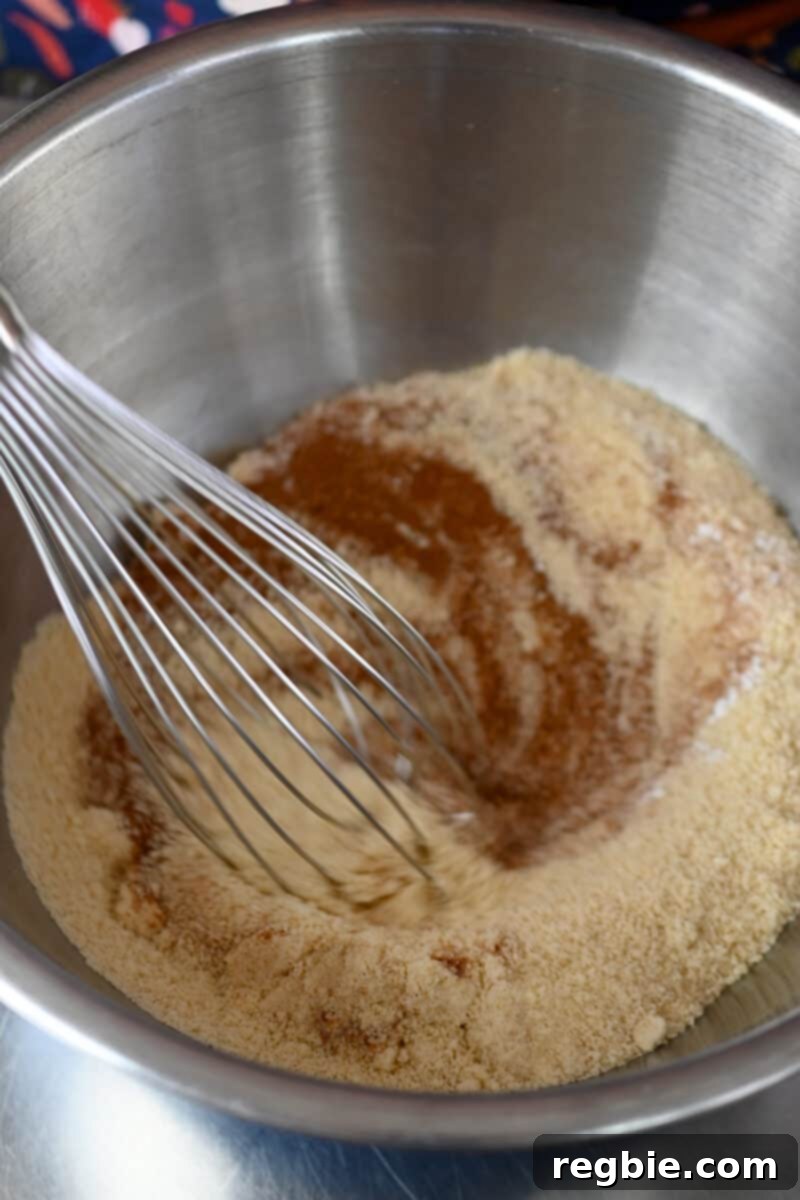
In a large mixing bowl, combine all your dry ingredients: the finely ground almond flour, pumpkin spice blend, baking soda, cream of tartar, and salt. Use a whisk to thoroughly blend these ingredients together. This step is important to ensure that the leavening agents and spices are evenly distributed throughout the flour, preventing pockets of unmixed ingredients and ensuring a consistent flavor and texture in your finished bars.
Step 3: Mix the Wet Ingredients
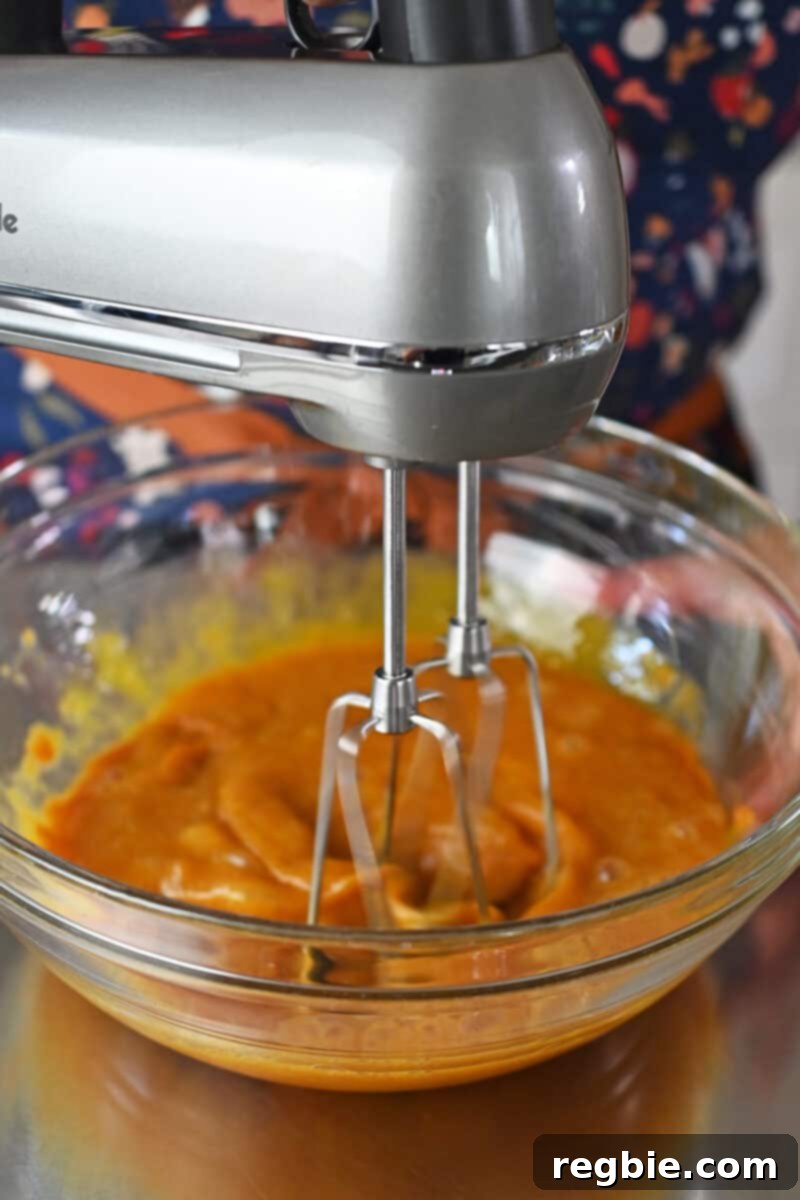
In a separate large bowl, add the canned pumpkin purée, large eggs, honey (or your chosen liquid sweetener), and vanilla extract. Using a hand mixer on medium speed, or a sturdy hand whisk, vigorously stir the pumpkin mixture together. Continue mixing until all the wet ingredients are thoroughly combined and the mixture appears uniform and smooth. This ensures that the sweeteners and flavors are evenly distributed before combining with the dry ingredients.
Step 4: Combine Wet and Dry Mixtures
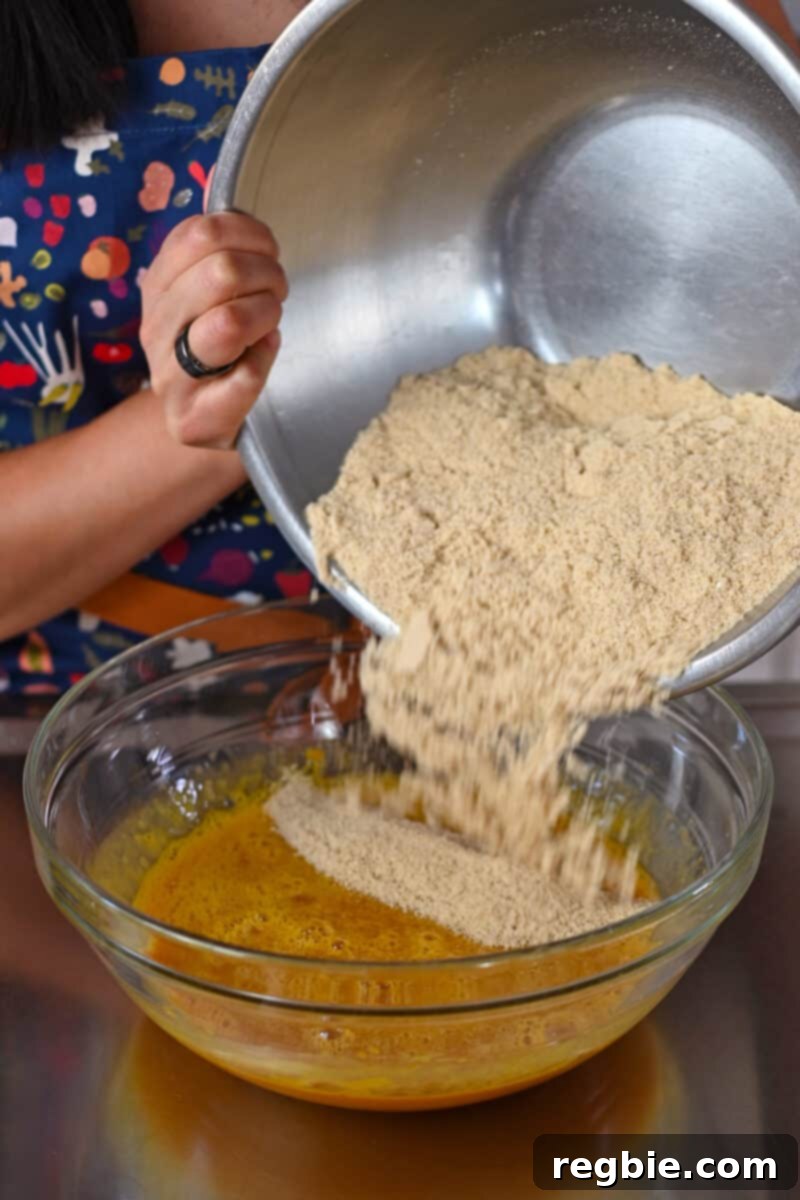
Carefully add the bowl of dry ingredients into the bowl containing the wet ingredients. At this point, the leavening agents will begin to activate, so speed is important from here on.
Step 5: Blend the Batter
Using a hand mixer on low speed, or a spatula, gently blend the wet and dry ingredients together. Mix only until they are just combined and no streaks of dry flour remain. Be careful not to overmix, as this can lead to a denser texture. The batter should be thick and uniform.
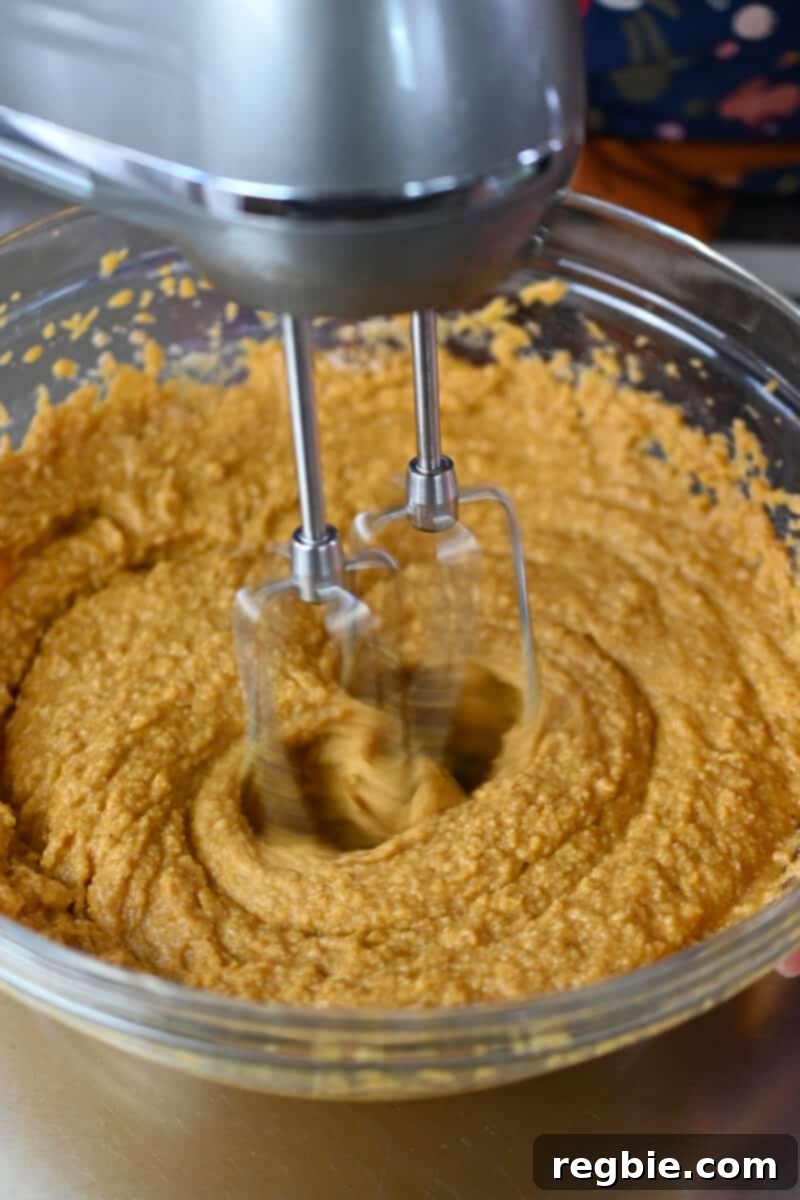
Step 6: Transfer to Baking Dish
Once the batter is mixed, quickly transfer it into your prepared baking dish. Work efficiently, as the leavening process has already started, and you want to get the bars into the oven promptly to maximize their rise.
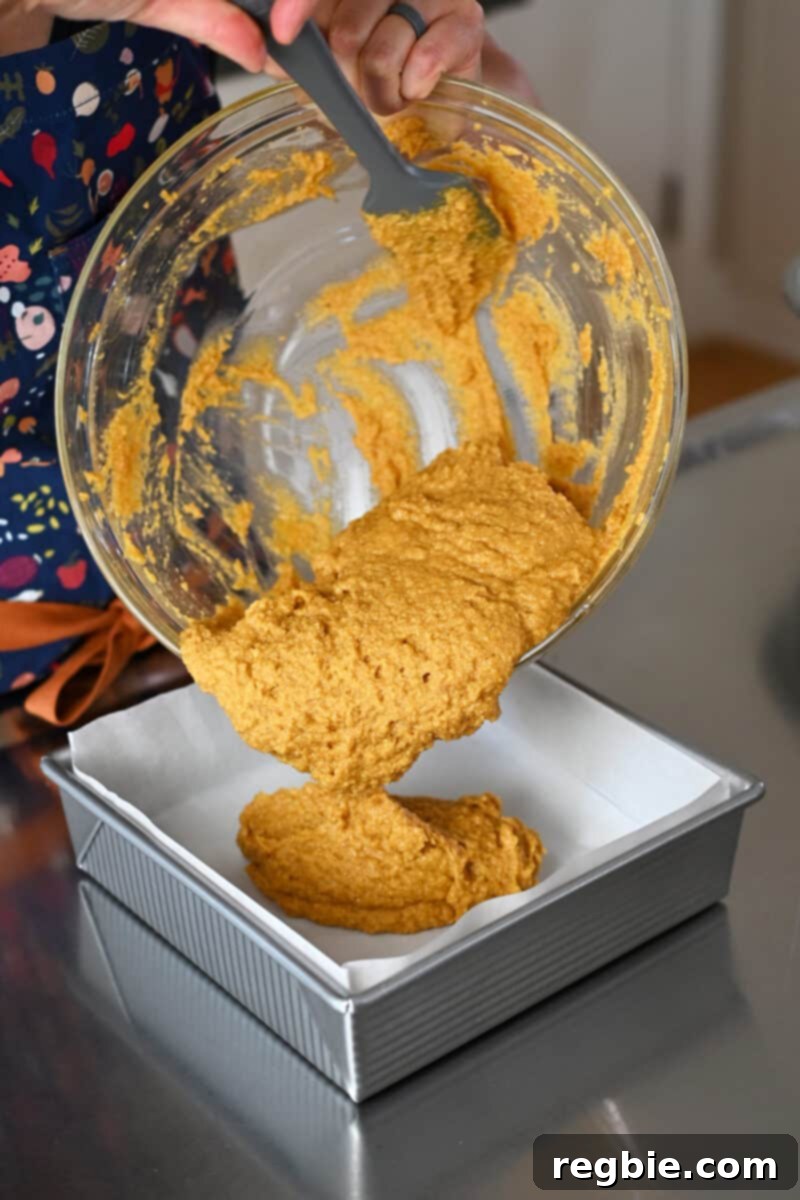
Step 7: Smooth the Top
Using an offset spatula or the back of a spoon, quickly and gently smooth the top of the batter in the baking dish to create an even layer. Again, remember to work quickly because the leavening agents are actively working, and the pumpkin bars need to get into the oven without delay to ensure a lovely rise and tender crumb!
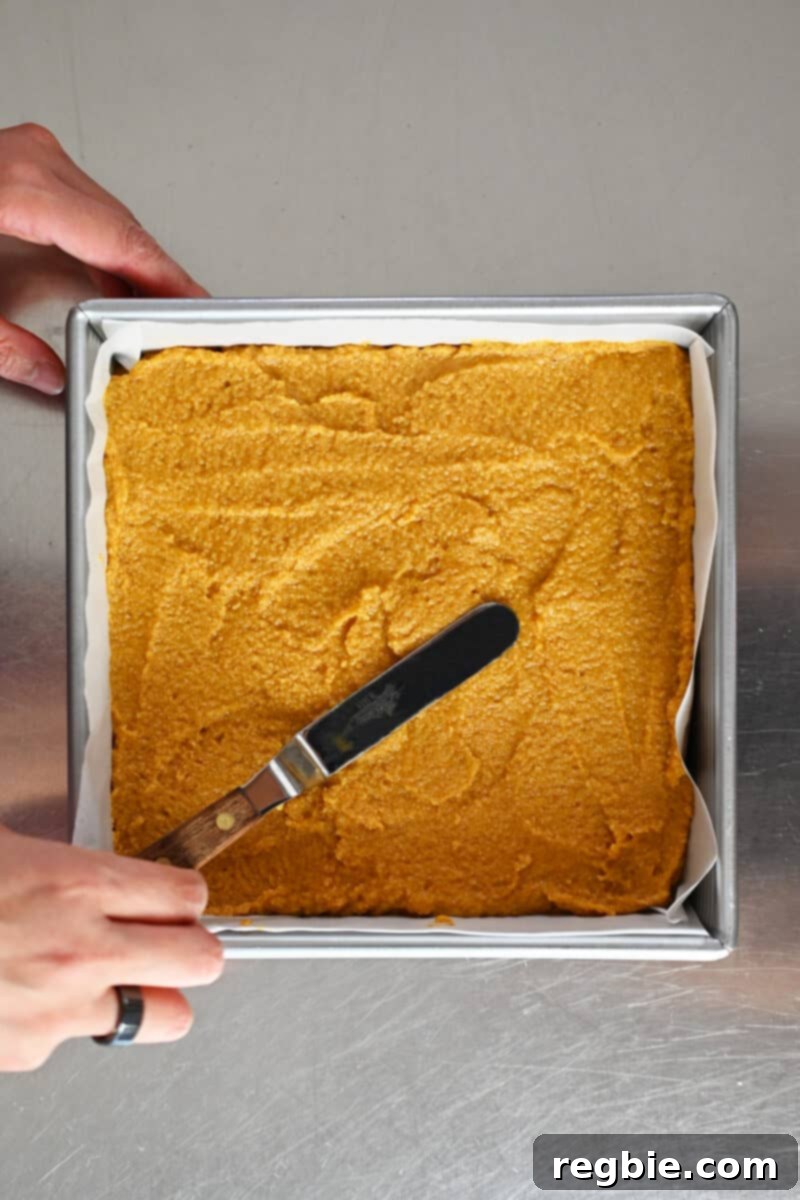
Step 8: Bake to Perfection
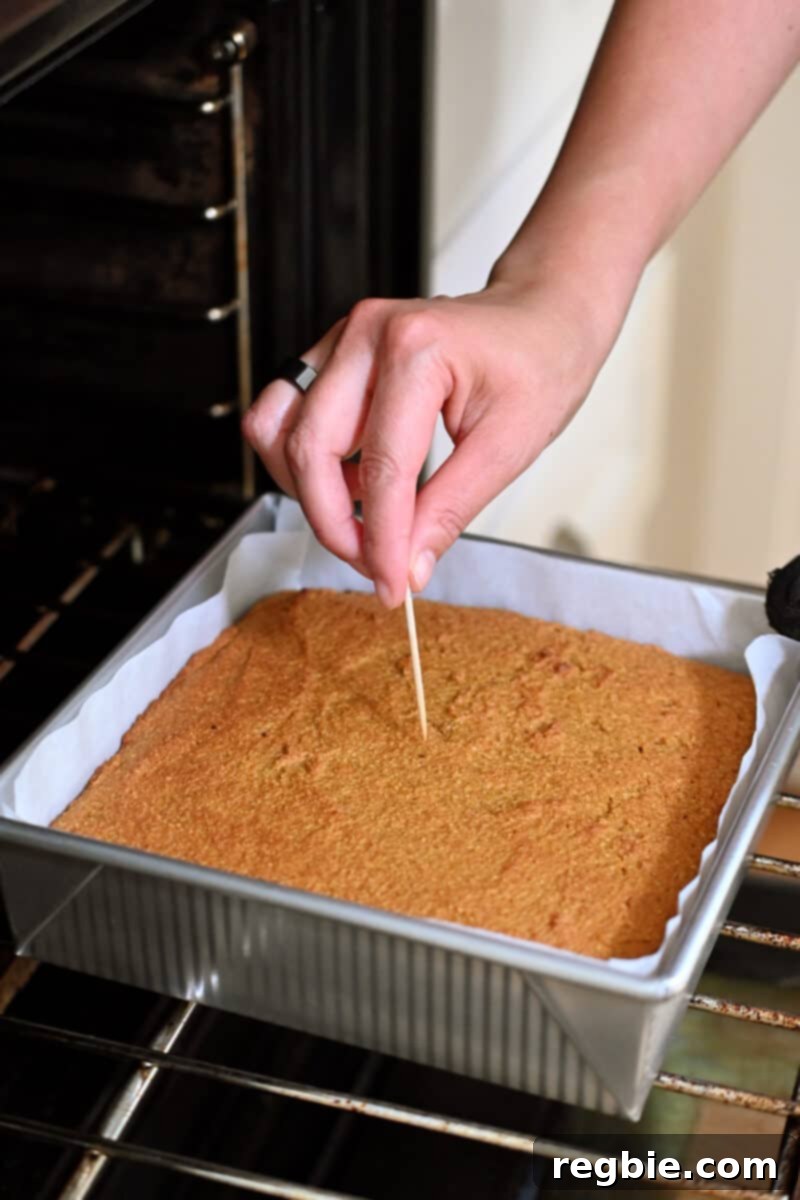
Carefully place the baking dish into the preheated oven. Bake the pumpkin bars for approximately 30-35 minutes at 350°F (175ºC). About halfway through the baking time (around 15-18 minutes), rotate the pan 180 degrees to ensure even baking and browning. The bars are perfectly done when the top is beautifully golden brown, and a wooden skewer or toothpick inserted into the center comes out clean, with no wet batter attached.
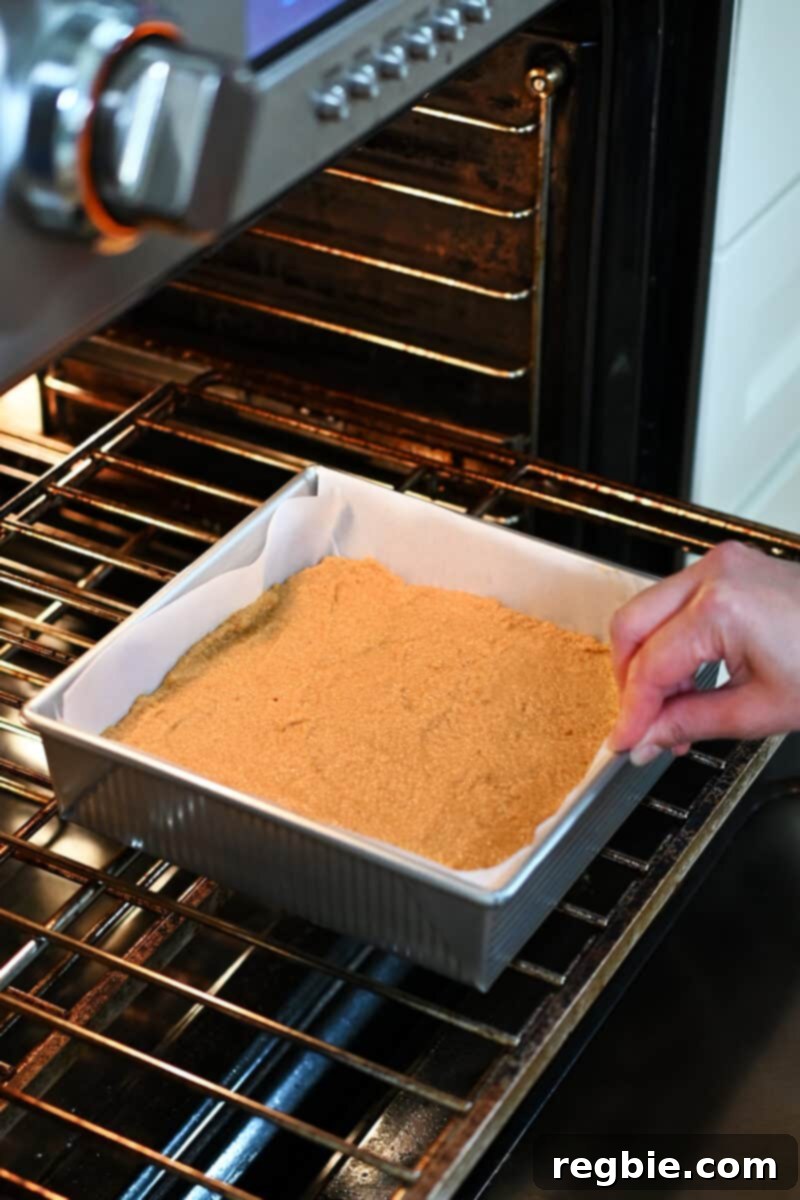
Step 9: Check for Doneness
To confirm the bars are fully cooked, insert a toothpick into the very center of the cake. If it comes out clean, the bars are ready. If there is still wet batter, bake for a few more minutes and re-test.
Step 10: Cool and Frost
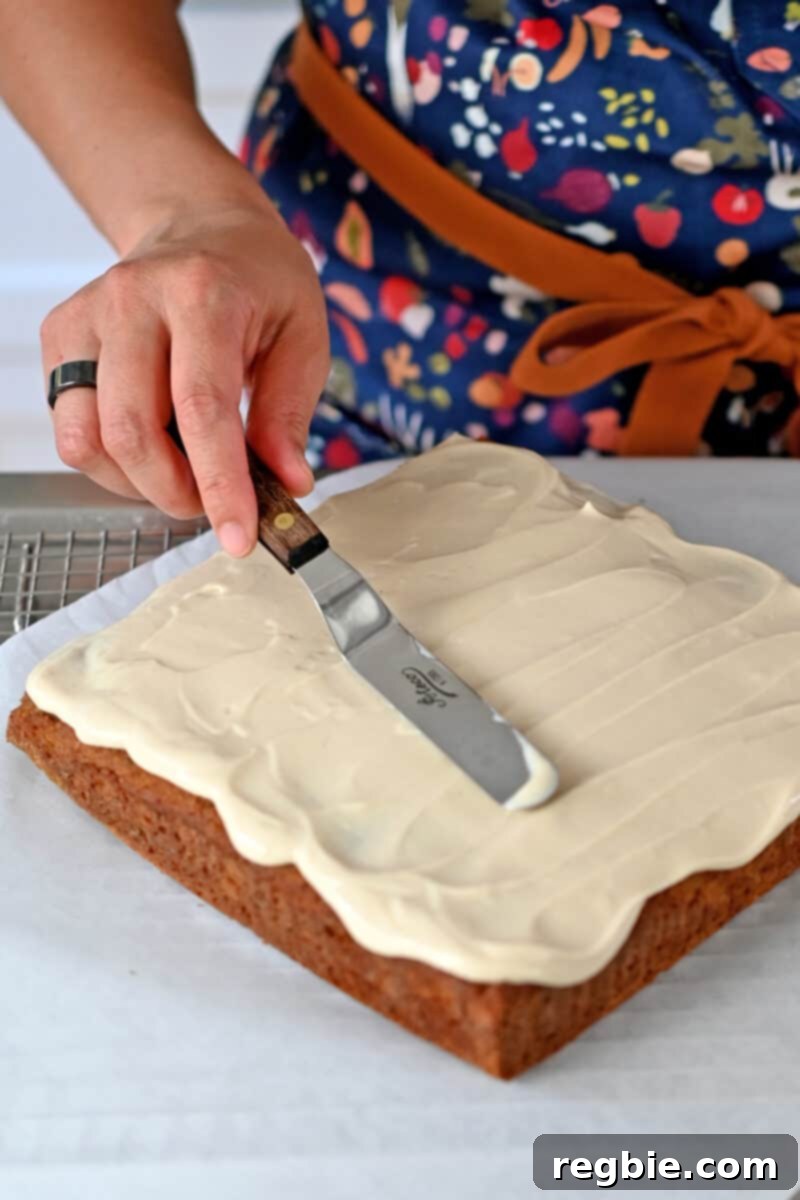
Once baked, remove the pan from the oven and carefully transfer it to a wire cooling rack. Allow the pumpkin cake to cool completely to room temperature. This is a critical step before frosting. If desired, generously spread a layer of paleo and vegan Cream Cheese Frosting over the cooled cake. The tanginess of the frosting beautifully complements the rich pumpkin flavor.
Step 11: Cut and Serve
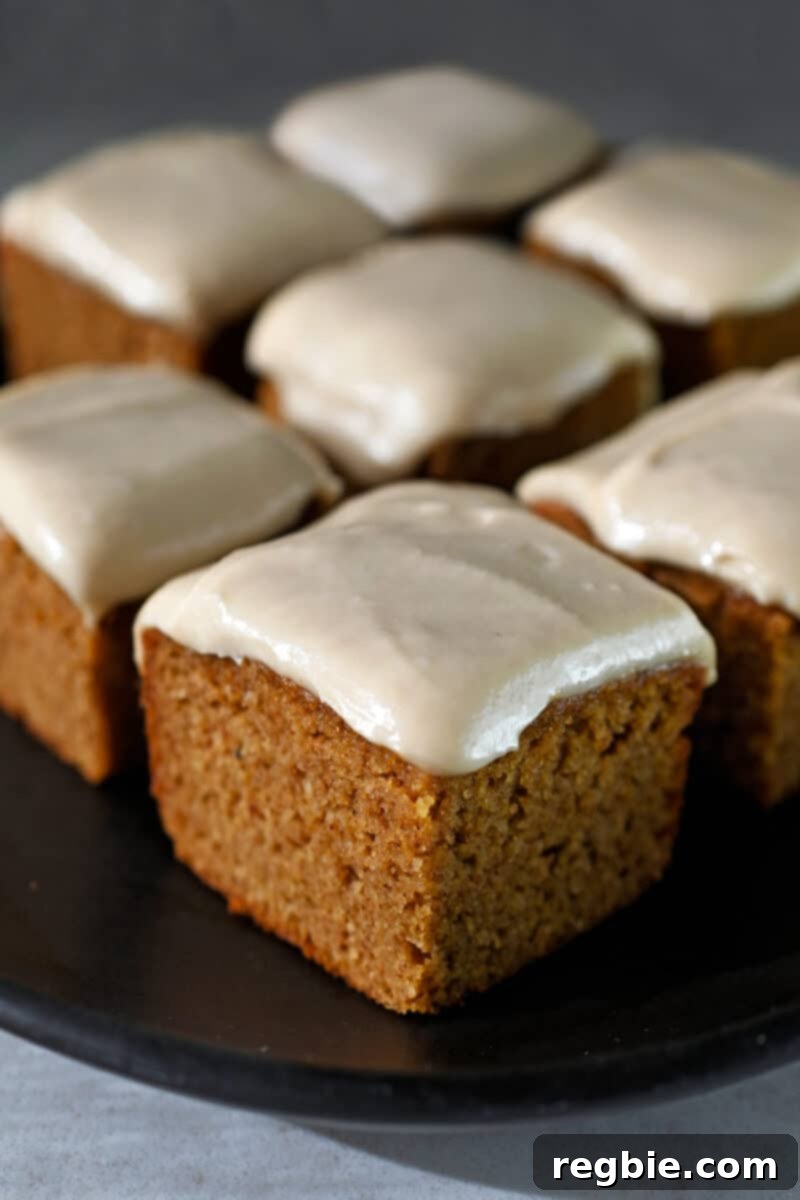
Once frosted (or not, if you prefer them plain!), cut the pumpkin cake into even squares. Serve immediately and savor the delicious flavors of fall!
Storage and Freezing Instructions
These paleo pumpkin bars are wonderful for making ahead, and they store beautifully, ensuring you can enjoy a taste of autumn whenever the craving strikes.
- Refrigeration: To keep your baked paleo pumpkin bars fresh, store them in a sealed airtight container in the refrigerator. They will maintain their delicious flavor and moist texture for up to 4 days. If frosted, ensure the container is airtight to prevent the frosting from drying out or absorbing fridge odors.
- Freezing for Longer Storage: For extended enjoyment, these bars freeze exceptionally well. Place the cooled (and optionally frosted) bars in a single layer on a baking sheet and freeze until firm, about 1-2 hours. This step prevents them from sticking together. Once firm, transfer the bars to a freezer-safe sealed airtight container or heavy-duty freezer bag. You can layer them with parchment paper in between to prevent sticking. They can be stored in the freezer for up to 3 months.
- Thawing Instructions: To enjoy frozen pumpkin bars, simply transfer them from the freezer to the refrigerator and allow them to thaw overnight. For a quicker thaw, individual bars can be left at room temperature for about an hour. Whether frozen with or without frosting, both versions freeze and thaw perfectly, retaining their wonderful texture and taste.
- Meal Prep Tip: Consider baking a double batch and freezing half. This way, you always have a healthy, delicious treat on hand for unexpected guests or a quick snack!
More Irresistible Paleo Pumpkin Recipes
If you’ve fallen in love with these paleo pumpkin bars, you’ll be thrilled to discover more delightful pumpkin-inspired recipes that fit a paleo and gluten-free lifestyle. These recipes celebrate the versatility of pumpkin, offering a range of treats perfect for any time of year, but especially during the cozy fall season:
- Pumpkin Mug Cake: A quick and easy single-serving dessert.
- Pumpkin Muffins: Perfect for breakfast or a snack on the go.
- Pumpkin Chocolate Chip Muffins: A classic combo for chocolate lovers.
- Pumpkin and Carrot Muffins: Nutrient-packed and subtly sweet.
- Pumpkin Custard: A smooth and creamy, elegant dessert.
- Pumpkin Snickerdoodles: A spiced cookie with a delightful chew.
Looking for even more recipe inspiration? Be sure to head over to my comprehensive Recipe Index, where you’ll find a treasure trove of paleo and healthy recipes for every meal and occasion. Additionally, discover exclusive recipes and cooking tips in my acclaimed cookbooks: Nom Nom Paleo: Food for Humans (Andrews McMeel Publishing 2013), Ready or Not! (Andrews McMeel Publishing 2017), and the latest installment, Nom Nom Paleo: Let’s Go! (Andrews McMeel Publishing 2022). Happy cooking!
Printable Recipe Card
Pumpkin Bars (Paleo, Gluten Free, Low Carb)
10 mins
50 mins
1 hr
16
Michelle Tam
Pin
Ingredients
- 2½ cups finely ground almond flour
- 1 tablespoon pumpkin spice blend
- 1 teaspoon baking soda
- ½ teaspoon cream of tartar or 1 teaspoon vinegar or lemon juice (add with wet ingredients)
- ¼ teaspoon Diamond Crystal kosher salt
- 1 cup canned pumpkin purée
- 4 large eggs
- ½ cup honey
- 1 teaspoon vanilla extract
- Cream Cheese Frosting (Optional, but highly recommended)
Instructions
-
Preheat oven to 350ºF (175ºC) with the rack in the middle position. Line an 8-inch square baking pan with parchment paper, leaving an overhang on two sides, or grease it well with ghee or coconut oil.
-
In a large mixing bowl, combine the dry ingredients: almond flour, pumpkin spice blend, baking soda, cream of tartar, and salt. Whisk everything together until thoroughly combined.
-
In a separate large bowl, add the pumpkin purée, eggs, honey, and vanilla extract. Use a hand mixer on medium speed or a whisk to stir the pumpkin mixture until it is uniform and smooth.
-
Add the dry ingredients to the bowl of wet ingredients and use a hand mixer on low speed to blend until just combined. Do not overmix.
-
Pour the batter into the prepared baking dish. Quickly smooth the top with an offset spatula or the back of a spoon. Work efficiently, as the baking soda has already been activated, and the pumpkin bars need to get into the oven as soon as possible for the best rise!
-
Bake the pumpkin bars in the preheated oven at 350°F (175ºC) for about 30-35 minutes, rotating the pan at the halfway mark (around 15-18 minutes). The bars are done baking when the top is golden brown and a toothpick inserted into the middle comes out clean.
-
Remove the pan from the oven and transfer it to a wire cooling rack to cool completely. If desired, slather on some paleo and vegan Cream Cheese Frosting once fully cooled. Cut into squares and enjoy!
Notes
Nutrition
Calories: 154kcal
|
Carbohydrates: 14g
|
Protein: 5g
|
Fat: 10g
|
Fiber: 2g
|
Sugar: 10g
Nutrition information is automatically calculated and should only be used as an approximation.