
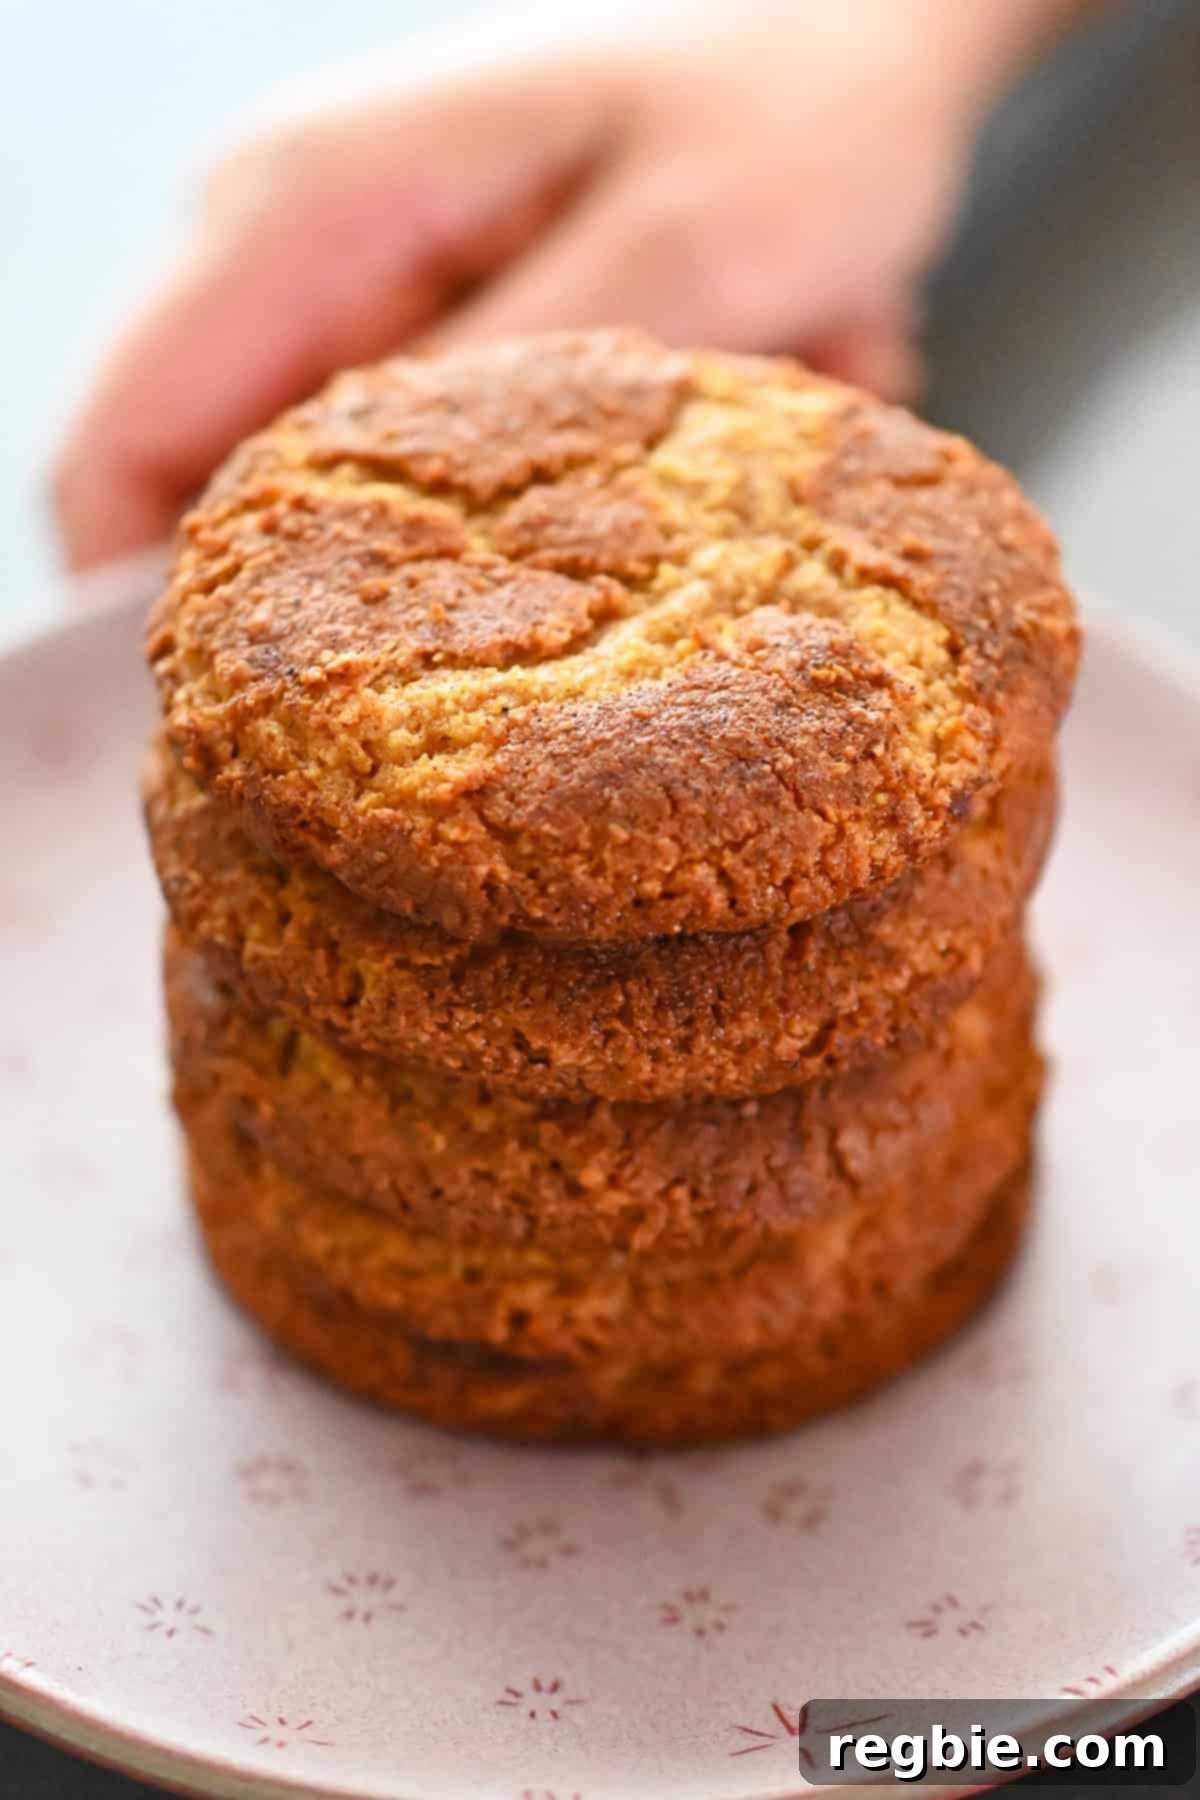
Chewy Paleo & Gluten-Free Pumpkin Snickerdoodles: The Ultimate Fall Cookie
Embrace the cozy flavors of autumn with these incredible Paleo and Gluten-Free Pumpkin Snickerdoodles. Imagine a cookie that’s delightfully chewy in the middle, boasts perfectly crispy edges, and is infused with just the right amount of warm pumpkin spice. These cookies are not just a seasonal treat; they’re a testament to how delicious and satisfying grain-free baking can be. Prepare to be amazed as these snickerdoodles quickly become your go-to fall dessert!
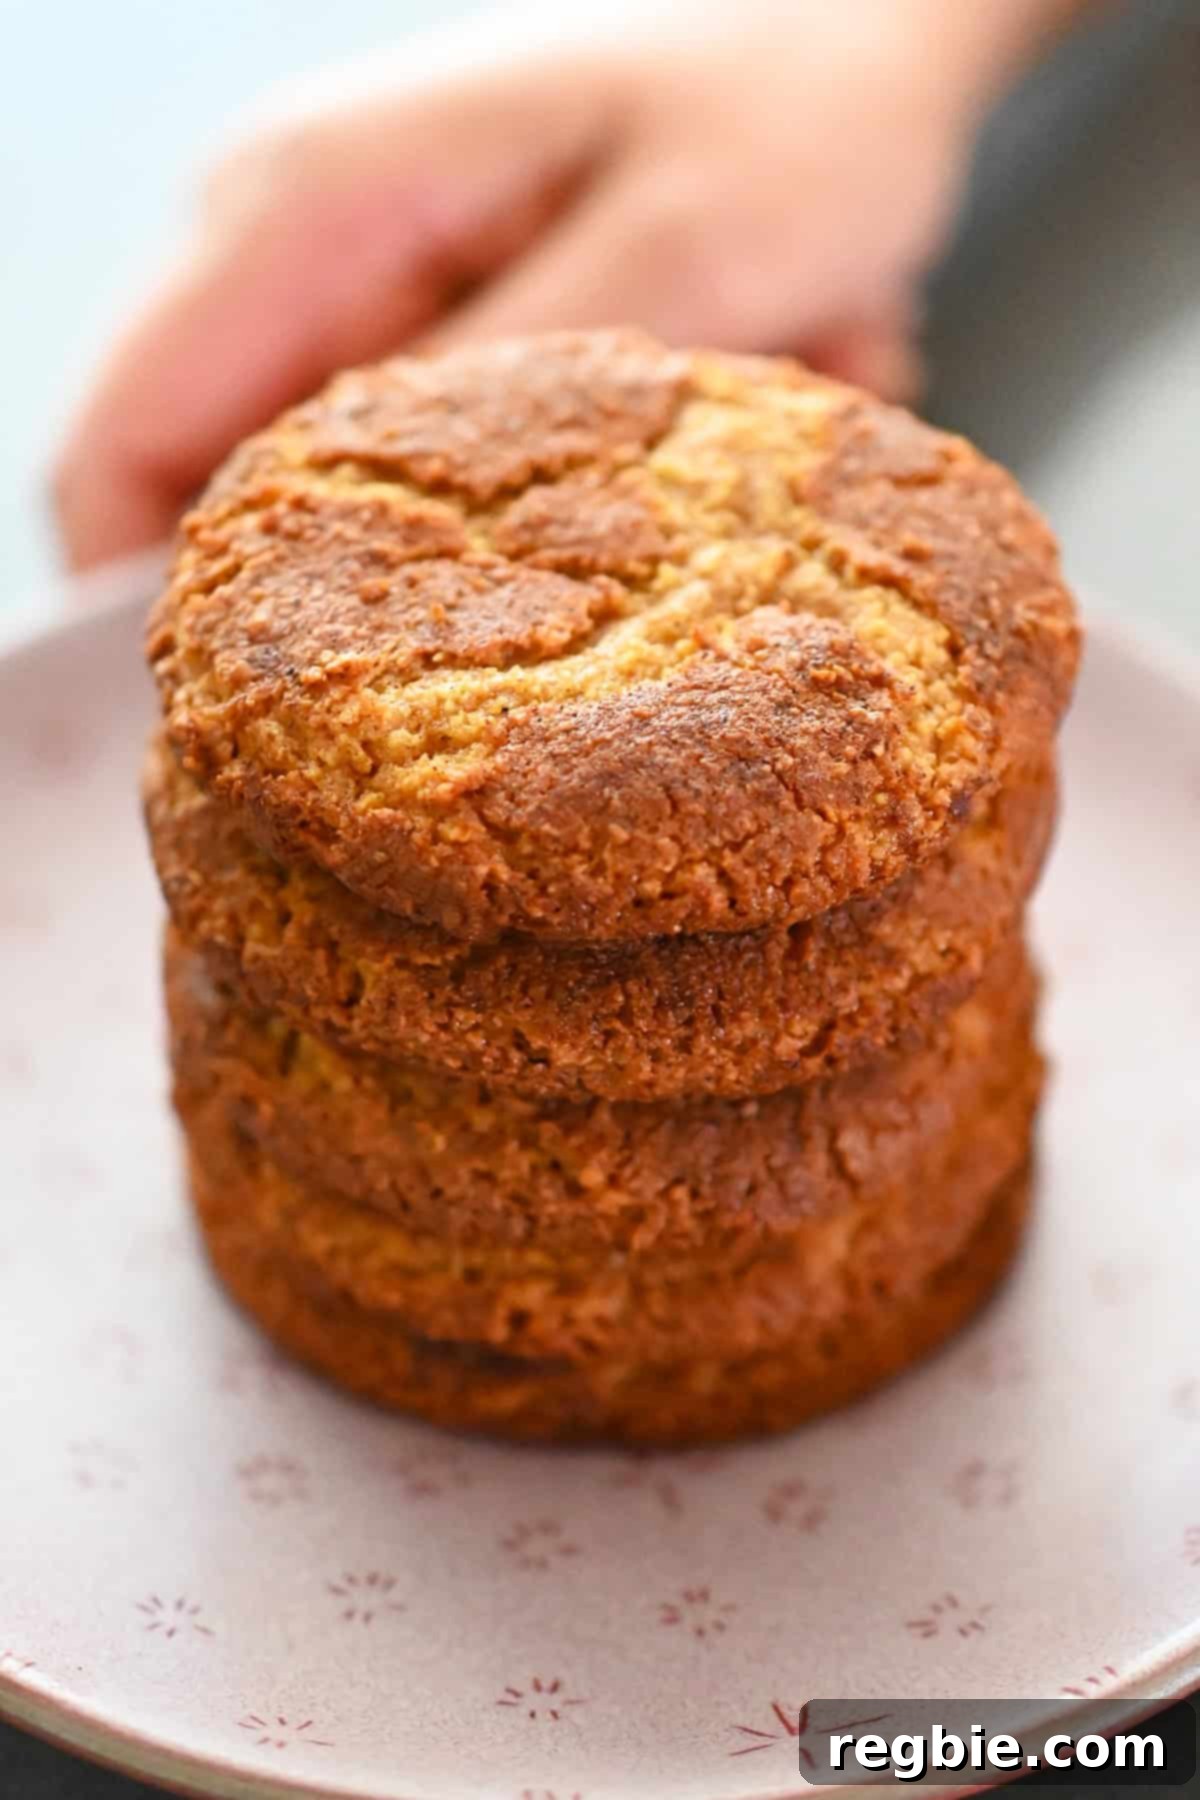
Table of Contents
- Why These Paleo Pumpkin Snickerdoodles Are a Must-Bake This Autumn
- The Secret to Perfectly Chewy (Never Cakey!) Pumpkin Snickerdoodles
- Essential Ingredients for Your Paleo Pumpkin Snickerdoodles
- Step-by-Step Guide: How to Bake Your Pumpkin Snickerdoodles
- 1. Prepare Your Dry Ingredients
- 2. Cream the Wet Ingredients
- 3. Combine and Form the Dough
- 4. Chill the Dough for Optimal Texture
- 5. Prepare for Baking
- 6. Coat and Shape the Cookies
- 7. Bake to Golden Perfection (One Tray at a Time)
- 8. Cool and Enjoy Your Homemade Snickerdoodles
- Pro Tips for Baking the Best Paleo Pumpkin Snickerdoodles
- Make Ahead, Storage, and Freezing Options
- Extend the Fall Fun: More Paleo Pumpkin Recipes to Try
- Full Recipe: Chewy Pumpkin Snickerdoodles (Paleo and Gluten Free)
Why These Paleo Pumpkin Snickerdoodles Are a Must-Bake This Autumn
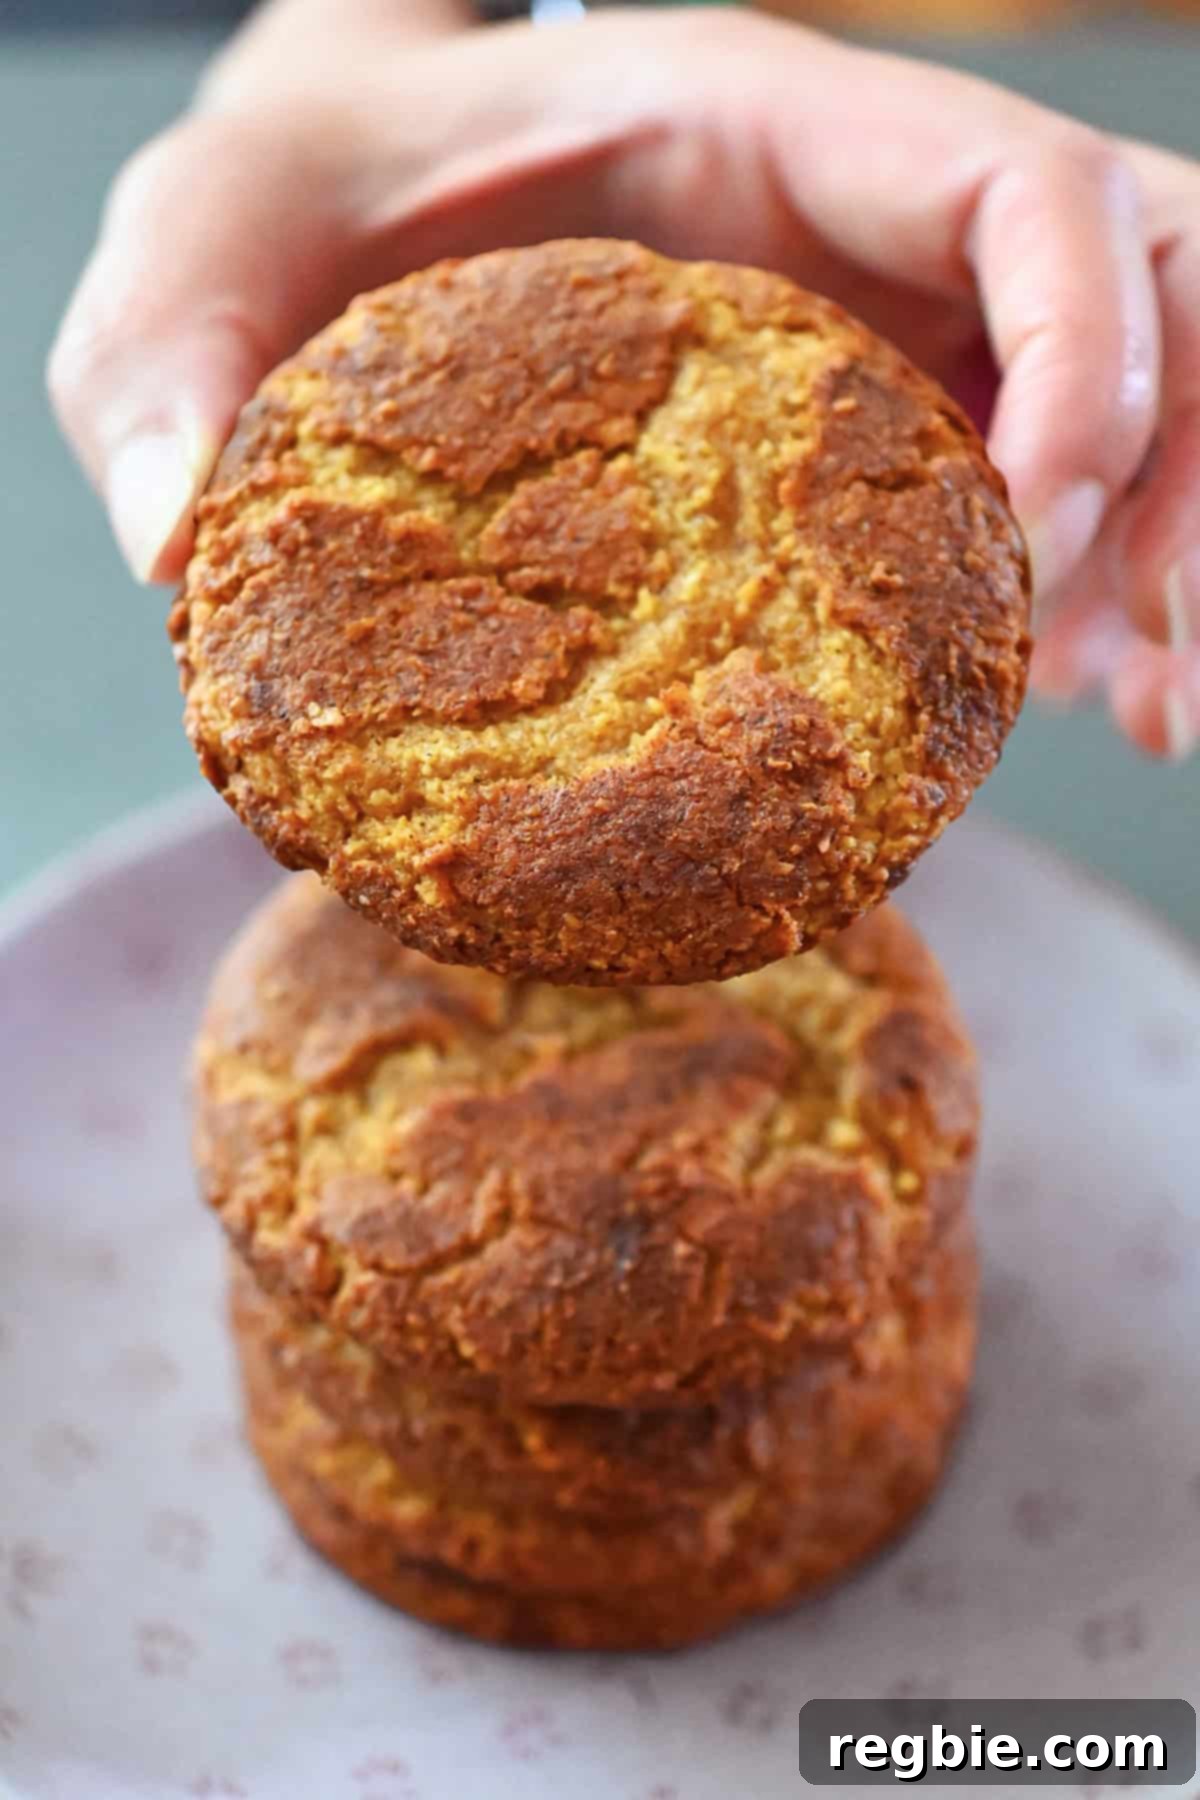
If the thought of a classic snickerdoodle with a delightful fall twist makes your mouth water, then these chewy pumpkin snickerdoodles are precisely what you need. They perfectly capture the soft, tender chewiness you love in traditional snickerdoodles, but with a subtle hint of pumpkin purée that ensures incredible moisture without venturing into cakey territory. And rest assured, any minor reduction in pumpkin purée is more than compensated by a generous infusion of aromatic pumpkin pie spice. Each bite is a warm embrace, tasting like the very essence of autumn itself, enveloped in a crackly, spiced sugar coating.
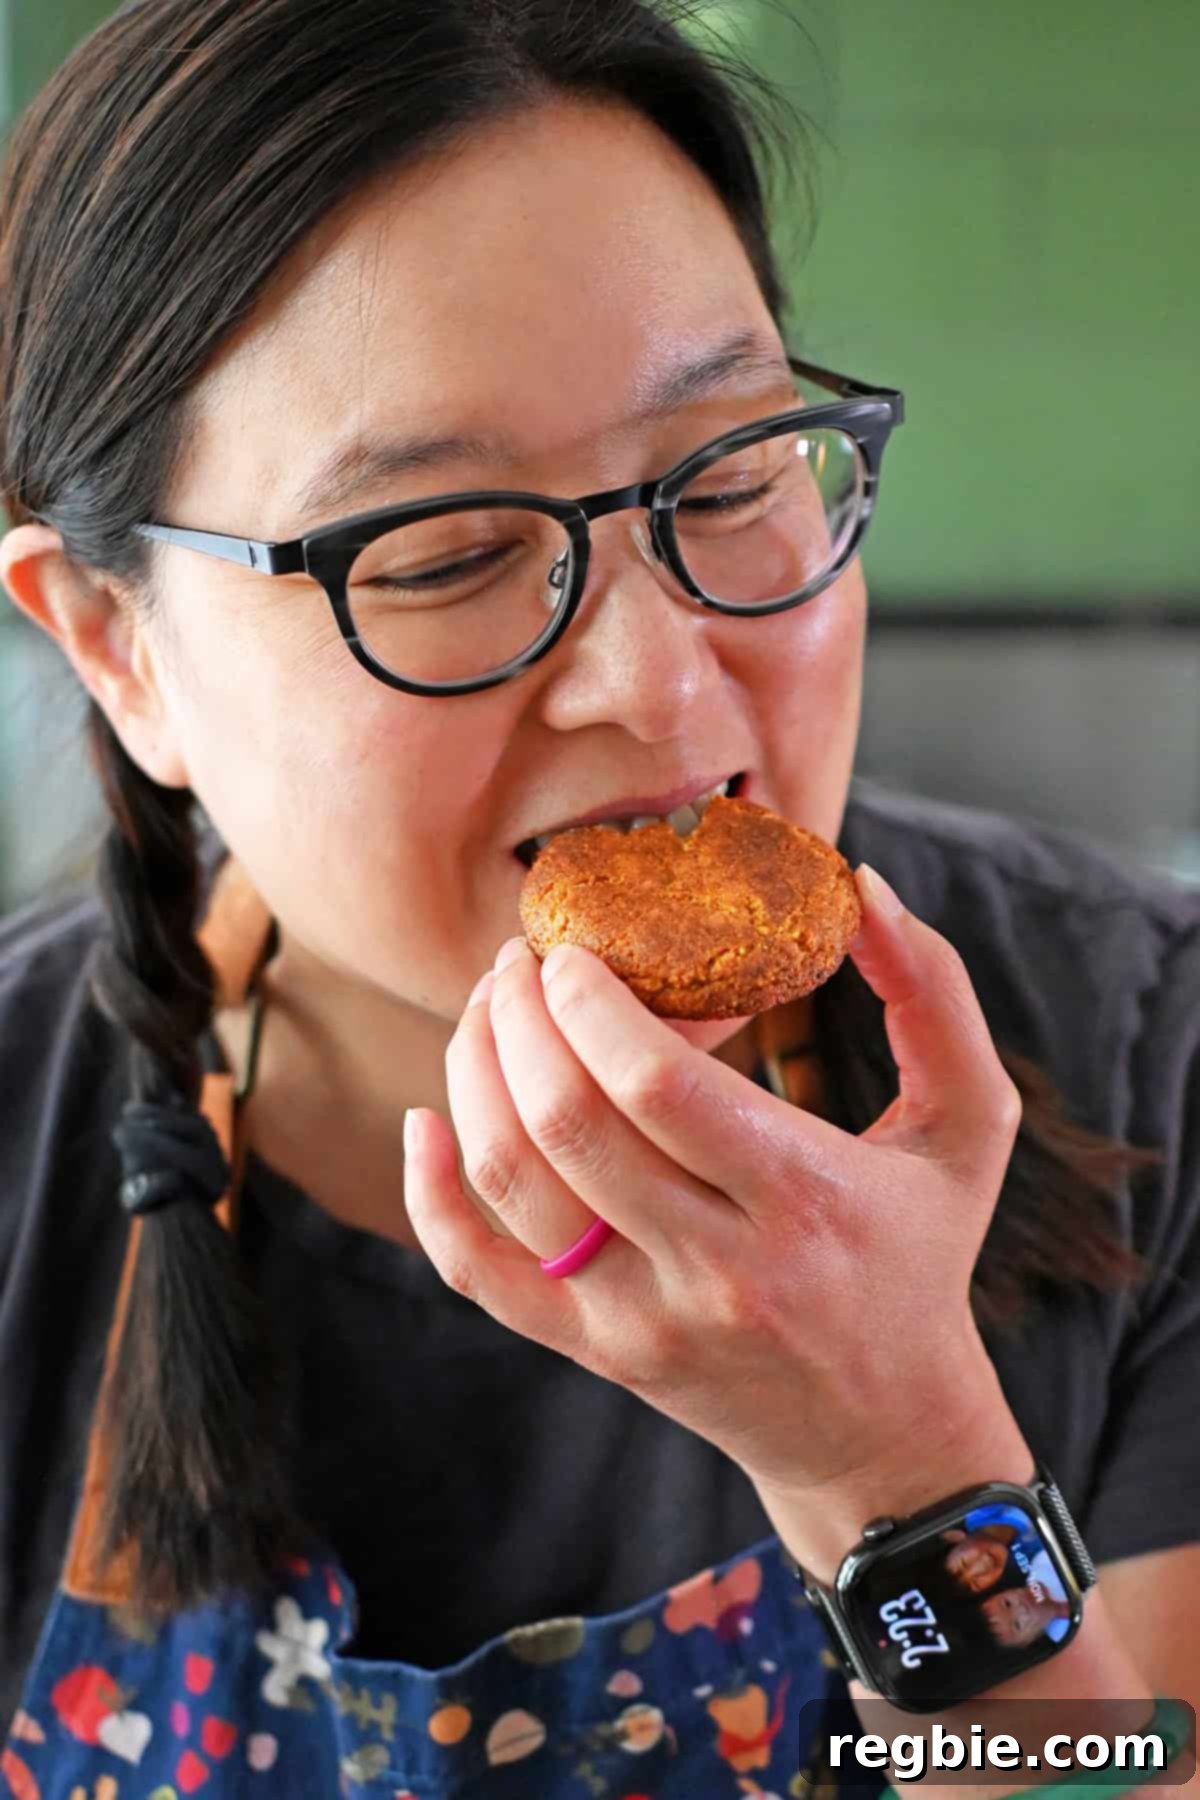
The best part? They are completely paleo and gluten-free, yet utterly delicious! These cookies have undergone rigorous taste tests with a diverse group of non-paleo friends and family, including my strength coaches and my high school senior son’s friends. The unanimous verdict? No one suspected they were grain-free, and every single cookie vanished in record time. This is a recipe that truly pleases every palate, making it ideal for sharing at fall gatherings or simply enjoying with a warm cup of coffee.
The Secret to Perfectly Chewy (Never Cakey!) Pumpkin Snickerdoodles
Achieving that signature chewy snickerdoodle texture, especially with pumpkin, can be a delicate balance. Pumpkin purée is fantastic for adding flavor and moisture, but use too much, and your cookies will puff up like mini muffins, losing their classic chew. The secret to our perfect texture lies in moderation and smart ingredient choices: we use just enough pumpkin purée to impart that autumnal flavor and a lovely hue, complemented by a generous dose of high-quality pumpkin pie spice. This ensures a rich pumpkin flavor without compromising the desired chewy texture.
Another crucial technique is the use of only an egg yolk, rather than a whole egg. Egg yolks add richness and tenderness, while the egg white can introduce too much moisture, leading to a cakier result. By carefully controlling the moisture content, we guarantee a cookie that remains wonderfully chewy from center to edge. If you’re actually aiming for a soft and cakey cookie experience, you might prefer a different recipe, but for that authentic chewy snickerdoodle, this method is key!
Essential Ingredients for Your Paleo Pumpkin Snickerdoodles
Crafting these delectable paleo pumpkin snickerdoodles requires a thoughtful selection of ingredients. Each component plays a vital role in achieving the perfect flavor, texture, and overall experience. Here’s a closer look at what you’ll need and why:
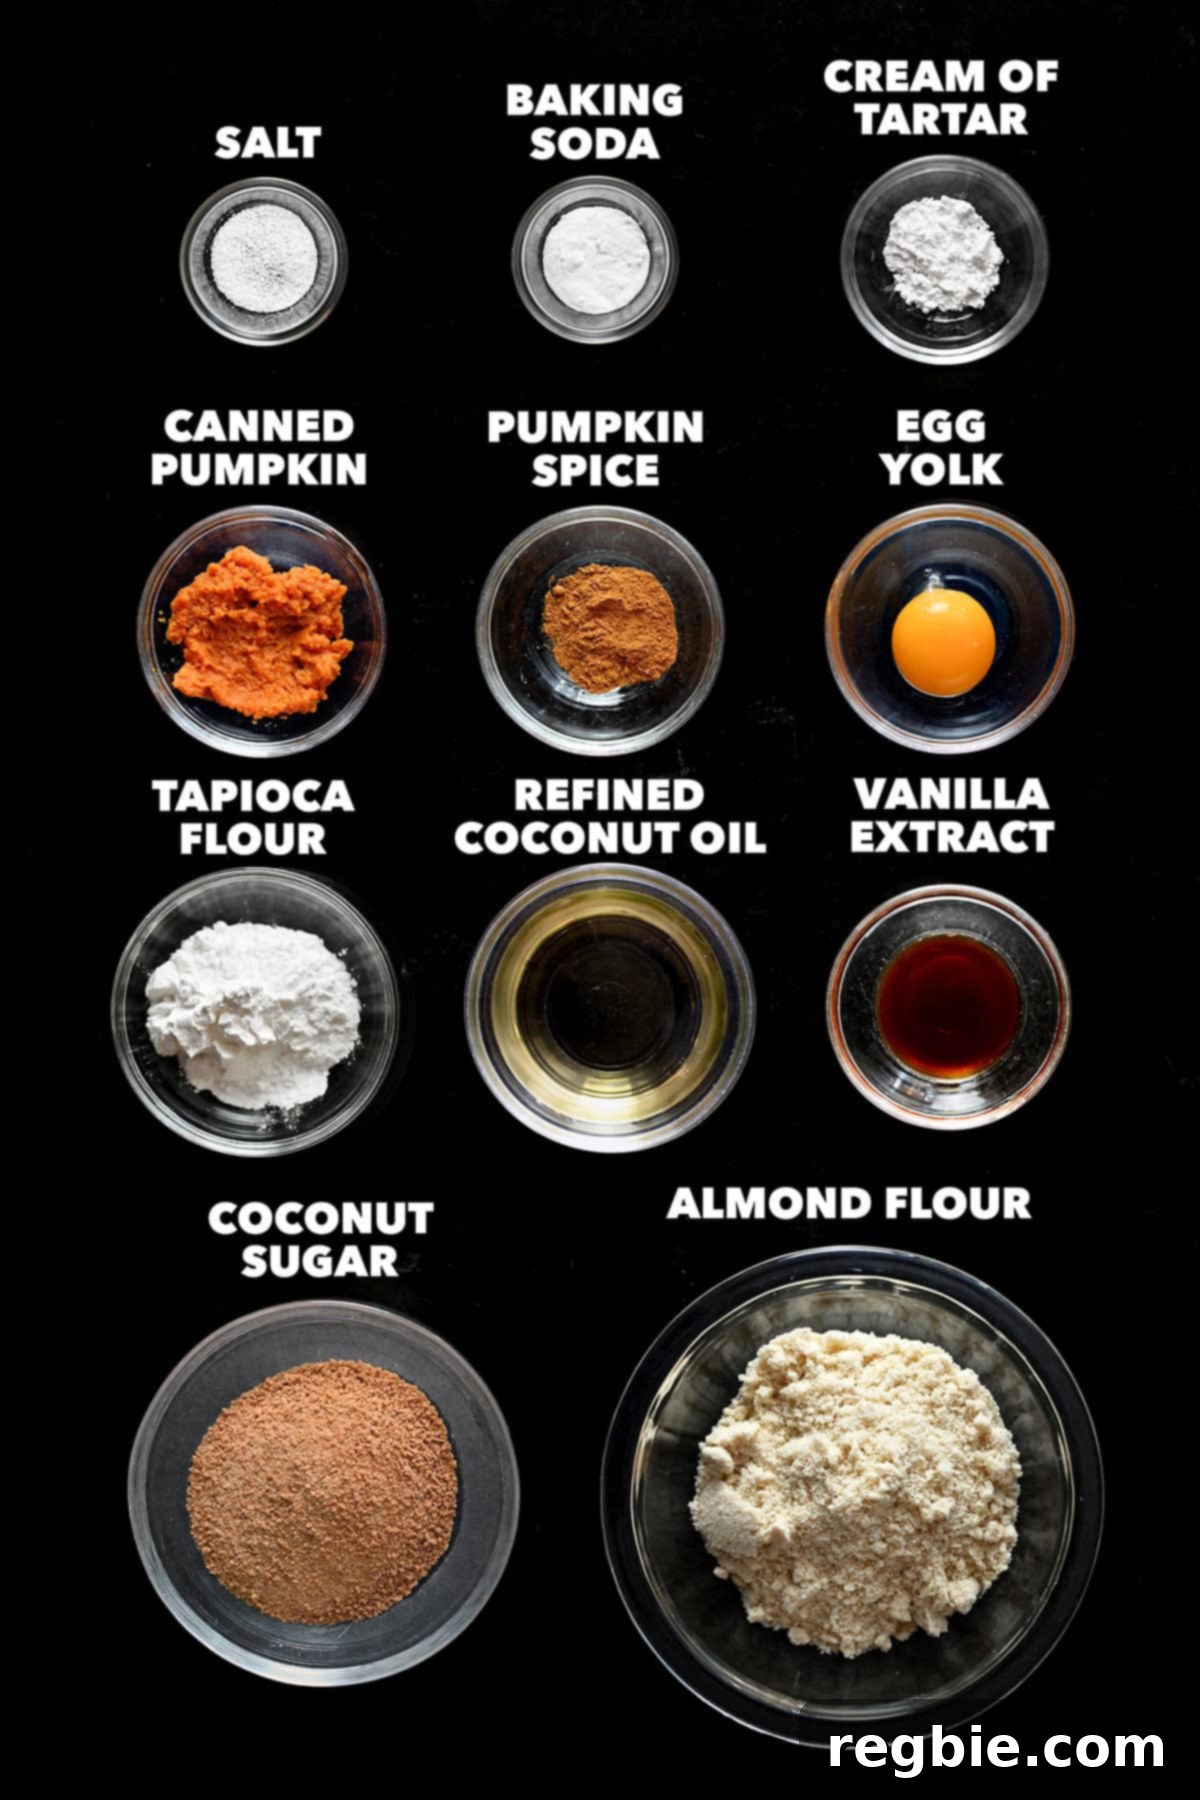
For the Snickerdoodle Dough: Quality Matters
- Almond Flour: This forms the foundational base for our paleo and gluten-free cookie dough. For the most tender and chewy crumb, it’s essential to use finely ground almond flour, not coarse almond meal. This ensures a smooth dough and delicate texture.
- Tapioca Starch (or Arrowroot Starch): To prevent the almond flour-based cookies from becoming too dense, tapioca starch (or its alternative, arrowroot starch) is added. It lightens the texture, contributing to that desirable soft and chewy center.
- Pumpkin Pie Spice: This is where the magic of fall truly comes alive! A good quality pumpkin pie spice blend delivers all the warm, inviting flavors of cinnamon, ginger, nutmeg, and cloves. You can use a store-bought blend or easily mix your own. This spice blend is crucial for imparting a rich pumpkin flavor, even with a conservative amount of pumpkin purée.
- Cream of Tartar: A non-negotiable ingredient for any classic snickerdoodle. Cream of tartar provides a subtle, characteristic tang and, when combined with baking soda, is responsible for the unique chewy texture and those beautiful, crackly tops. Skipping it would essentially transform these into a straightforward pumpkin spice sugar cookie.
- Baking Soda: Working hand-in-hand with cream of tartar, baking soda provides the necessary leavening, ensuring the cookies achieve the perfect lift and spread.
- Kosher Salt: A pinch of kosher salt is vital for balancing the sweetness of the cookies and enhancing all the warm spice flavors, making them truly pop. If you’re not using Diamond Crystal brand, you might need to slightly reduce the amount as saltiness can vary.
- Coconut Sugar: This natural sweetener contributes a lovely caramel-like depth of flavor. For a lighter-colored cookie, opt for blonde coconut sugar. Maple sugar can also be used as a suitable alternative.
- Refined Coconut Oil: Essential for keeping these cookies dairy-free and paleo, refined coconut oil is preferred because it’s flavorless, unlike unrefined coconut oil. Ensure it’s melted into a liquid form, but allow it to cool to room temperature before incorporating it into the wet ingredients.
- Pumpkin Purée: A little goes a long way here! Too much pumpkin purée will result in cakey cookies, which we are actively avoiding. I highly recommend using a thick, consistent brand like Libby’s 100% Pure Pumpkin. If your purée appears watery, gently blot it with a paper towel to remove excess moisture.
- Vanilla Extract: A splash of vanilla extract rounds out and enhances all the other flavors, adding a comforting aroma and taste.
- Egg Yolk: This is a key secret weapon! Using only the egg yolk (and discarding the white) adds richness and contributes to that desirable chewiness without introducing excessive moisture. This helps maintain the chewy texture rather than creating a puffy, cake-like cookie.
For the Signature Spiced Sugar Coating
- Coconut Sugar: Provides the crunchy, sweet base for the exterior coating.
- Pumpkin Pie Spice: Mixed with coconut sugar, this creates the iconic crackly crust and delivers an extra punch of cozy, autumnal flavor that makes snickerdoodles so irresistible.
Step-by-Step Guide: How to Bake Your Pumpkin Snickerdoodles
Follow these detailed steps to create perfectly baked paleo and gluten-free pumpkin snickerdoodles:
1. Prepare Your Dry Ingredients
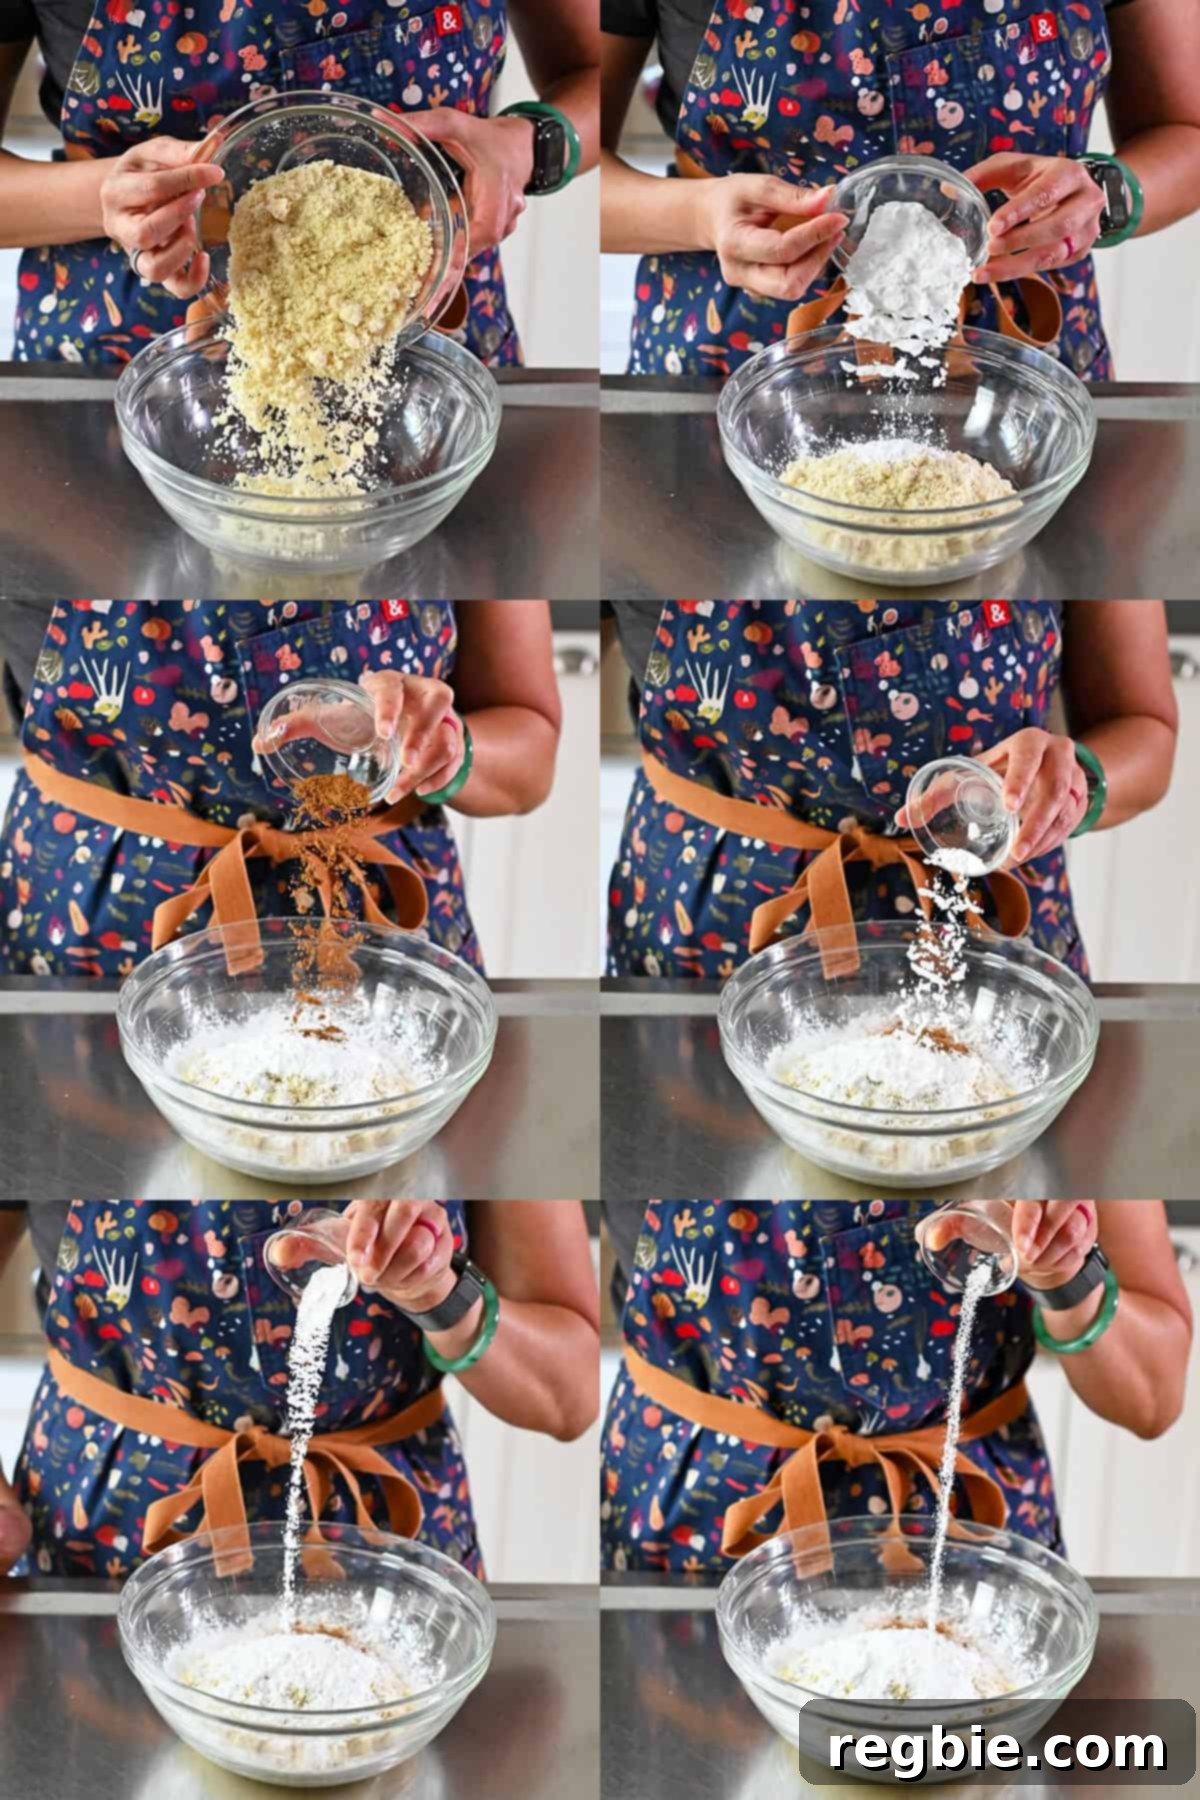
In a medium-sized mixing bowl, combine all your dry ingredients: the finely ground almond flour, tapioca starch, pumpkin pie spice, cream of tartar, baking soda, and kosher salt. It’s important to get these thoroughly mixed.
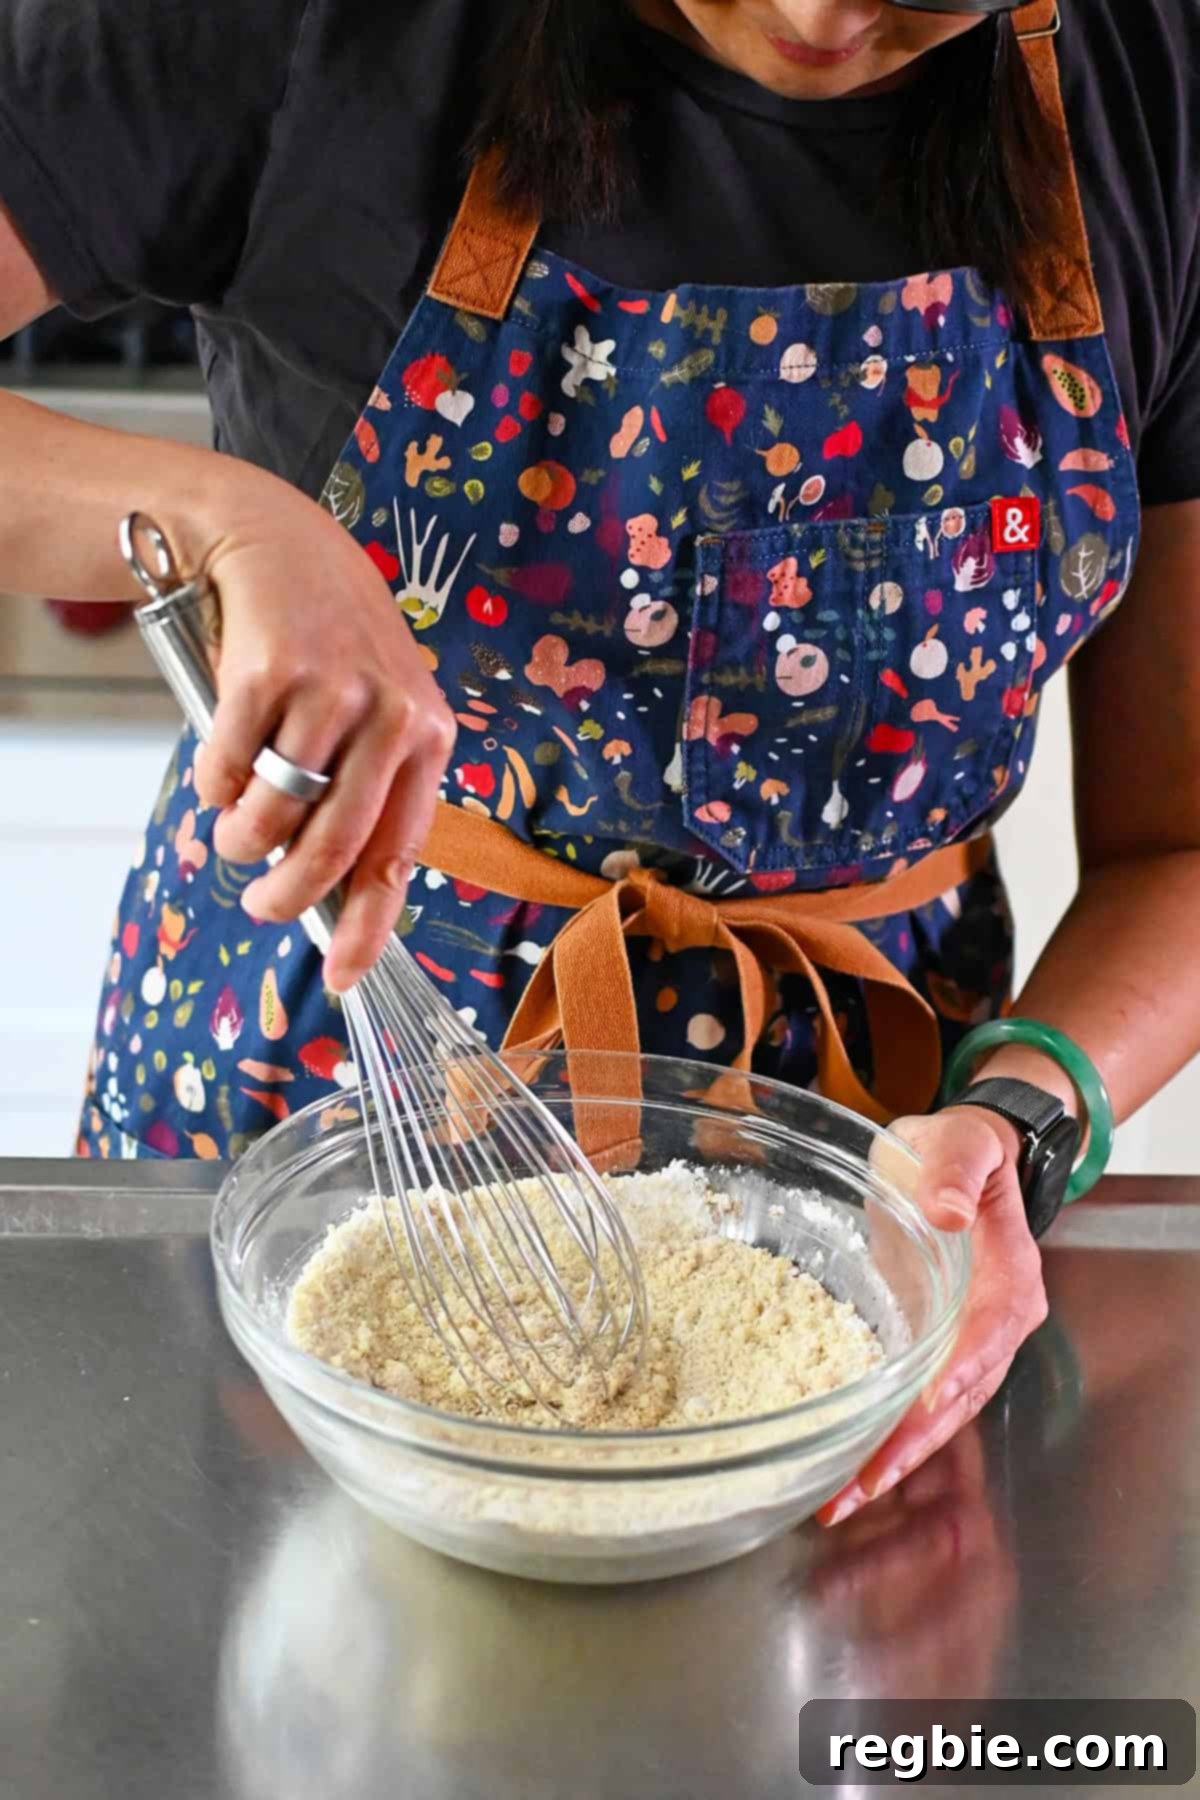
Using a whisk, gently mix these ingredients until they are completely uniform and no lumps remain. This ensures even distribution of flavors and leavening agents throughout your cookies.
2. Cream the Wet Ingredients
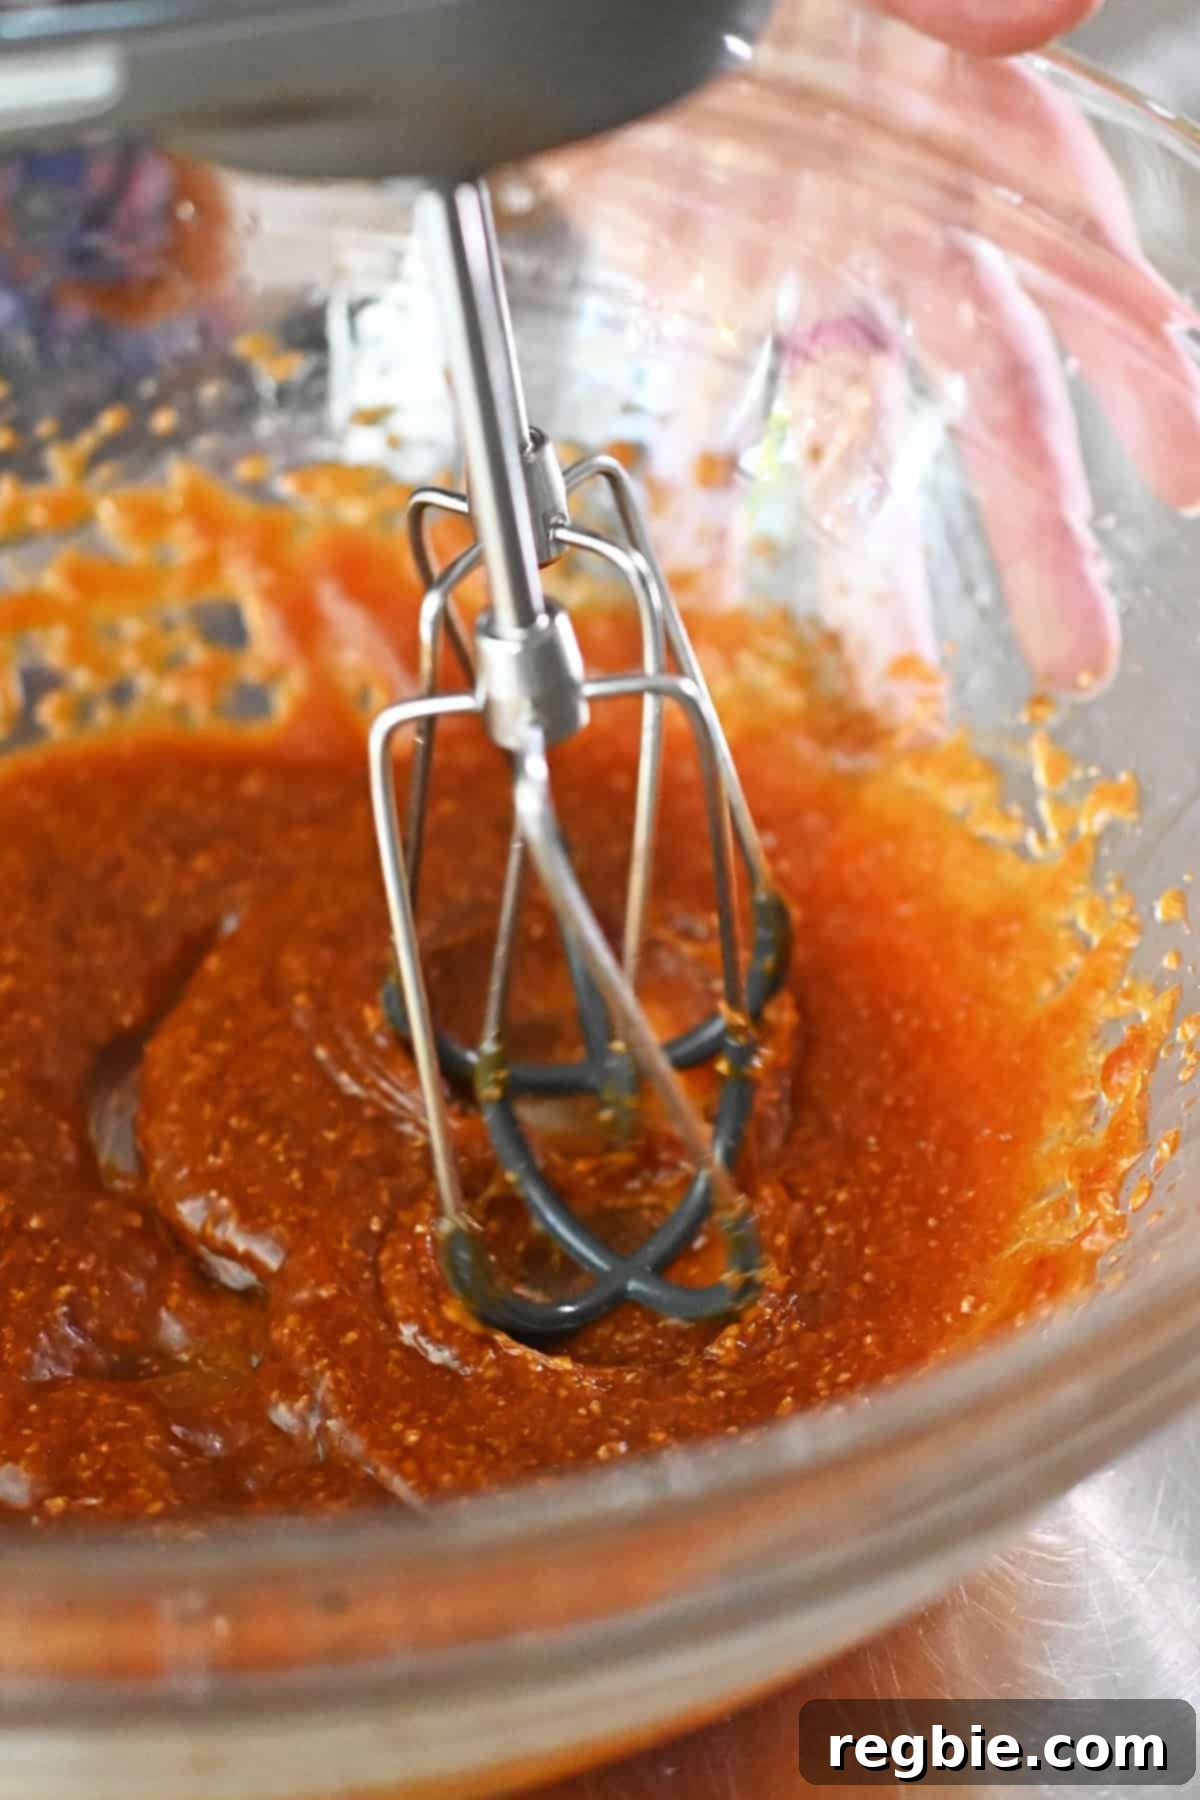
In a separate, larger bowl, add the coconut sugar, melted (and cooled to room temperature) refined coconut oil, pumpkin purée, and vanilla extract. These form the flavorful, moist base of your dough.
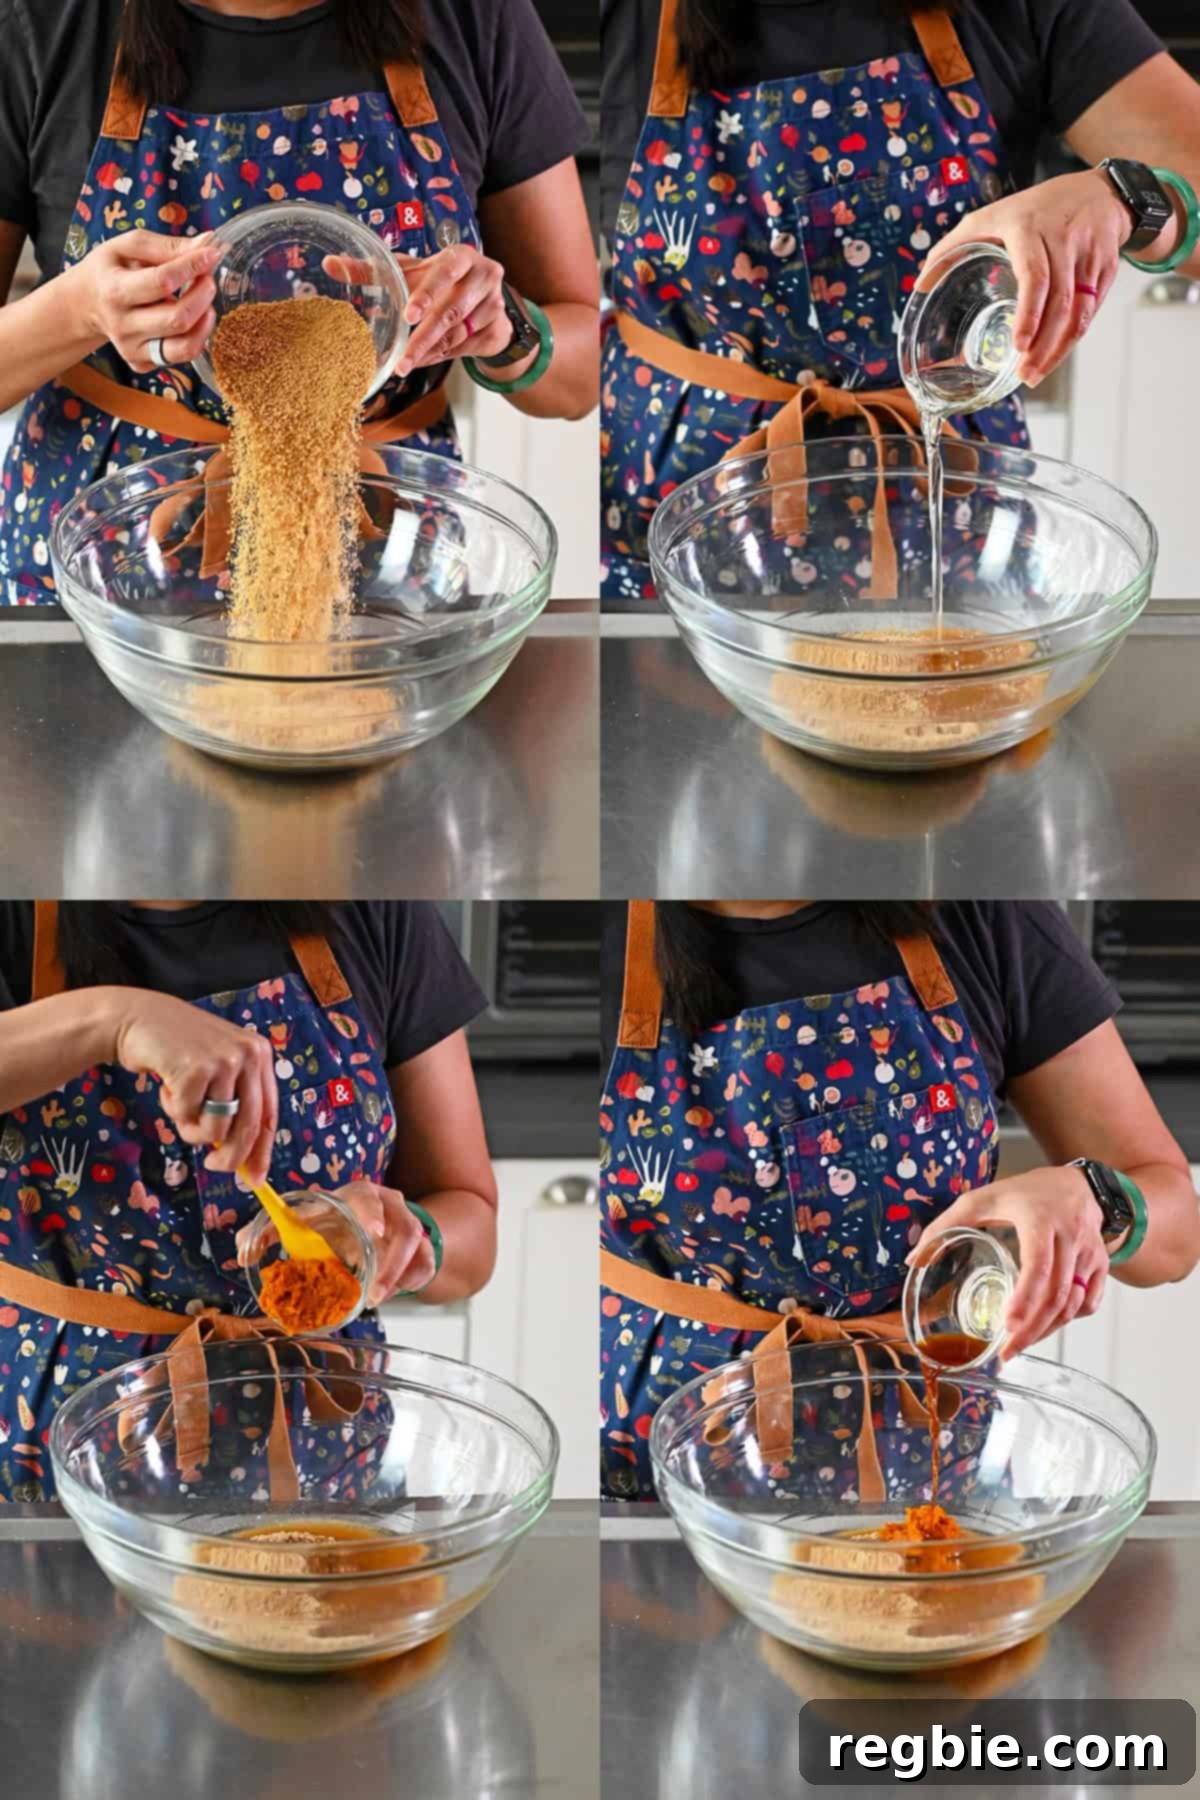
Using an electric hand mixer, beat these wet ingredients together on medium to medium-high speed until the mixture is smooth and well combined. This step ensures the sugar dissolves properly and creates a consistent base.
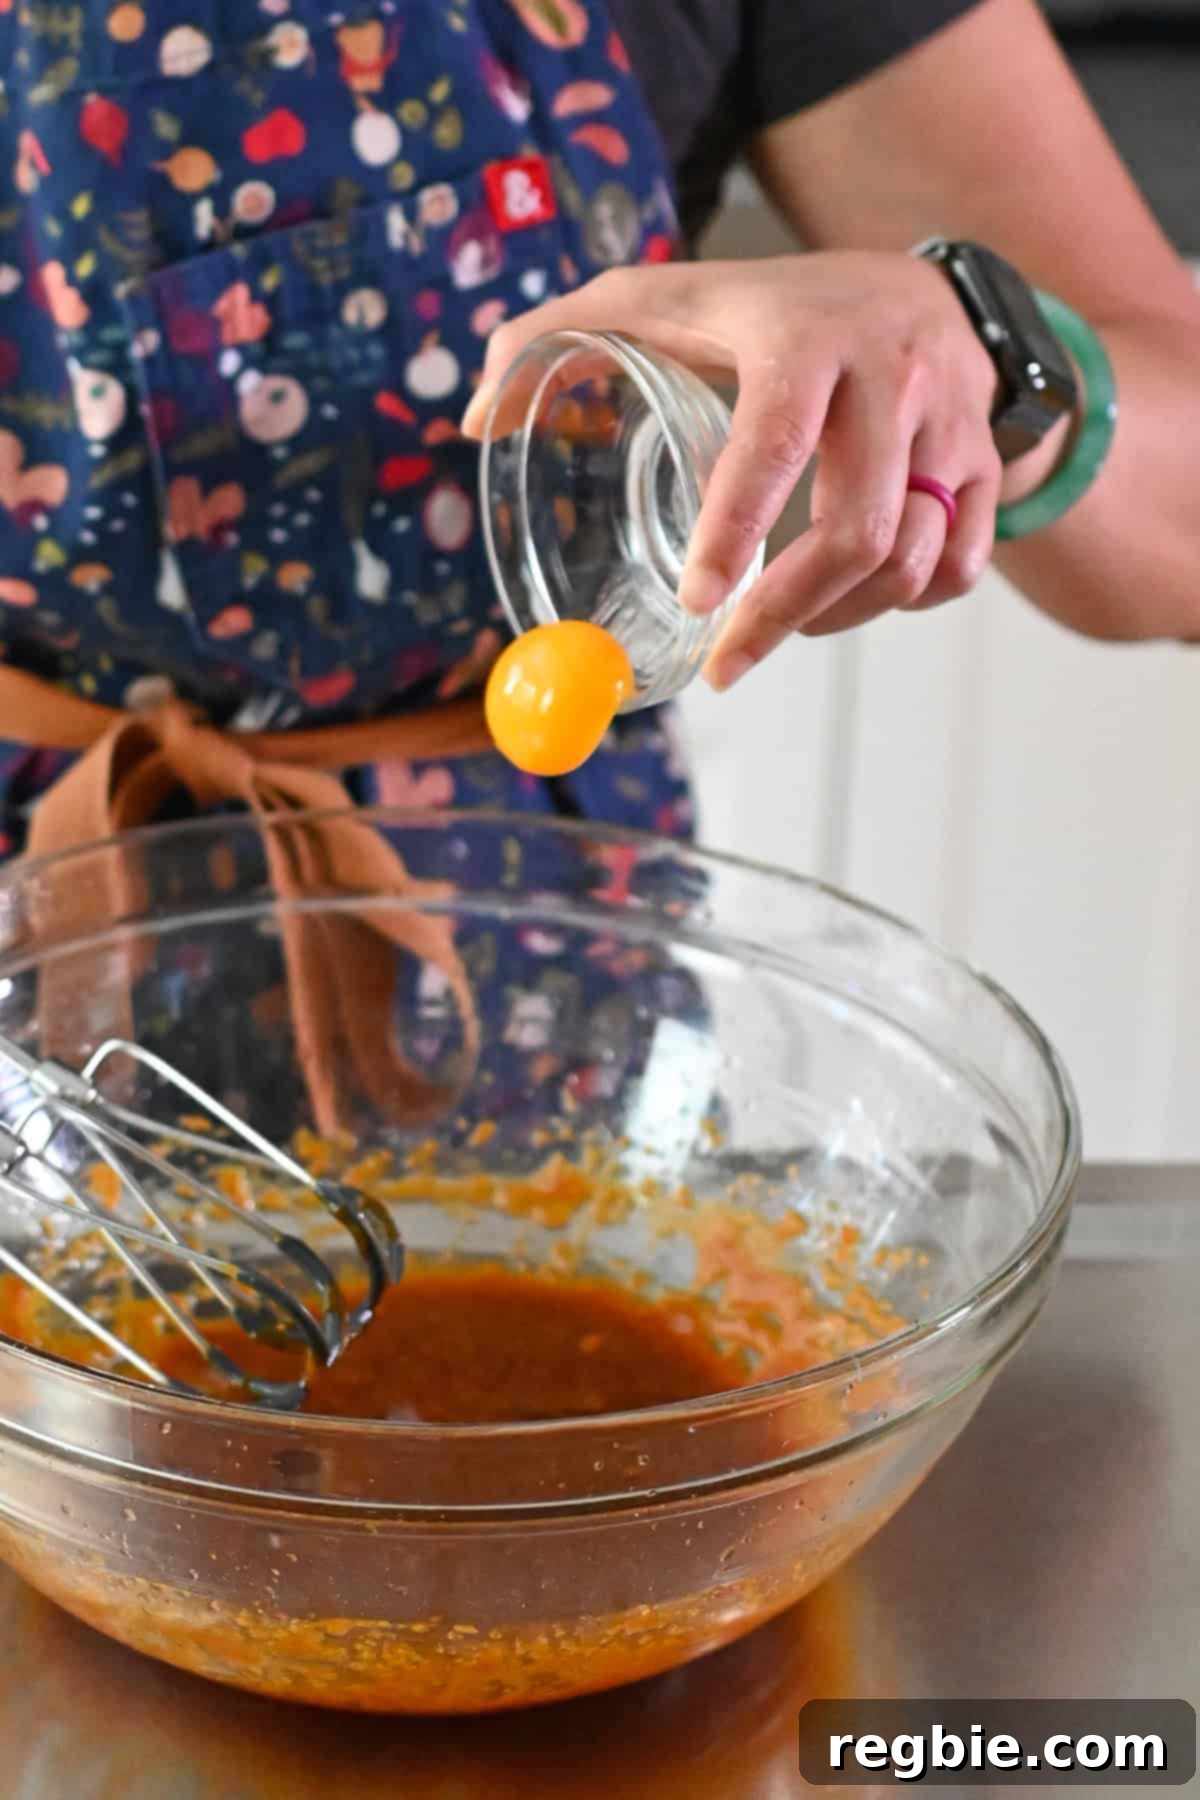
Now, carefully add the single large egg yolk to the mixture. Remember, using just the yolk is key to maintaining a chewy, non-cakey texture.
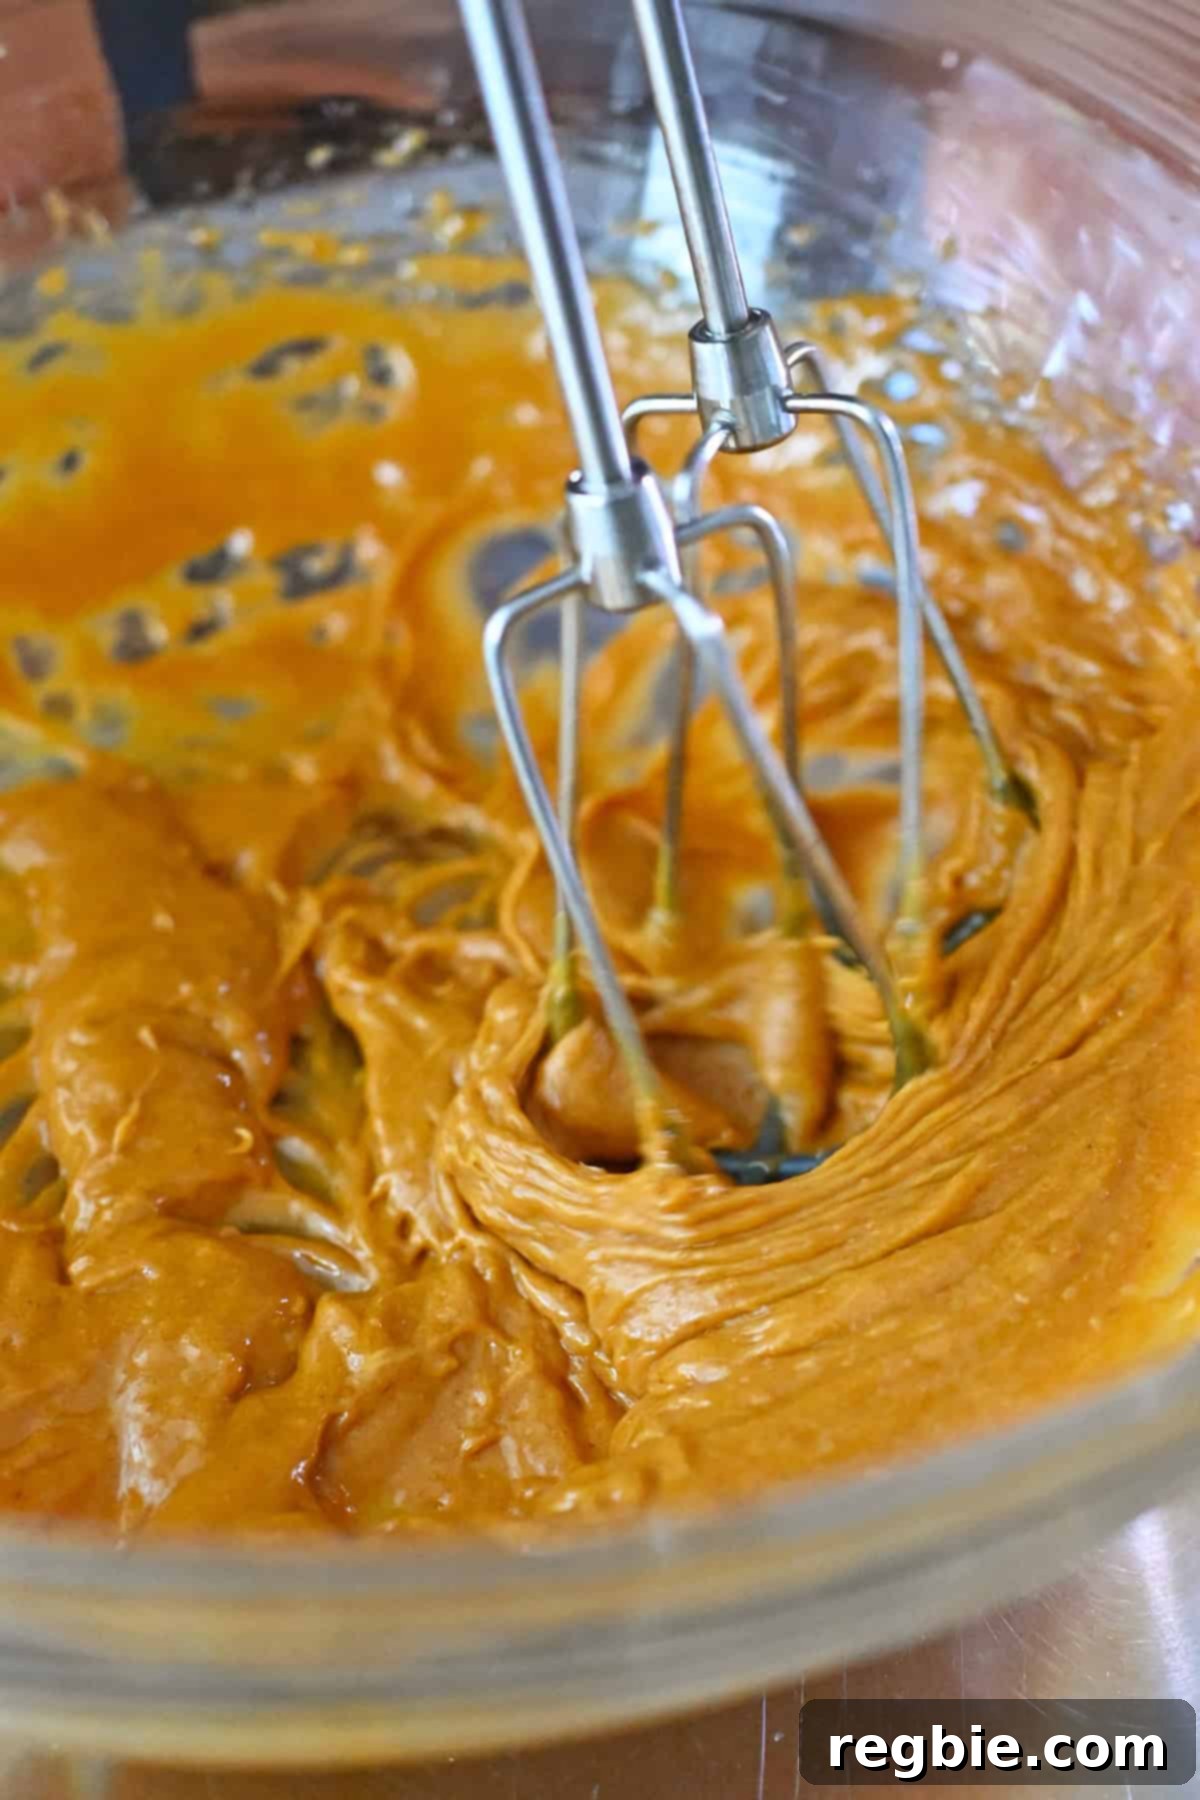
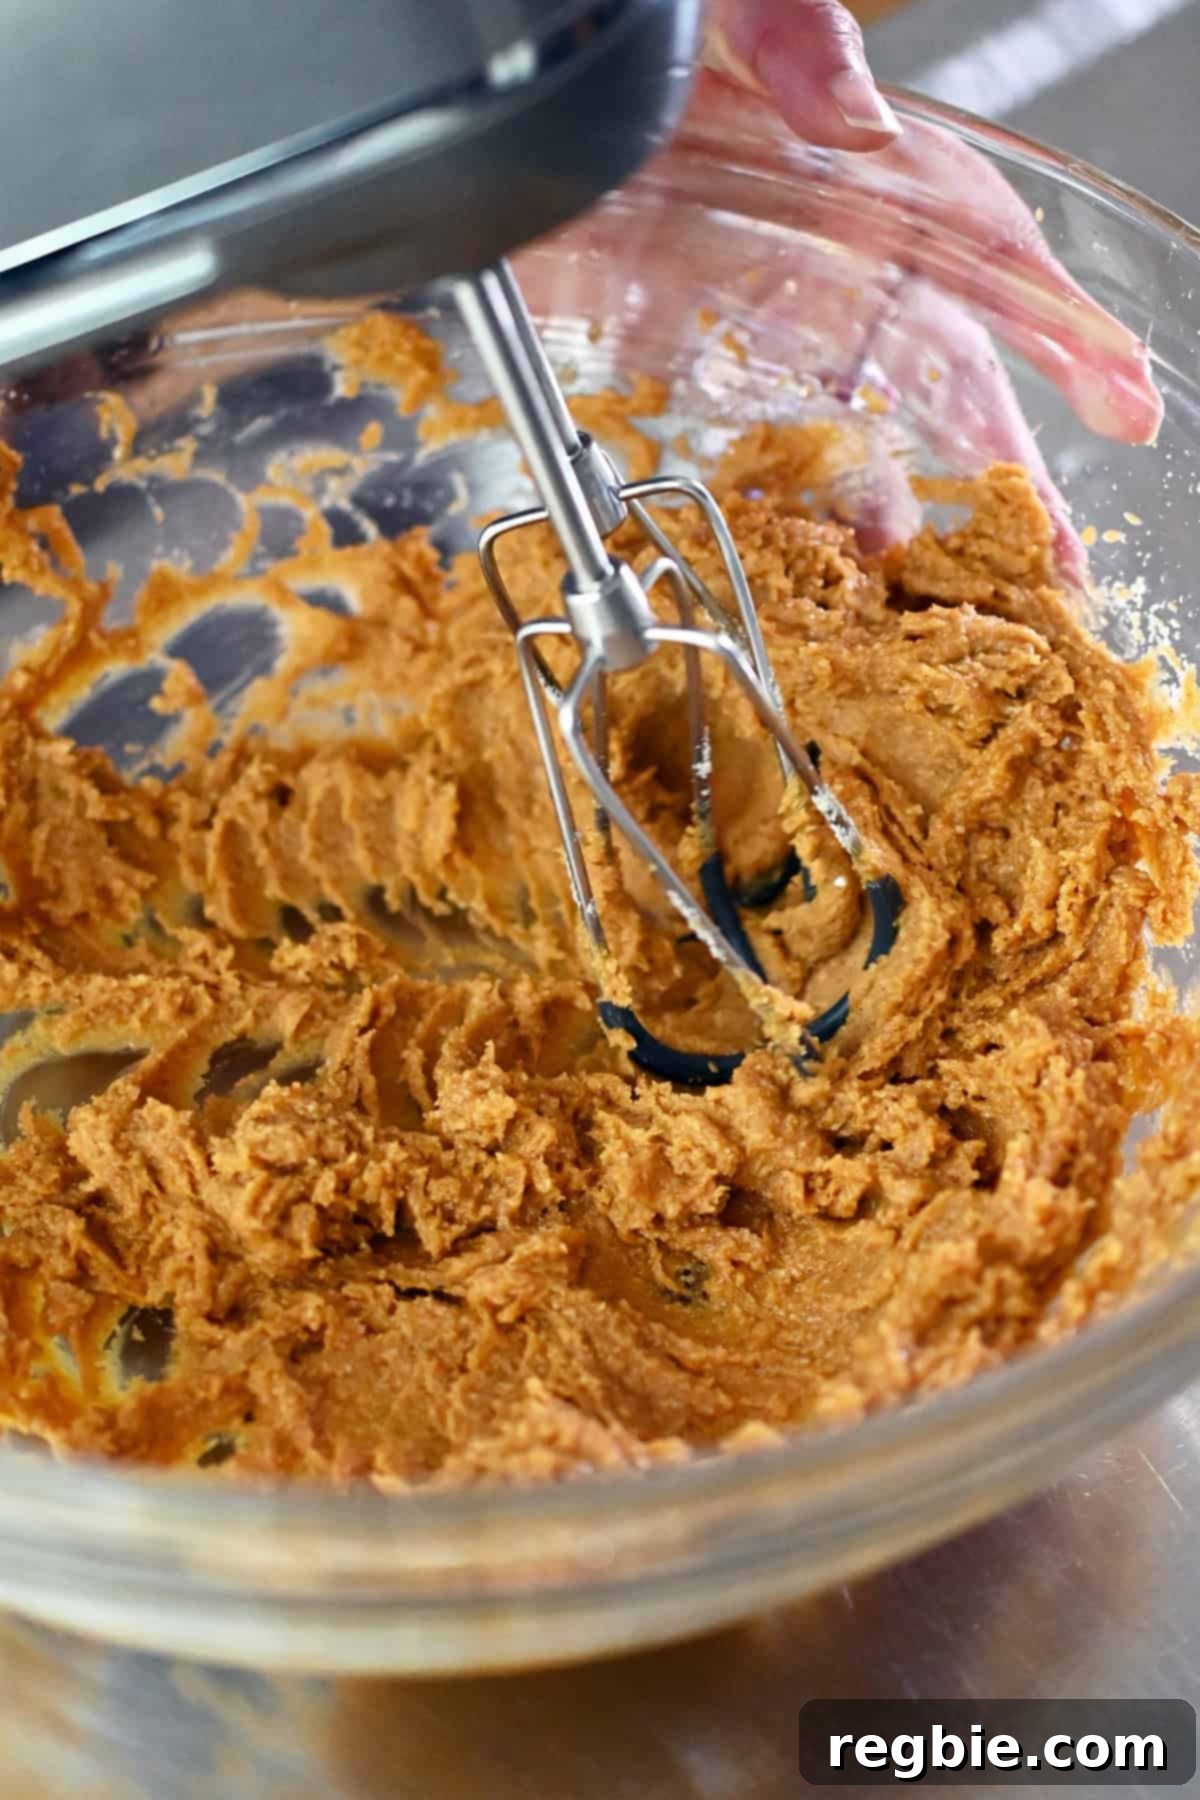
Continue beating the mixture on medium-high speed for about 2 minutes. You’ll notice the batter transforming into a luscious, ribbony, and thick consistency, becoming noticeably lighter in color. This aeration step is important for the final cookie texture.
3. Combine and Form the Dough
Gently add the previously whisked dry ingredient mixture into the bowl containing your wet ingredients. It’s important to combine them carefully.
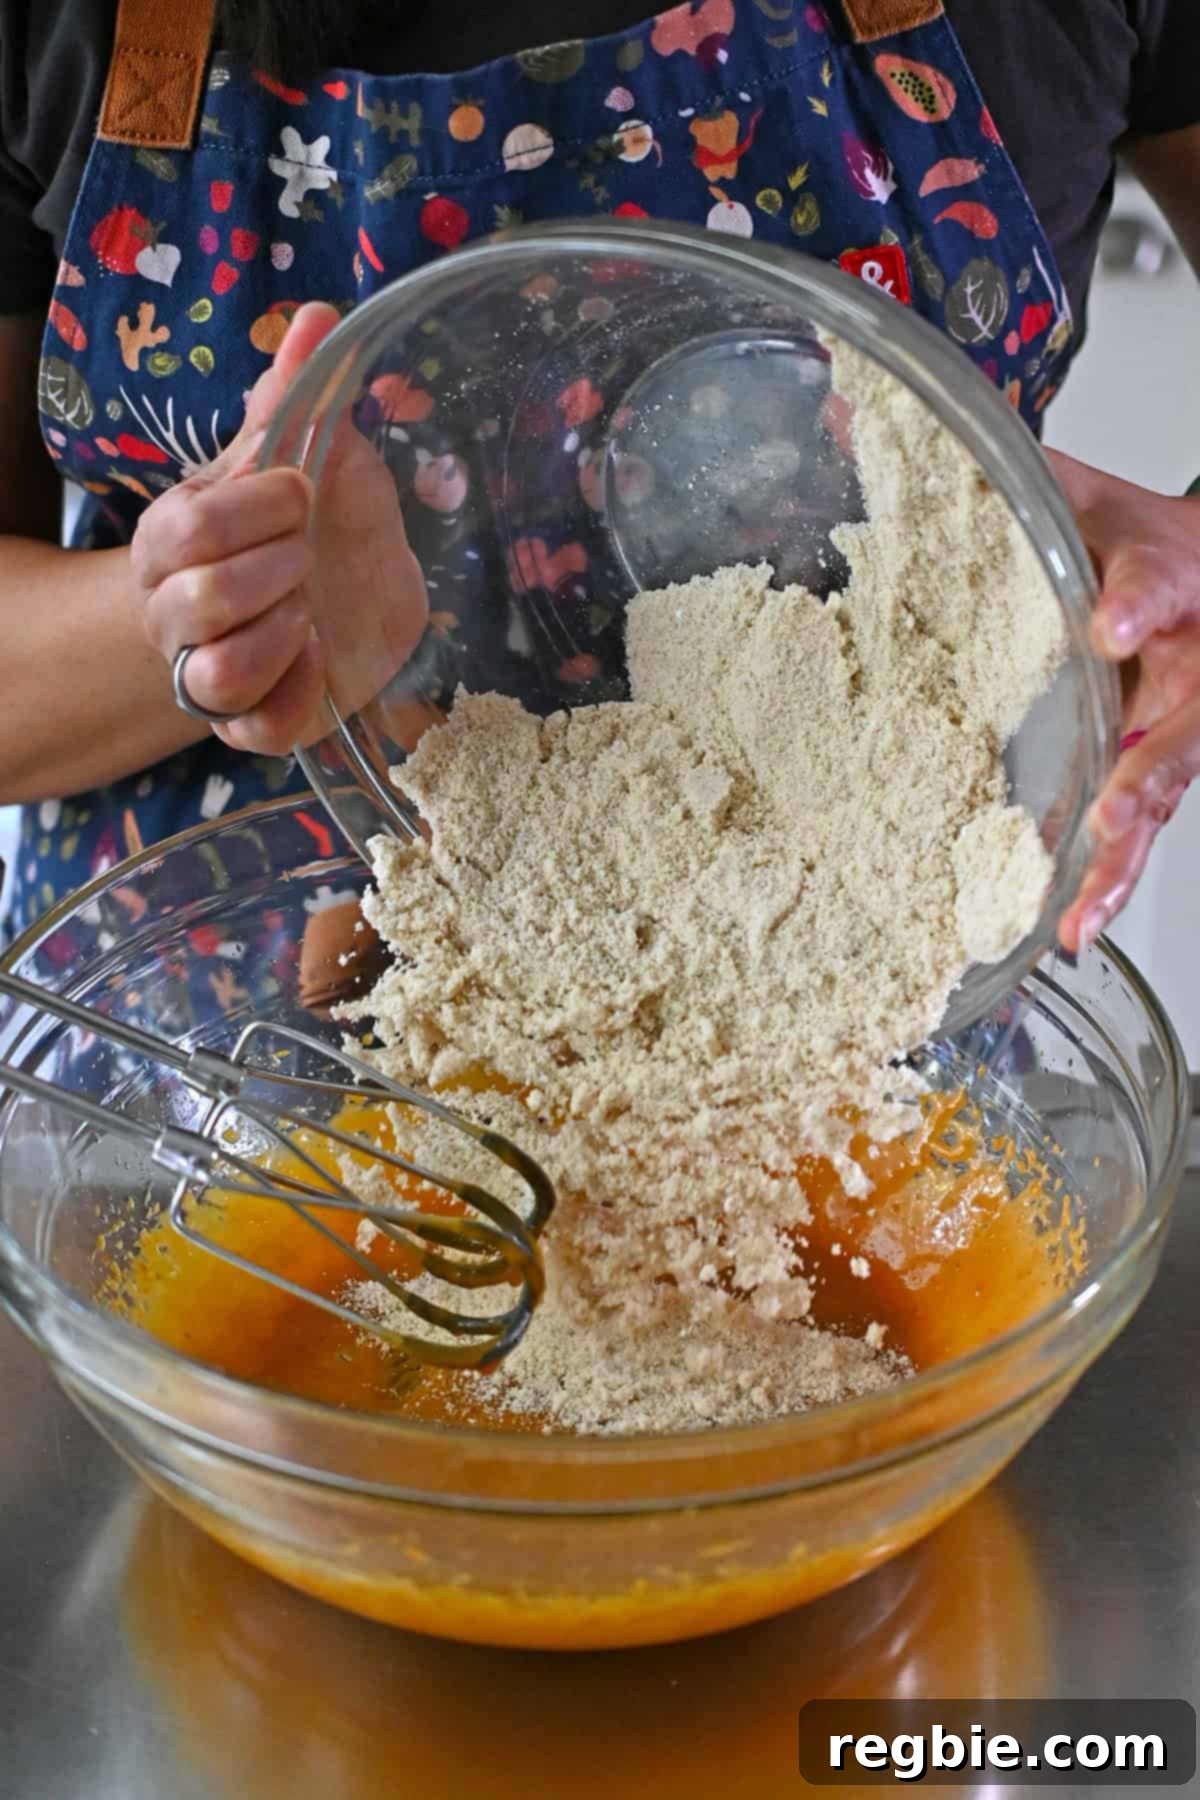
Mix the cookie dough on low speed with your electric mixer, just until the ingredients are combined and no dry streaks remain. Be careful not to overmix. The resulting dough will be soft but cohesive, ready for its crucial chilling period.
4. Chill the Dough for Optimal Texture
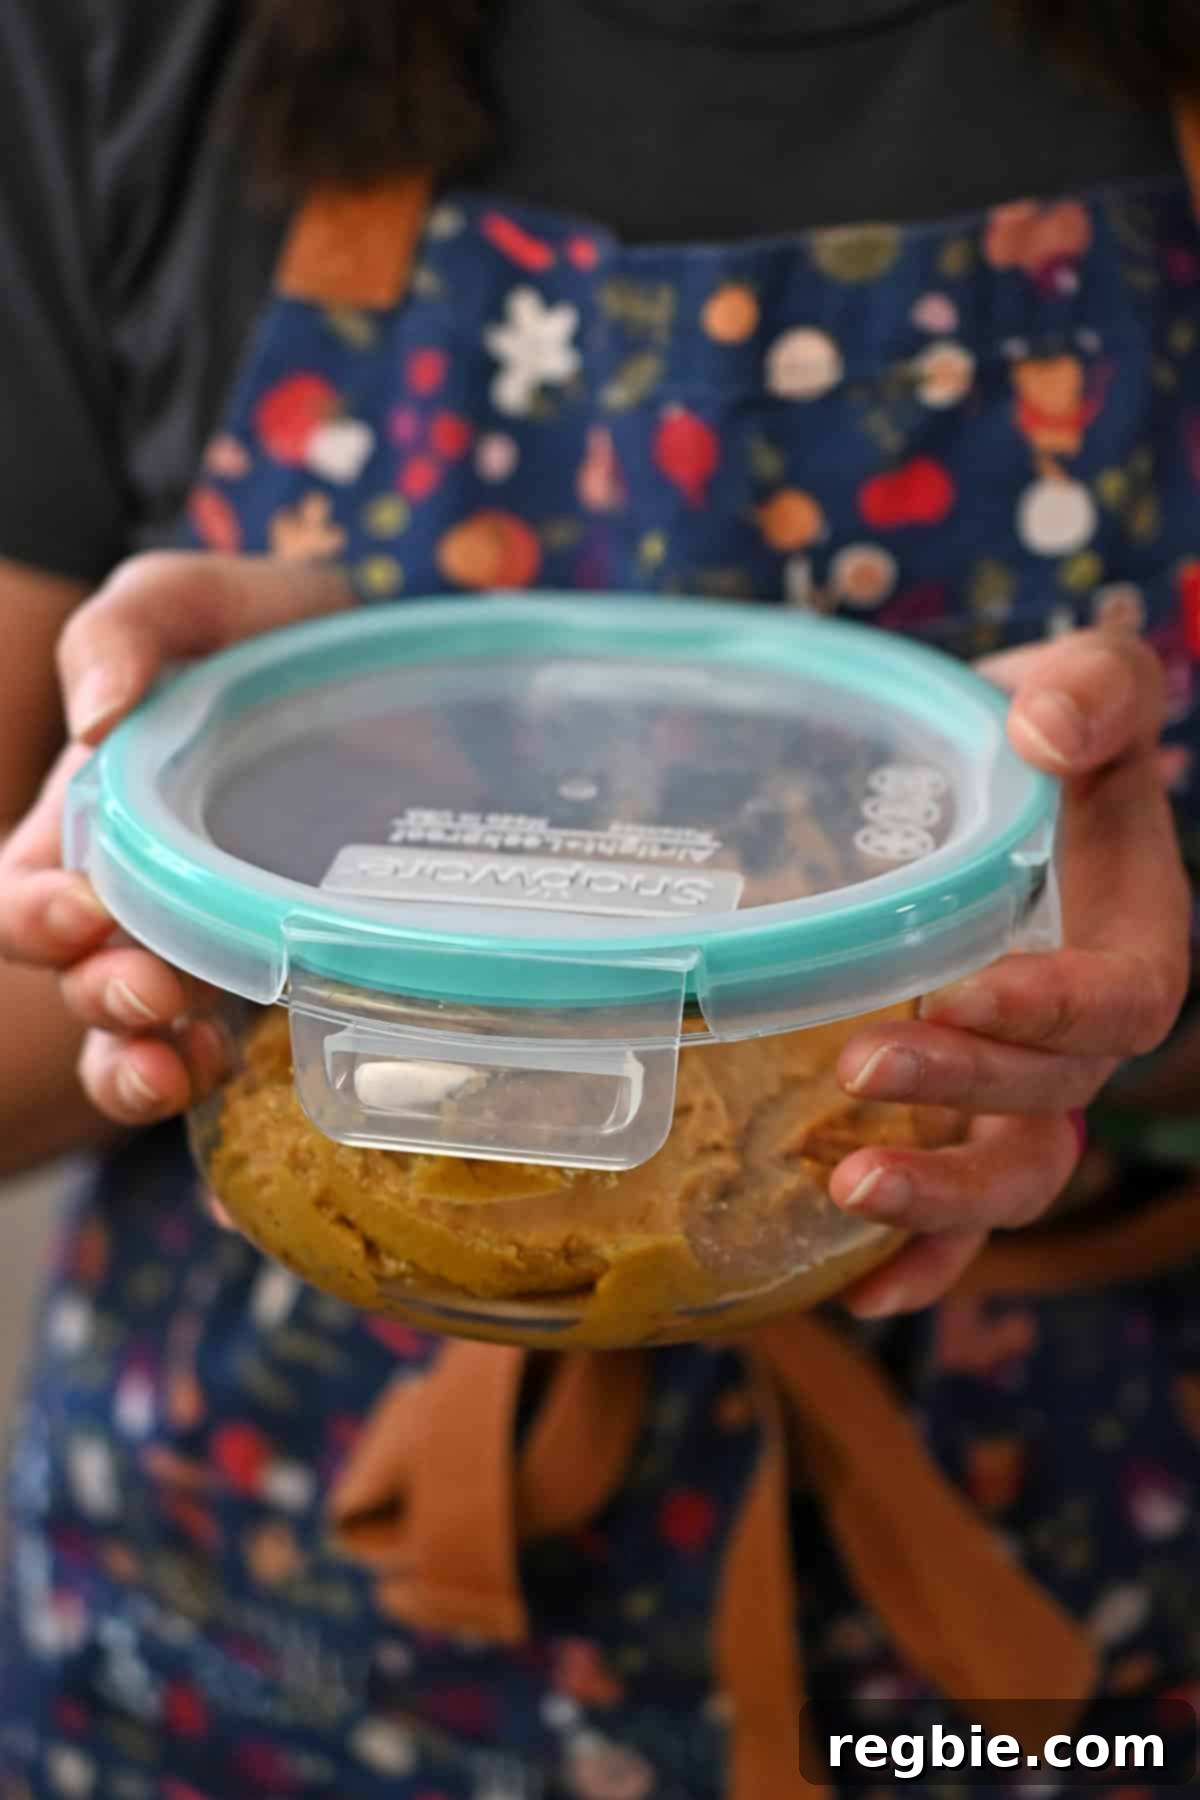
Once your dough is mixed, cover the bowl tightly and refrigerate it for a minimum of 2 hours. For best results and even easier handling, chilling the dough overnight is highly recommended. This step is absolutely essential for perfect snickerdoodles. Cold, firm dough is critical because it prevents the cookies from spreading too much in the oven, ensuring they maintain their ideal thickness and chewiness. Do not skip this!
5. Prepare for Baking
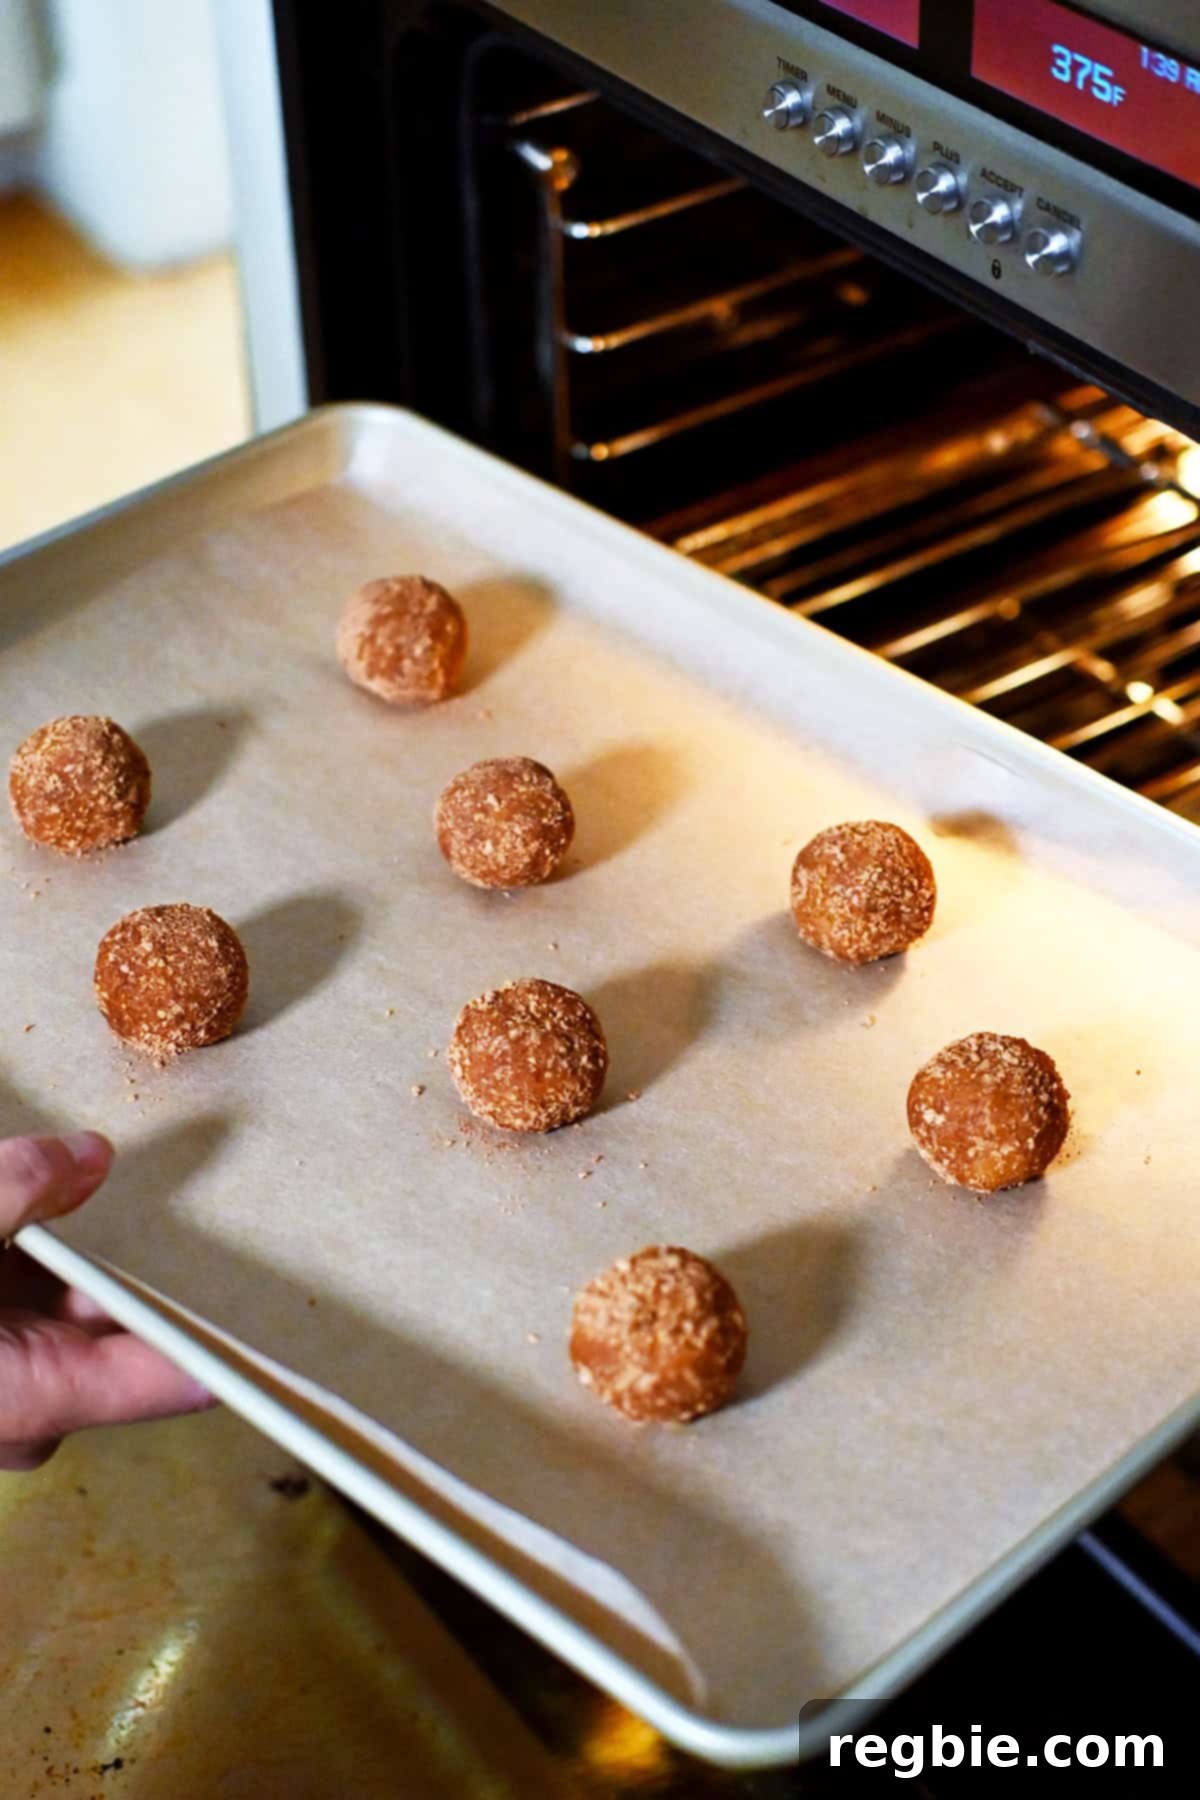
When you’re ready to bake, preheat your oven to 375°F (190°C). Position an oven rack in the middle for even baking. Line two large rimmed baking sheets with parchment paper. This prevents sticking and makes for easy cleanup.
6. Coat and Shape the Cookies
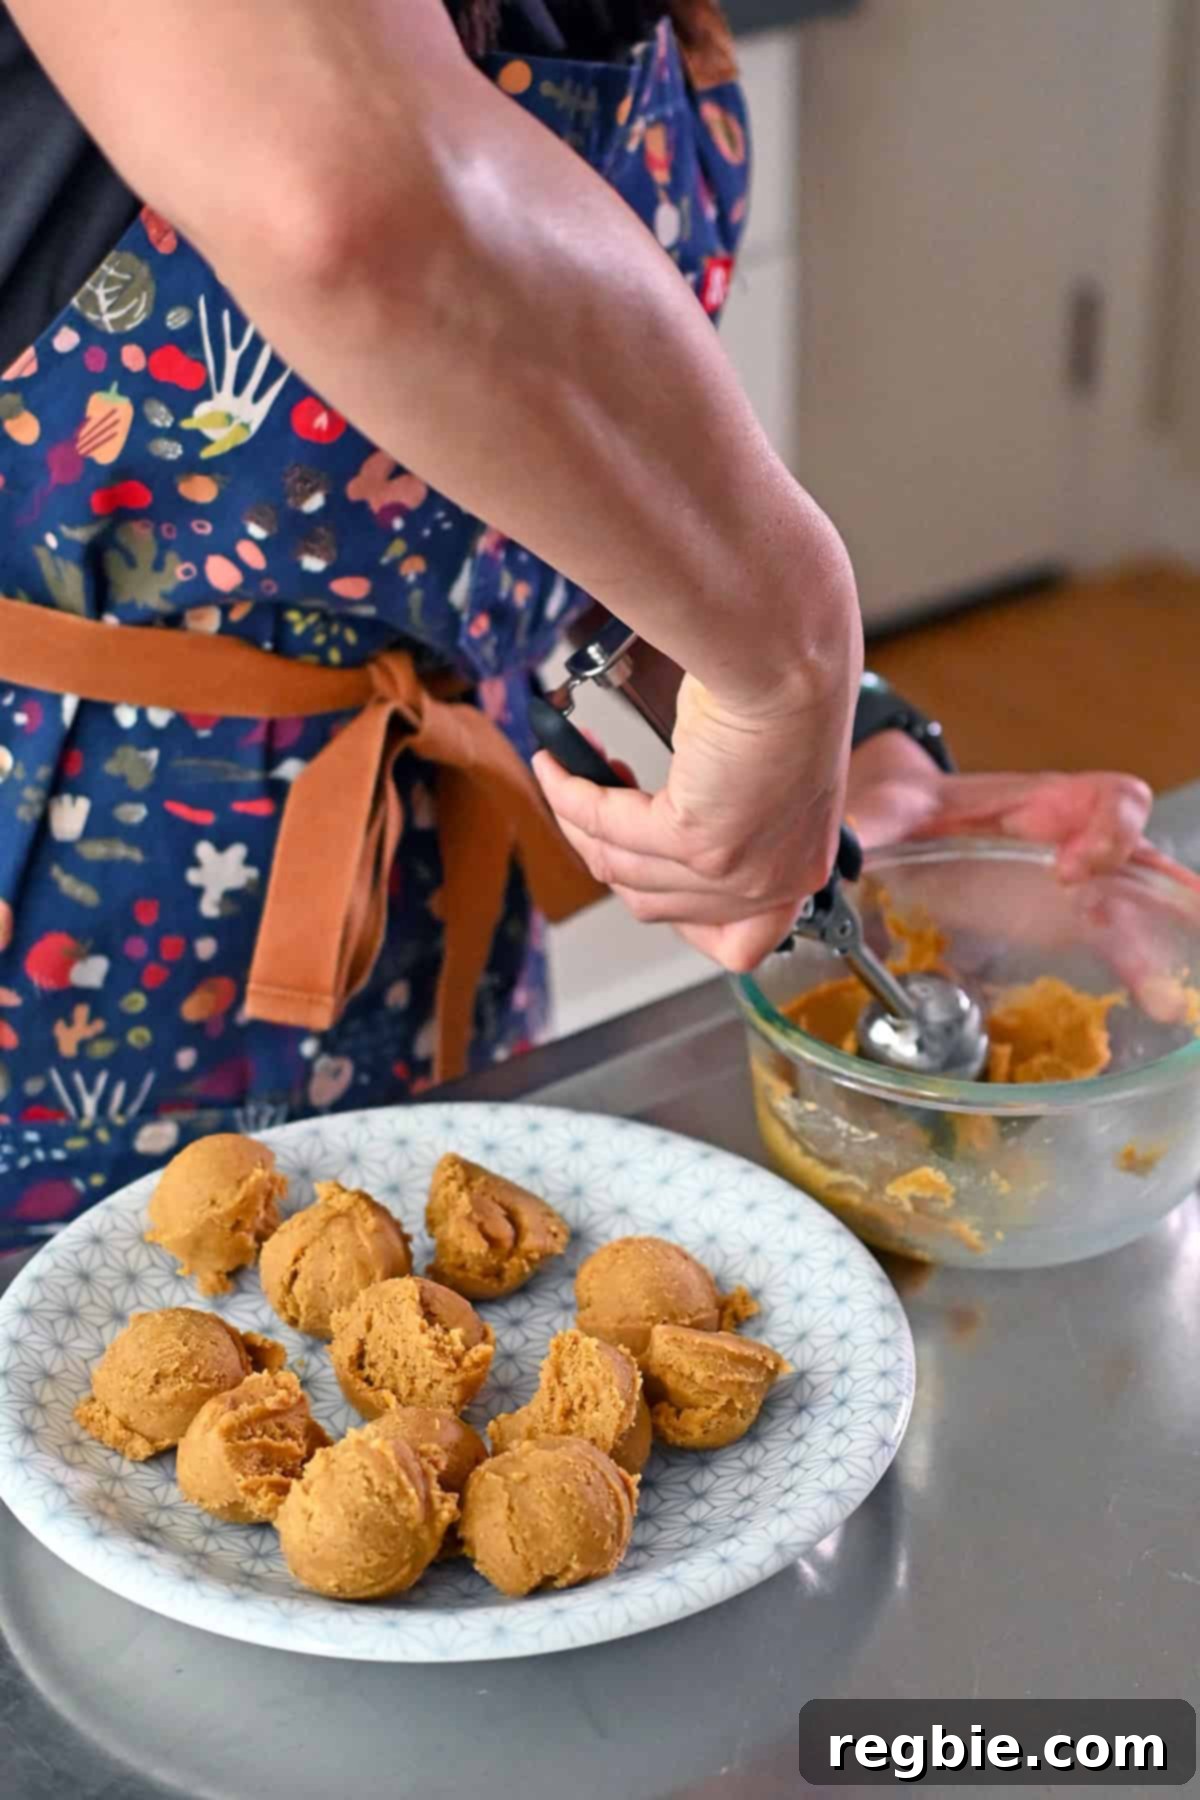
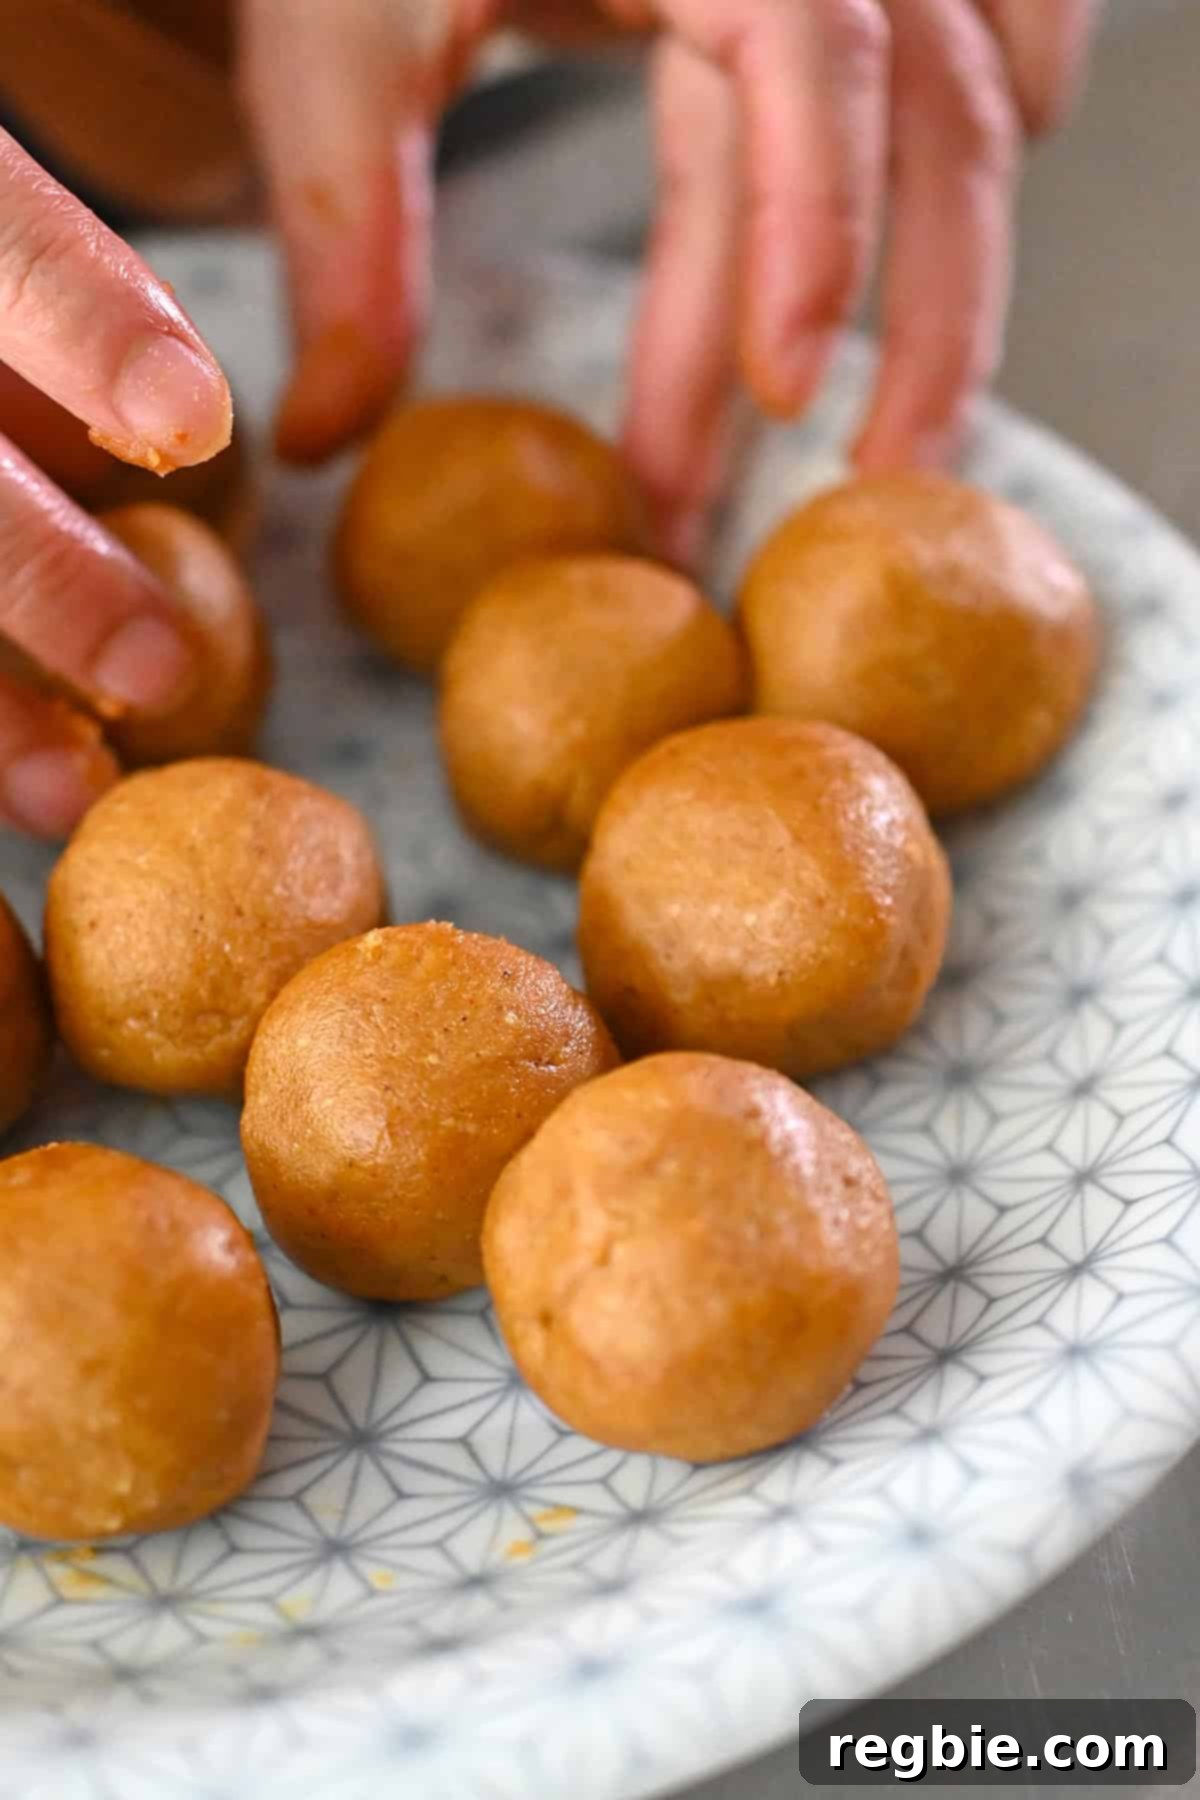
Once the dough is thoroughly chilled and firm, use a medium cookie scoop (approximately 1¼ tablespoons capacity) to divide the dough into 16 equal portions. This ensures uniform cookie size and baking.
Next, use your hands to gently roll each portioned cookie dough into smooth, round balls. This step helps create that classic snickerdoodle shape and allows the spiced sugar coating to adhere perfectly.
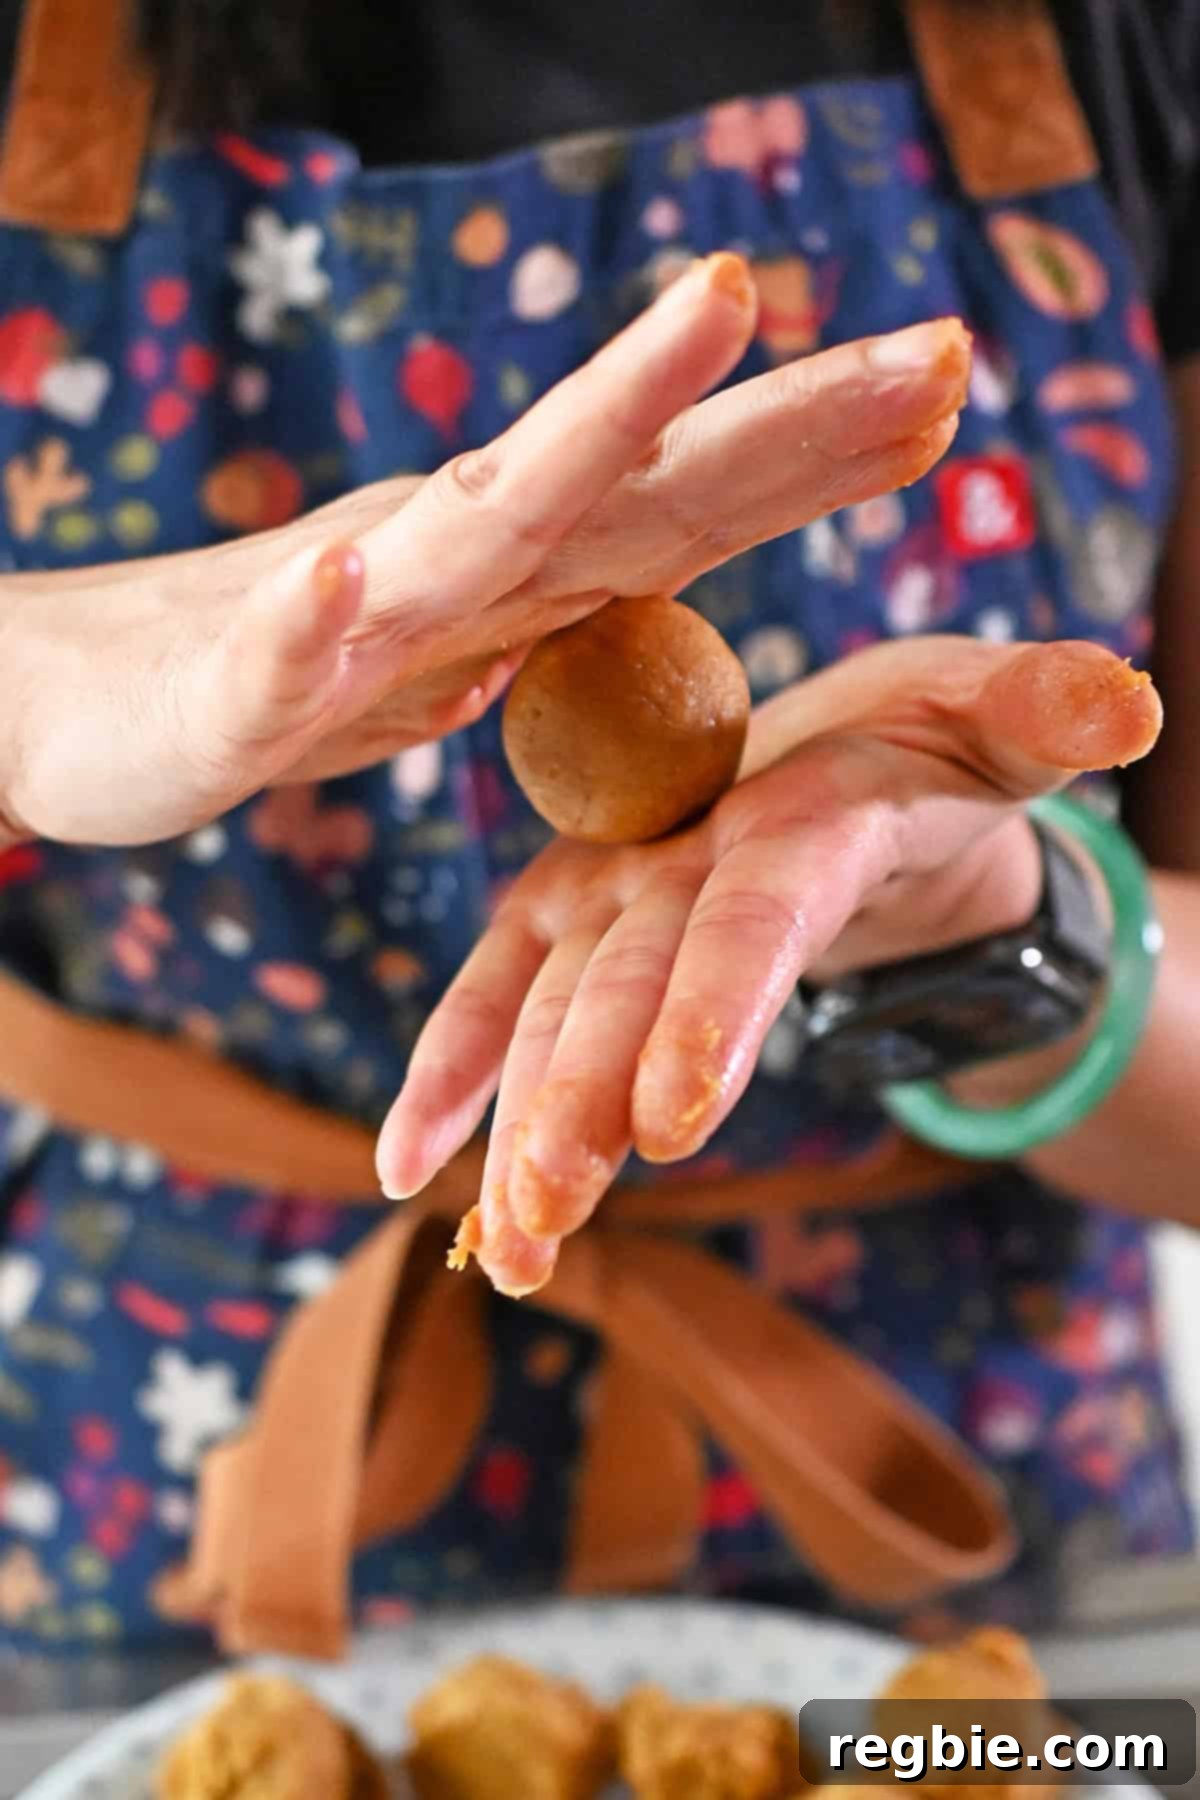
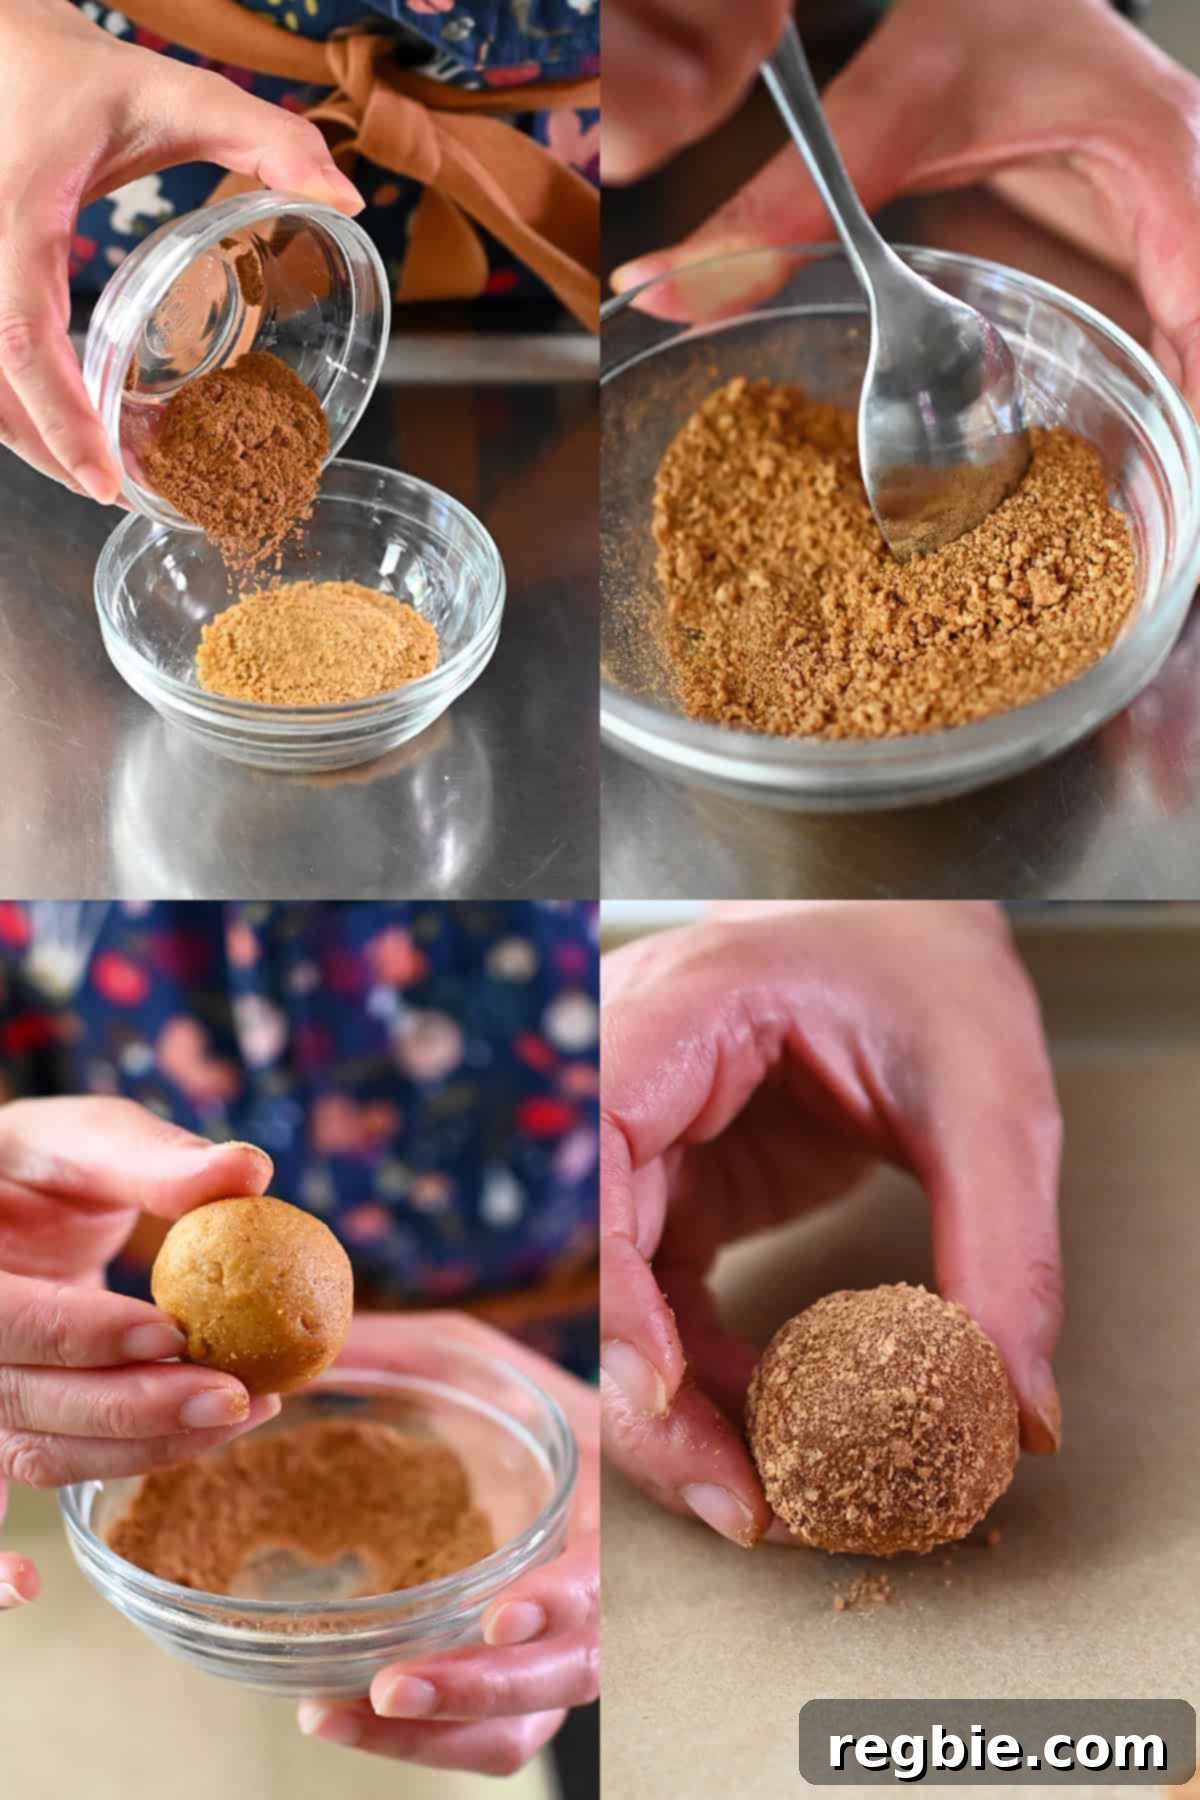
In a small, shallow bowl, stir together the remaining coconut sugar and pumpkin pie spice for the coating. Generously roll each cookie dough ball in this spiced sugar mixture, ensuring it’s completely coated. This creates the iconic crackly crust.
7. Bake to Golden Perfection (One Tray at a Time)
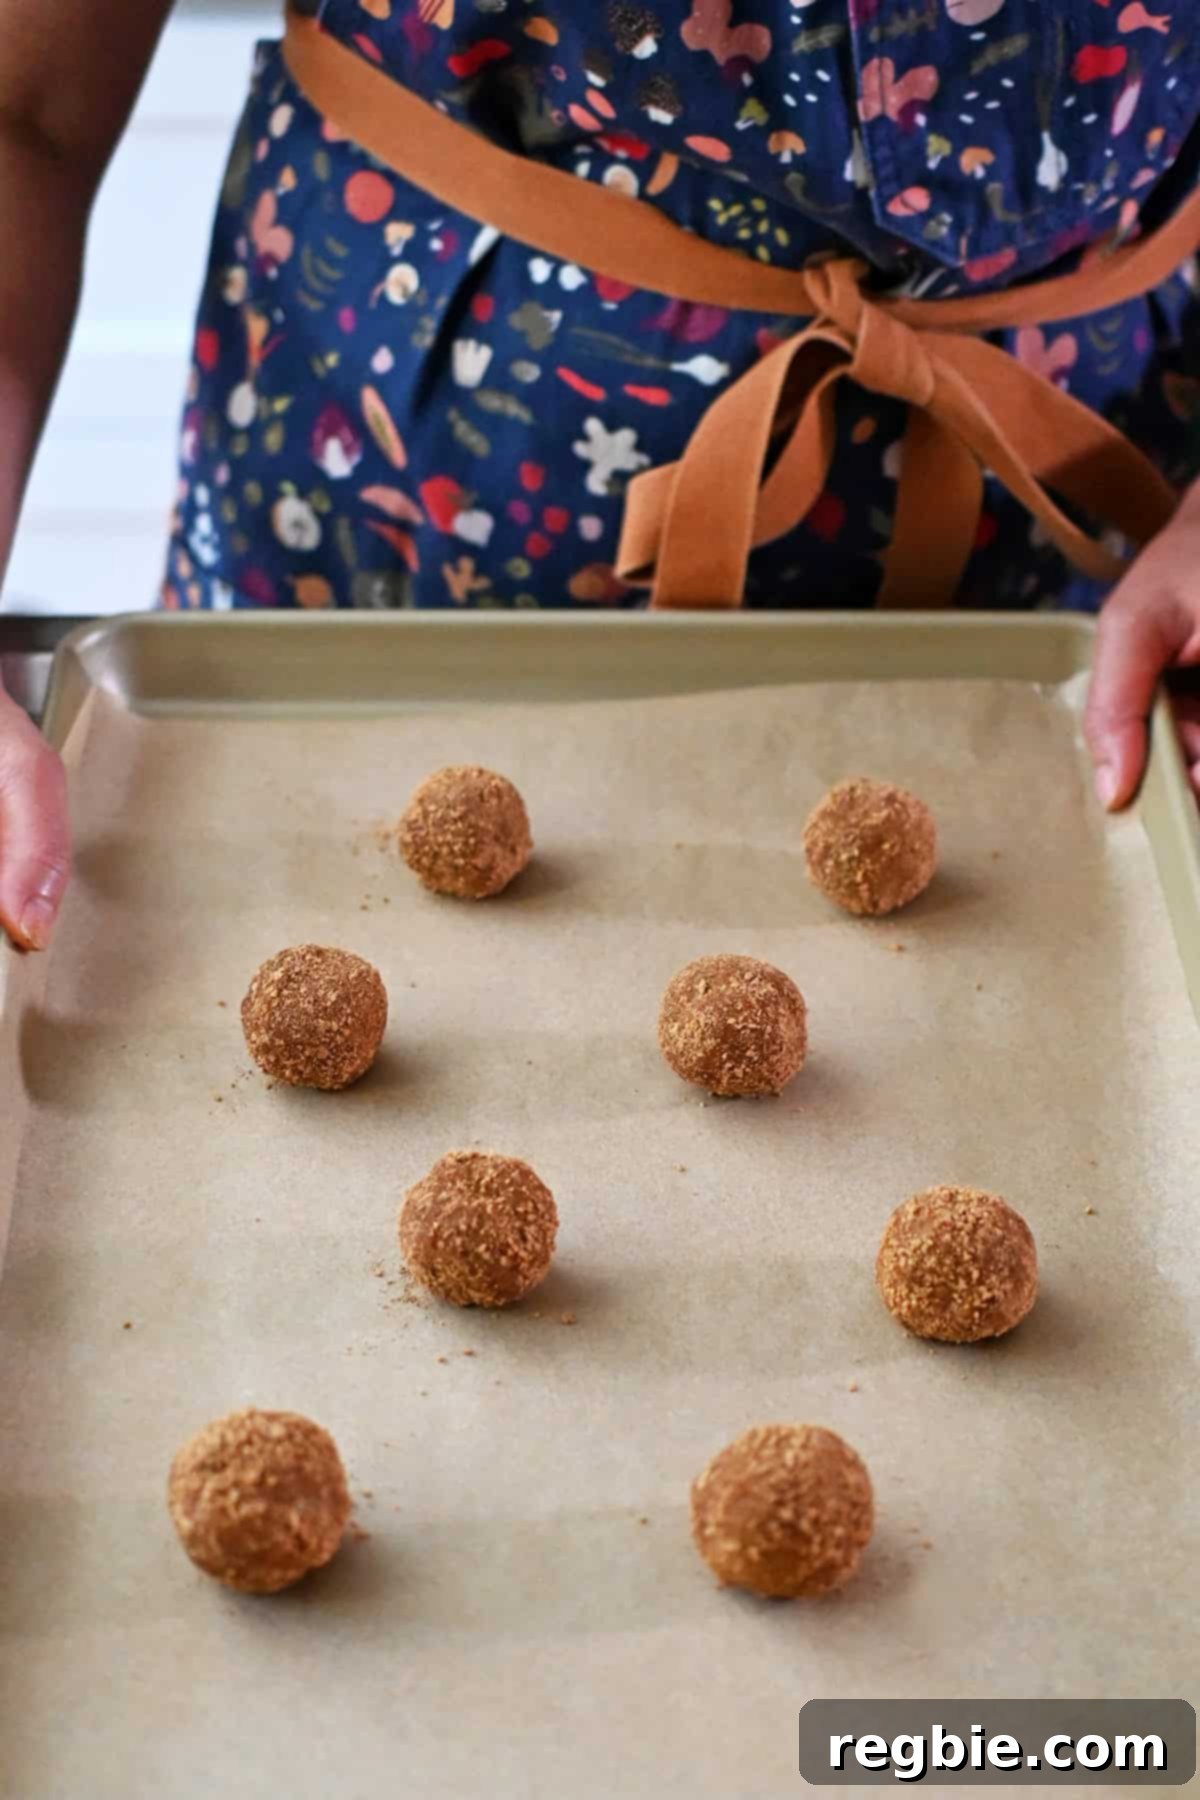
Arrange 8 coated cookie dough balls on each parchment-lined baking sheet, ensuring they are spaced about 2 inches apart to allow for proper spreading. Baking one tray at a time is crucial for even heat distribution and consistent results.
Bake each tray for 9 to 11 minutes. Keep a close eye on them during the last few minutes.
The cookies are ready when their edges are beautifully golden brown and their centers appear soft but set. They will firm up further as they cool. Remove from the oven once they reach this stage.
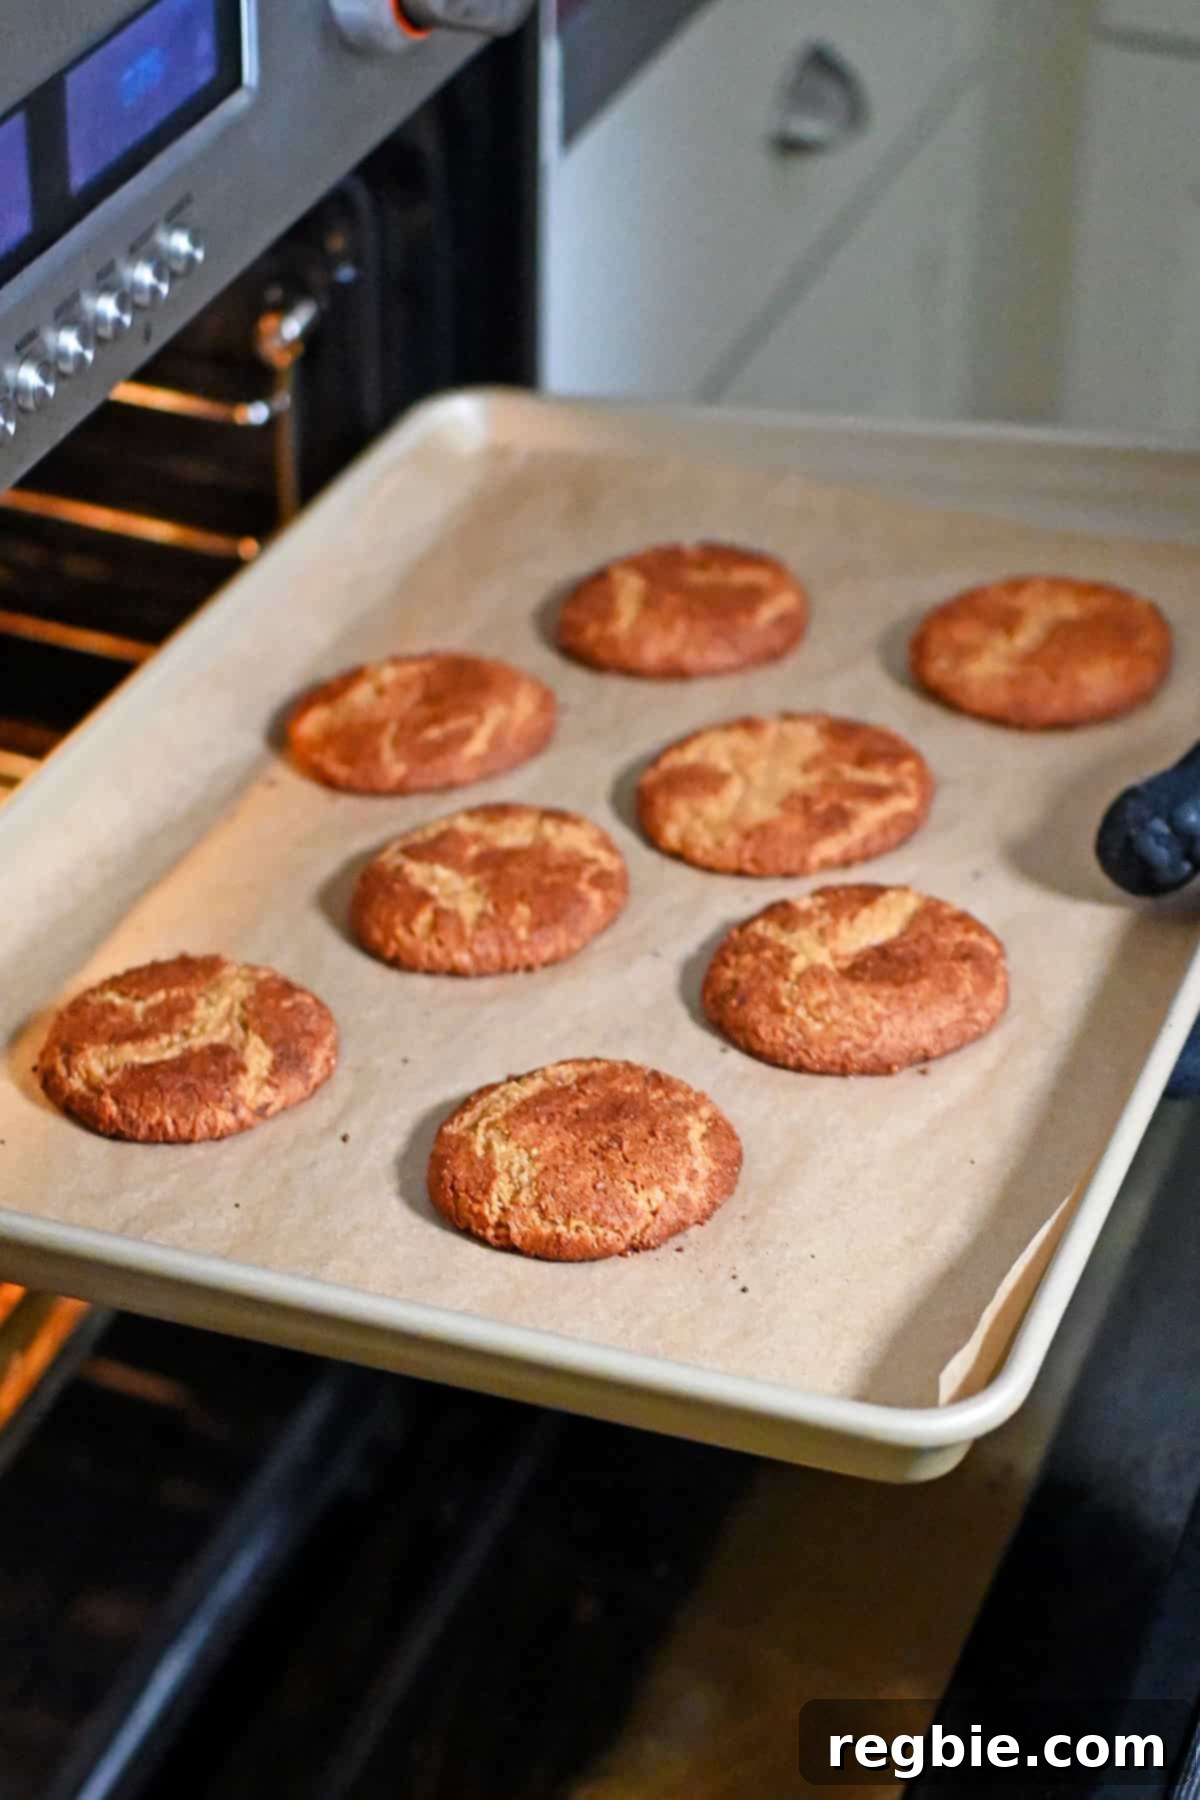
Crucial Tip: Always start with a cool baking sheet for each batch. If you place cookie dough onto a hot tray from a previous batch, the dough will melt too quickly, causing the cookies to spread excessively and become thin.
8. Cool and Enjoy Your Homemade Snickerdoodles
Once baked, allow the cookies to rest directly on the hot baking sheet for 10 minutes. This resting period allows them to set properly and prevents them from breaking when transferred.
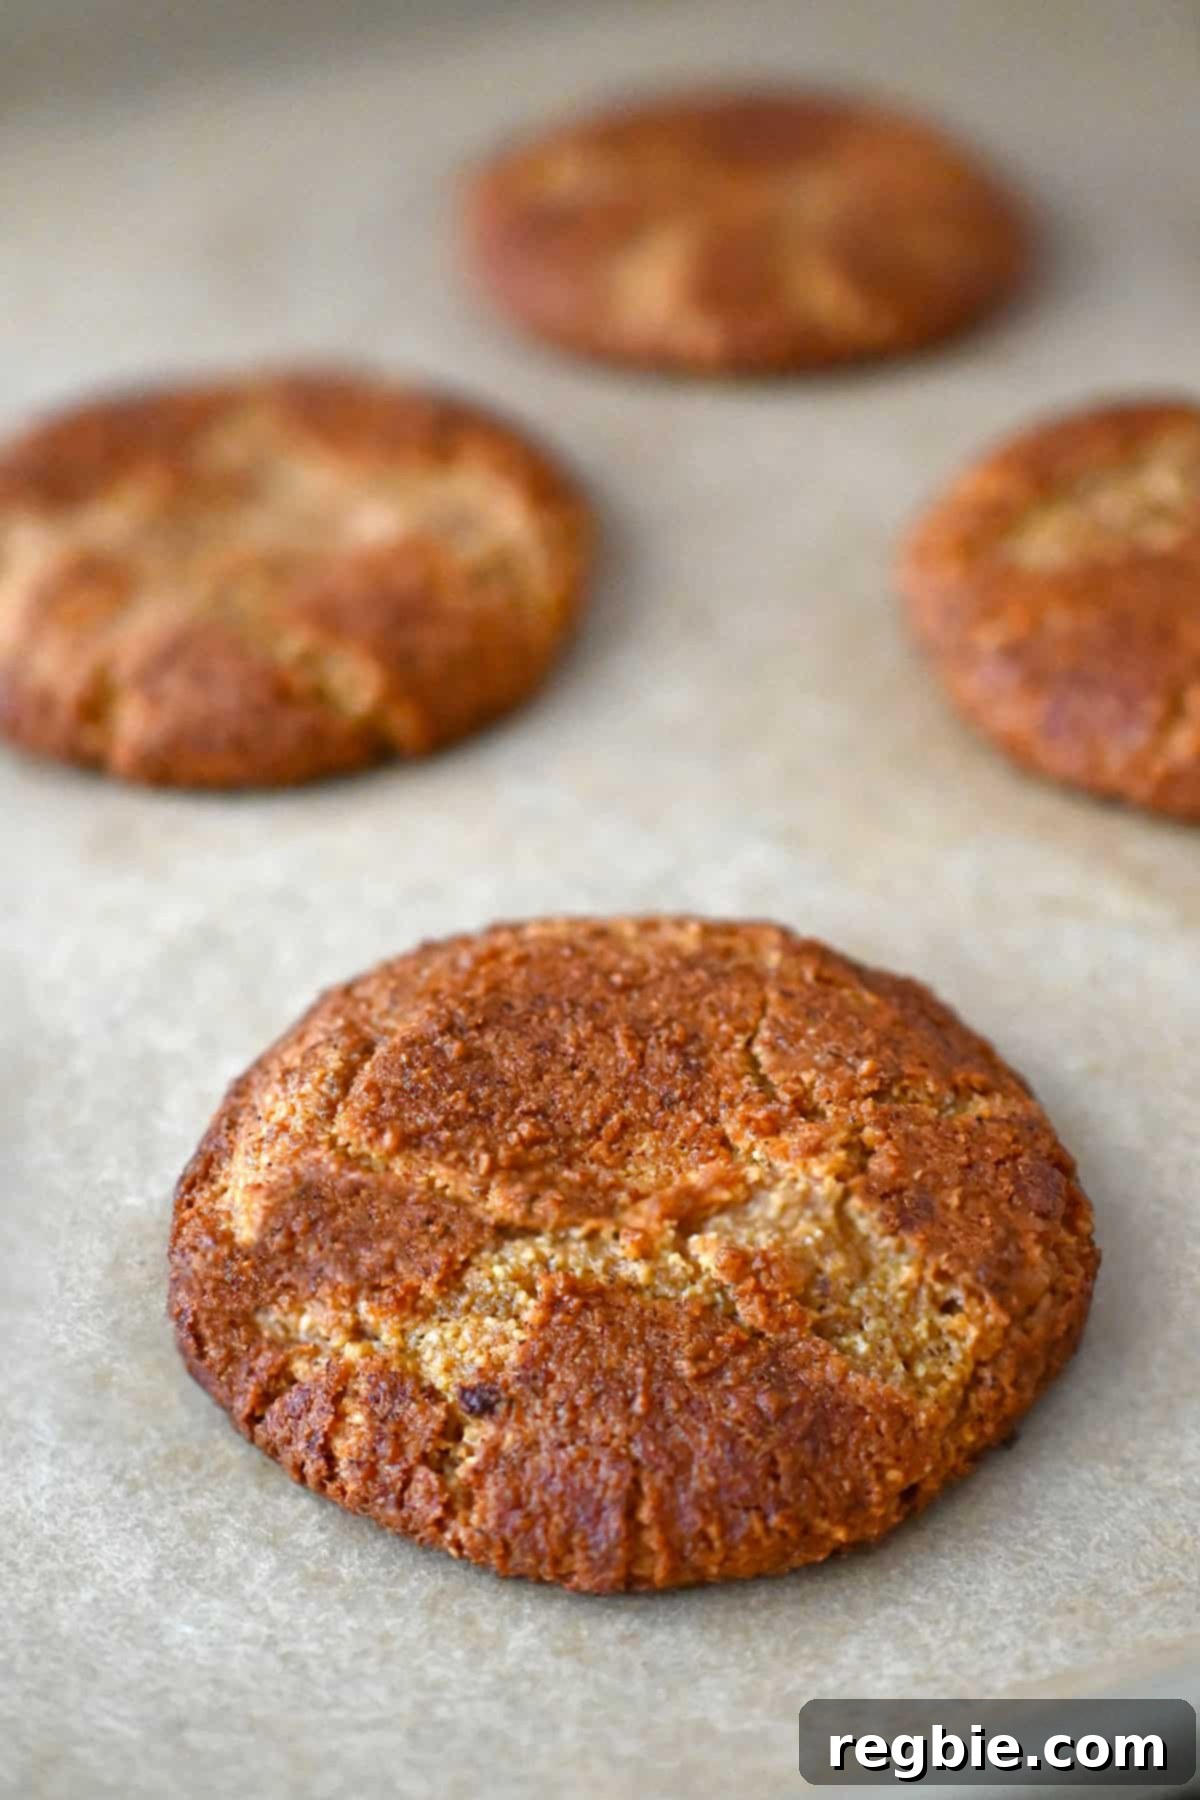
After the initial rest, use a spatula to carefully transfer the cookies from the baking sheet to a wire rack. Allow them to cool completely on the rack. This helps them achieve their final chewy texture and crispy edges.
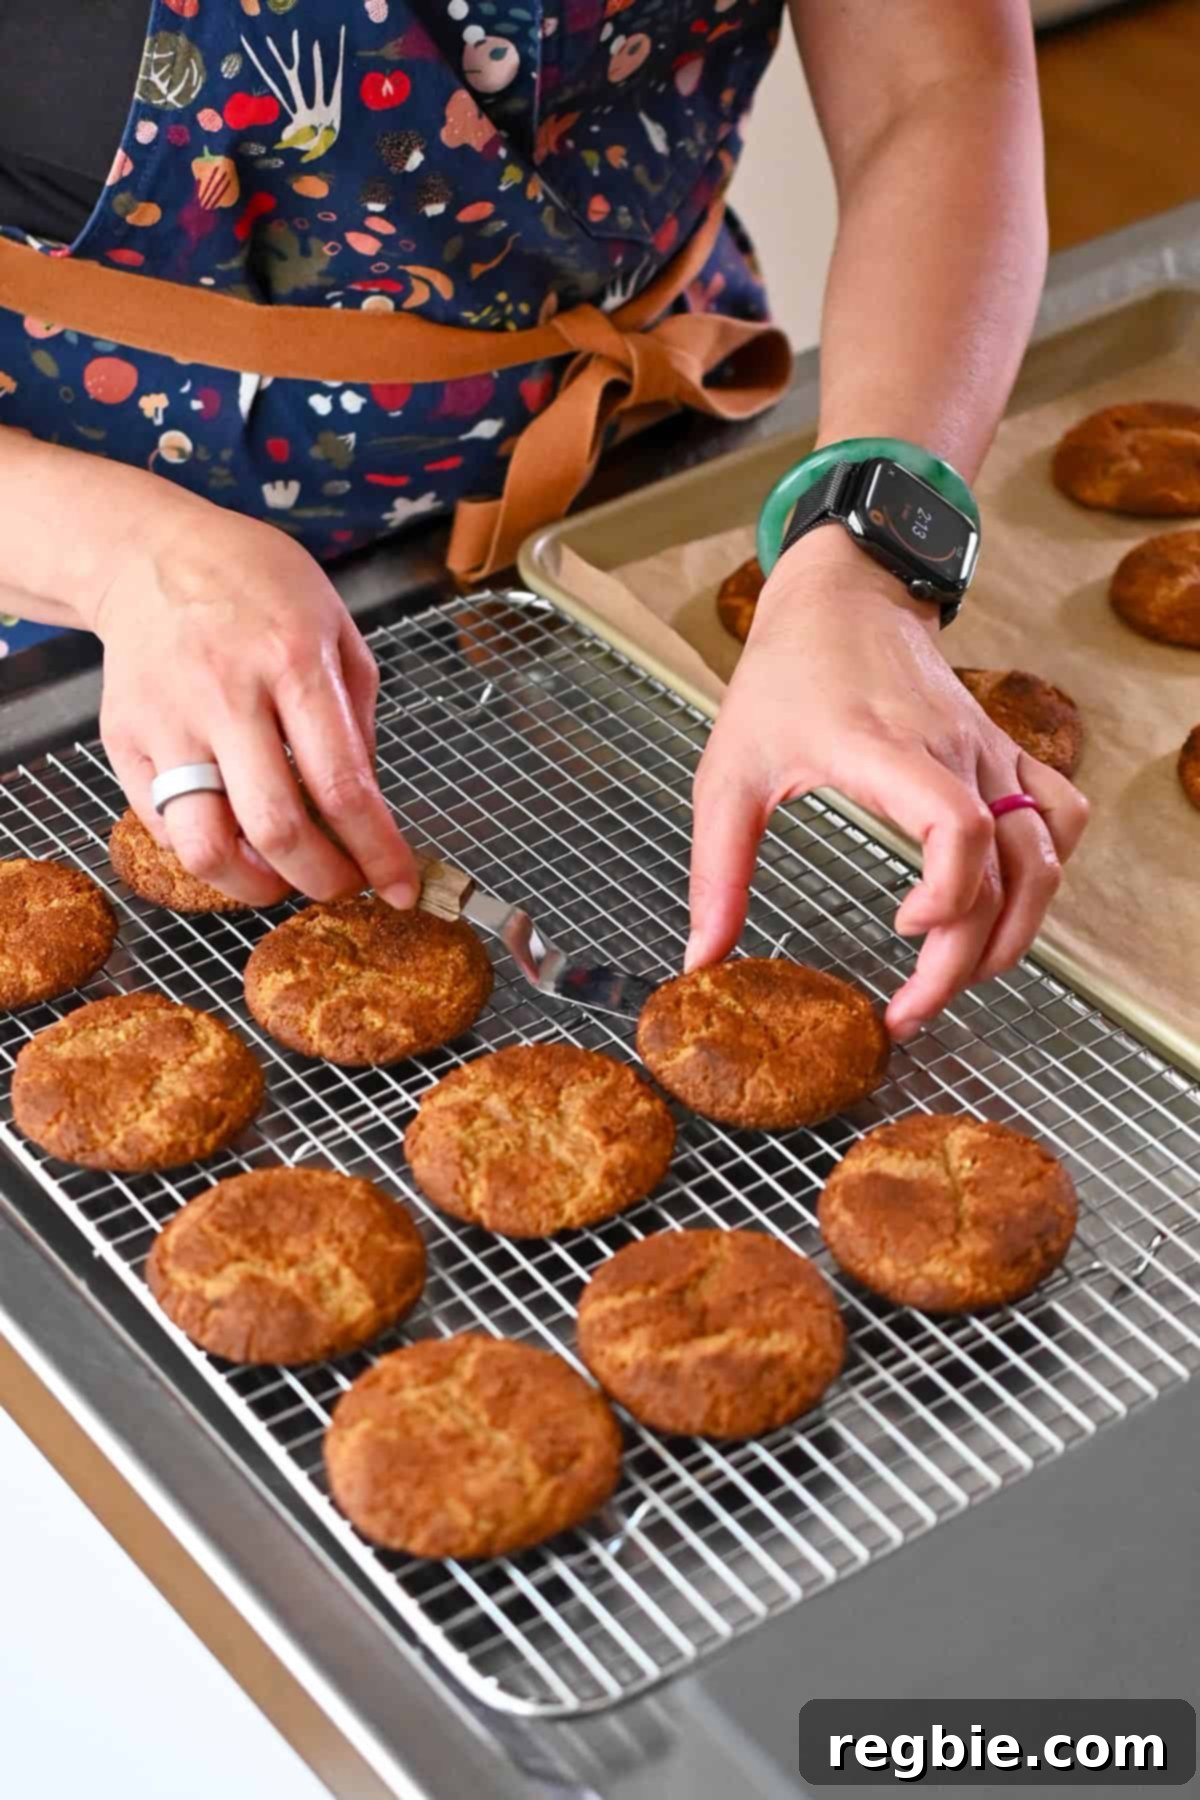
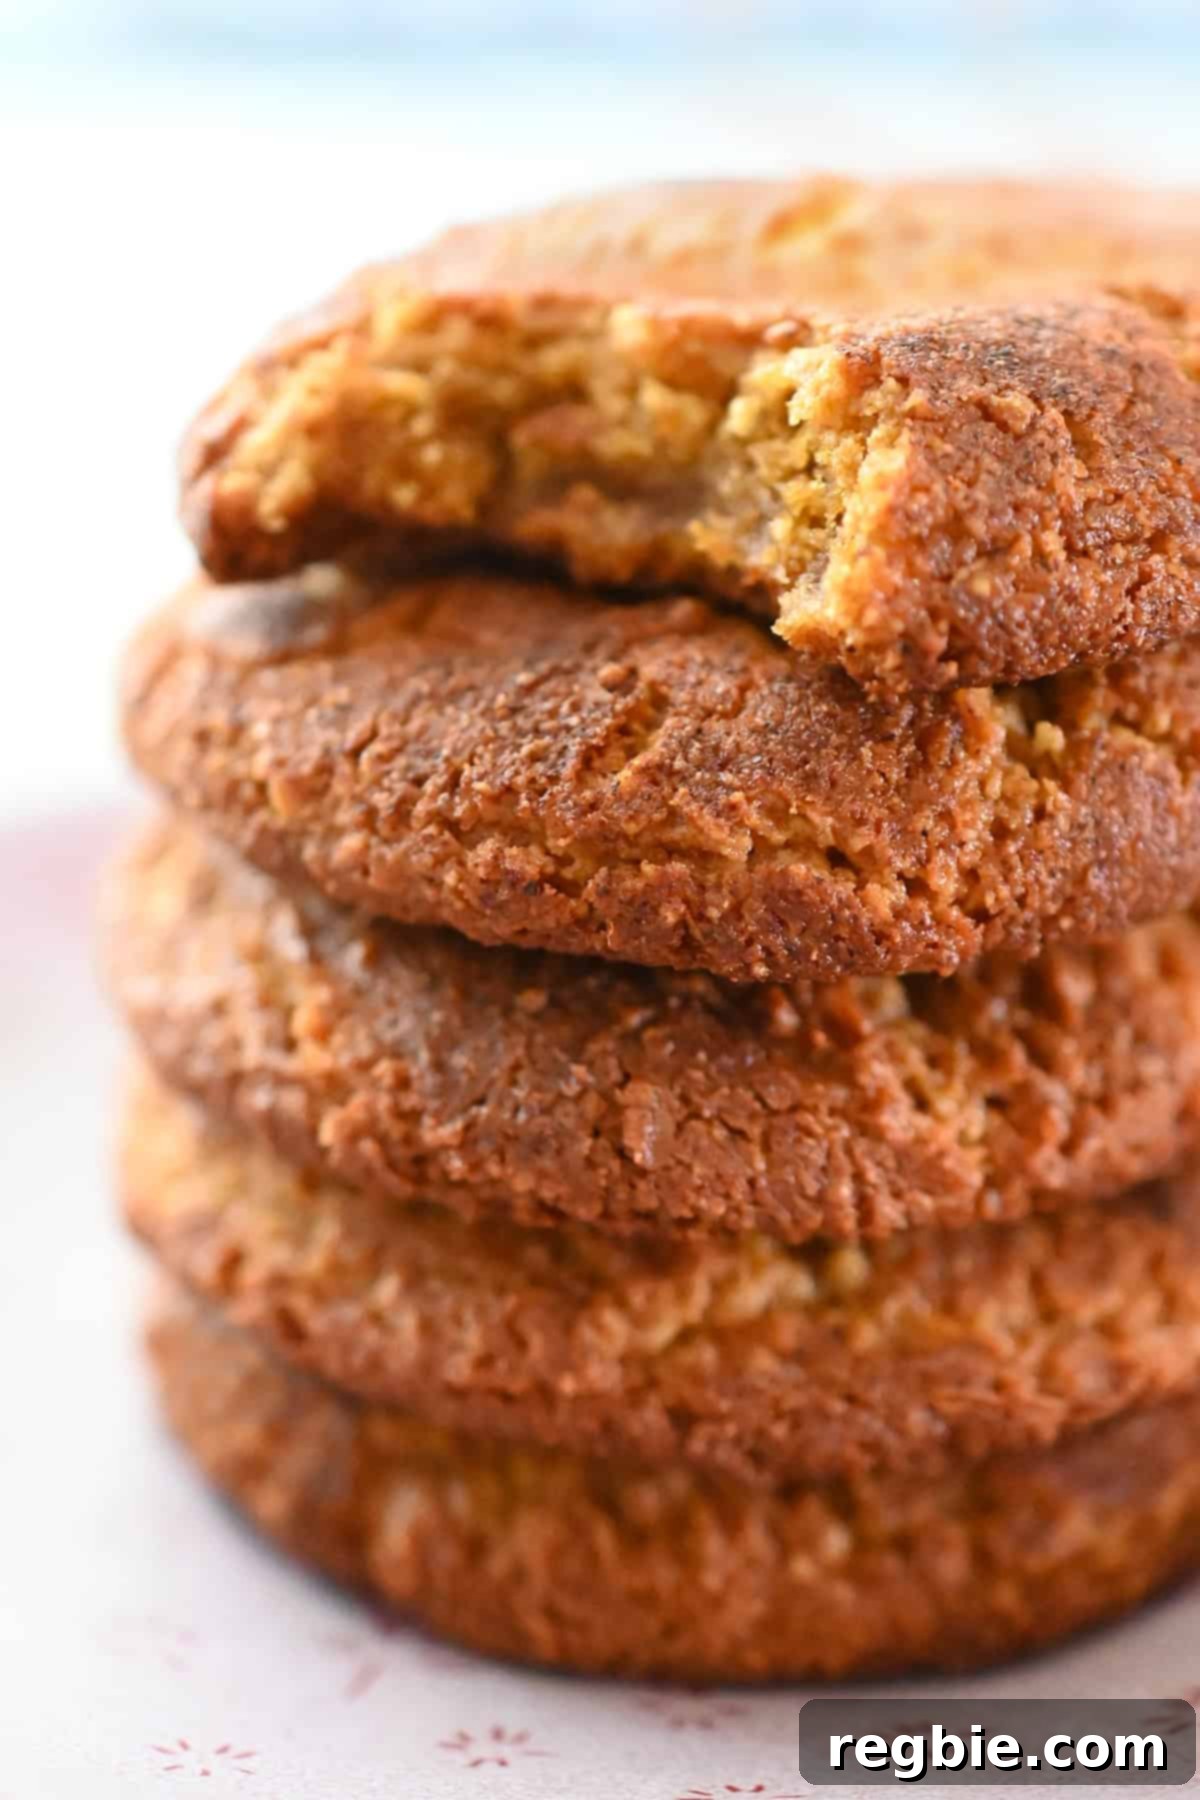
Once cooled, your delicious paleo and gluten-free pumpkin snickerdoodles are ready to be savored! Enjoy them with a glass of milk, a warm beverage, or simply on their own.
Pro Tips for Baking the Best Paleo Pumpkin Snickerdoodles
To ensure your pumpkin snickerdoodles turn out perfectly every time, keep these expert tips in mind:
- Always Chill Before Rolling: This is arguably the most critical step. Cold dough maintains its shape much better in the oven. Attempting to bake with warm, soft dough will inevitably lead to flat, sad “pancake” cookies that spread too much.
- Resist Adding Extra Pumpkin: While it might be tempting to amp up the pumpkin flavor by adding more purée, doing so will drastically change the cookie’s texture, making it more cakey than chewy. The ideal balance is a small, precise amount of purée combined with a generous quantity of pumpkin spice for maximum flavor without sacrificing chewiness.
- Blot Watery Pumpkin Purée: Canned pumpkin purée can sometimes vary in consistency. If yours appears watery, gently blot the surface with a paper towel to remove excess liquid. Too much moisture is the enemy of a chewy cookie.
- Be Generous with Pumpkin Spice: The pumpkin spice blend is your primary source of that distinct autumnal pumpkin flavor in these cookies. Don’t be shy with it! It’s what makes them taste wonderfully pumpkin-y, even with just a little actual pumpkin purée.
- Weigh Your Ingredients for Accuracy: For consistently bakery-worthy results, measuring ingredients by weight using a kitchen scale is far more accurate than using volume measurements (cups and spoons). Precision in baking, especially with grain-free flours, makes a significant difference.
- Bake One Tray at a Time: To ensure even baking and consistent cookie appearance, always bake a single tray of cookies in the center of your oven. Additionally, never reuse a hot baking sheet for a new batch of dough. A hot tray will cause the dough to melt too quickly on contact, leading to excessive spreading and thin cookies. Allow baking sheets to cool completely between batches.
Make Ahead, Storage, and Freezing Options
These paleo pumpkin snickerdoodles are fantastic for meal prepping or enjoying over several days. Here’s how to store them effectively:
- Make Ahead Dough: You can prepare the cookie dough up to 2 days in advance. Simply mix it, cover it tightly, and keep it refrigerated. When you’re ready to bake, proceed with rolling and coating the chilled dough.
- Storage of Baked Cookies: Once the cookies have cooled completely, store them in an airtight container at room temperature for up to 4 days. They will retain their wonderful chewy texture, though they might soften ever so slightly over time.
- Freezing Unbaked Dough Balls: For fresh-baked cookies on demand, you can freeze the unbaked dough. After chilling the dough and scooping it into balls (but *before* coating them in spiced sugar), arrange the dough balls on a sheet pan and freeze until solid. Once frozen, transfer them to a freezer-safe bag or container. When you’re ready to bake, roll the frozen dough balls in the spiced sugar coating, and then bake from frozen, adding just 1 to 2 minutes to the recommended bake time.
Extend the Fall Fun: More Paleo Pumpkin Recipes to Try!
Don’t let any leftover pumpkin purée go to waste! If you find yourself with extra, there are plenty of other delicious paleo pumpkin treats you can whip up to keep the autumnal spirit alive. From quick breakfast options to decadent desserts, here are some fantastic ideas:
Whip up my Pumpkin Mug Cake for a single-serving delight, bake a batch of fluffy Paleo Pumpkin Muffins, or add a twist with my Pumpkin Chocolate Chip Muffins. For a more substantial dessert, try my rich Pumpkin Pie Bars or hearty Pumpkin Bars. And for a unique, creamy treat, don’t miss my Pumpkin Coconut Maple Custard Cups. Each recipe offers a cozy and satisfying way to enjoy the flavors of fall, all while adhering to paleo and gluten-free guidelines.
Looking for even more recipe ideas to inspire your culinary adventures? Head on over to my Recipe Index for a vast collection of delicious and healthy dishes. You’ll also find exclusive recipes and additional cooking tips in my acclaimed cookbooks: Nom Nom Paleo: Food for Humans (Andrews McMeel Publishing 2013), Ready or Not! (Andrews McMeel Publishing 2017), and Nom Nom Paleo: Let’s Go! (Andrews McMeel Publishing 2022).
Full Recipe: Chewy Pumpkin Snickerdoodles (Paleo and Gluten Free)
These delightful pumpkin snickerdoodles offer a perfect blend of chewy texture, crispy edges, and warm spices, making them the ultimate paleo and gluten-free cookie for the autumn season.
Prep Time: 15 minutes
Cook Time: 30 minutes (for two batches)
Chilling Time: 2 hours (or overnight)
Total Time: Approximately 2 hours 45 minutes
Yields: 16 cookies
Ingredients
For the Pumpkin Snickerdoodles:
- 1¼ cup finely ground almond flour
- ¼ cup tapioca starch (or arrowroot starch)
- 2 teaspoons pumpkin spice blend (DIY: 1 tsp cinnamon, ½ tsp ground ginger, ¼ tsp ground nutmeg, pinch of ground clove)
- 1 teaspoon cream of tartar
- ½ teaspoon baking soda
- ¼ teaspoon Diamond Crystal kosher salt (adjust slightly if using a different type of salt)
- ⅔ cup coconut sugar (use blonde coconut sugar for a lighter-colored cookie)
- ⅓ cup melted refined coconut oil, at room temperature
- 2½ tablespoons canned pumpkin purée (not pumpkin pie filling; blot lightly with a paper towel if watery)
- 1½ teaspoons vanilla extract
- 1 large egg yolk (ensure it’s just the yolk, no white!)
For the Coating:
- 1 tablespoon coconut sugar
- 1½ teaspoons pumpkin spice blend
Instructions
- In a medium bowl, whisk together the almond flour, tapioca starch, pumpkin pie spice, cream of tartar, baking soda, and salt until all ingredients are uniformly combined.
- In a large bowl, combine the coconut sugar, melted coconut oil, pumpkin purée, and vanilla extract. Use an electric mixer to beat these ingredients on medium to medium-high speed until the mixture is smooth.
- Add the single egg yolk to the wet mixture. Continue to beat on medium-high speed for approximately 2 minutes, until the mixture becomes visibly ribbony, thick, and lighter in color.
- Gradually add the dry ingredient mixture to the wet ingredients. Mix on low speed just until the dough is combined and cohesive. Avoid overmixing.
- Cover the bowl tightly and refrigerate the dough for at least 2 hours, or preferably overnight, until it is firm enough to easily scoop and roll. This chilling step is crucial for texture.
- When you are ready to bake, preheat your oven to 375°F (190°C). Place an oven rack in the middle position. Line two rimmed baking sheets with parchment paper.
- In a small bowl, stir together the coconut sugar and pumpkin pie spice designated for the cookie coating.
- Using a medium cookie scoop (about 1¼ tablespoons per portion), divide the chilled dough into 16 equal balls. Roll each portion between your palms until smooth and round. Next, generously coat each dough ball in the spiced sugar mixture.
- Arrange 8 coated cookie dough balls on each prepared baking sheet, ensuring they are spaced about 2 inches apart. Bake one tray at a time in the center of the oven for 9 to 11 minutes, or until the edges are golden and the centers appear soft but set. Always use a cool baking sheet for each batch to prevent premature spreading.
- Allow the freshly baked cookies to rest on the baking sheet for 10 minutes. This helps them firm up. Afterward, carefully transfer them to a wire rack to cool completely. Once cooled, your delicious snickerdoodles are ready to be enjoyed!
Nutrition Information (per cookie, approximate)
- Calories: 125kcal
- Carbohydrates: 11g
- Protein: 2g
- Fat: 9g
- Fiber: 1g
- Sugar: 5g
Nutrition information is automatically calculated and should only be used as an approximation. Individual results may vary based on exact ingredient brands and measurements.