
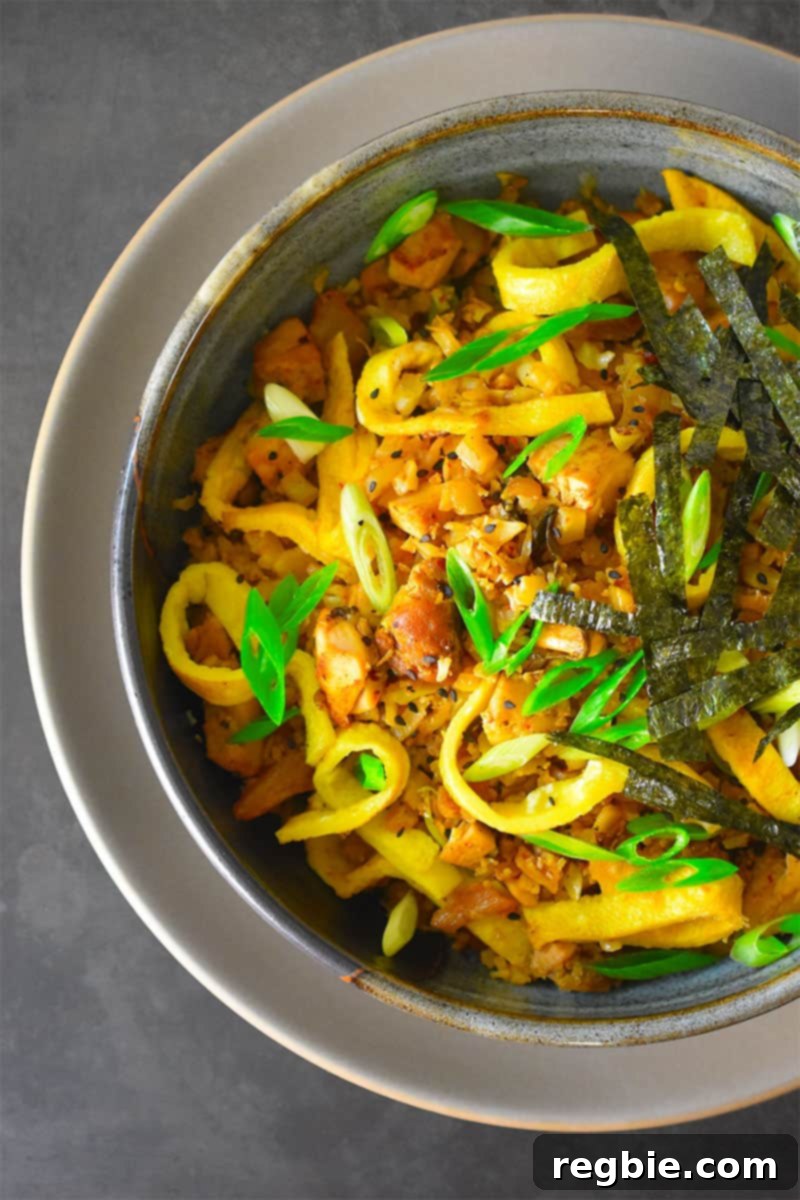
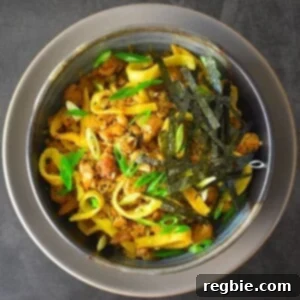
Experience a burst of flavor with our Kimchi Cauliflower Fried Rice – a vibrant, wholesome, and incredibly satisfying one-bowl meal. This Whole30 and low-carb friendly recipe is not only packed with delicious umami, but also offers a smart and tasty way to utilize your leftovers!
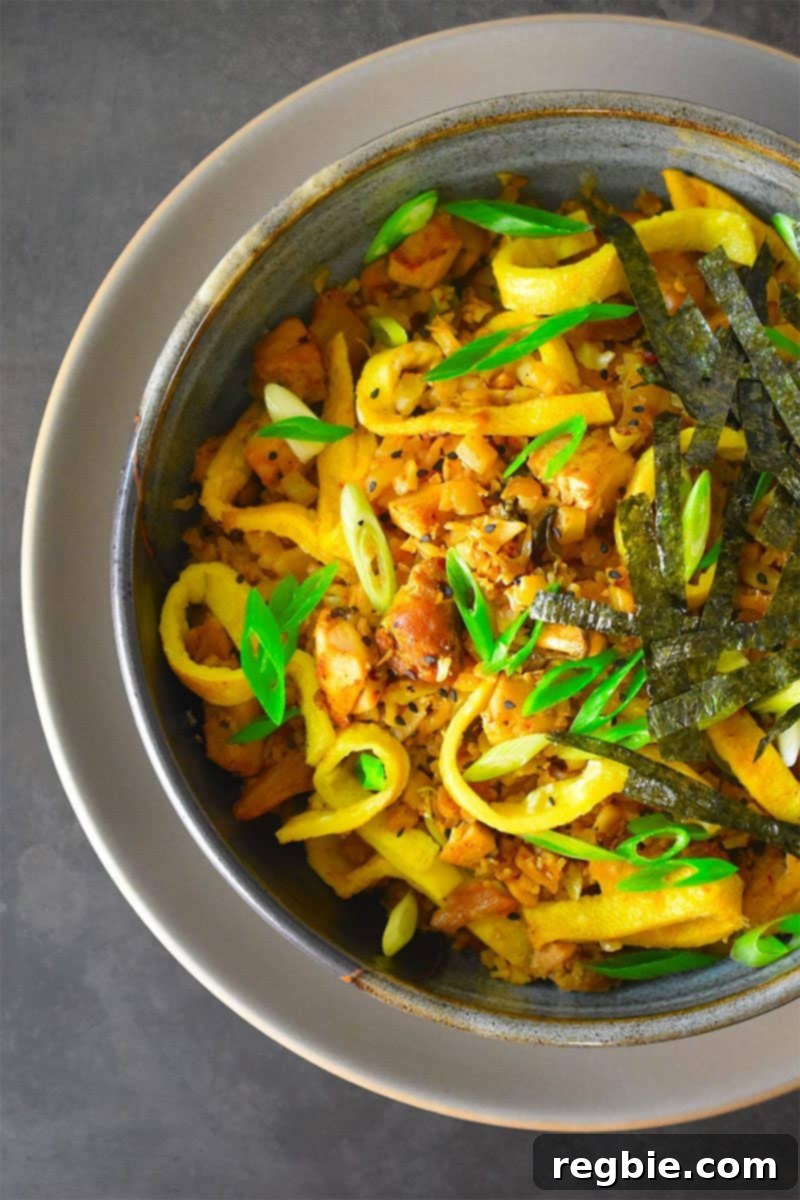
Table of Contents
- Why You’ll Love This Healthy One-Skillet Dish
- The Power of Kimchi & Cauliflower
- Essential Ingredients for Flavorful Fried Rice
- Step-by-Step Guide: How to Make Kimchi Cauliflower Fried Rice
- Storing and Reheating Your Delicious Leftovers
- Explore More Cauliflower Fried Rice Recipes
- Kimchi Cauliflower Fried Rice Recipe Card
Why You’ll Love This Healthy One-Skillet Dish
Have you been searching for a meal that’s both incredibly healthy and undeniably delicious? Look no further! We’re constantly advocating for incorporating more fermented foods like kimchi into your diet, and this recipe is designed to make it effortless and irresistible. This Kimchi Cauliflower Fried Rice might just become your new favorite dish, transforming your perception of healthy weeknight meals.
Kimchi is a culinary powerhouse, lending extraordinary depth, a rich tapestry of flavors, and a satisfying texture to this chicken fried (cauliflower) rice. Its unique tangy, spicy, and umami notes elevate every bite, making this dish far more exciting than your average fried rice. Beyond its incredible taste, this meal is also completely Whole30-compatible, provided you use homemade kimchi (like the fantastic versions found in popular Whole30 cookbooks) or select a sugar-free, junk-free brand from your local grocery store. We challenge you not to fall head over heels for this vibrant creation.
While cooking kimchi does reduce its probiotic content, its incredible flavor and umami-rich essence remain intact. And here’s a pro tip: once you have a jar of kimchi in your fridge, be sure to enjoy some of it raw alongside your leftover “rice” or with other meals to reap the full probiotic benefits! It’s a win-win – cooked for amazing flavor, raw for gut health.
The Power of Kimchi & Cauliflower
This recipe brilliantly combines two nutritional superstars: kimchi and cauliflower. Kimchi, a traditional Korean fermented vegetable dish, is renowned for its gut-friendly probiotics, rich vitamin content (especially C and K), and potent antioxidants. It adds a complex, savory, and slightly spicy kick that’s truly addictive. Beyond the health benefits, kimchi is a flavor enhancer that brings a dynamic character to the entire dish, transforming simple ingredients into an extraordinary culinary experience.
Cauliflower, on the other hand, steps in as a phenomenal low-carb alternative to traditional rice. When “riced,” it offers a similar texture to grain-based rice but without the carb load, making it perfect for Whole30, Paleo, and keto lifestyles. It’s also packed with essential nutrients like Vitamin C, Vitamin K, and fiber, contributing to a feeling of fullness and overall well-being. Together, kimchi and cauliflower create a harmonious blend of health and flavor, making this fried rice a guilt-free pleasure.
Essential Ingredients for Flavorful Fried Rice
Crafting the perfect Kimchi Cauliflower Fried Rice starts with a selection of fresh, high-quality ingredients. Each component plays a crucial role in building the layered flavors that make this dish so special.
- Kimchi: The star of the show! We recommend a high-quality, authentic brand or making your own for the best flavor and Whole30 compliance. Look for brands without added sugar or artificial ingredients. If you’re sensitive to spice, consider using white kimchi for a milder experience.
- Eggs: Essential for fried rice, adding protein and a lovely texture. We’ll be making a thin omelet and slicing it for a traditional touch.
- Kosher Salt: To season the eggs and balance the flavors of the dish.
- Avocado Oil: A neutral-tasting, high-smoke-point oil perfect for stir-frying. You can also use ghee or another Whole30-approved cooking fat.
- Small Onion: Provides a foundational aromatic base, adding a subtle sweetness and depth.
- Garlic: Freshly minced garlic is non-negotiable for that irresistible aromatic punch that elevates any fried rice.
- Cubed Cooked Chicken or Leftover Cooked Meat: This recipe is fantastic for using up leftover protein, making it incredibly convenient. Cooked chicken, pork, or beef all work wonderfully.
- Riced Cauliflower: The low-carb “rice” base. You can buy pre-riced cauliflower (fresh or frozen) or easily make your own by pulsing cauliflower florets in a food processor.
- Kimchi Juice: Don’t discard the liquid in your kimchi jar! It’s a goldmine of flavor, adding an extra tangy and spicy kick to the fried rice.
- Coconut Aminos: A Whole30 and soy-free alternative to soy sauce, offering a savory, slightly sweet, and umami flavor without the added sugars or soy.
- Toasted Sesame Oil: Drizzled in at the end, it provides a distinctive nutty aroma and flavor that ties all the Asian-inspired elements together.
- Scallions: Fresh, vibrant green scallions add a mild oniony bite and a beautiful pop of color, used both in the dish and as a garnish.
- Toasted Nori Sheet: Thin strips of toasted seaweed (nori) make an excellent garnish, adding a subtle oceanic crunch and umami.
- Toasted Sesame Seeds: A final sprinkle of toasted sesame seeds adds a lovely nutty flavor and textural contrast.
Step-by-Step Guide: How to Make Kimchi Cauliflower Fried Rice
Follow these detailed steps to create a flavorful and satisfying meal that will impress your taste buds and nourish your body.
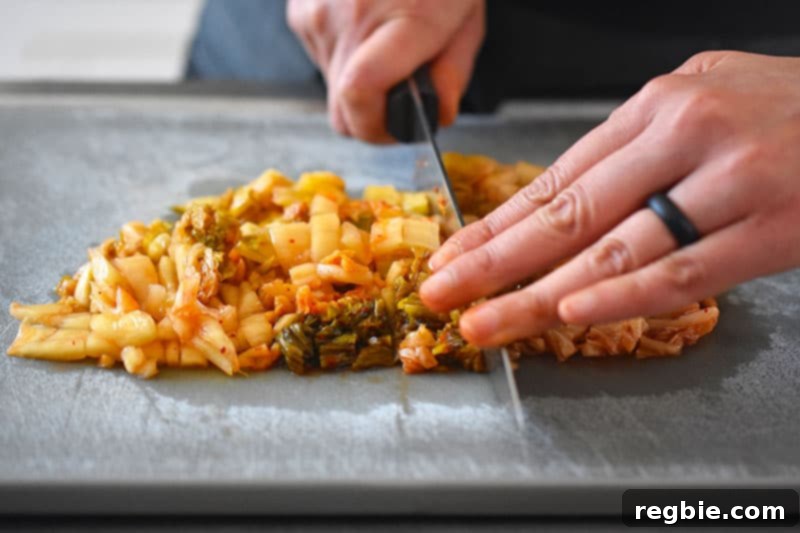
Step 1: Prepare Your Kimchi
Begin by finely chopping your kimchi. While quality store-bought kimchi is perfectly acceptable, if you have the time and inclination, making your own can be incredibly rewarding. Many excellent recipes exist, including those found in popular paleo cookbooks like Ready or Not! If you’re not a fan of intense spice, opt for white kimchi or a milder homemade version often referred to as “Wimpchi”!
Step 2: Cook the Eggs
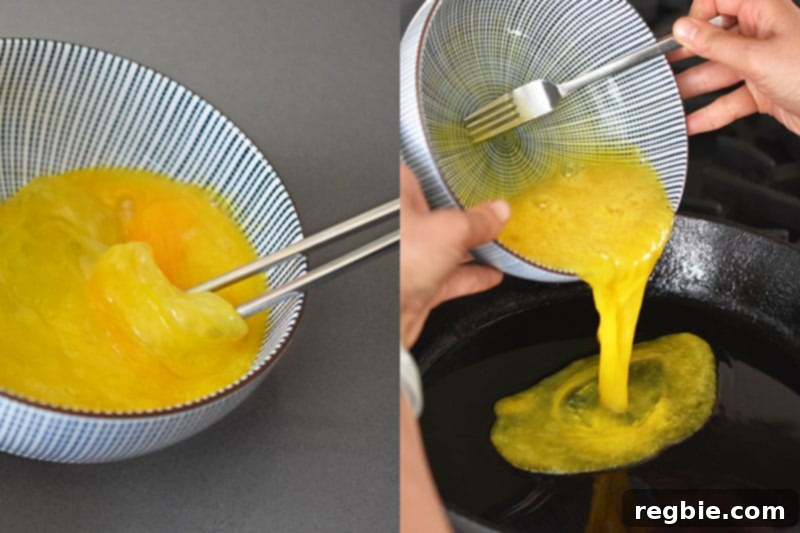
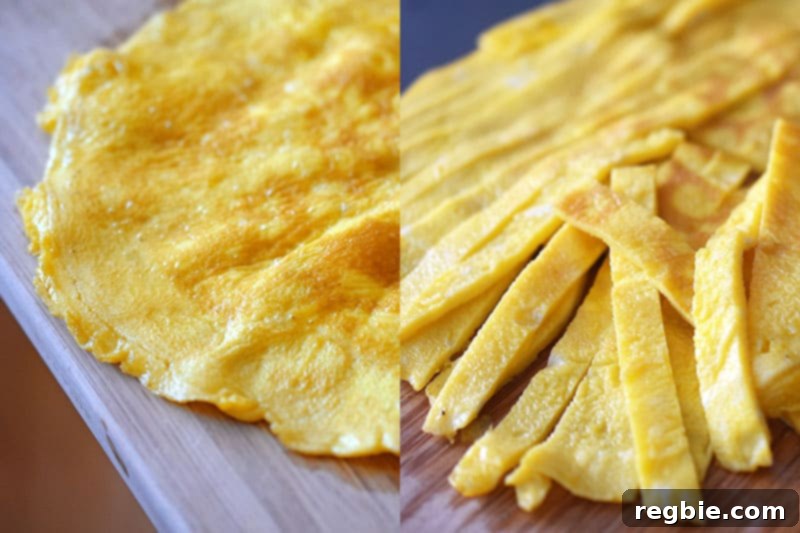
Heat a large skillet over medium heat. While the pan is heating, whisk the three large eggs in a bowl with ½ teaspoon of kosher salt until well combined. Once the pan is hot and shimmering, add 1 tablespoon of avocado oil. Pour in the whisked eggs and gently tilt the skillet to create a thin, even layer, similar to making a crepe or a thin omelet. Cook for about 1-2 minutes until the egg sets and firms up. Using a spatula, carefully flip the egg to cook briefly on the other side, ensuring it’s fully cooked through but still pliable.
Step 3: Slice the Egg
Once your egg omelet is cooked, transfer it from the skillet to a clean cutting board. Allow it to cool slightly, then slice it into thin, uniform strips. These strips will be mixed into the fried rice at the very end, adding both texture and visual appeal.
Step 4: Sauté the Aromatics
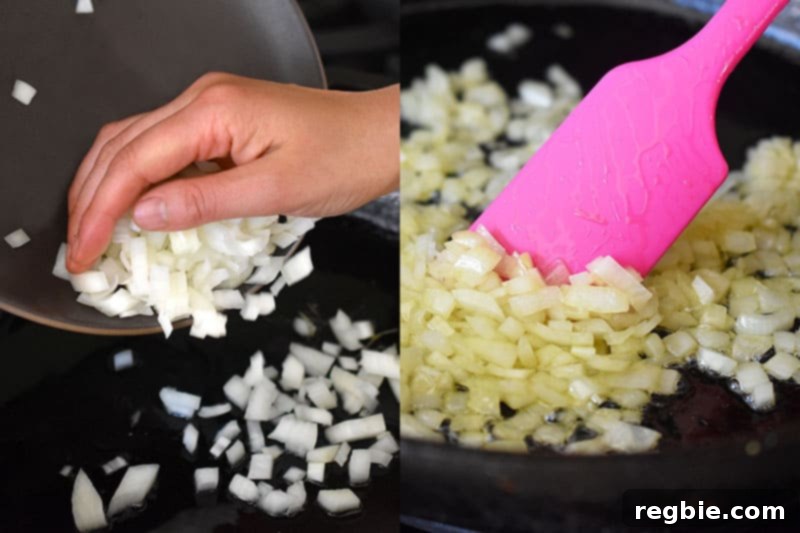
Return the now-empty skillet to the heat, adding the remaining 2 tablespoons of avocado oil. Once the oil is hot, add the finely chopped small onion and a sprinkle of salt. Cook, stirring occasionally, for 2 to 3 minutes until the onion softens and becomes translucent, releasing its sweet aroma.
Step 5: Add Garlic
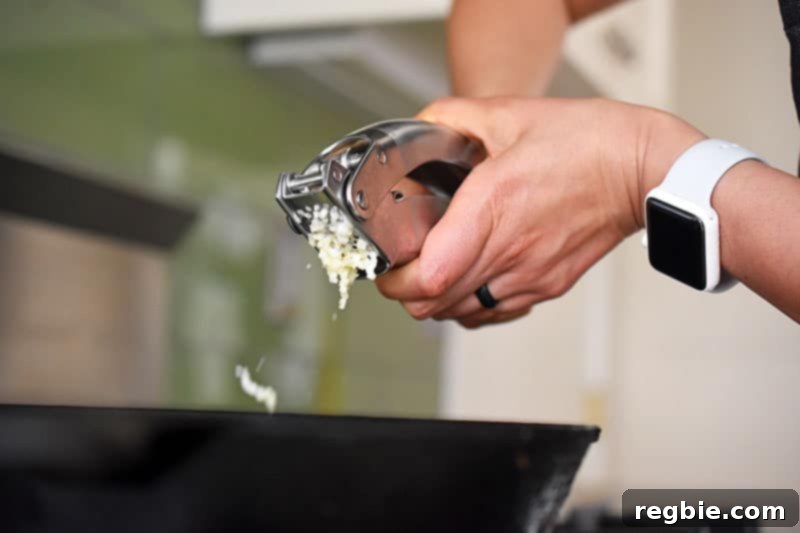
Stir in the minced garlic to the softened onions. Continue to sauté for another 30 seconds, just until the garlic becomes fragrant. Be careful not to burn the garlic, as this can lead to a bitter taste.
Step 6: Stir-fry the Kimchi
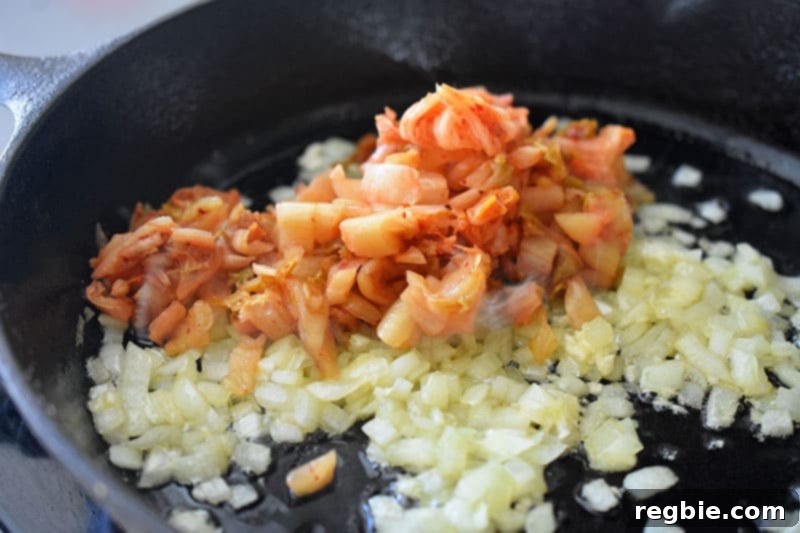
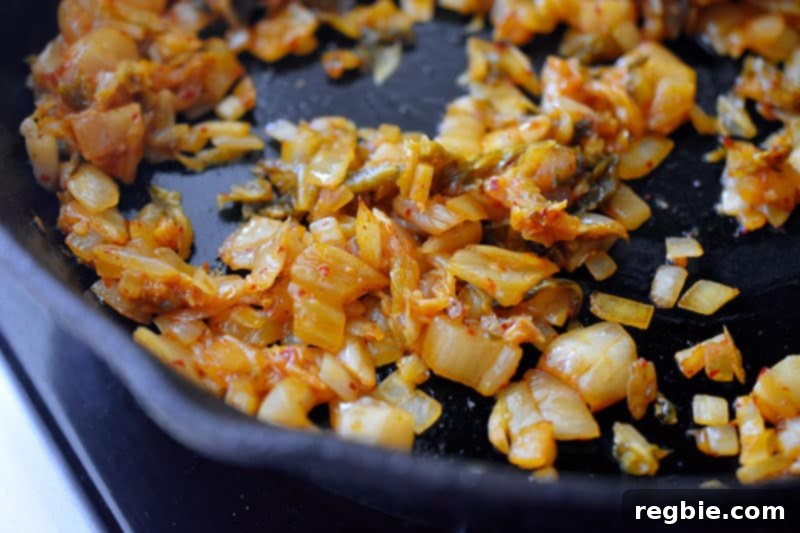
Now, toss in the chopped kimchi with the onions and garlic. Increase the heat to medium-high. Stir-fry the kimchi for about 5 minutes, allowing it to brown slightly in parts. This step is crucial for developing a richer, more concentrated flavor in the kimchi, enhancing its umami profile.
Step 7: Incorporate Chicken
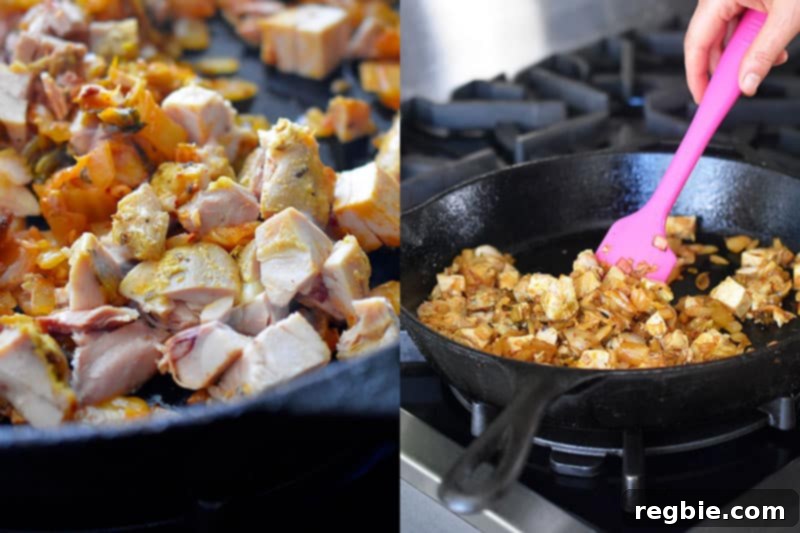
Add the cubed cooked chicken (or your chosen leftover meat) to the pan. Stir-fry for 1 minute, just long enough to warm the chicken through and allow it to absorb some of the delicious kimchi flavors.
Step 8: Add Cauliflower Rice and Seasonings
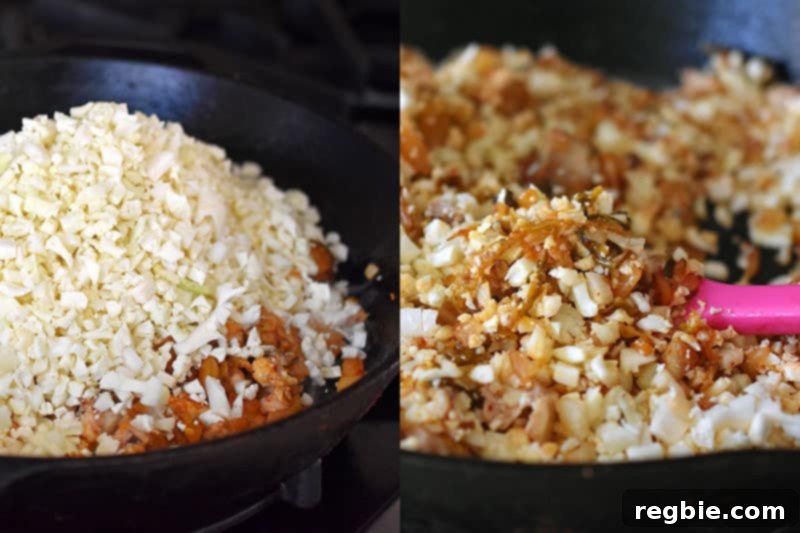
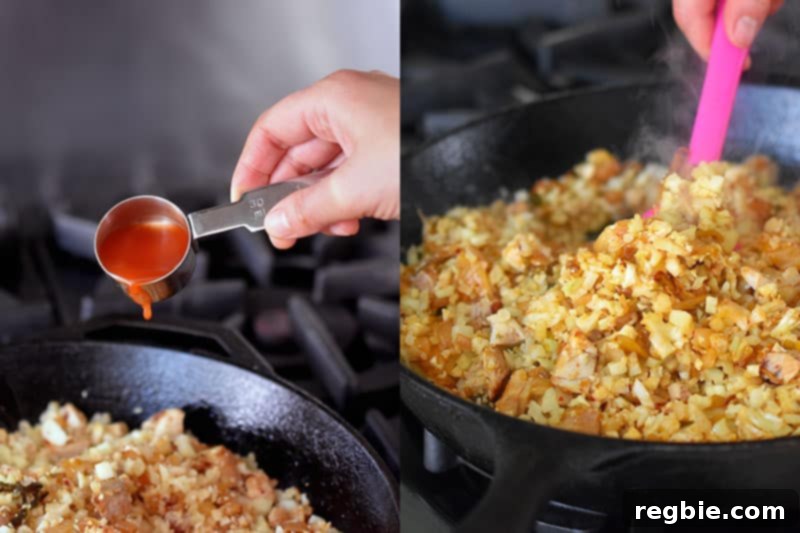
Next, add the riced cauliflower to the pan. Mix everything thoroughly to ensure the cauliflower is well coated with the flavorful kimchi and chicken mixture. Then, pour in the kimchi juice and coconut aminos, stirring well to combine all the ingredients and distribute the seasonings evenly.
Step 9: Cook Until Tender
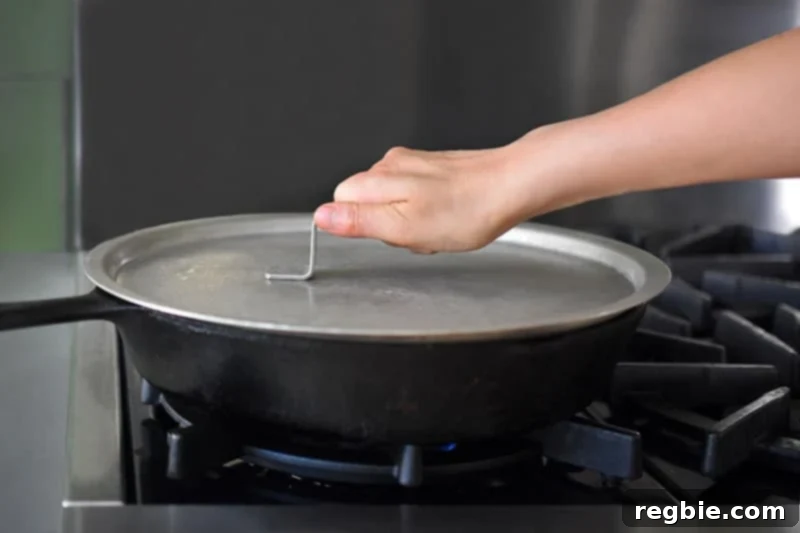
Reduce the heat to medium-low. Cover the skillet and let the mixture cook for 3 to 5 minutes. This steaming process allows the cauliflower rice to become tender, but be careful not to overcook it, as mushy cauliflower rice can detract from the dish’s texture.
Step 10: Final Seasoning and Finishing Touches
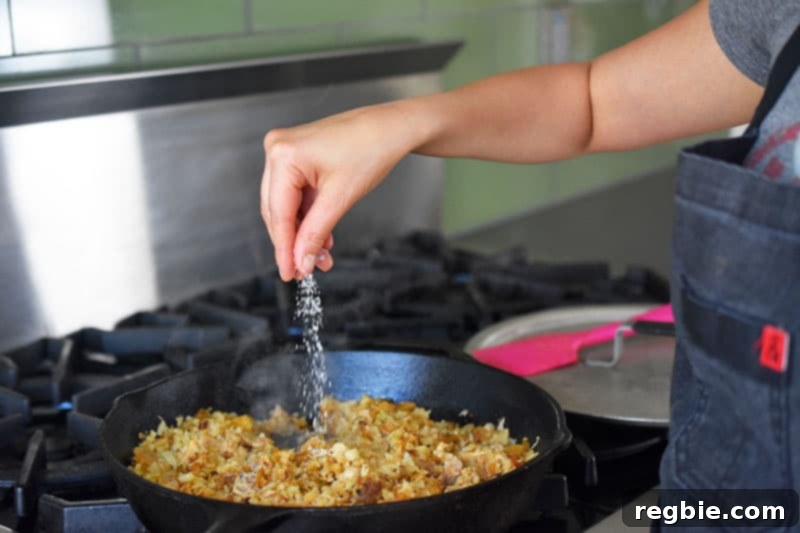
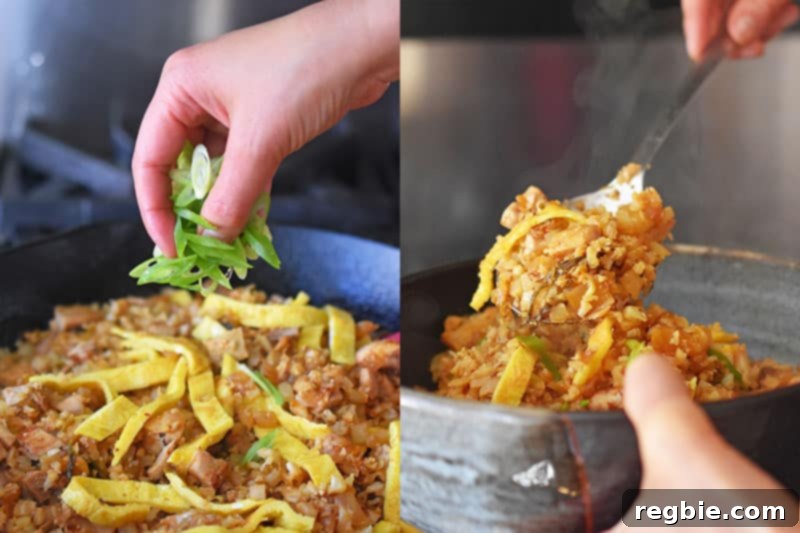
Remove the pan from the heat. Taste the cauliflower fried rice and adjust the seasoning with additional salt if needed. Stir in the toasted sesame oil – this adds a crucial nutty aroma and flavor. Finally, fold in the sliced egg strips and finely sliced scallions.
Step 11: Serve and Garnish
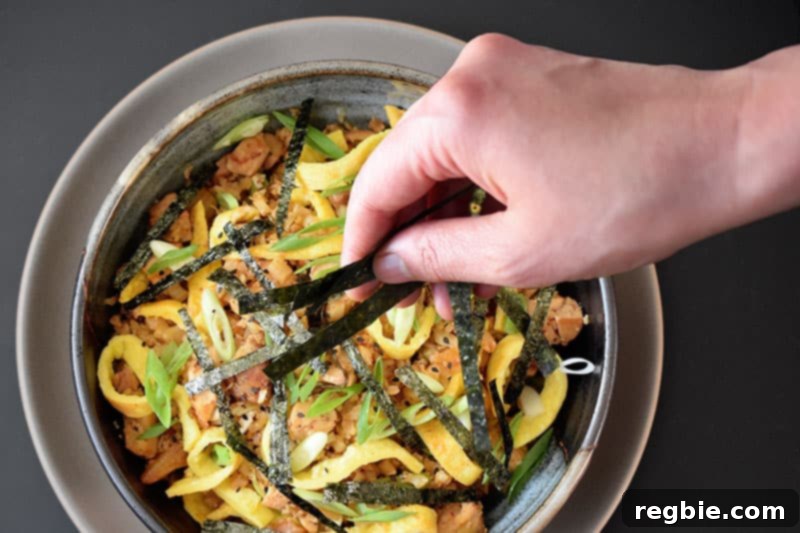
Scoop the hot kimchi cauliflower fried rice into individual serving bowls. For an extra touch of visual appeal and flavor, garnish each serving with strips of toasted nori and a sprinkle of toasted sesame seeds. Serve immediately and enjoy your delicious, healthy meal!
Storing and Reheating Your Delicious Leftovers
One of the best aspects of this Kimchi Cauliflower Fried Rice is how well it stores, making it perfect for meal prep or quick lunches throughout the week. To keep your leftovers fresh and flavorful, transfer any cooled portions into an airtight container. This will help prevent spoilage and keep the cauliflower rice from absorbing other odors in your fridge.
Properly stored, leftover kimchi cauliflower fried rice will maintain its quality for up to 4 days in the refrigerator. For longer storage, you can freeze it for up to 3 months. When freezing, ensure the container is freezer-safe and leave a little headspace for expansion.
When you’re ready to enjoy your leftovers, simply reheat them gently. For best results, reheat in a skillet over medium heat, stirring occasionally, until warmed through. You can add a splash of water or broth if it seems a bit dry. Alternatively, you can microwave it in short intervals, stirring between each, until hot. Reheating in a skillet helps to restore some of the delightful textures, preventing the cauliflower rice from becoming too soft.
Explore More Cauliflower Fried Rice Recipes
If you’ve fallen in love with the versatility and deliciousness of cauliflower fried rice, there’s a whole world of flavors to explore! Cauliflower rice is a fantastic canvas for various culinary creations, offering a healthy and low-carb base for countless dishes. Expand your repertoire with these other popular cauliflower fried rice recipes:
- Asian Cauliflower Fried Rice: A classic take with a medley of colorful vegetables and traditional Asian seasonings.
- Simple Cauliflower Fried Rice: Perfect for beginners or when you need a quick, no-fuss meal with minimal ingredients.
- Mexi-Cauli Rice: Bring a Tex-Mex twist to your plate with vibrant spices and fresh cilantro.
- Cauliflower Chicken Fried Rice: A hearty and complete meal featuring tender chicken and crisp cauliflower rice.
- Golden Cauliflower Fried Rice: Infused with turmeric for a beautiful color and added anti-inflammatory benefits.
Hungry for more innovative and healthy recipe ideas? Don’t forget to visit our comprehensive Recipe Index, where you’ll find a treasure trove of delicious and compliant meals. For exclusive recipes and culinary inspiration, be sure to check out our acclaimed cookbooks: Nom Nom Paleo: Food for Humans (Andrews McMeel Publishing 2013), Ready or Not! (Andrews McMeel Publishing 2017), and Nom Nom Paleo: Let’s Go! (Andrews McMeel Publishing 2022). Happy cooking!
Kimchi Cauliflower Fried Rice Recipe
Kimchi Cauliflower Fried Rice
10 mins
20 mins
30 mins
4 servings
Michelle Tam
Print Recipe
Ingredients
- 1 cup kimchi (our recommended brand or homemade)
- 3 large eggs
- Kosher salt, to taste
- 3 tablespoons avocado oil or cooking fat of choice, divided
- ½ small onion, finely chopped
- 2 garlic cloves, minced
- 2 cups cubed cooked chicken or other leftover cooked meat
- 1 small cauliflower head, riced (or 16 ounces pre-riced cauliflower, fresh or frozen)
- 2 tablespoons kimchi juice (liquid from the kimchi jar)
- 2 tablespoons coconut aminos
- 1 teaspoon toasted sesame oil
- 2 scallions, finely sliced on the diagonal
- 1 toasted nori sheet, cut into strips for garnish
- 1 tablespoon toasted sesame seeds, for garnish
Instructions
-
Begin by finely chopping your kimchi. Store-bought is convenient, but for a truly homemade experience, consider making your own. You can find excellent kimchi recipes in cookbooks like Ready or Not! (Tip: If you prefer less spice, look for white kimchi or try a “Wimpchi” recipe).
-
Heat a large skillet over medium heat.
-
While the skillet heats, whisk the eggs in a large bowl with ½ teaspoon of salt. Once the pan is hot, add 1 tablespoon of avocado oil. When the oil shimmers, pour in the whisked eggs. Gently tilt the skillet to create a thin, even layer of egg. Cook for 1-2 minutes until the egg sets. Carefully slip a spatula underneath and flip the egg to cook briefly on the other side.
-
Transfer the cooked egg omelet to a cutting board and slice it into thin strips. Set aside.
-
Heat the remaining 2 tablespoons of oil in the same pan. Add the chopped onion and a sprinkle of salt. Sauté for 2-3 minutes until the onion softens.
-
Add the minced garlic and sauté for an additional 30 seconds, or until it becomes fragrant. Be careful not to burn it.
-
Toss in the chopped kimchi and increase the heat to medium-high. Stir-fry for about 5 minutes, allowing the kimchi to brown slightly in parts, which deepens its flavor.
-
Add the cubed cooked chicken (or your preferred leftover meat) and stir-fry for 1 minute to warm it through.
-
Next, add the riced cauliflower to the pan and mix well to incorporate all ingredients. Stir in the kimchi juice and coconut aminos until everything is evenly coated.
-
Reduce the heat to medium-low. Cover the skillet and cook for 3-5 minutes, or until the cauliflower is tender but still retains a slight bite (not mushy).
-
Remove the pan from the heat. Taste the fried rice and adjust seasoning with additional salt if needed. Stir in the toasted sesame oil.
-
Fold in the reserved egg strips and the sliced scallions. Scoop the fried rice into serving bowls. Garnish with nori strips and toasted sesame seeds, then serve immediately. Store any leftovers in an airtight container in the fridge for up to 4 days.
Video Overview
For a visual guide on how to prepare this delicious Kimchi Cauliflower Fried Rice, you can find many helpful cooking videos online. This recipe showcases a quick and easy method for a Whole30, Low Carb, and Gluten-Free meal that’s packed with umami. Search for “Kimchi Cauliflower Fried Rice (Whole30, Low Carb, Gluten Free)” for detailed video instructions.
Video Description: Kimchi cauliflower fried rice is a delicious, one-bowl, Whole30 weeknight meal that’s packed with umami! It’s a low carb way to use up leftovers!
Notes
Nutrition Information (Approximate Per Serving)
Calories:
347
kcal
|
Carbohydrates:
13
g
|
Protein:
30
g
|
Fat:
19
g
|
Fiber:
3
g
|
Sugar:
4
g
Nutrition information provided is an approximation and can vary based on specific ingredients and preparation methods. It should be used as a guide only.