
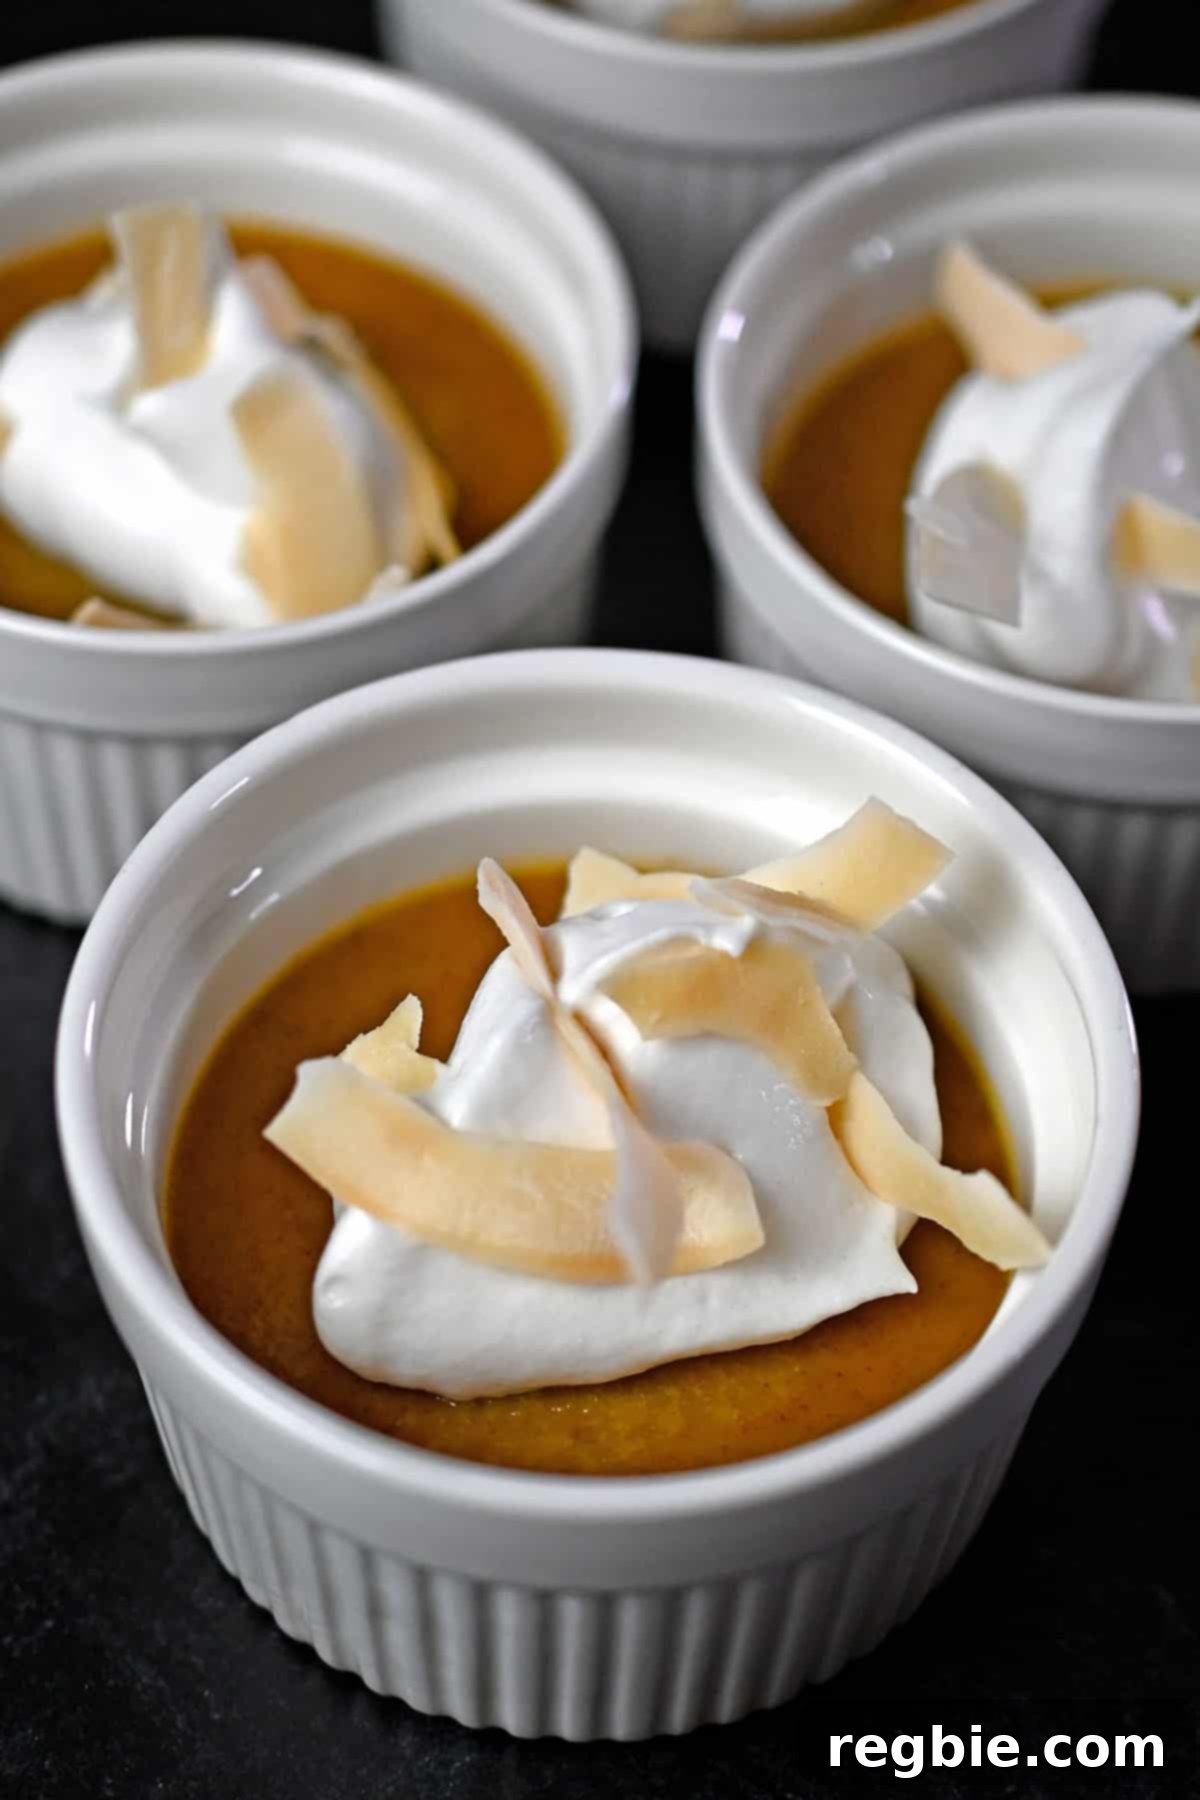
Discover the ultimate fall dessert: this Paleo pumpkin custard! It’s incredibly simple to prepare, delivers a luxuriously creamy texture, and offers just the right balance of sweet, warm spices. Perfect for any autumn gathering or a cozy treat at home, this dairy-free and gluten-free delight will quickly become a seasonal favorite.
Table of Contents
- Irresistible Crustless Pumpkin Custards: A Delightful Twist on Pie
- The Secret to Silky-Smooth Custard: Why a Water Bath is Essential
- Mastering the Art of the Bain-Marie: Tips for Success
- Paleo Pumpkin Custard Ingredients Demystified
- Step-by-Step Guide to Making Perfect Paleo Pumpkin Custard
- How to Store and Enjoy Your Pumpkin Custard Cups
- Explore More Paleo Pumpkin Dessert Recipes
- Paleo Pumpkin Custard Recipe
Irresistible Crustless Pumpkin Custards: A Delightful Twist on Pie
Are you a fan of classic pumpkin pie but dread the effort of wrestling with a pie crust? Look no further! This recipe offers a delightful, individual, and crustless version that captures all the beloved flavors of autumn in a simple, elegant package. Imagine the velvety smoothness of spiced pumpkin pudding, perfectly contrasted with the satisfying crunch of toasted coconut topping – it’s a harmonious blend that truly hits the spot.
These mini pumpkin custards are not only incredibly easy to make but also incredibly versatile. They are an absolute dream for entertaining, whether you’re hosting a festive Thanksgiving dinner, a Halloween party, or just a cozy fall get-together. The best part? You can bake them well in advance, freeing up your time on the day of your event and making hosting a breeze. Serving a crowd becomes effortless when each guest gets their own perfectly portioned dessert. Essentially, this is all the comforting deliciousness of pumpkin pie filling, beautifully presented in a cup, ready to be enjoyed without any fuss.
Embracing a Paleo lifestyle means finding delicious, wholesome alternatives to traditional treats. This pumpkin custard fits the bill perfectly, offering a dessert that’s not only incredibly flavorful but also dairy-free and gluten-free. It’s a wonderful way to indulge in the seasonal spirit without compromising your dietary preferences. The rich, earthy notes of pumpkin combined with warming spices create an unforgettable experience that will have everyone reaching for seconds, regardless of their dietary needs.
The Secret to Silky-Smooth Custard: Why a Water Bath is Essential
While the idea of baking these individual pumpkin custard cups in a water bath – also elegantly known as a bain-marie – might seem like an extra step, it is absolutely crucial for achieving that coveted, incredibly silky texture. This technique isn’t just a fancy chef’s trick; it’s a fundamental method for gently cooking delicate desserts like custards, cheesecakes, and pâtés, ensuring they turn out perfectly every time.
A water bath works by creating a stable, moist, and evenly heated environment around your custards. Here’s why it’s so important: When you place your ramekins directly into a hot oven, the intense, dry heat can cause the custard to cook too quickly around the edges. This rapid cooking often leads to overcooked, rubbery textures, or even cracks forming on the surface as the custard sets unevenly. The high temperature of the oven air (typically 325°F in this recipe) can be too aggressive for the delicate protein structure of the eggs in the custard mixture.
By contrast, the water in the bain-marie remains at a much lower, constant temperature – specifically, around 212°F (100°C) when boiling. This protective layer of simmering water shields the ramekins from the oven’s direct, harsh heat. As a result, the pumpkin custards cook slowly and uniformly from all sides. This gentle, consistent heat allows the egg proteins to set gradually, creating a smooth, tender, and unblemished custard with a melt-in-your-mouth consistency. Without a water bath, you risk a disappointing dessert that is dry, porous, or curdled. Investing a few extra minutes in setting up a water bath guarantees a superior texture that elevates your pumpkin custard from good to absolutely outstanding.
Mastering the Art of the Bain-Marie: Tips for Success
Setting up a water bath for your custards is simpler than it sounds, and a few key tips can ensure flawless results. First, always use boiling water, not cold or lukewarm water, when filling the baking dishes. This ensures the water bath quickly reaches the optimal temperature and maintains it throughout the baking process, preventing the custards from cooking too slowly at the start. It also reduces the overall baking time slightly.
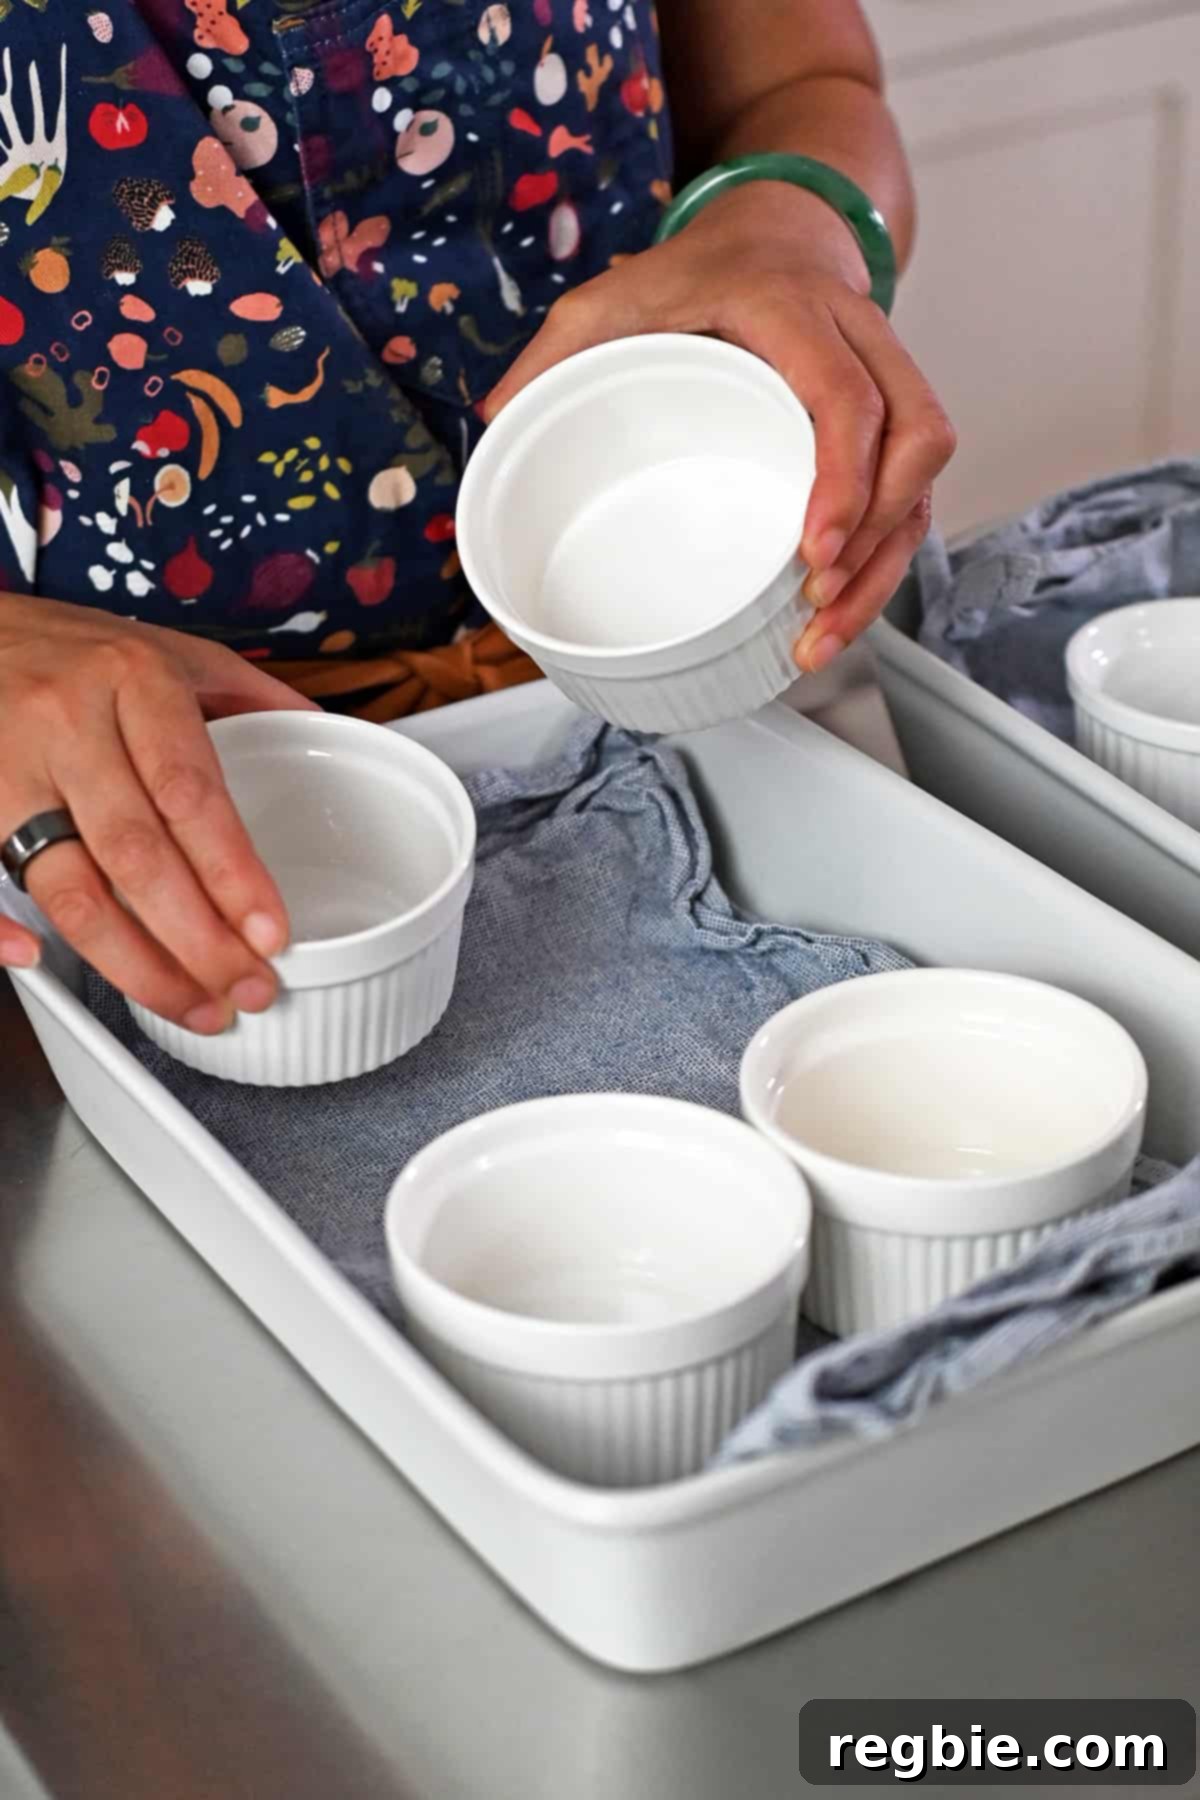
Placing a small towel at the bottom of your larger baking dish (or casserole dishes) serves a dual purpose: it prevents the ramekins from sliding around as you move the pan, and it provides a layer of insulation, further promoting even heat distribution around the custards. This minor detail can make a big difference in the stability of your setup and the quality of your finished product.
When pouring the boiling water into the baking dishes, do so carefully after the dishes with the ramekins are already in the oven. This minimizes the risk of splashing hot water and makes it easier to transport the heavy, water-filled pan. Aim for the water level to reach about halfway up the sides of your ramekins. This provides sufficient insulation without risking water spilling into your custard mixture during baking. By following these simple guidelines, you’ll master the bain-marie technique and consistently produce custards that are wonderfully smooth and perfectly set.
Paleo Pumpkin Custard Ingredients Demystified
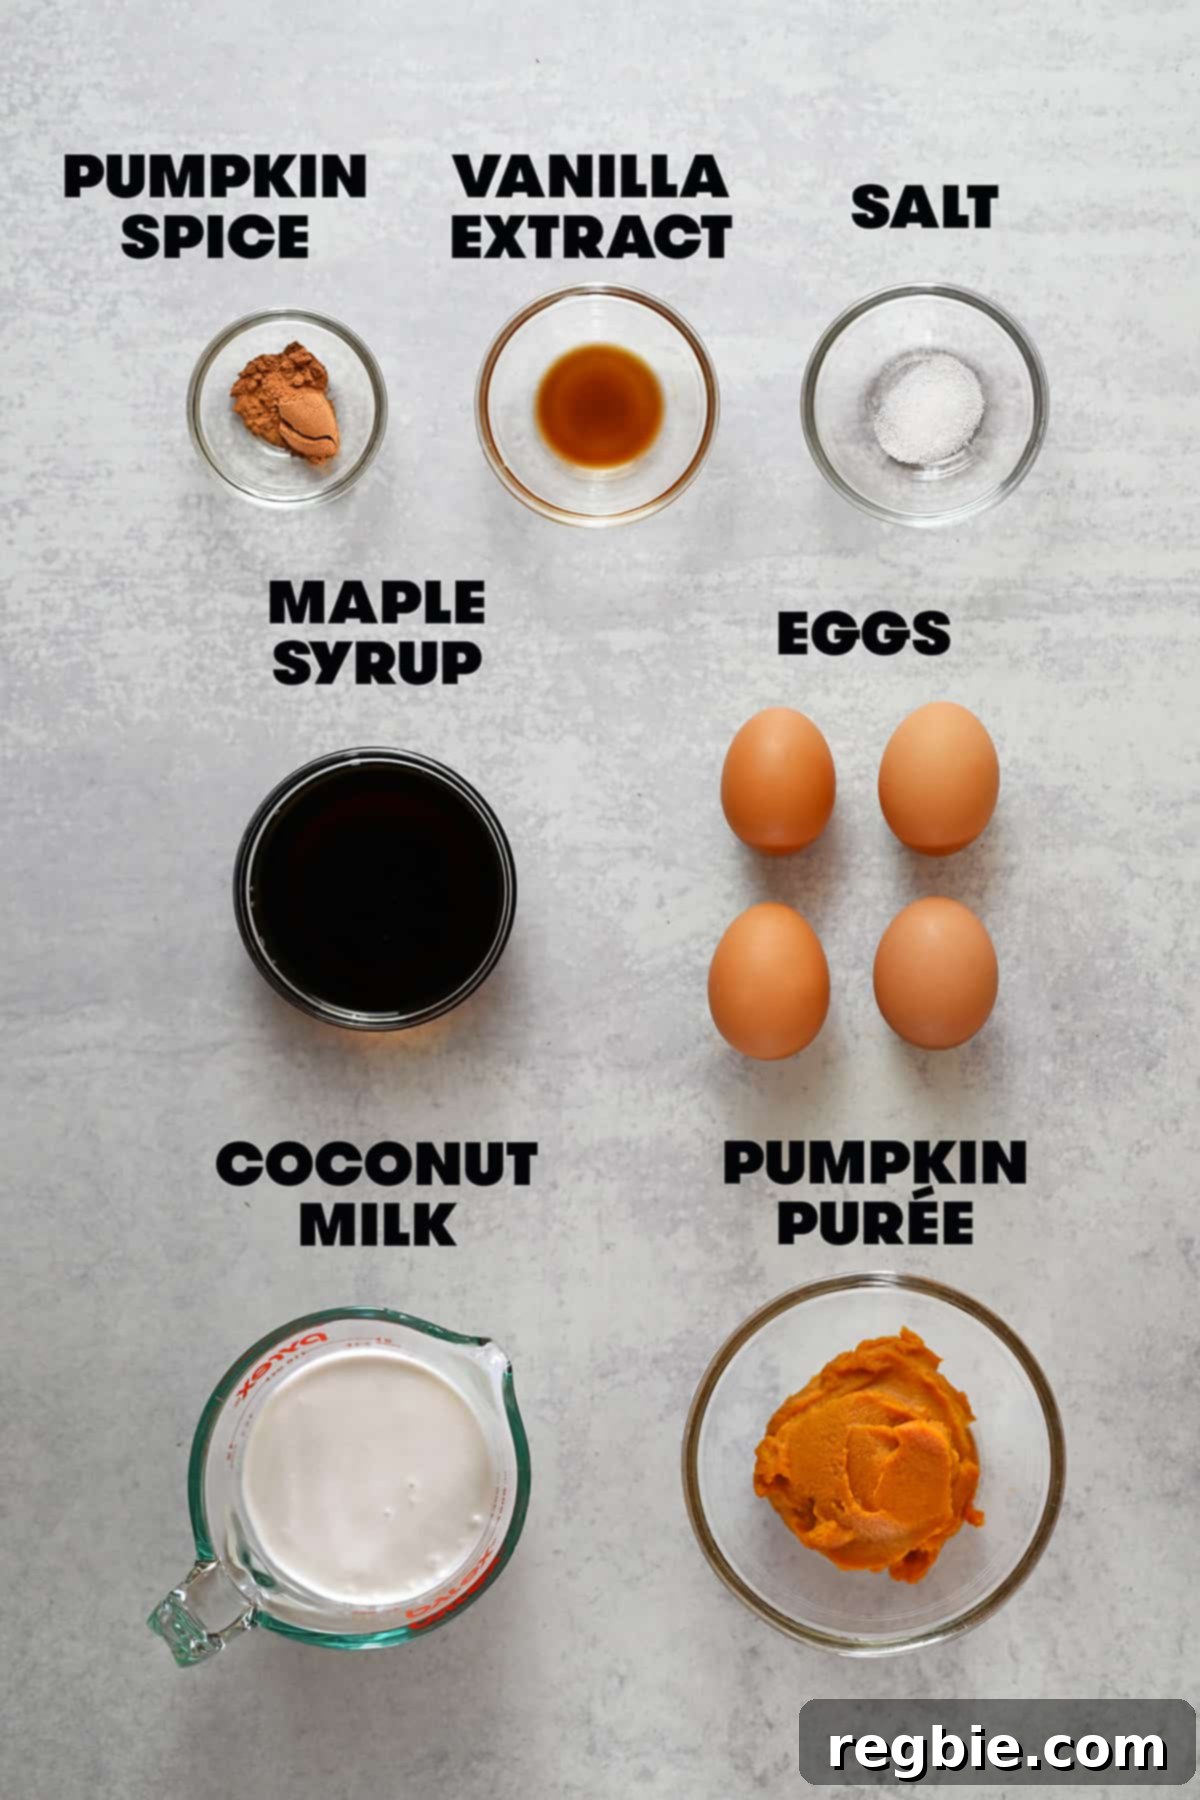
Crafting the perfect Paleo pumpkin custard relies on a few high-quality, simple ingredients. Each component plays a vital role in achieving that rich flavor and incredibly smooth texture:
- Canned Pumpkin Puree: This is the heart of our custard. Ensure you’re using 100% pure pumpkin puree, not pumpkin pie filling, which contains added sugars and spices. My personal favorite brand is Libby’s, known for its consistent quality, rich color, and perfectly smooth texture, which makes for an excellent base for any pumpkin dessert.
- Full-Fat Canned Coconut Milk: To keep this dessert wonderfully dairy-free and achieve a luscious, creamy consistency, full-fat canned coconut milk is the ideal replacement for heavy cream. The fat content is crucial for richness and mouthfeel. Look for brands without added gums or stabilizers if possible, though many standard brands work well. I often alternate between Whole365 brand, Native Forest, and Aroy-D, as they consistently deliver the creaminess needed. Shake the can well before opening, or if separated, scoop out the thick cream and stir it together with the liquid.
- Large Eggs: Eggs act as the primary binder and thickener for our custard. They provide structure and contribute significantly to the smooth, custardy texture when cooked gently. Use large eggs for consistent results.
- Maple Syrup: This natural sweetener provides a lovely depth of flavor that complements the pumpkin and spices beautifully, while keeping the recipe refined sugar-free. While maple syrup is my top choice, you can certainly experiment with other liquid sweeteners like honey for a slightly different flavor profile. For those following a ketogenic diet, liquid allulose is an excellent keto-friendly alternative that maintains a similar sweetness and liquid consistency.
- Pumpkin Spice Blend: This essential mix brings all the quintessential fall flavors together. If you don’t have a pre-made pumpkin spice blend on hand, it’s incredibly easy to make your own. Simply combine ground cinnamon, ground ginger, ground cloves, and/or ground nutmeg to taste. A dash of allspice can also be a wonderful addition for extra warmth and complexity.
- Vanilla Extract: A touch of pure vanilla extract enhances all the other flavors, adding a subtle warmth and aroma that rounds out the dessert beautifully. Don’t skip this!
- Diamond Crystal Brand Kosher Salt: A pinch of salt might seem counterintuitive in a sweet dessert, but it is vital for balancing the flavors and making the pumpkin and spices truly shine. Diamond Crystal kosher salt is preferred by many chefs for its flakiness and less intense salinity compared to table salt, allowing for easier seasoning control.
- Toasted Coconut Flakes (optional topping): This optional, but highly recommended, topping adds a delightful crunchy contrast to the smooth, creamy custard. It also enhances the coconut notes from the milk. You can easily make your own at home: simply spread raw unsweetened coconut flakes in a single layer on a baking sheet and bake at 300°F (150°C) for just 3 to 5 minutes, watching closely until they turn a beautiful golden brown.
- Whipped Coconut Cream or Whipped Cream (optional topping): For an extra layer of decadence, a dollop of whipped coconut cream (for a fully Paleo/dairy-free option) or traditional whipped cream provides a light, airy counterpoint to the rich custard.
Step-by-Step Guide to Making Perfect Paleo Pumpkin Custard
Creating these exquisite Paleo pumpkin custards is a straightforward process, but paying attention to each step ensures a perfect, silky-smooth result. Follow these detailed instructions for a dessert that will impress:
Begin by preparing your oven and water for the crucial water bath. Preheat your oven to 325°F (160°C) with an oven rack positioned in the middle. Simultaneously, boil a full kettle of water. This hot water will be used for the bain-marie, ensuring an even and gentle cooking environment for your custards.
While the oven is coming to temperature, set up your baking dishes. Grab two 9″ x 13” glass baking dishes. Place a small, clean kitchen towel on the bottom of each baking dish. This towel serves a vital purpose: it prevents your ramekins from sliding around during transport and baking, and also helps to insulate them. Carefully arrange eight 6-ounce ramekins, dividing them evenly between the two casserole dishes. This setup ensures that your custards will cook stably and uniformly.
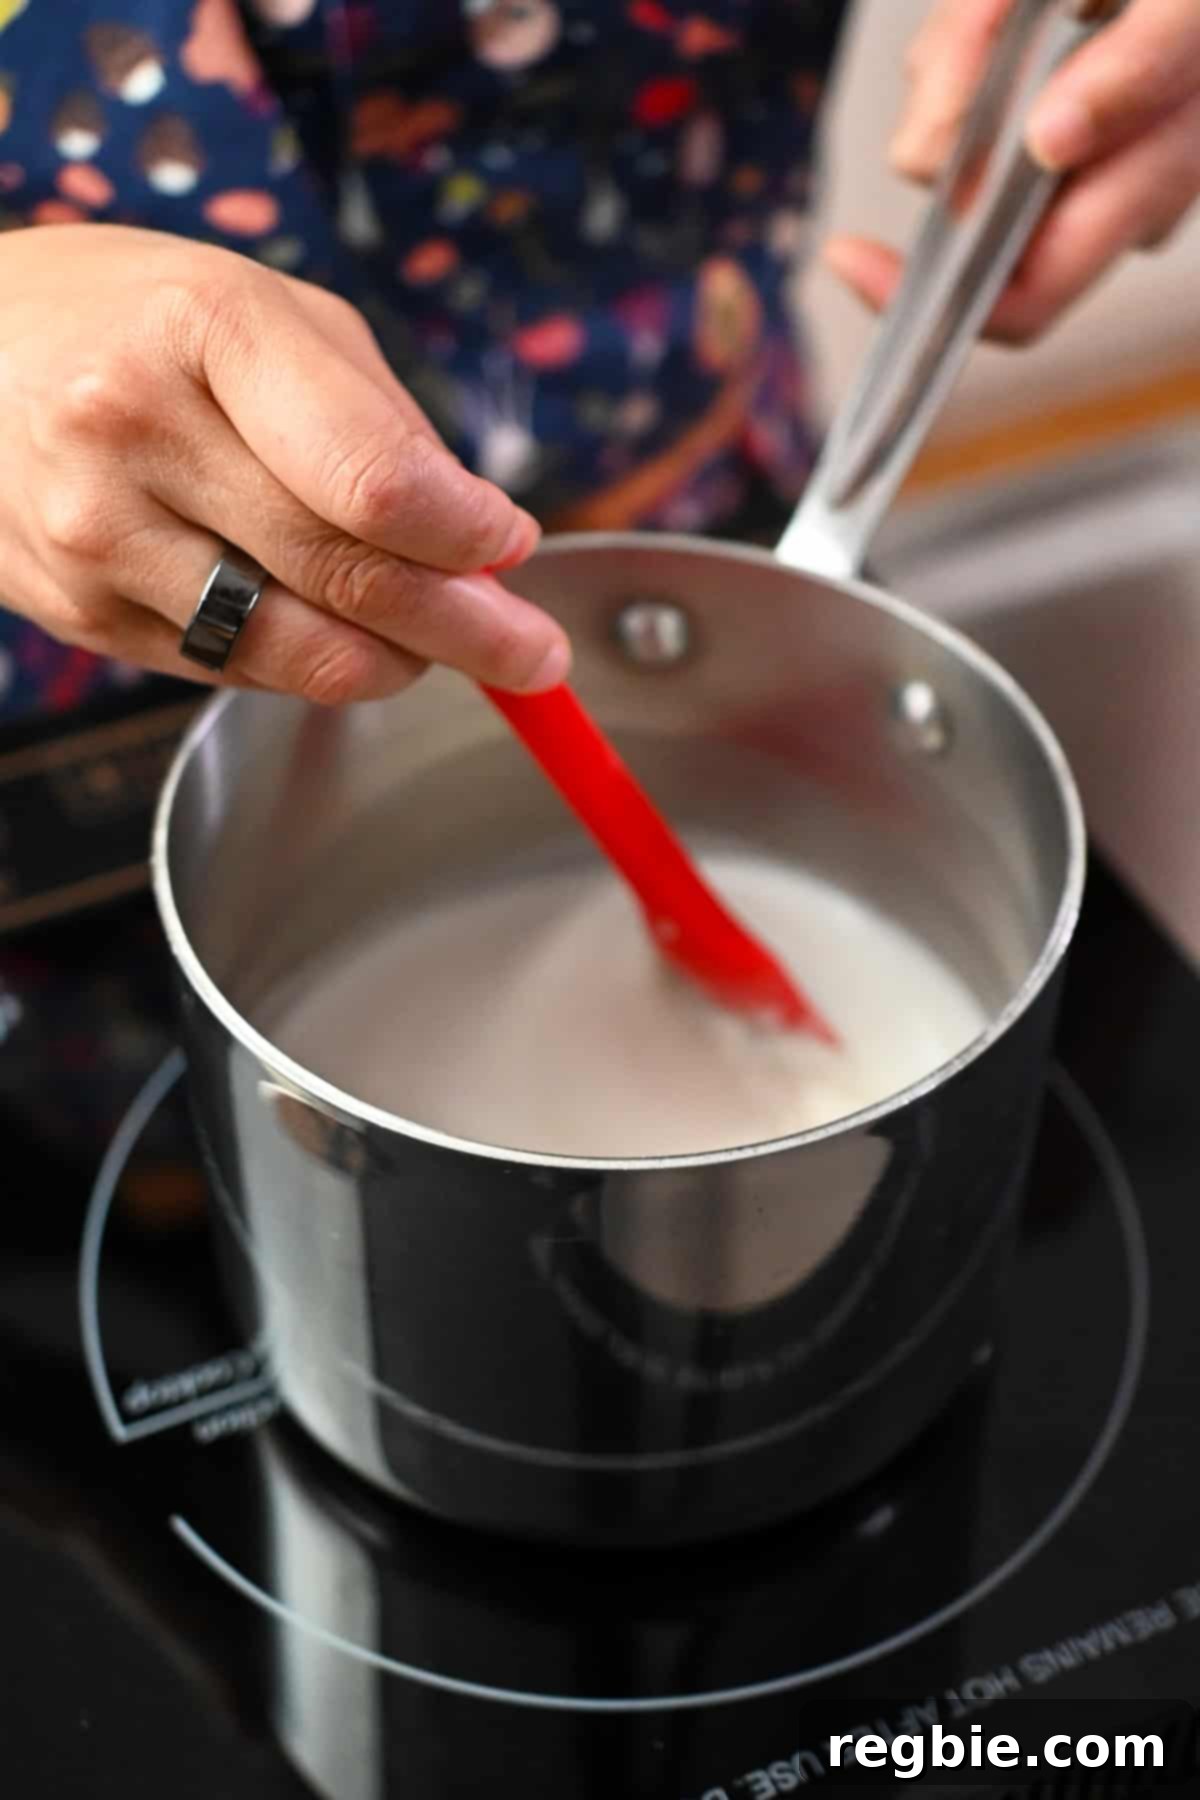
Next, gently heat the full-fat coconut milk. Pour the coconut milk into a small saucepan and place it over low heat. Warm it until it is steaming, but crucially, do not let it come to a boil. This gentle warming helps to dissolve the maple syrup later and ensures a smoother custard base, preventing the eggs from scrambling when combined.
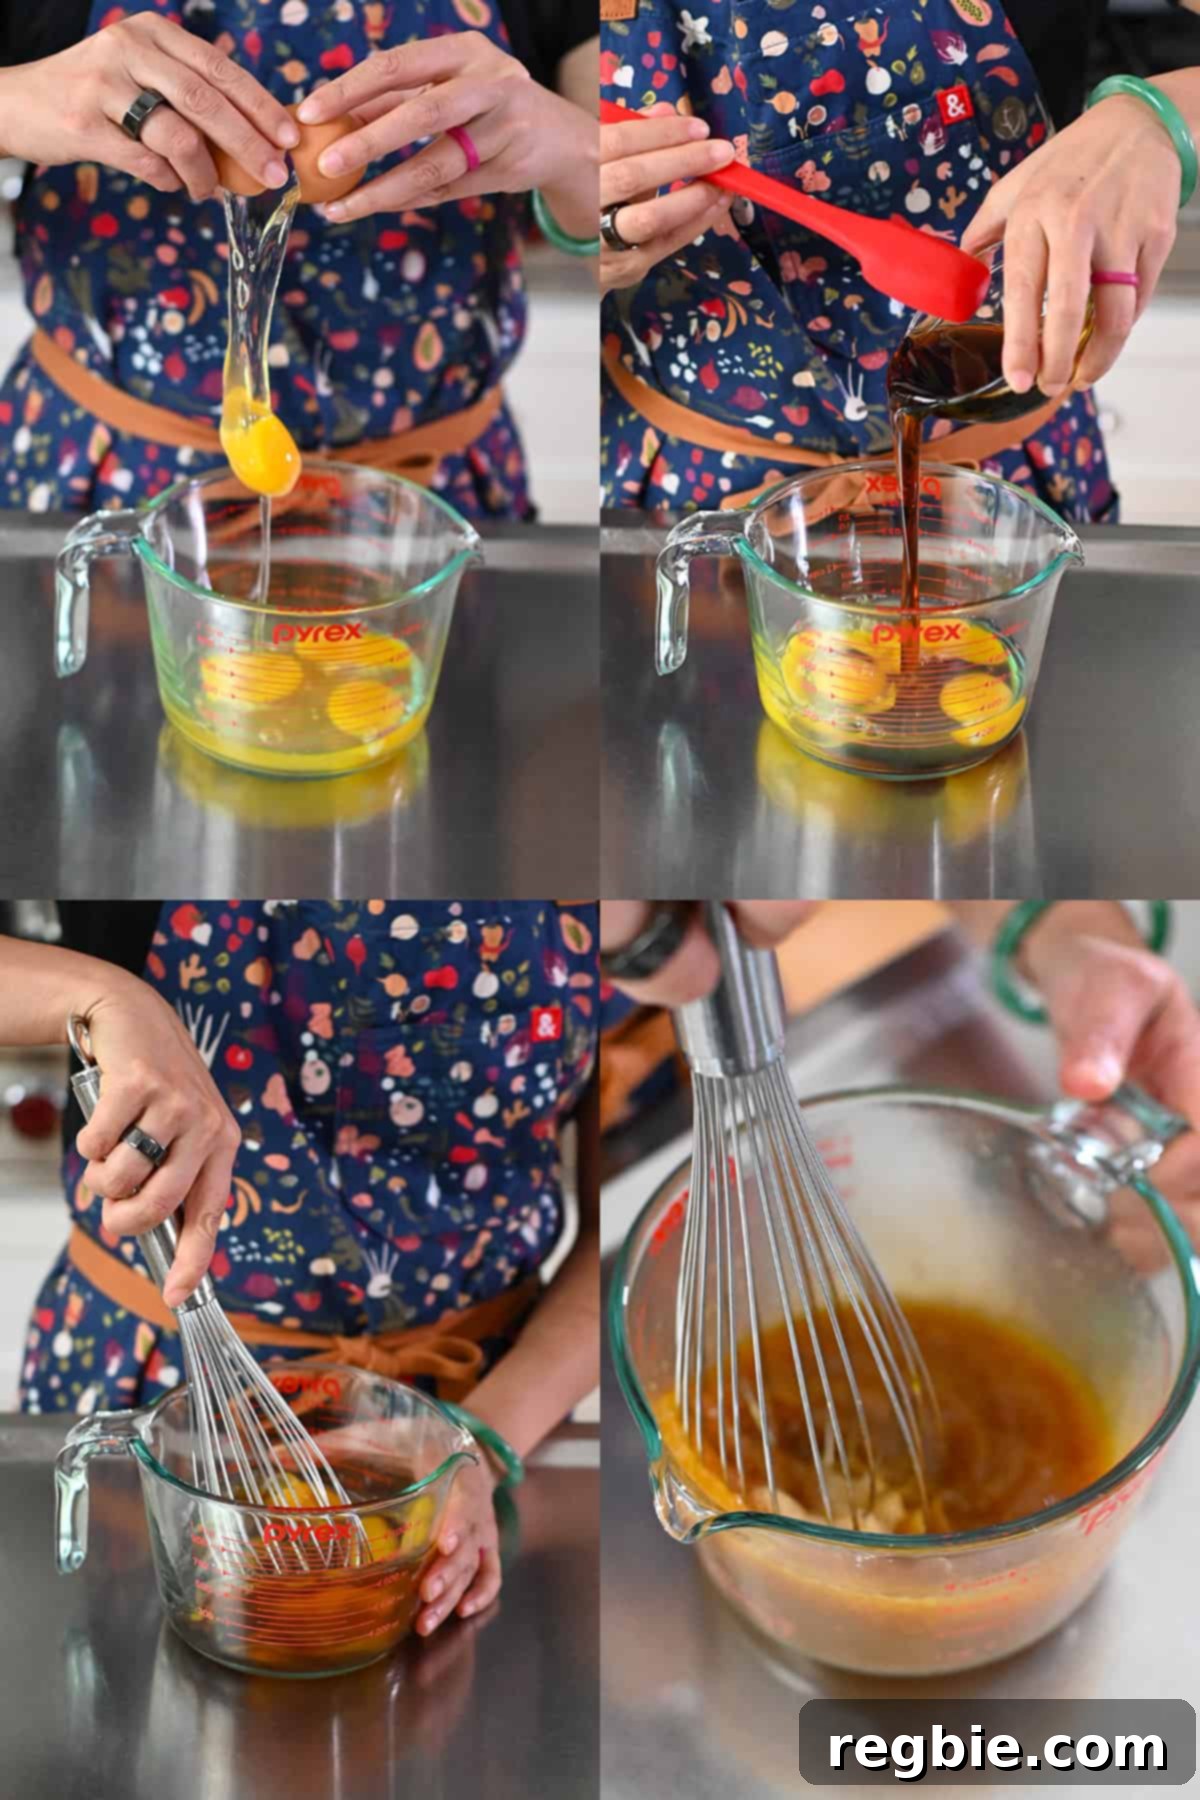
In a large mixing bowl, crack the four large eggs. Add the maple syrup to the eggs. Whisk these two ingredients together thoroughly until they are well combined and slightly frothy. This initial whisking helps to break down the egg proteins, preparing them for the warm coconut milk.
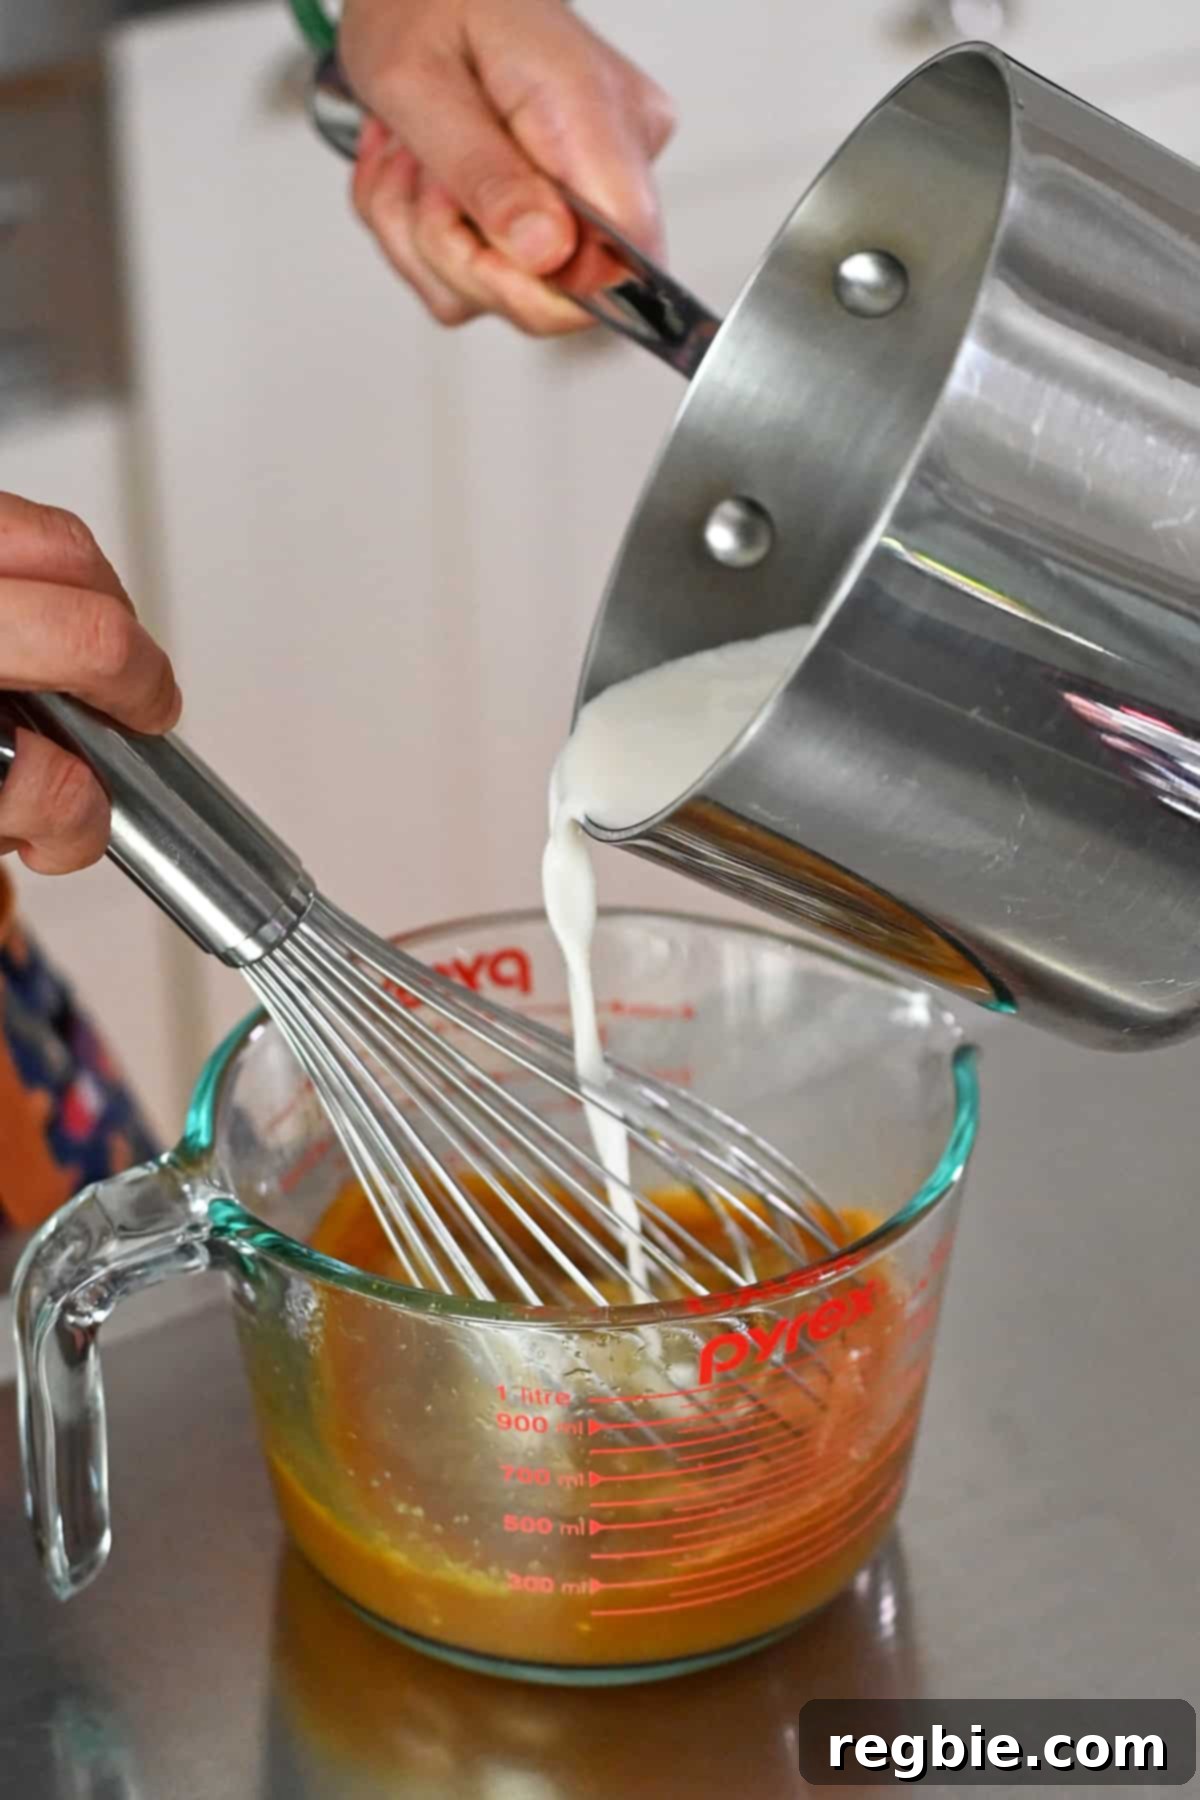
Now comes the delicate process of tempering the eggs. While continuously whisking the egg and maple syrup mixture vigorously, slowly pour the warmed coconut milk into the bowl in a slow and constant stream. This gradual addition, known as tempering, is essential. If you add the hot coconut milk all at once, the sudden change in temperature will cook the eggs too rapidly, resulting in an unfortunate batch of scrambled eggs instead of a smooth custard base. Patience here is key to achieving a flawless texture.
Once the coconut milk has been fully incorporated, add the star of the show: the pumpkin puree, along with the pumpkin spice blend, vanilla extract, and kosher salt. These ingredients will infuse the custard with its signature fall flavor and aroma.
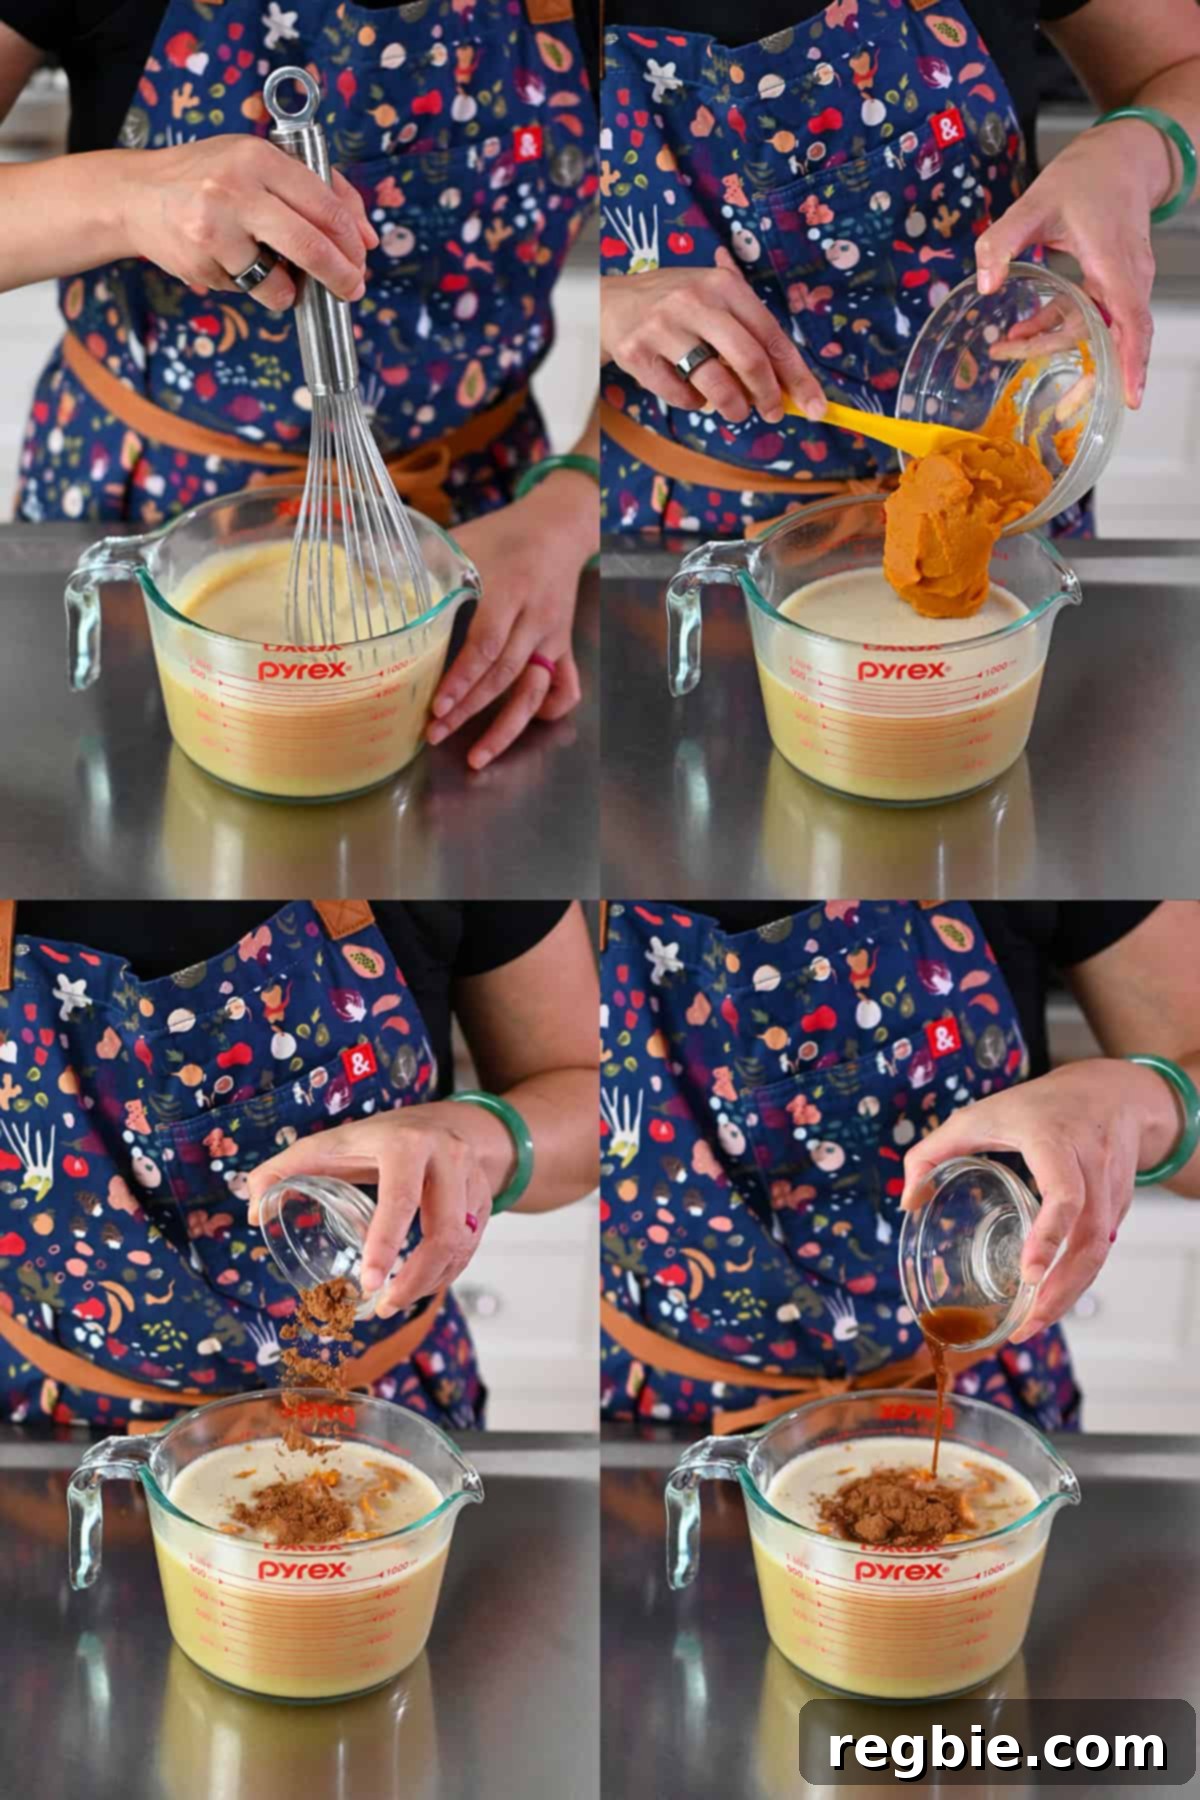
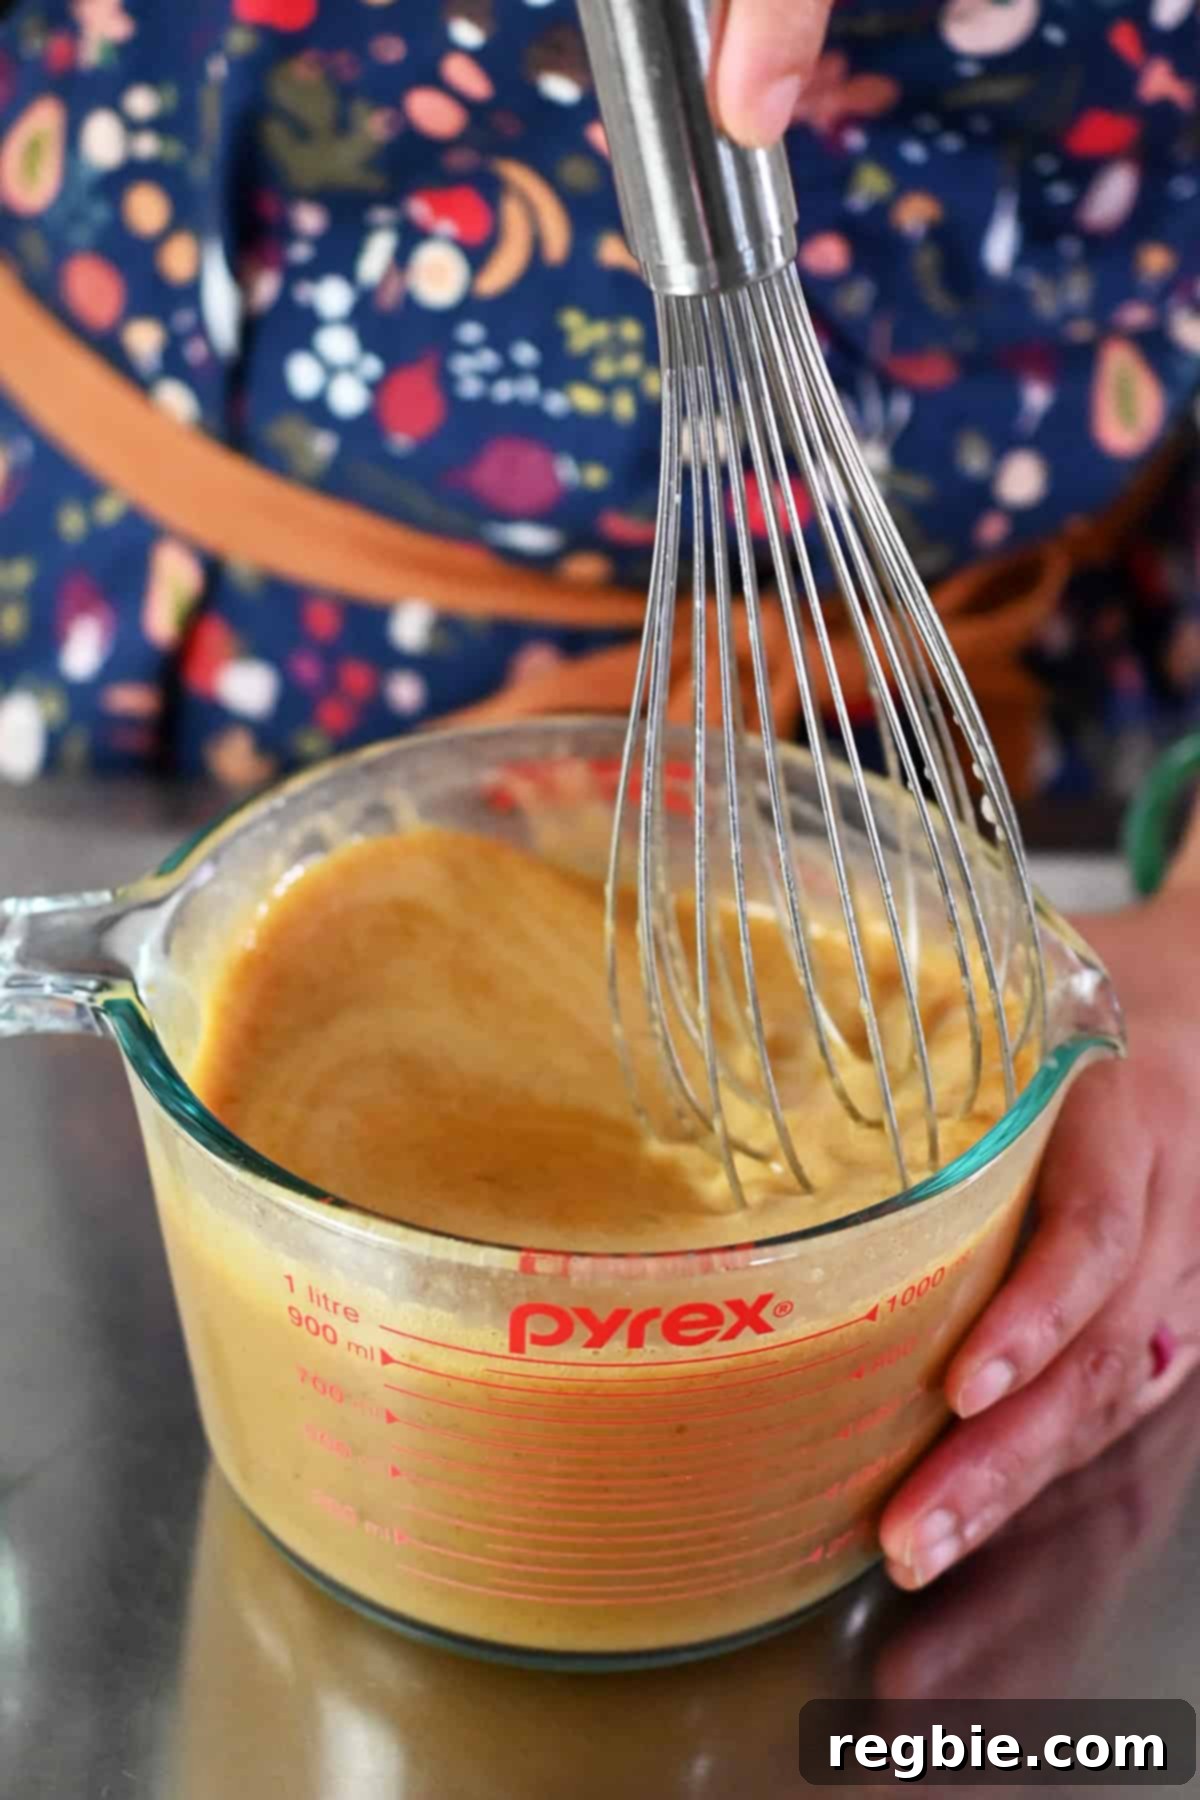
Continue to whisk the entire mixture until all the ingredients are thoroughly and evenly combined. The mixture should be smooth and uniform in color, with no streaks of pumpkin or spices. A well-whisked mixture ensures consistent flavor and texture in every bite of your custard.
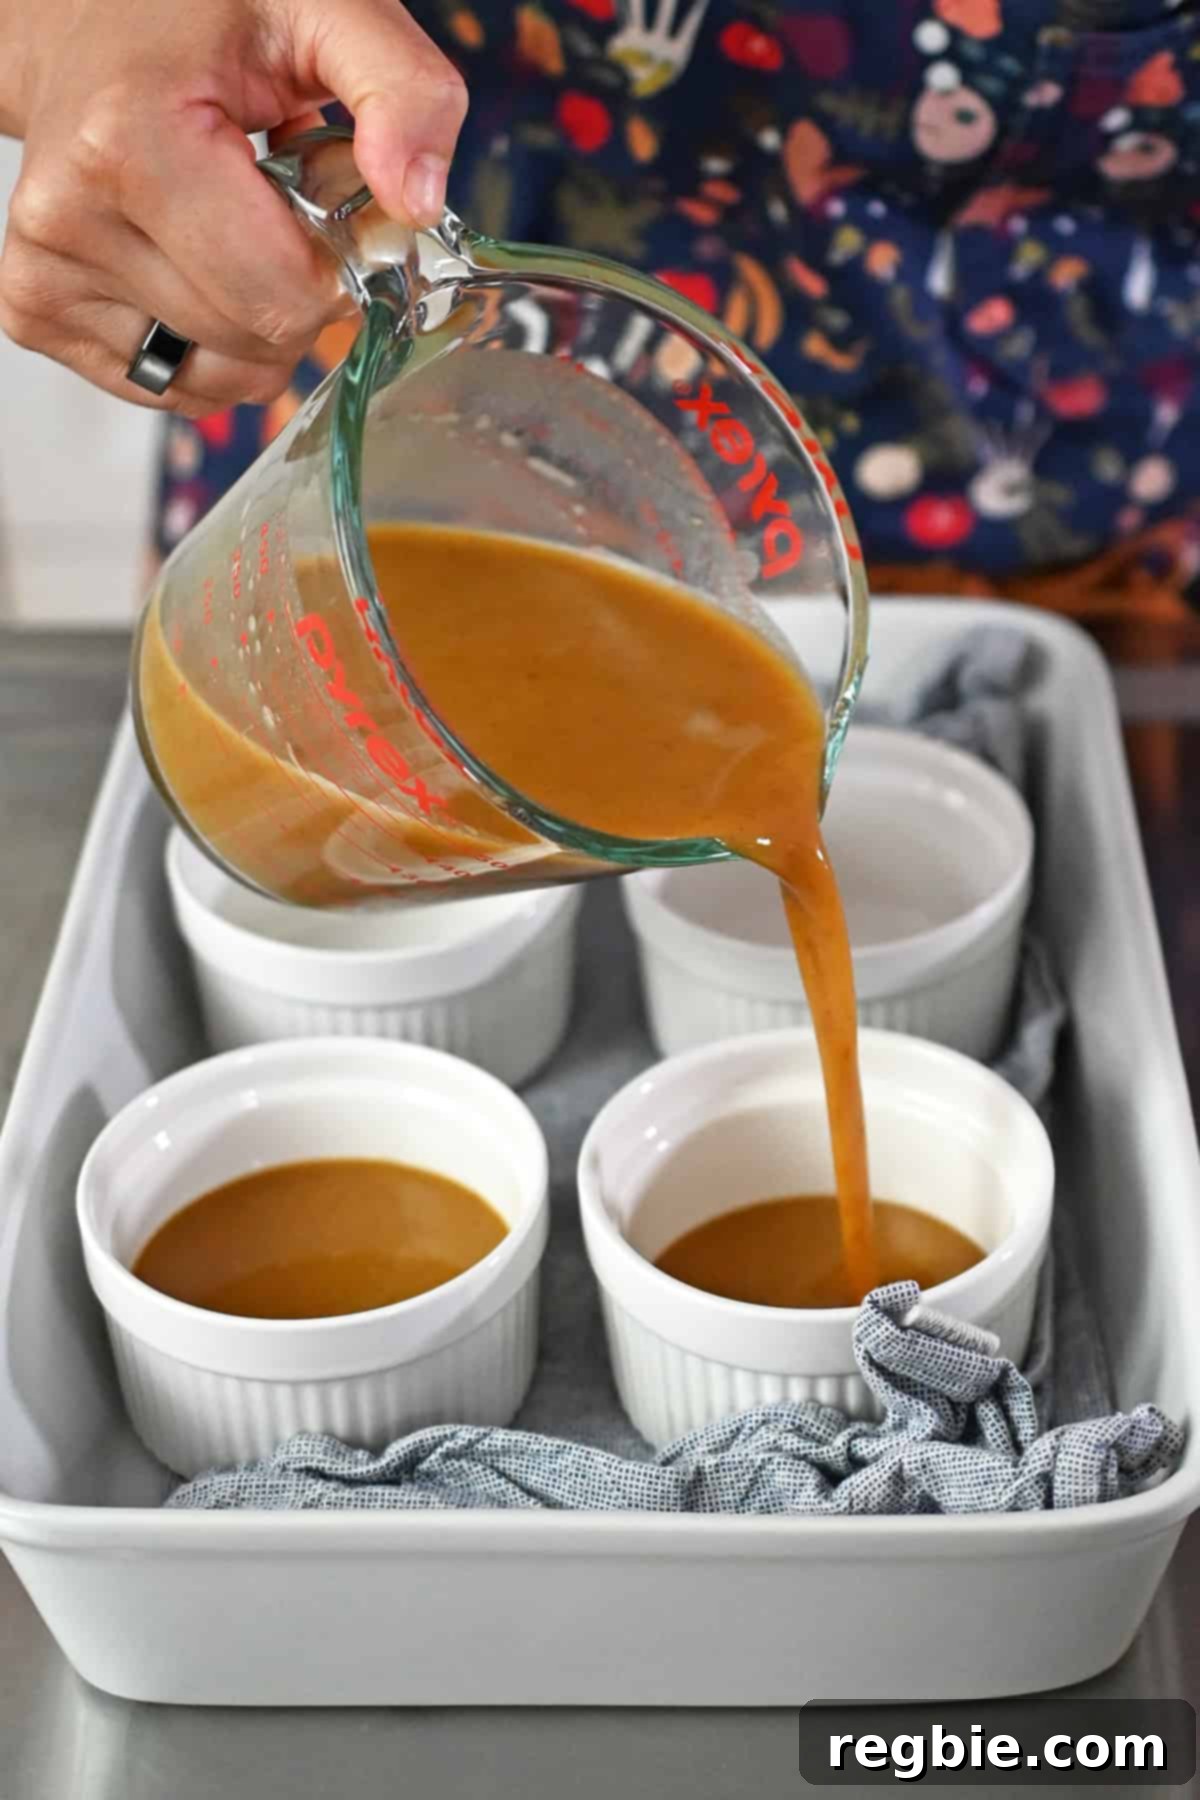
Carefully pour the pumpkin mixture into the prepared ramekins, dividing it evenly. Each ramekin should be filled almost to the top. Take your time to ensure even distribution for consistent cooking.
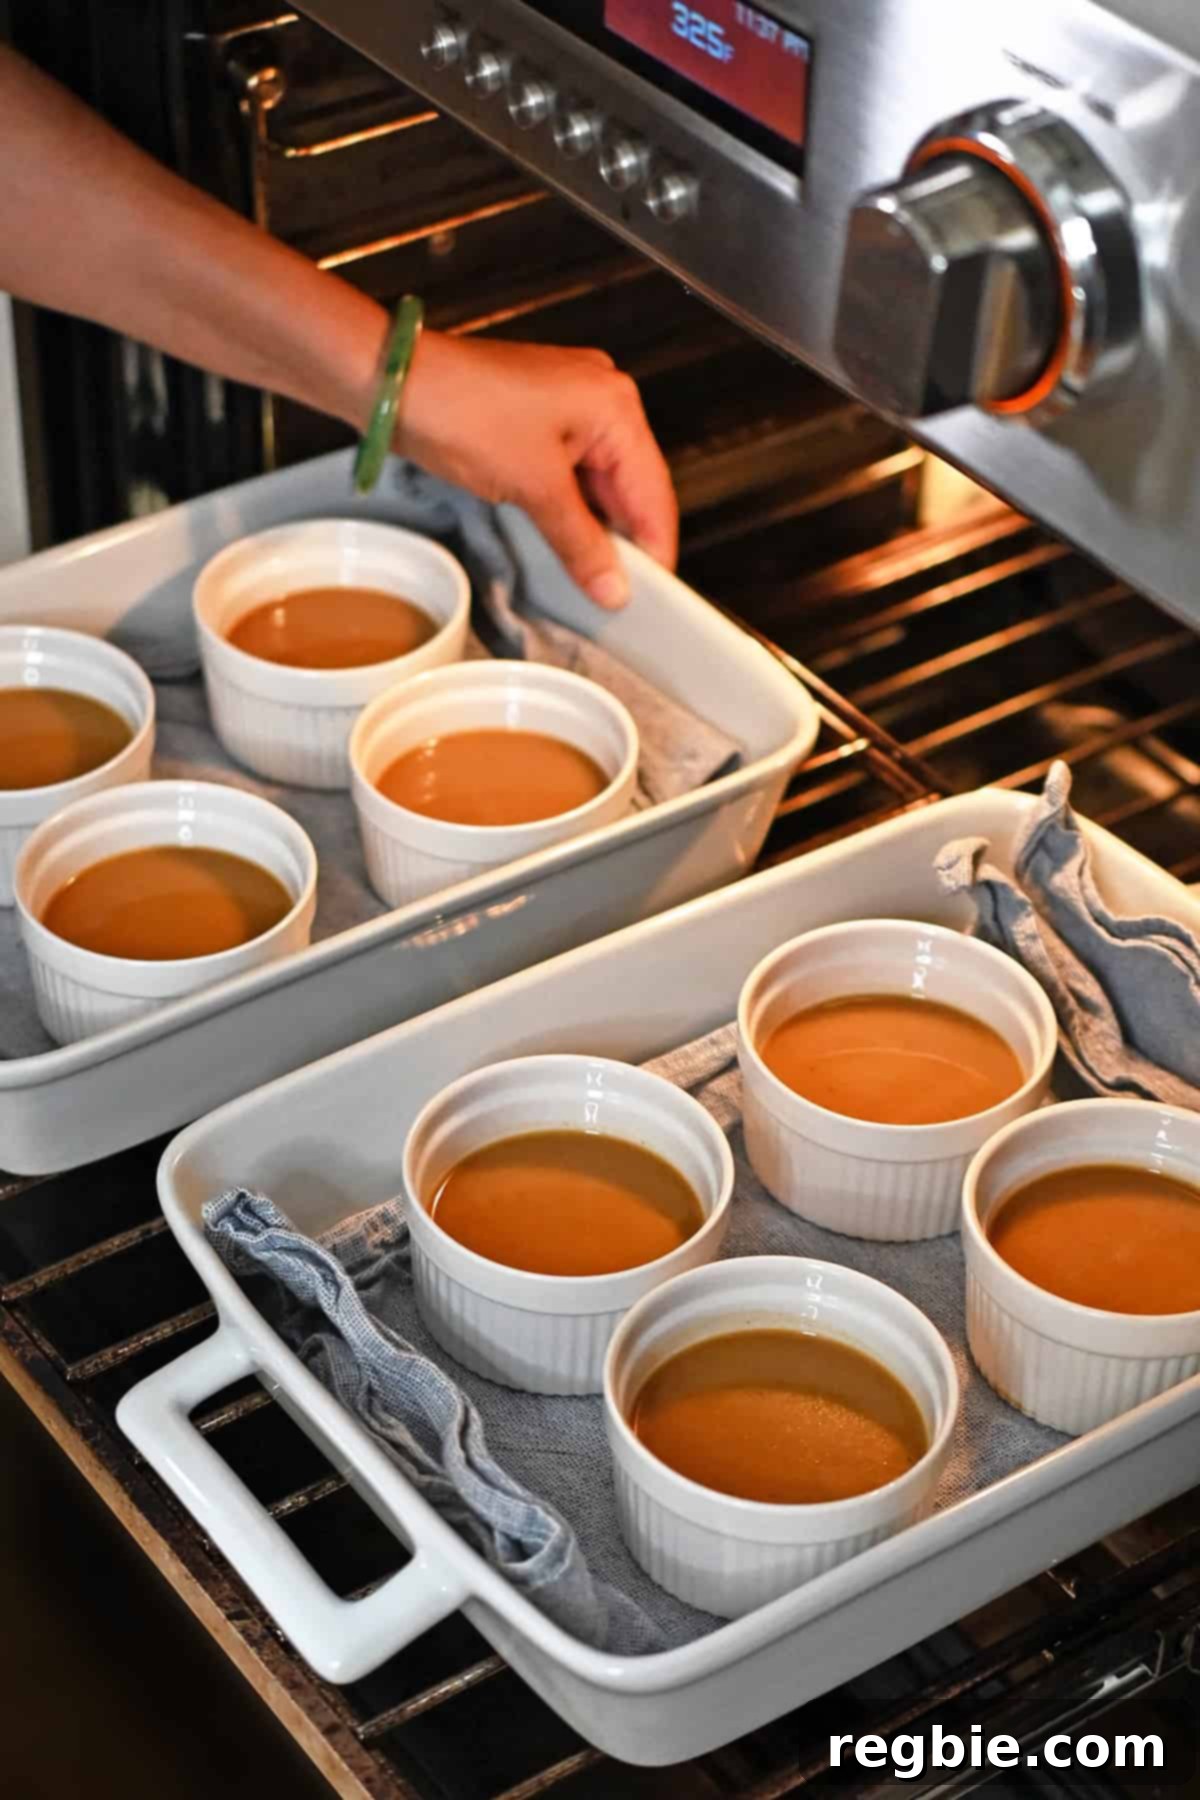
With utmost care, transfer the two casserole pans, now filled with the ramekins and custard mixture, to the hot oven. Place them gently on the middle rack.
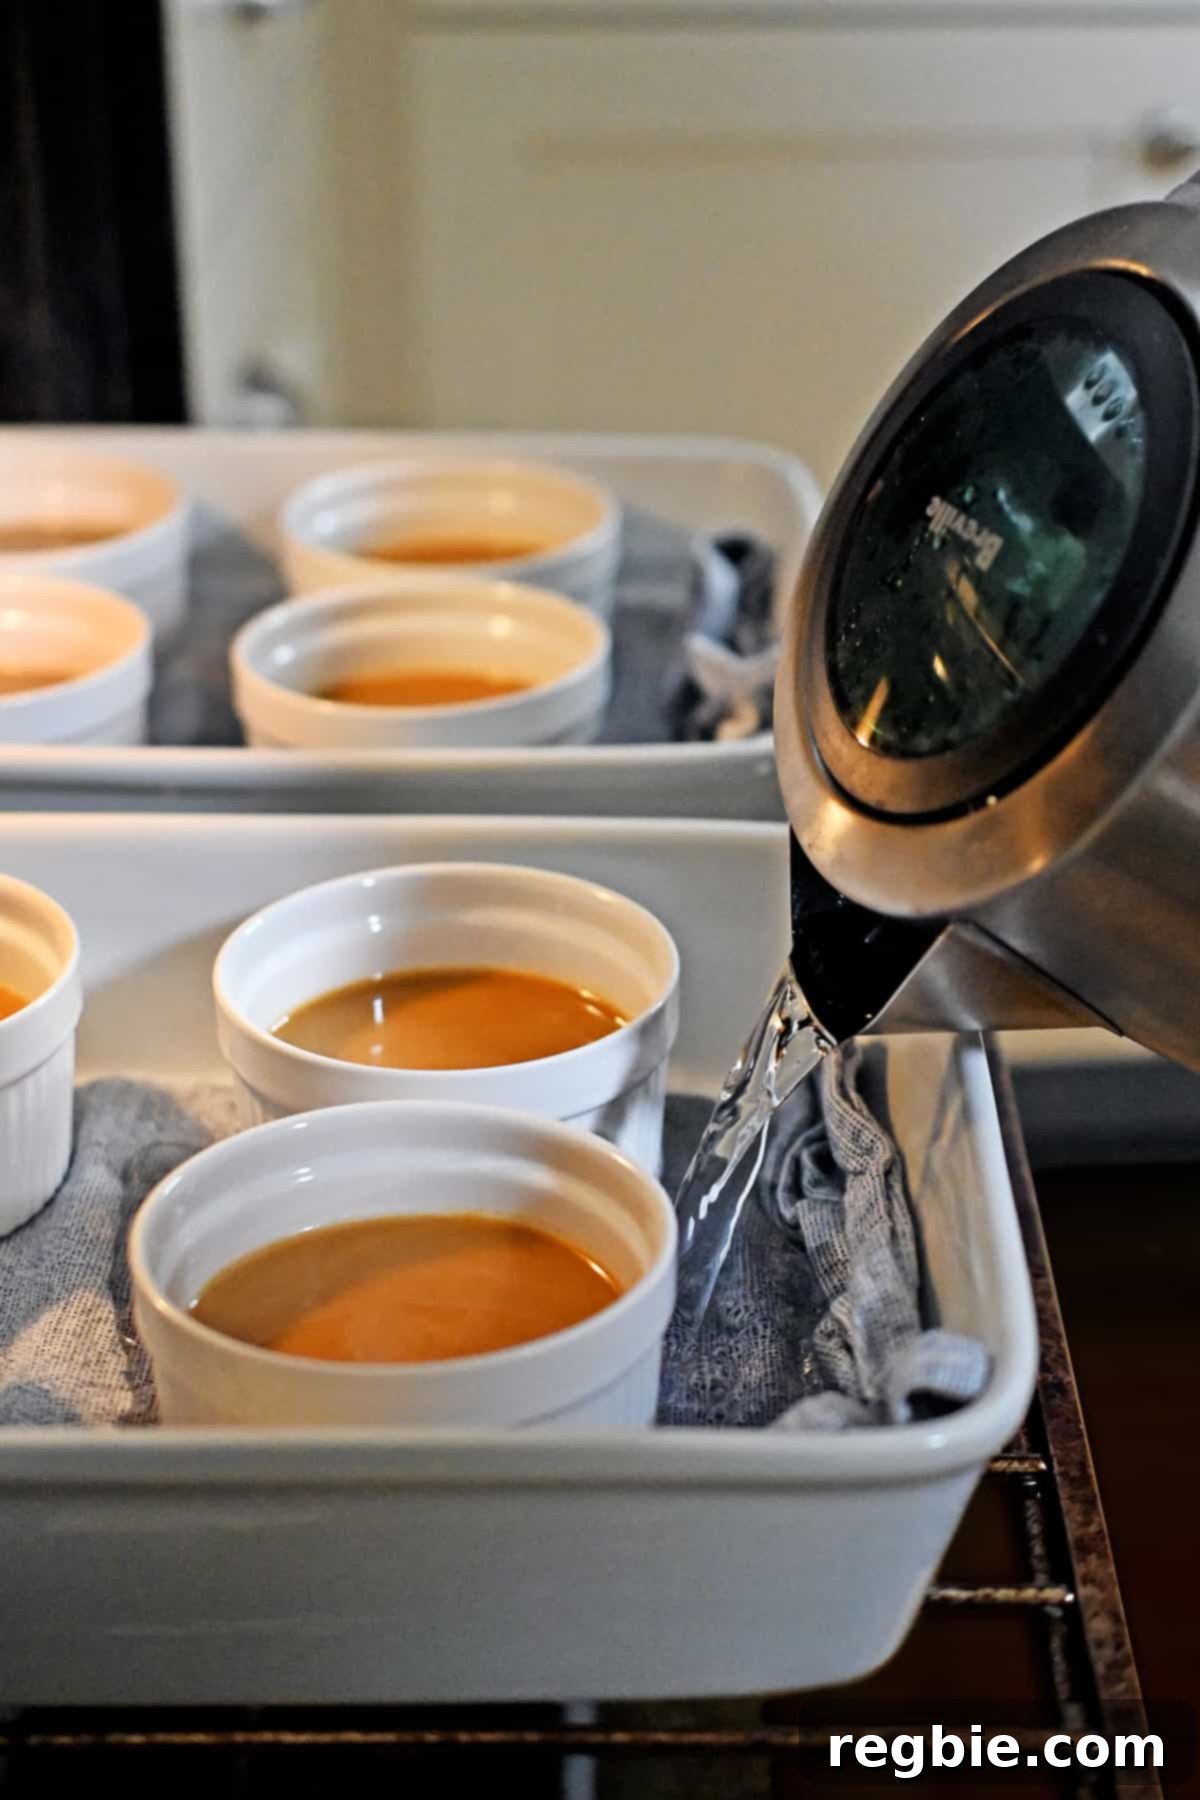
Once the casserole dishes are securely in the oven, carefully pour the boiling water from your kettle into the baking dishes. Fill them until the water reaches approximately halfway up the sides of the ramekins. This creates the essential bain-marie. Quickly but gently shut the oven door to maintain the heat and humidity within.
Bake the custard cups for approximately 30 minutes. The exact baking time can vary slightly depending on your oven and the specific ramekins used, so it’s important to check for doneness. The custards are ready when a thin knife inserted into the center comes out clean. At this point, the custards should still be slightly jiggly in the middle; they will continue to set as they cool. Overbaking can lead to a less desirable, rubbery texture, so keep a close eye on them.
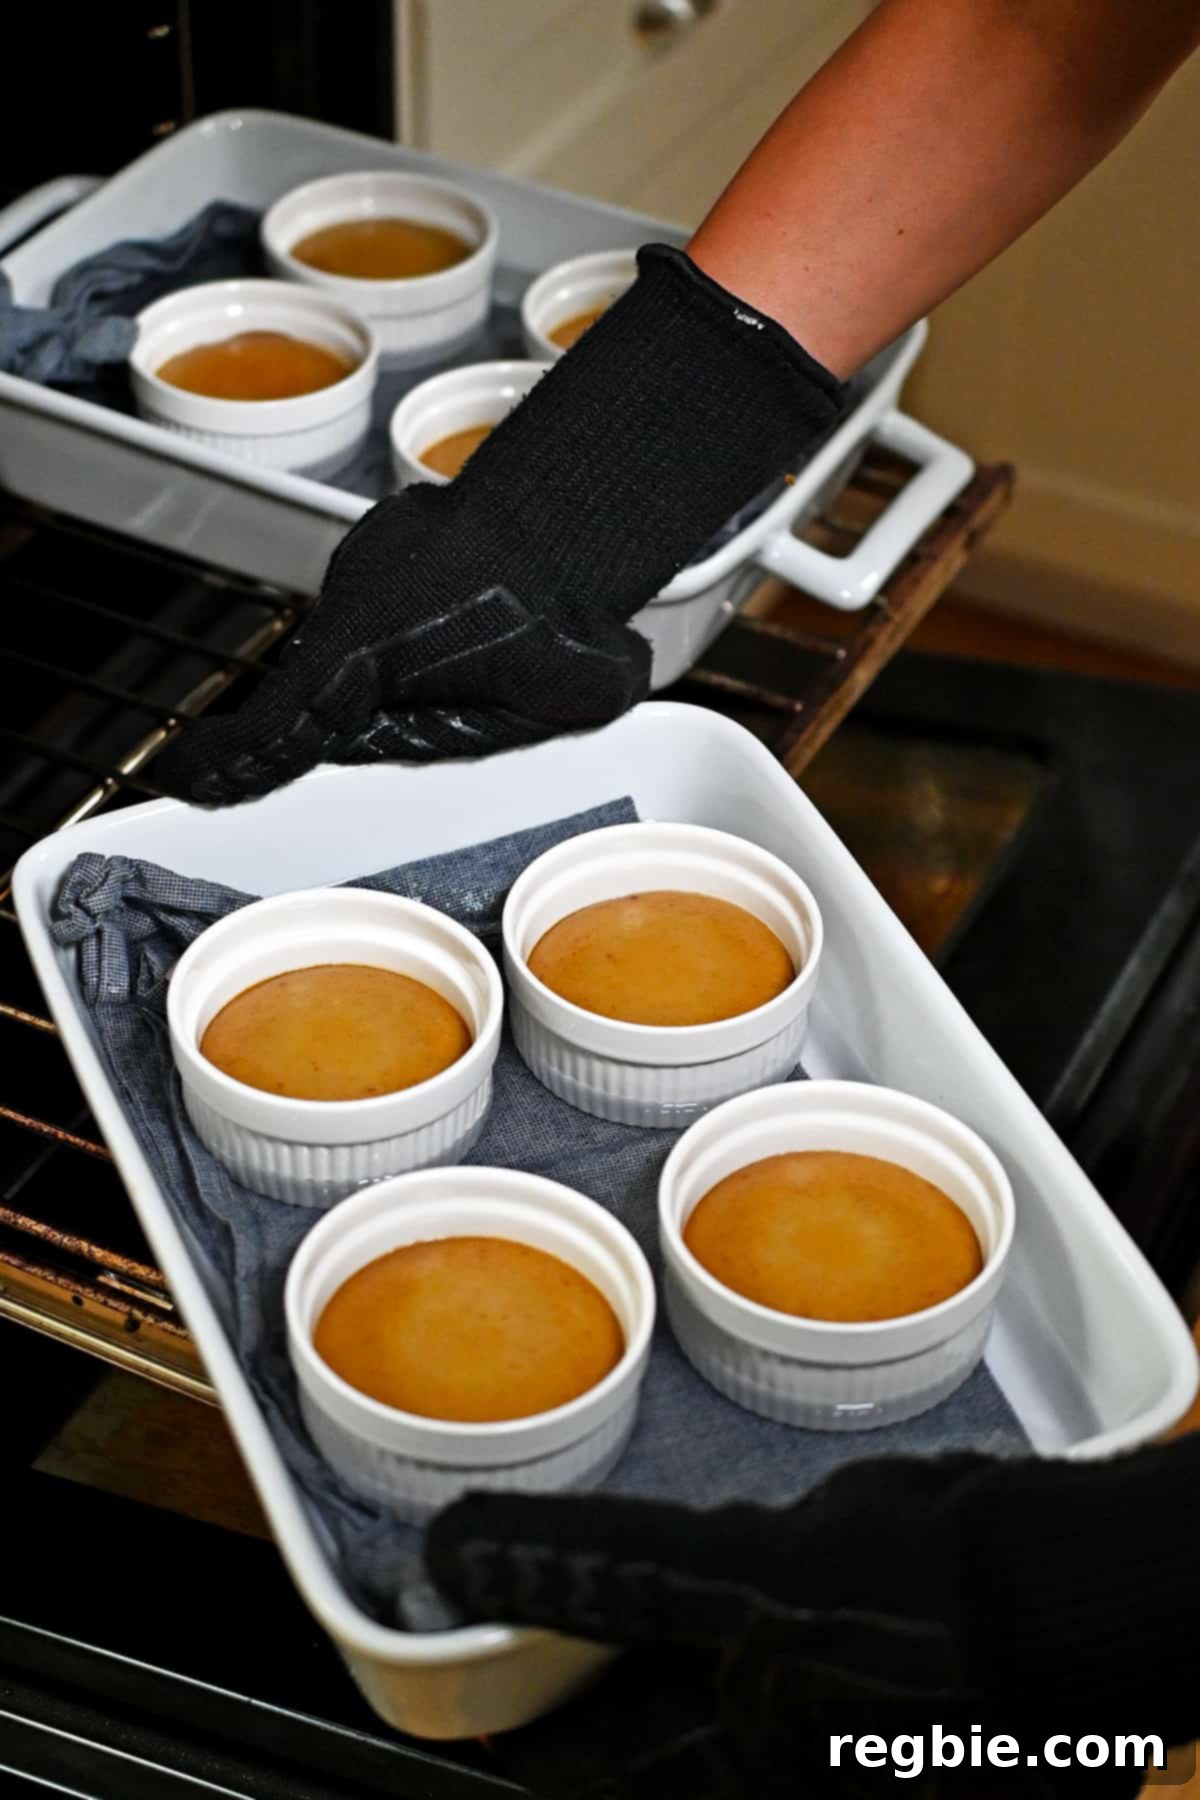
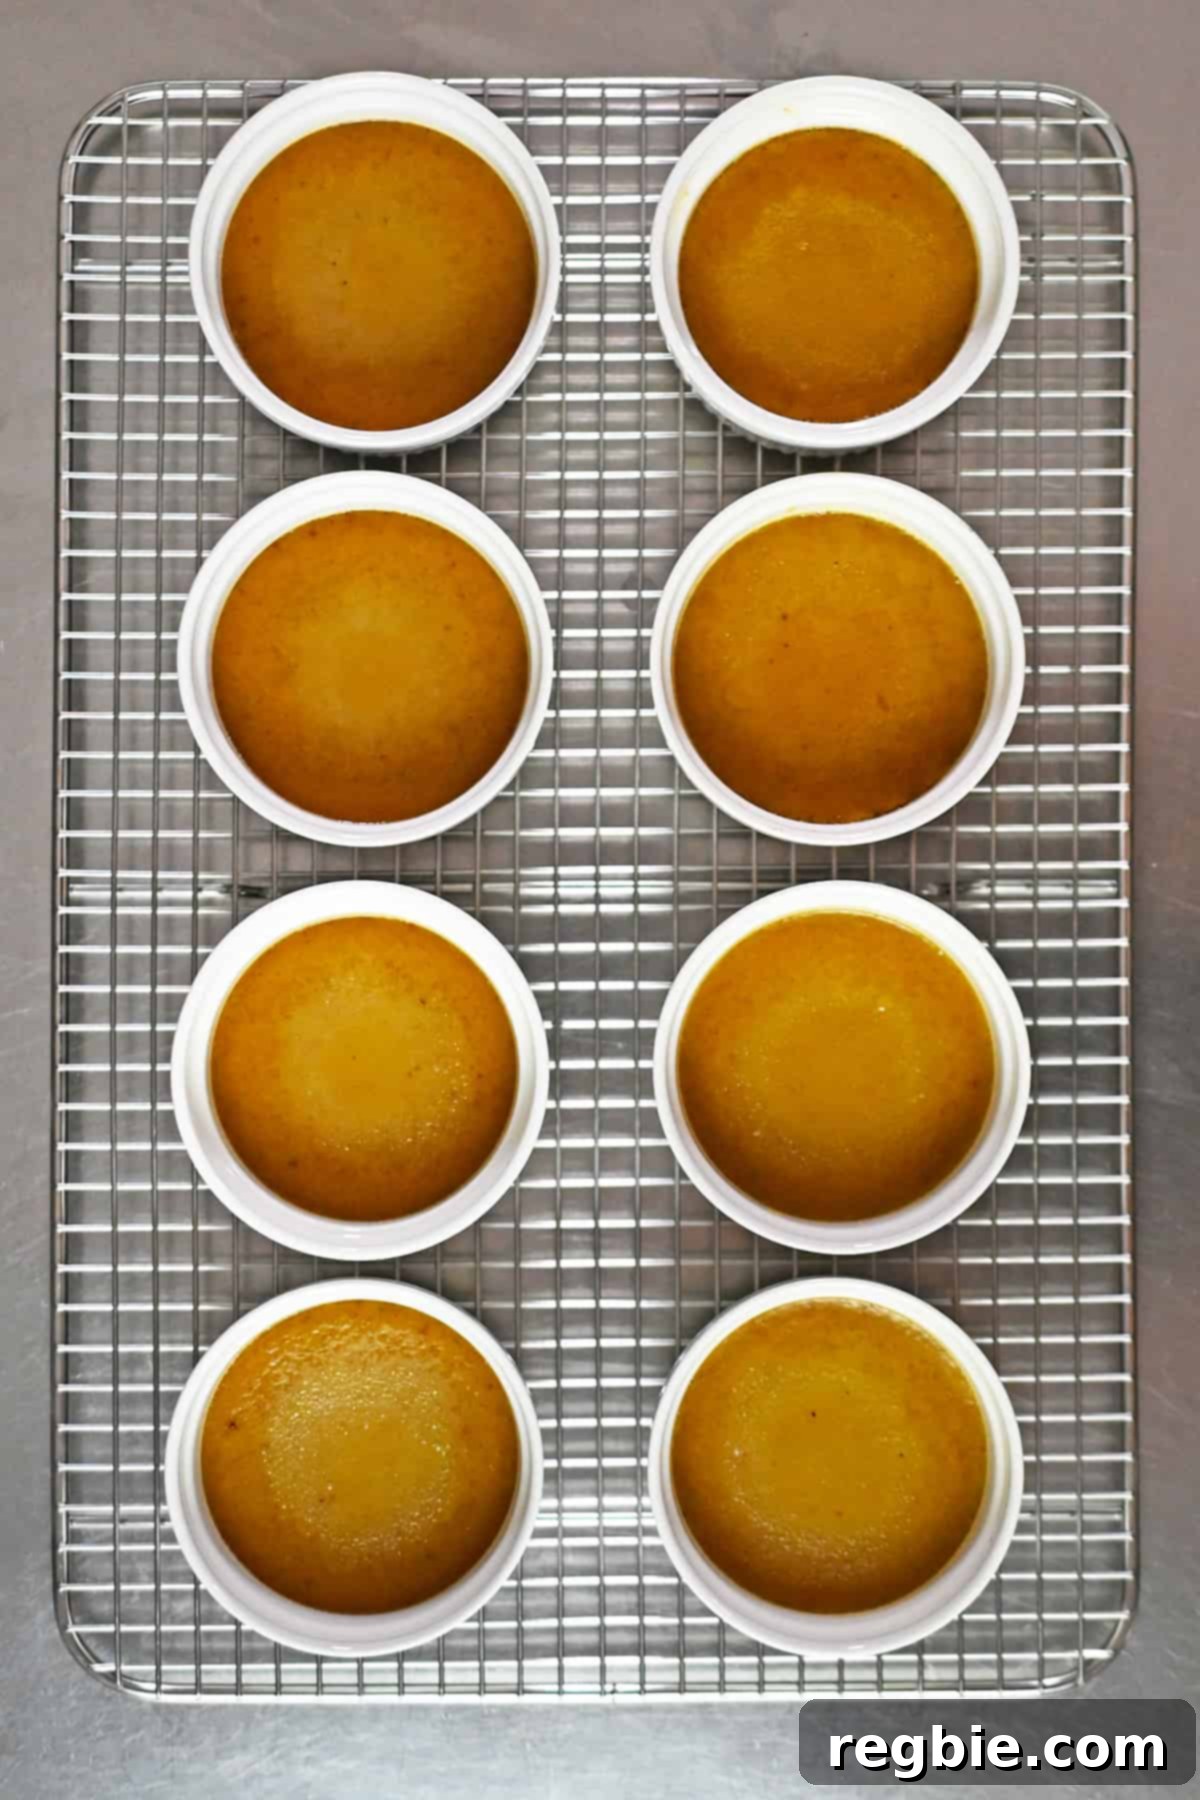
Once baked, carefully remove the casserole pans from the oven. Allow the custards to cool completely on a wire rack until they reach room temperature. This gradual cooling process is important for the custards to fully set and achieve their optimal texture. After cooling to room temperature, they can be refrigerated if you plan to serve them chilled.
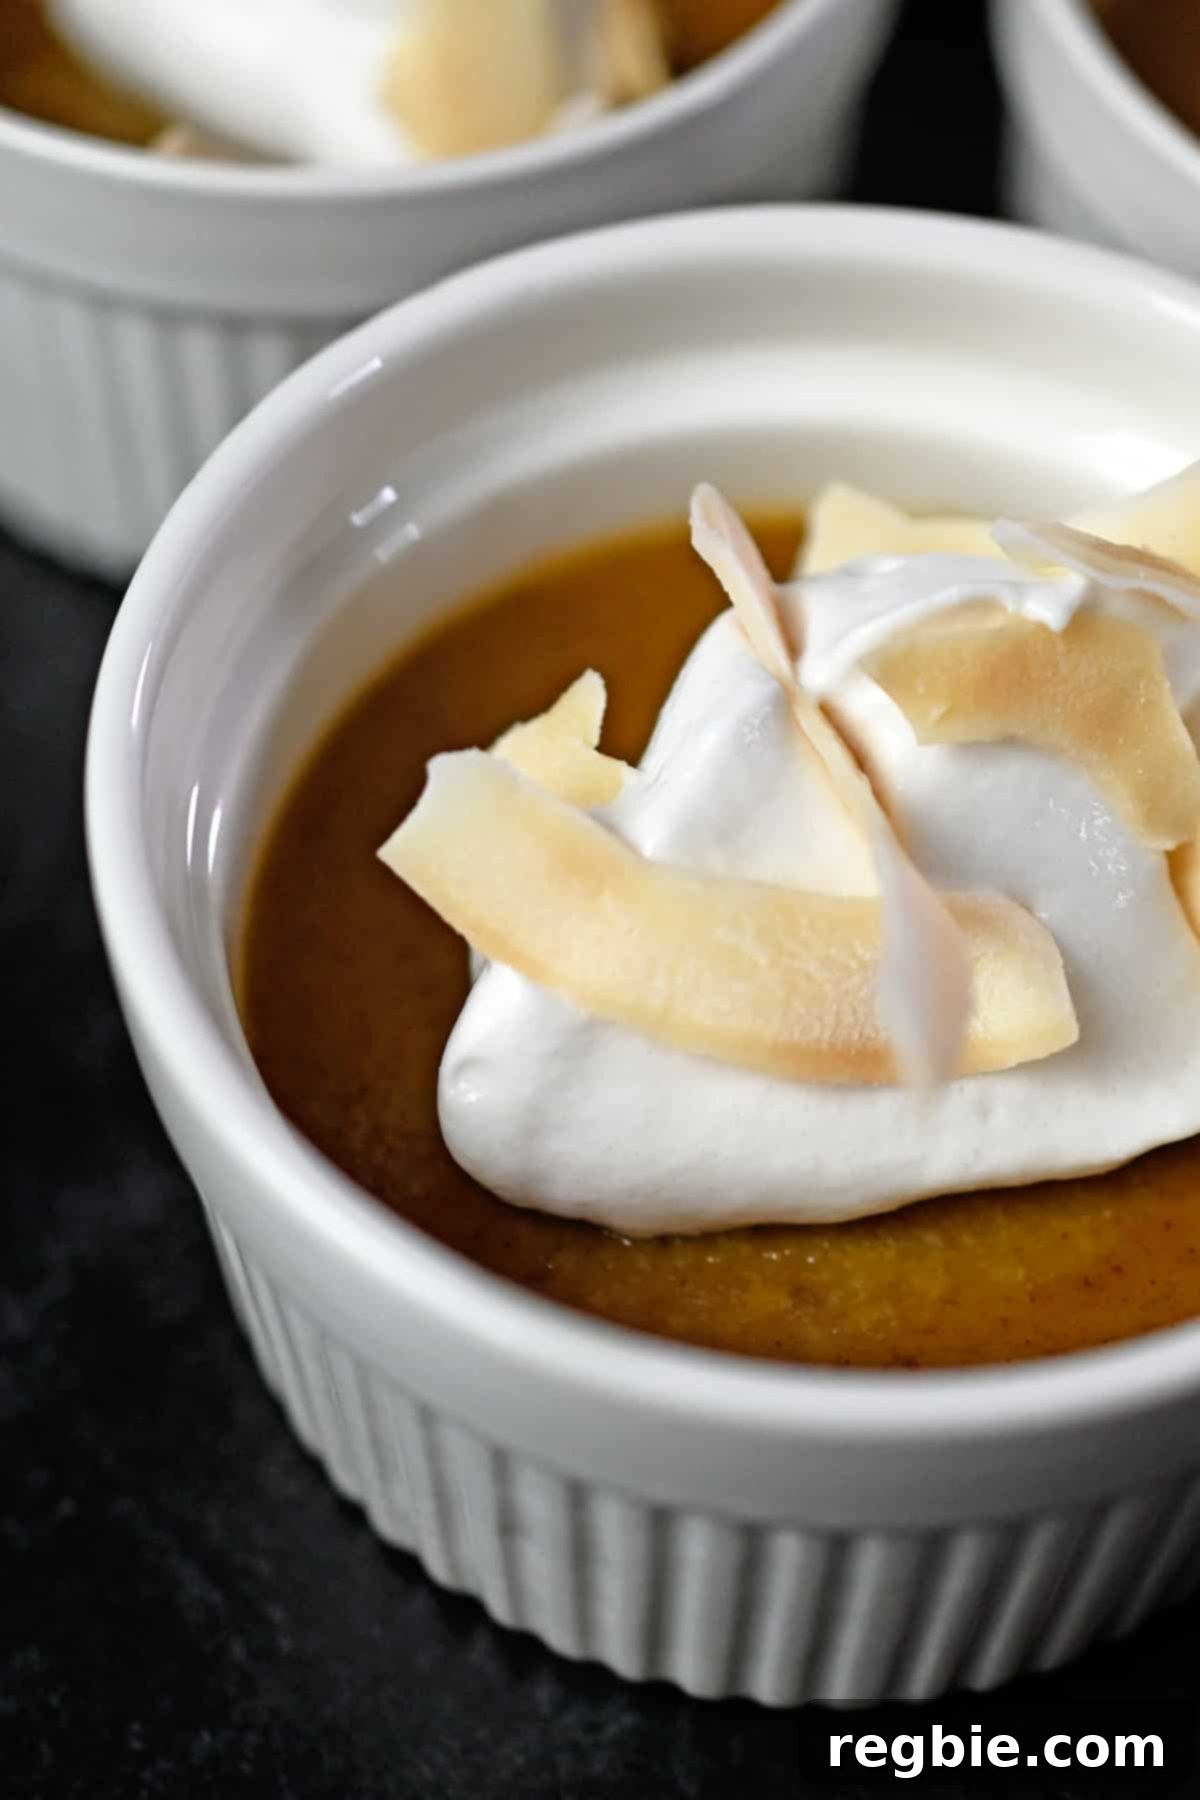
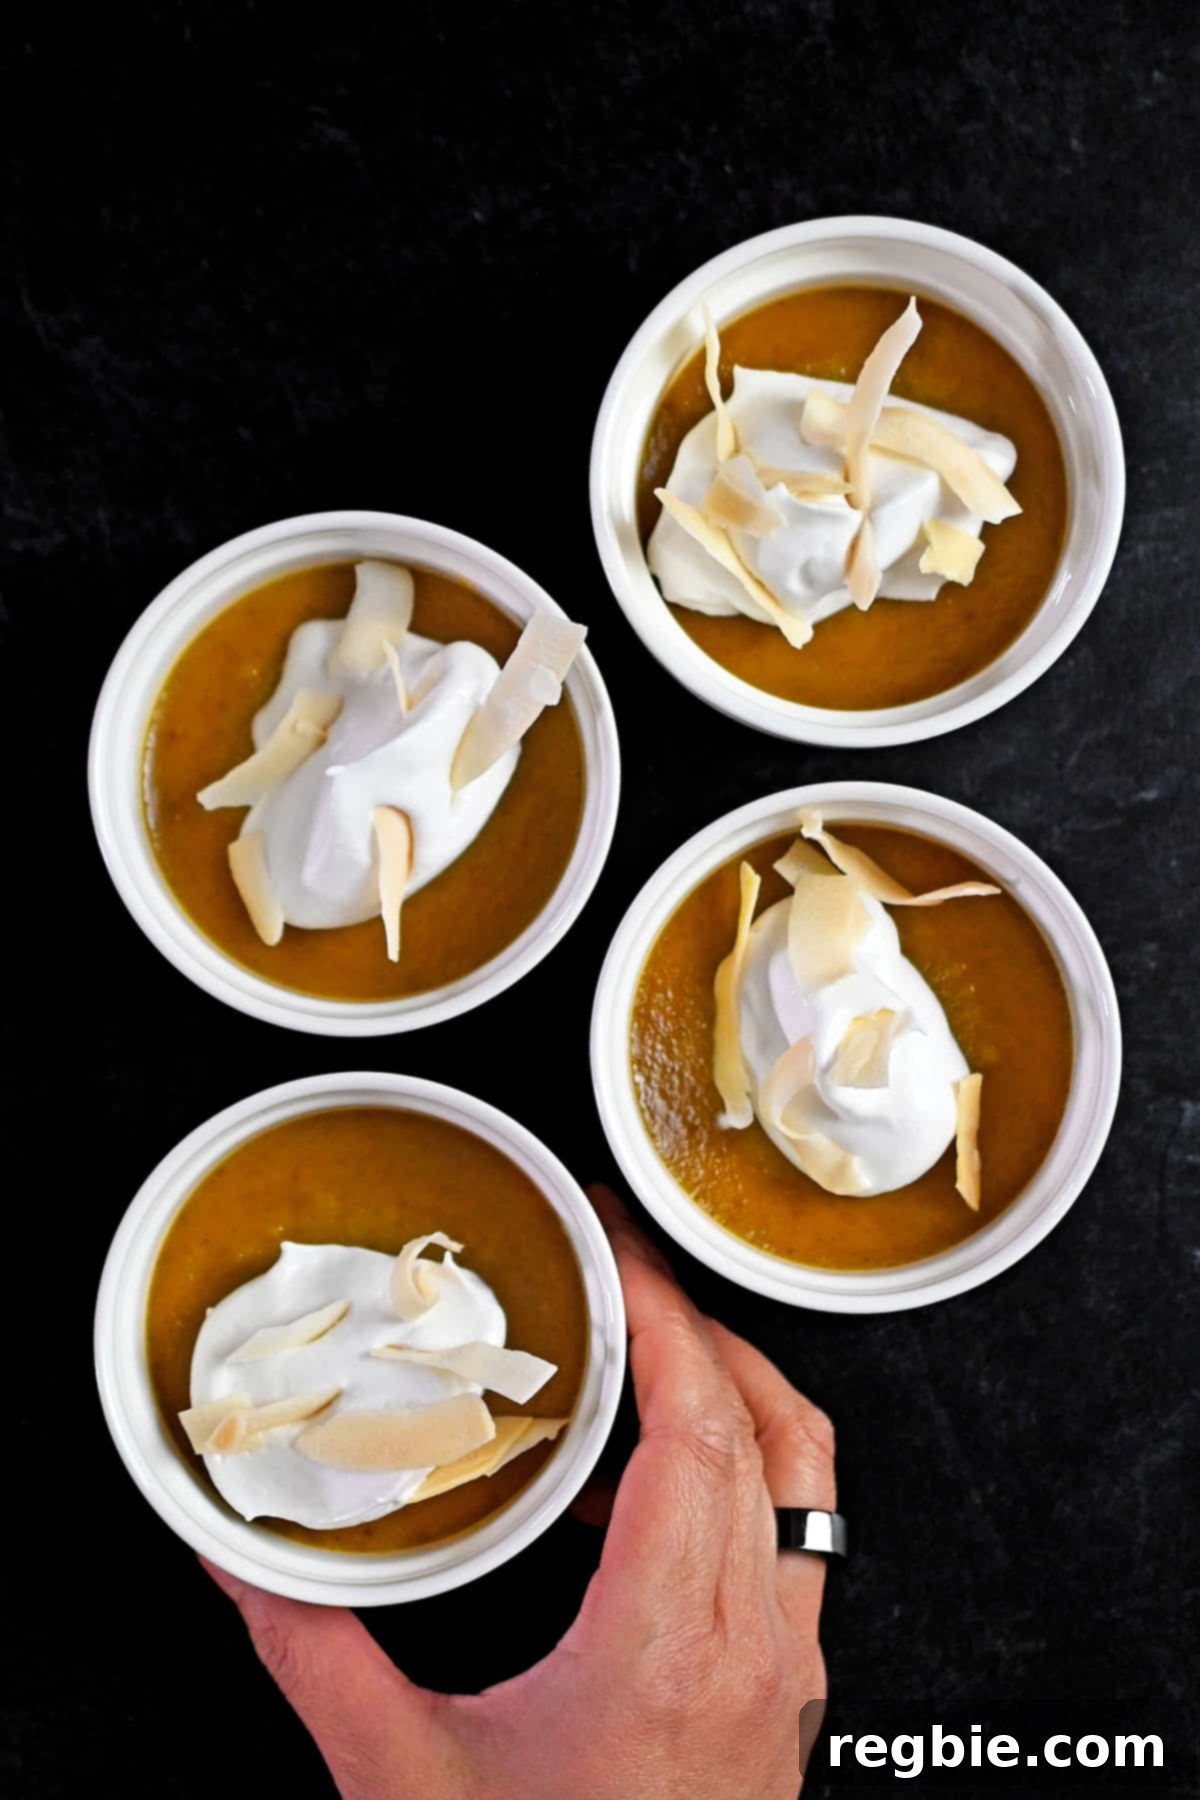
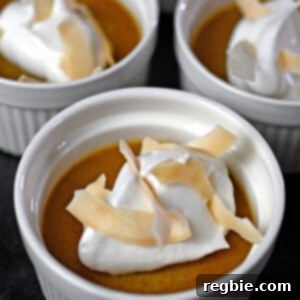
For a truly indulgent experience, consider adding optional toppings. Just before serving, top the cooled pumpkin custards generously with a dollop of fluffy whipped coconut cream and a sprinkle of crunchy toasted coconut flakes. This combination adds layers of flavor and texture that elevate the dessert to new heights, making each bite an absolute delight.
How to Store and Enjoy Your Pumpkin Custard Cups
One of the many advantages of these Paleo pumpkin custards is their excellent make-ahead potential. They taste absolutely divine when chilled, making them perfect for preparing a day or two in advance of your event. To store, simply cover the ramekins tightly with plastic wrap once they have cooled to room temperature, and then refrigerate them for up to four days. This allows the flavors to meld beautifully and the custard to achieve an even firmer, more refreshing texture. For the best presentation and taste, add the optional toppings – whipped coconut cream and toasted coconut flakes – right before you are ready to serve and devour them. This ensures the whipped cream remains light and airy and the coconut flakes retain their delightful crunch, providing a fresh and satisfying contrast to the creamy custard.
Explore More Paleo Pumpkin Dessert Recipes
If you’re enchanted by the flavors of this Paleo pumpkin custard and eager to explore more healthy fall treats, you’re in luck! Pumpkin is an incredibly versatile ingredient for Paleo baking, offering a natural sweetness and moist texture to a variety of desserts. Here are some other fantastic Paleo pumpkin-inspired recipes to satisfy your autumnal cravings:
- Paleo Pumpkin and Carrot Muffins: A wholesome and nutrient-packed start to your day or a delightful snack.
- Paleo Chocolate Chip Muffins: The classic comfort of chocolate chips meets the cozy warmth of pumpkin in a healthy muffin.
- Paleo Pumpkin Muffins: Simple, classic, and utterly delicious – a perfect everyday treat.
- Pumpkin Cookies: Soft, chewy, and spiced just right, these cookies are a fantastic grab-and-go dessert.
- Pumpkin Mug Cake: For those moments when you need a quick, single-serving indulgence, this mug cake delivers.
- Pumpkin Snickerdoodles: A beloved cookie gets a fall makeover with pumpkin and a delightful cinnamon-sugar coating.
Looking for even more incredible Paleo recipe ideas? Be sure to head on over to my comprehensive Recipe Index, where you’ll find a treasure trove of healthy and delicious meals for every occasion. Additionally, discover exclusive recipes and culinary inspiration in my critically acclaimed cookbooks: Nom Nom Paleo: Food for Humans (Andrews McMeel Publishing 2013), Ready or Not! (Andrews McMeel Publishing 2017), and the latest, Nom Nom Paleo: Let’s Go! (Andrews McMeel Publishing 2022). Happy cooking!
Paleo Pumpkin Custard
★
★
★
★
Ingredients
- 1¼ cup full-fat coconut milk
- 4 large eggs
- ½ cup maple syrup
- ¾ cup canned pumpkin purée (I use Libby’s)
- 1½ teaspoons pumpkin spice blend
- ½ teaspoon vanilla extract
- ¼ teaspoon Diamond Crystal brand kosher salt
- whipped coconut cream (optional topping)
- ½ cup toasted coconut flakes (optional topping)
Instructions
-
Preheat your oven to 325°F (160°C) with the oven rack positioned in the middle. At the same time, boil a full kettle of water to prepare for the water bath.
-
While the oven heats up, retrieve two 9″ x 13” glass baking dishes. Line the bottom of each baking dish with a small towel to prevent the ramekins from slipping. Distribute eight 6-ounce ramekins evenly between the two casserole dishes.
-
In a small saucepan, heat the full-fat coconut milk over low heat. Continue heating until the milk is steaming gently but is not yet boiling.
-
Crack the large eggs into a large mixing bowl. Add the maple syrup to the eggs and whisk thoroughly until the mixture is well combined and slightly frothy.
-
Temper the eggs by slowly pouring the warmed coconut milk into the egg and syrup mixture in a slow, constant stream. Whisk vigorously throughout this process. Be patient and avoid adding the hot coconut milk all at once, as this will cause the eggs to scramble.
-
Add the pumpkin puree, pumpkin spice blend, vanilla extract, and salt to the egg mixture. Whisk everything until all ingredients are evenly combined and the mixture is smooth.
-
Evenly divide the pumpkin mixture among the ramekins nestled in the casserole dishes. Carefully transfer both casserole dishes to the preheated oven.
-
Once the dishes are in the oven, carefully pour the boiling water from the kettle into the baking dishes until the water level reaches halfway up the sides of the ramekins. Promptly shut the oven door.
-
Bake the custard cups for approximately 30 minutes. The custards are done when a knife inserted into the center comes out clean, and they still exhibit a slight jiggle in the middle. Be careful not to overbake them.
-
Remove the custards from the oven and cool them on a wire rack until they reach room temperature. If desired, for an extra touch, top the cooled pumpkin custards with whipped coconut cream and crunchy toasted coconut flakes just before serving!
Video
Notes
Nutrition
Nutrition information is automatically calculated, so should only be used as an approximation.