
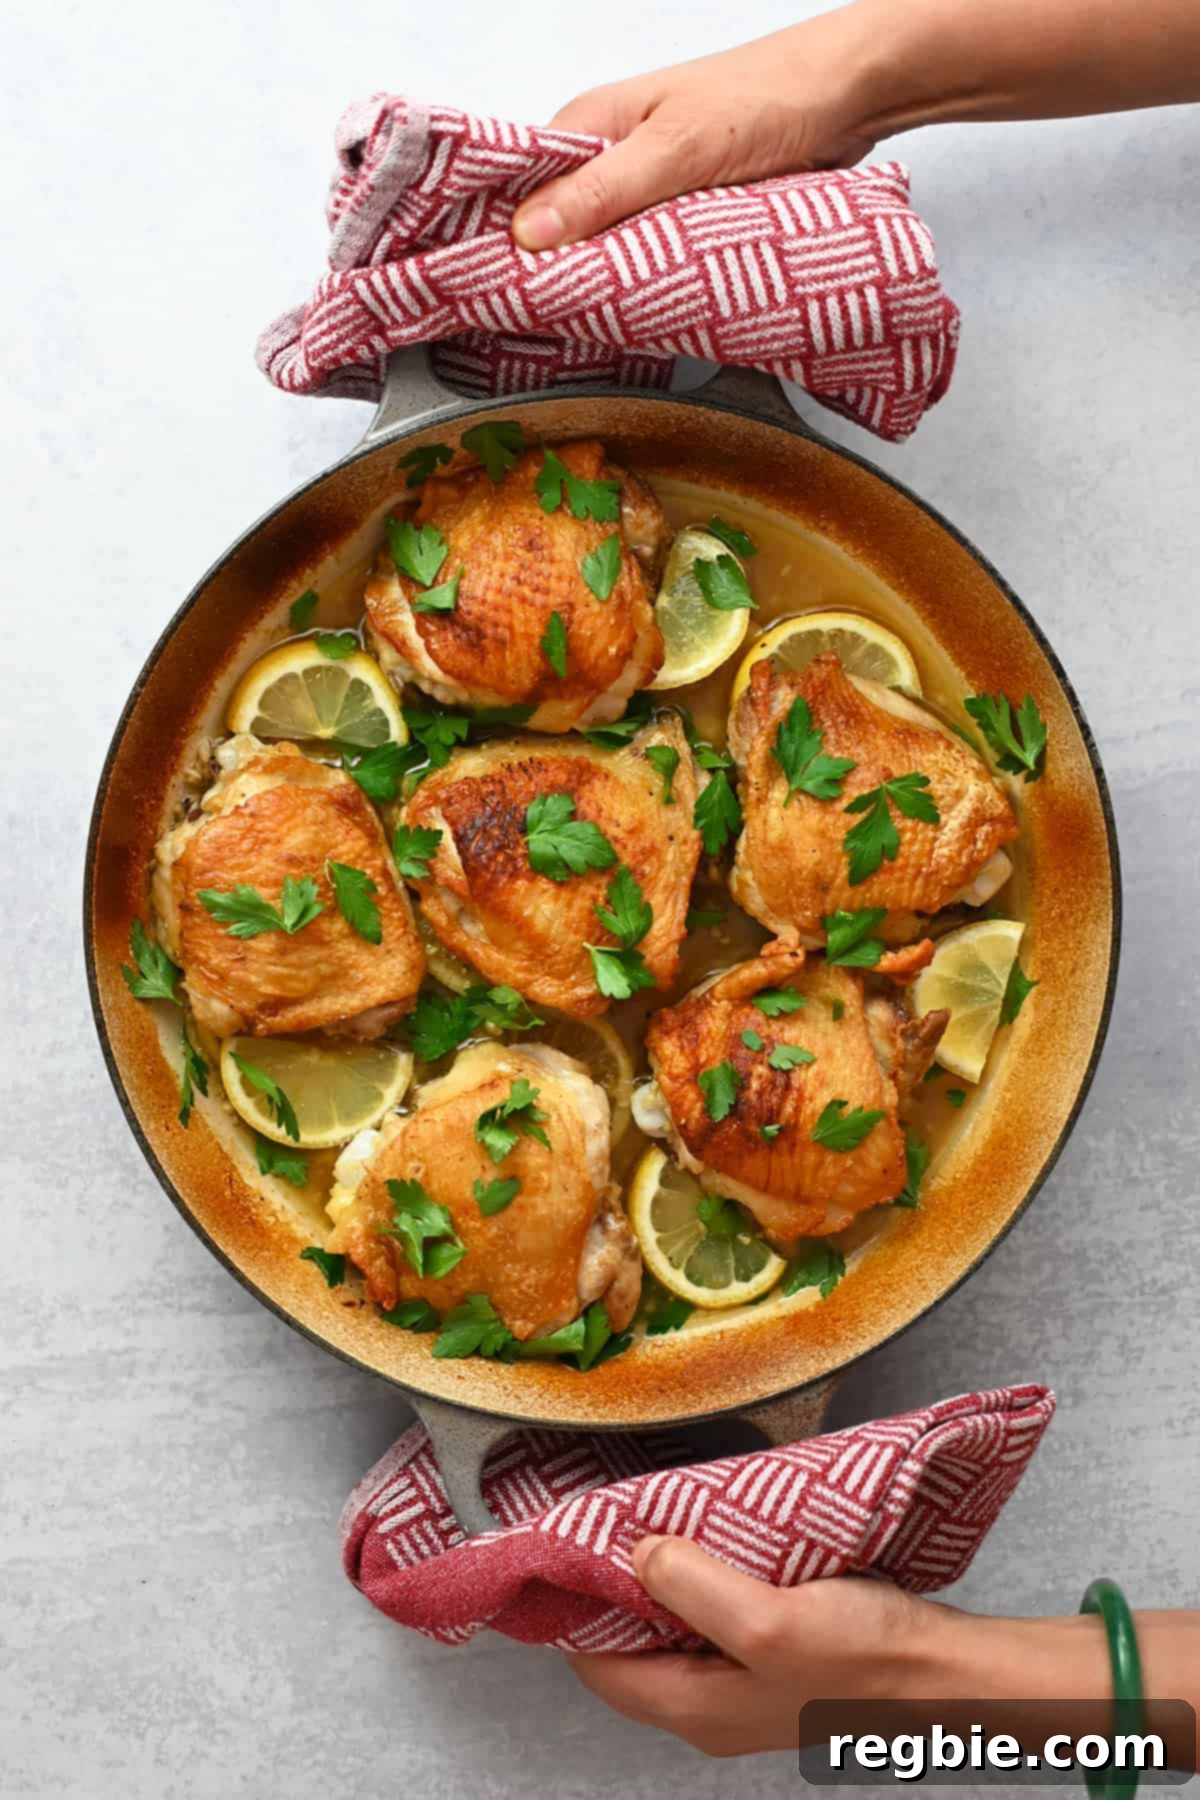
Experience culinary perfection with these irresistibly crispy Lemon Garlic Chicken Thighs! Golden-brown on the outside, incredibly juicy within, and infused with an explosion of zesty, garlicky flavor. This straightforward one-pan recipe is not only effortlessly delicious but also perfectly suited for Whole30 and Paleo lifestyles, making it an ideal choice for a quick yet profoundly flavorful weeknight dinner or a special occasion meal.
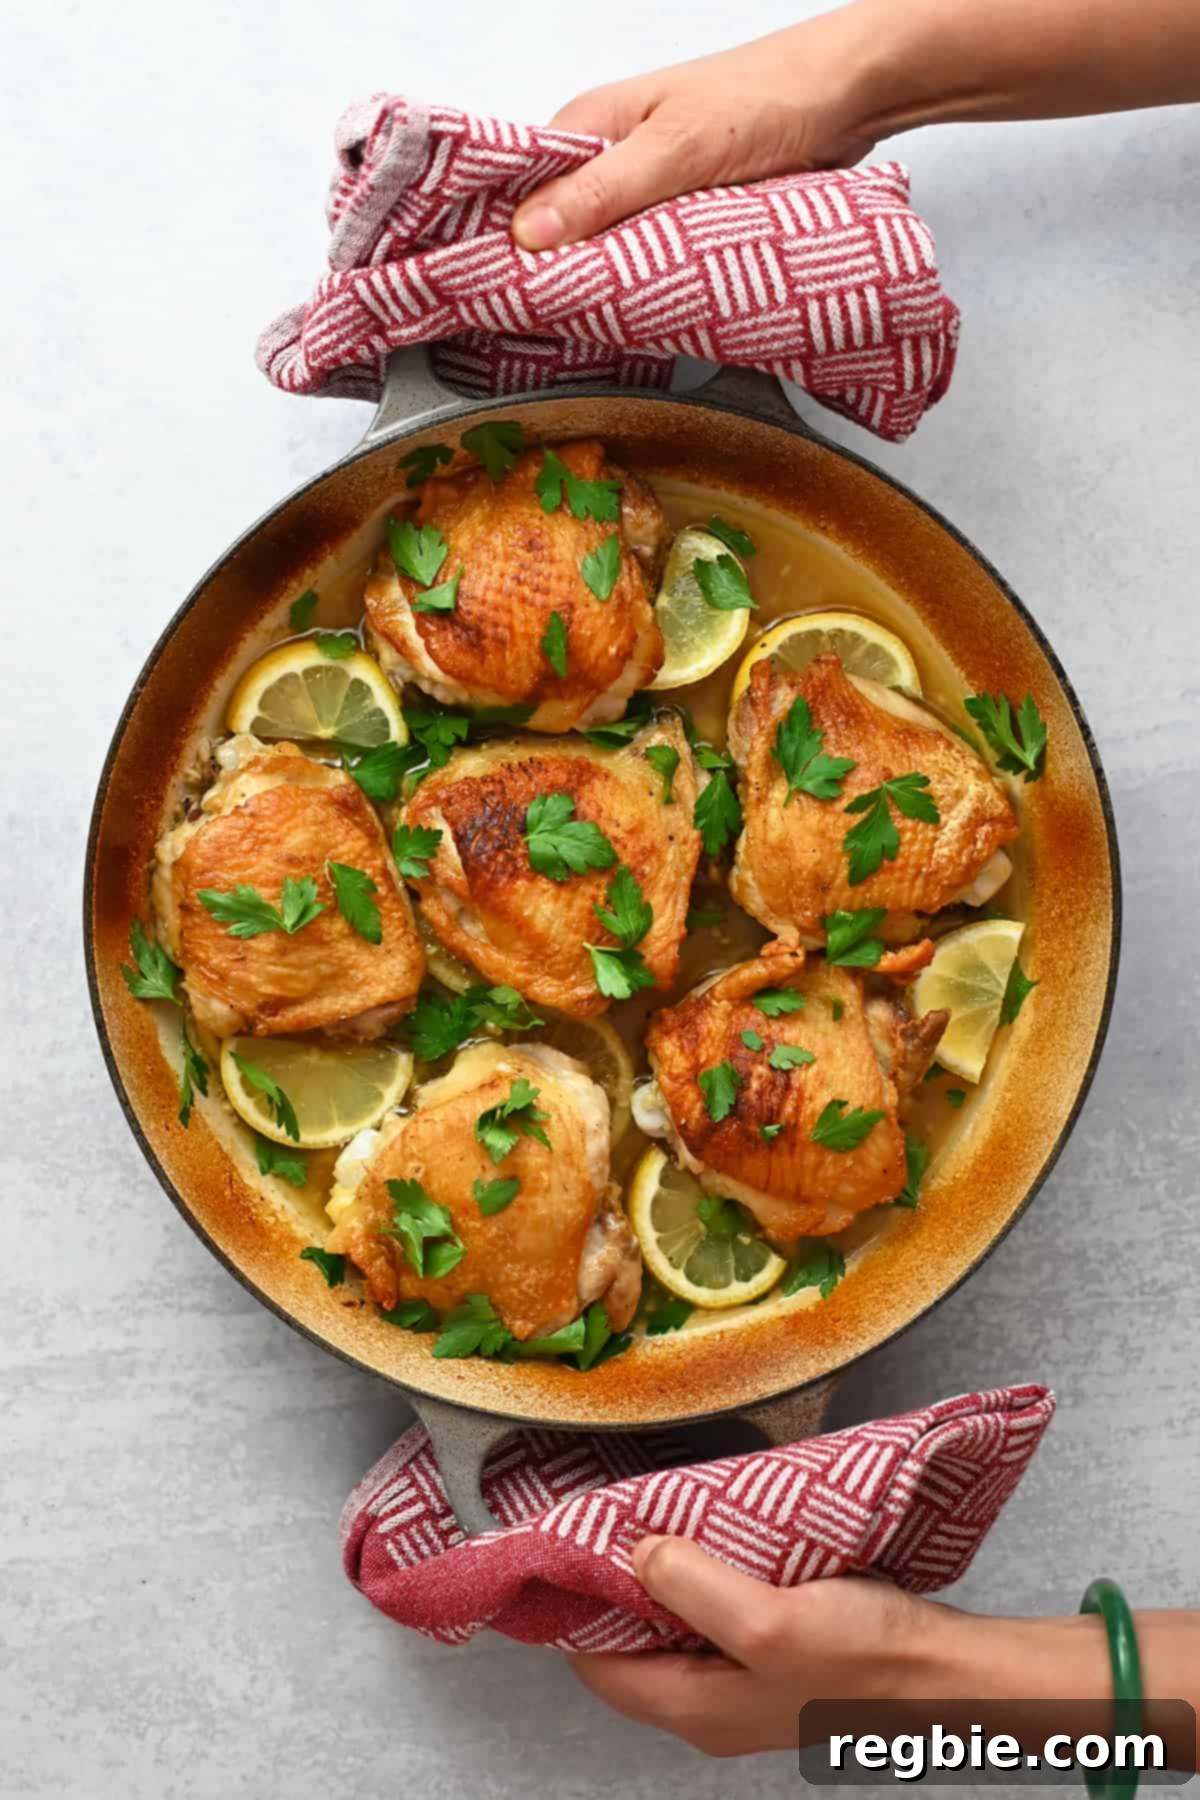
Welcome to your new favorite “winner-winner-chicken-dinner”! This recipe showcases succulent chicken thighs, revered for their rich flavor and moist texture, cooked to crispy perfection and then bathed in a vibrant, savory sauce. Crafted with fresh lemon juice, aromatic garlic, robust chicken broth, and fragrant fresh herbs, this dish delivers an umami-packed experience that is both gluten-free and incredibly satisfying. Its simplicity makes it a fantastic go-to for busy weeknights, while its impressive taste profile elevates it for any celebratory gathering. Prepare to impress with minimal effort and maximum flavor!
Table of Contents
- Why Choose Chicken Thighs for This Recipe?
- The Magic of One-Pan Cooking
- No Need for a Marinade!
- Essential Tips for the Best Lemon Garlic Chicken Thighs
- Key Ingredients You’ll Need
- Step-by-Step Guide: How to Make Crispy Lemon Garlic Chicken Thighs
- Heat the Oven and Prep the Chicken
- Perfectly Prep Your Lemons
- Sear the Chicken for Ultimate Crispness
- Crafting the Flavorful Lemon Garlic Sauce
- Bake the Chicken to Perfection
- Storing and Reheating Leftovers
- Delicious Serving Suggestions
- More One-Skillet Crispy Chicken Thigh Recipes
- Crispy Lemon Garlic Chicken Thighs Recipe
Why Choose Chicken Thighs for This Recipe?
When it comes to creating truly exceptional chicken dishes, bone-in, skin-on chicken thighs are often the unsung heroes. Unlike leaner cuts like chicken breast, thighs boast a higher fat content, which translates to unparalleled juiciness and a deeper, more robust flavor. This inherent richness ensures that your chicken remains moist and tender even when cooked at higher temperatures, preventing the dryness often associated with overcooked poultry. Furthermore, the skin provides a crucial element: a protective layer that crisps up beautifully, adding a delightful textural contrast and helping to lock in moisture and flavor. From a practical standpoint, chicken thighs are also typically more budget-friendly than breasts, offering incredible value without compromising on taste or quality. Their versatility in absorbing marinades and sauces makes them a chef’s favorite, and in this recipe, they truly shine, transforming into a tender, flavorful, and crispy masterpiece.
The Magic of One-Pan Cooking
One-pan recipes are a weeknight warrior’s best friend, and this Lemon Garlic Chicken Thighs recipe perfectly exemplifies why. The beauty of cooking everything in a single skillet extends far beyond just minimizing cleanup (though that’s certainly a huge perk!). When ingredients cook together in one pan, their flavors meld and deepen, creating a more complex and harmonious taste profile. The chicken fat renders into the pan, creating a rich base for the lemon garlic sauce, which then infuses the chicken with every savory note. This method allows for the creation of a delicious “fond” – those browned bits at the bottom of the pan – which is then deglazed and incorporated into your sauce, adding an extra layer of umami that simply can’t be replicated with separate cooking steps. It’s an efficient, flavor-forward approach that proves delicious, high-quality meals don’t require a mountain of dishes or complicated techniques.
No Need for a Marinade!
The true brilliance of this particular chicken dish lies in its incredible efficiency: there’s absolutely no need for a lengthy lemon garlic chicken marinade. Forget about planning hours in advance or dirtying extra bowls. This recipe achieves profound flavor through a clever cooking technique. You simply season the chicken thighs generously with salt, then sear them to develop a gorgeously crispy skin directly in the skillet. This initial searing creates a rich foundation. Following this, a vibrant, zesty lemon garlic pan sauce is quickly prepared in the same pan, which then accompanies the chicken as it finishes baking in the oven. The magic happens as the chicken bakes: the meat effortlessly absorbs the incredible flavors of the sauce, while the skin remains delightfully crisp. It’s a win-win situation, delivering maximum flavor and perfect texture with minimal fuss.
Essential Tips for the Best Lemon Garlic Chicken Thighs
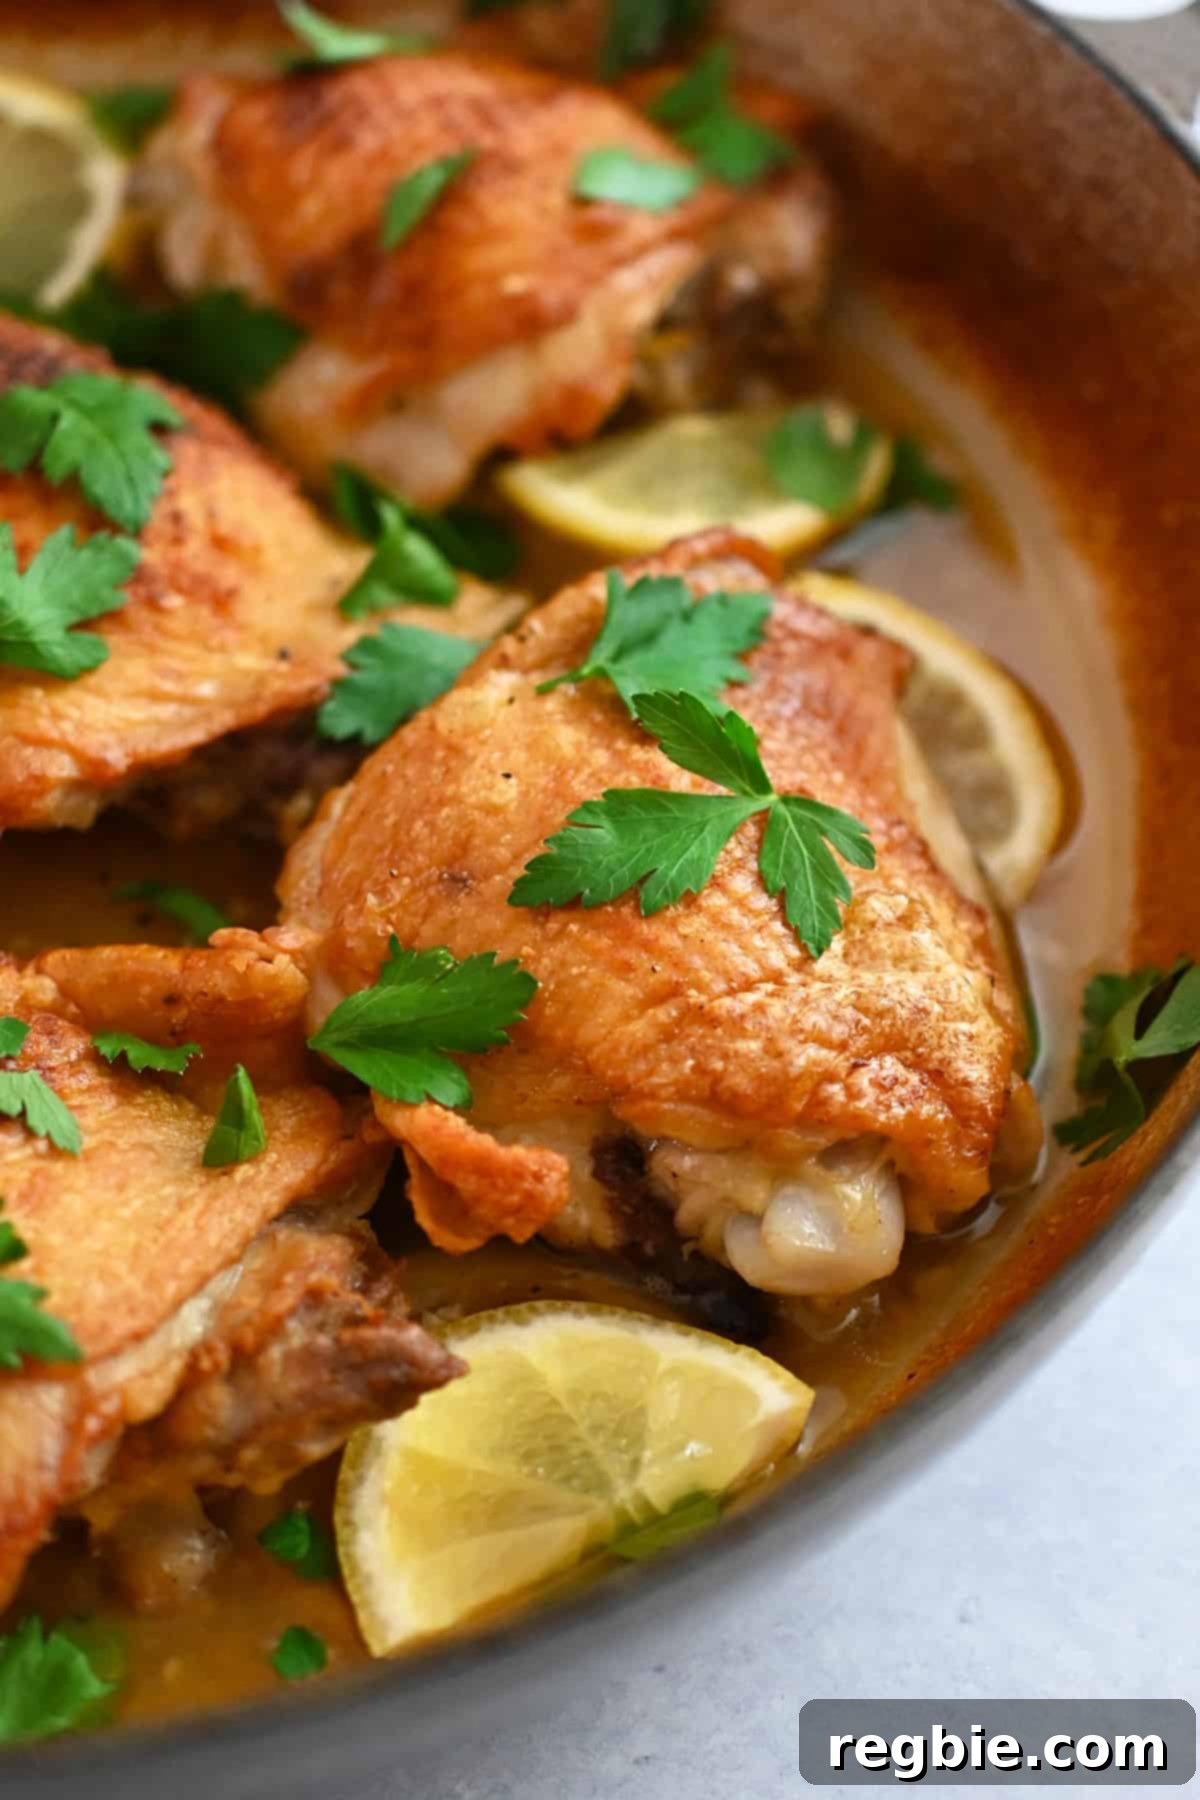
- Choose Bone-In, Skin-On Chicken Thighs with Ample Skin: This is arguably the most crucial tip for achieving truly spectacular results. The skin is essential for developing that desirable crispy texture, and bone-in cuts retain moisture far better. Look for thighs where the skin generously covers the meat, as it tends to shrink during the browning process. The extra fat rendered from beneath a good amount of skin not only contributes to the browning but also helps the chicken release easily from the skillet, resulting in beautifully golden-brown, crispy skin every time.
- Invest in a Heavy-Bottomed, Oven-Safe Pan: For a uniform, deeply golden-brown sear, a heavy-bottomed skillet is indispensable. Cast iron, enameled cast iron, or a high-quality clad stainless steel pan are excellent choices. These materials distribute heat evenly, preventing hot spots and ensuring consistent crispness. Crucially, confirm that your chosen pan is oven-safe, as the dish transitions seamlessly from stovetop to oven. This continuity is key to the “one-pan” magic.
- Remove Excess Chicken Fat Before Making the Sauce: While the rendered fat from the chicken skin is brilliant for searing and adding flavor to the pan, leaving too much of it can result in an overly greasy sauce. After searing the chicken, it’s wise to spoon off most of this excess fat. Leave just enough behind—typically 1-2 tablespoons—to properly sauté your minced garlic and create a balanced, flavorful sauce without it becoming oily.
- Prevent Garlic from Burning: Minced garlic is a flavor powerhouse, but it can turn bitter and acrid if burned. To avoid this common pitfall, I highly recommend turning off the heat in the skillet immediately after removing the chicken and before adding the garlic. The residual heat in the pan will be sufficient to gently toast the garlic, allowing it to become fragrant without charring. Once the garlic is aromatic, you can then add the remaining sauce ingredients and turn the heat back on to bring it to a gentle simmer.
- Taste and Adjust the Sauce Seasoning: Before reintroducing the seared chicken back into the pan, always taste the lemon garlic sauce. This is your opportunity to perfect its flavor profile. Adjust with additional salt and freshly ground black pepper as needed. A well-seasoned sauce is fundamental, as its flavors will deeply infuse into the chicken as it bakes, ensuring every bite is perfectly delicious.
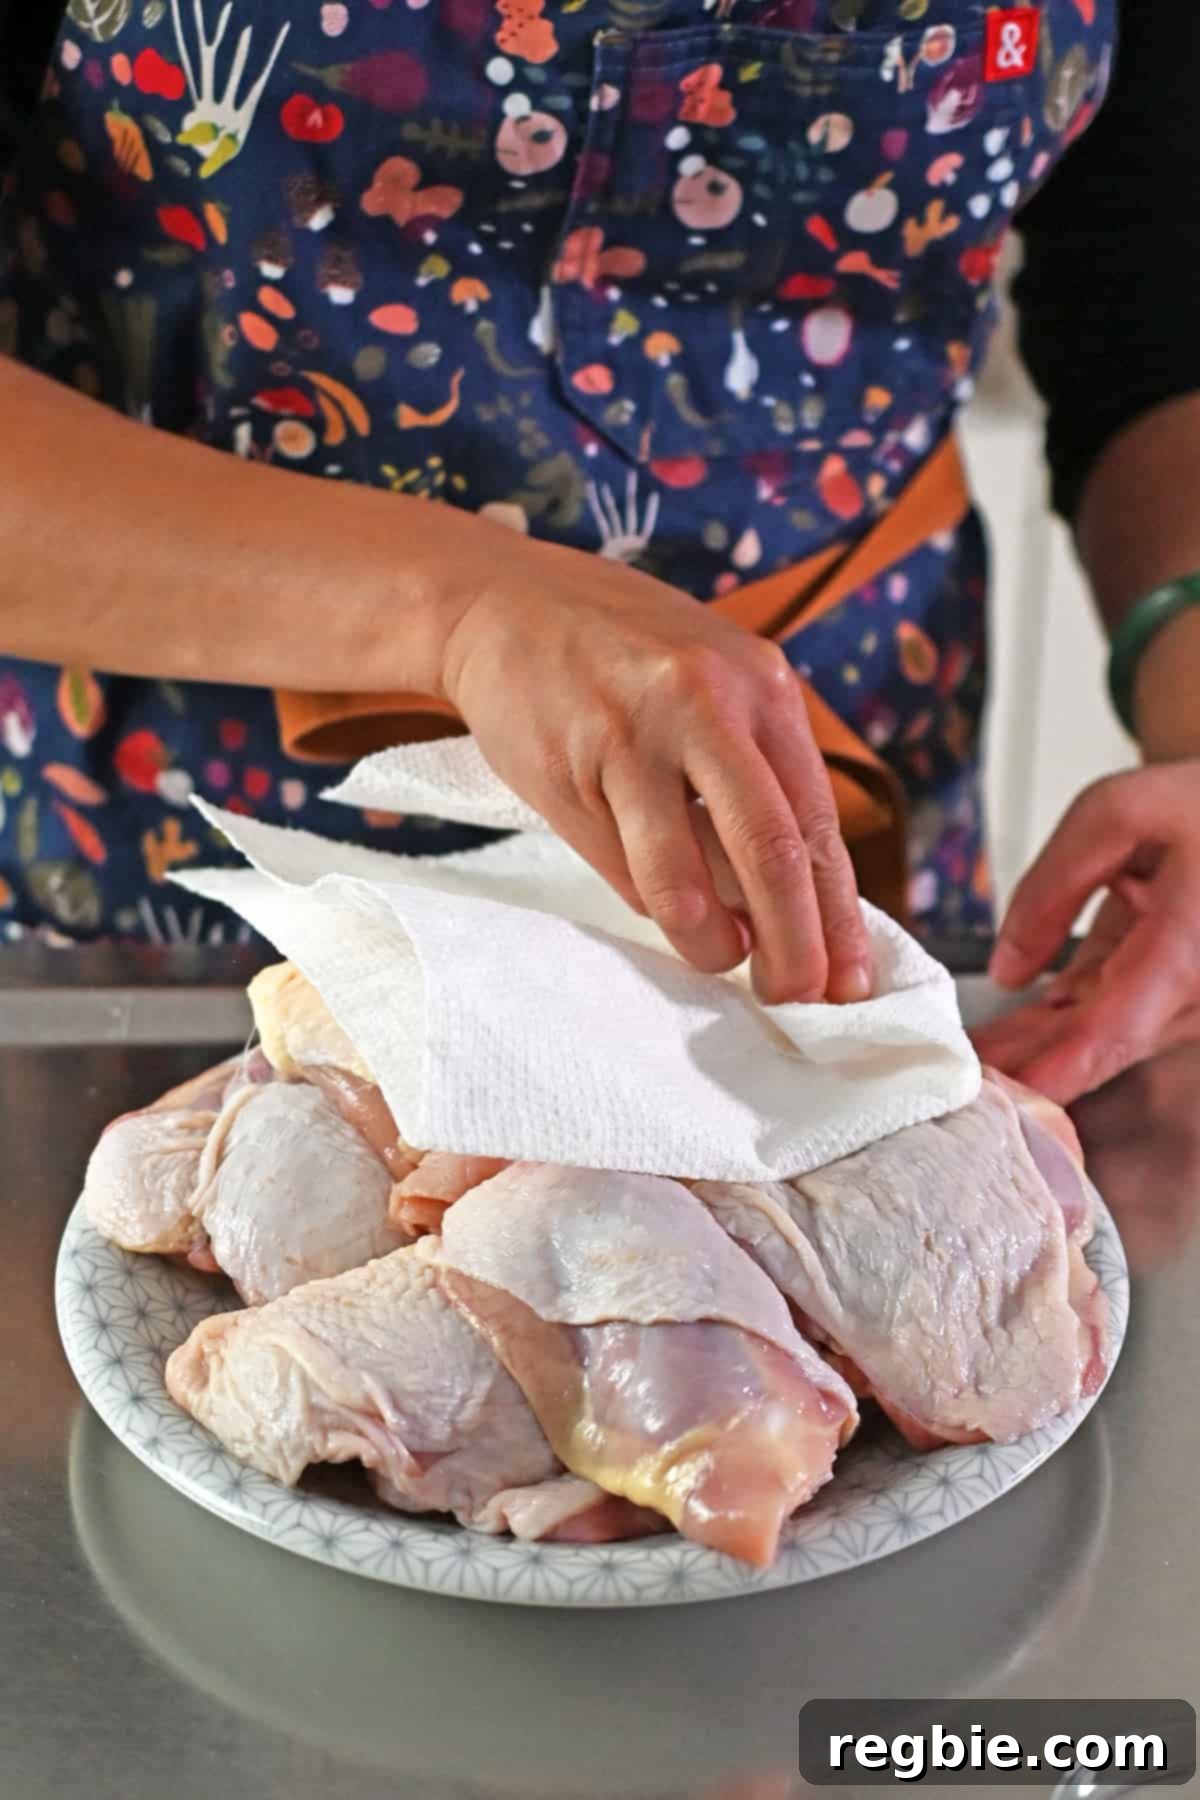
- Pat Chicken Thighs Thoroughly Dry: Moisture is the enemy of crispy skin. Before seasoning, use paper towels to vigorously pat both sides of the chicken thighs until they are as dry as possible. This step removes surface moisture, allowing the skin to crisp up beautifully and brown much more effectively during searing.
- Don’t Overcrowd the Pan: When searing the chicken, ensure you leave enough space between each thigh. Overcrowding the pan lowers the temperature and causes the chicken to steam rather than sear, preventing that coveted crispy skin. If necessary, work in batches to achieve the best results.
- Allow the Chicken to Rest: Once the chicken is out of the oven, resist the urge to cut into it immediately. Letting the chicken rest for 5-10 minutes, lightly tented with foil, allows the juices to redistribute throughout the meat. This ensures every bite is as tender and juicy as possible, completing the cooking process perfectly.
Key Ingredients You’ll Need
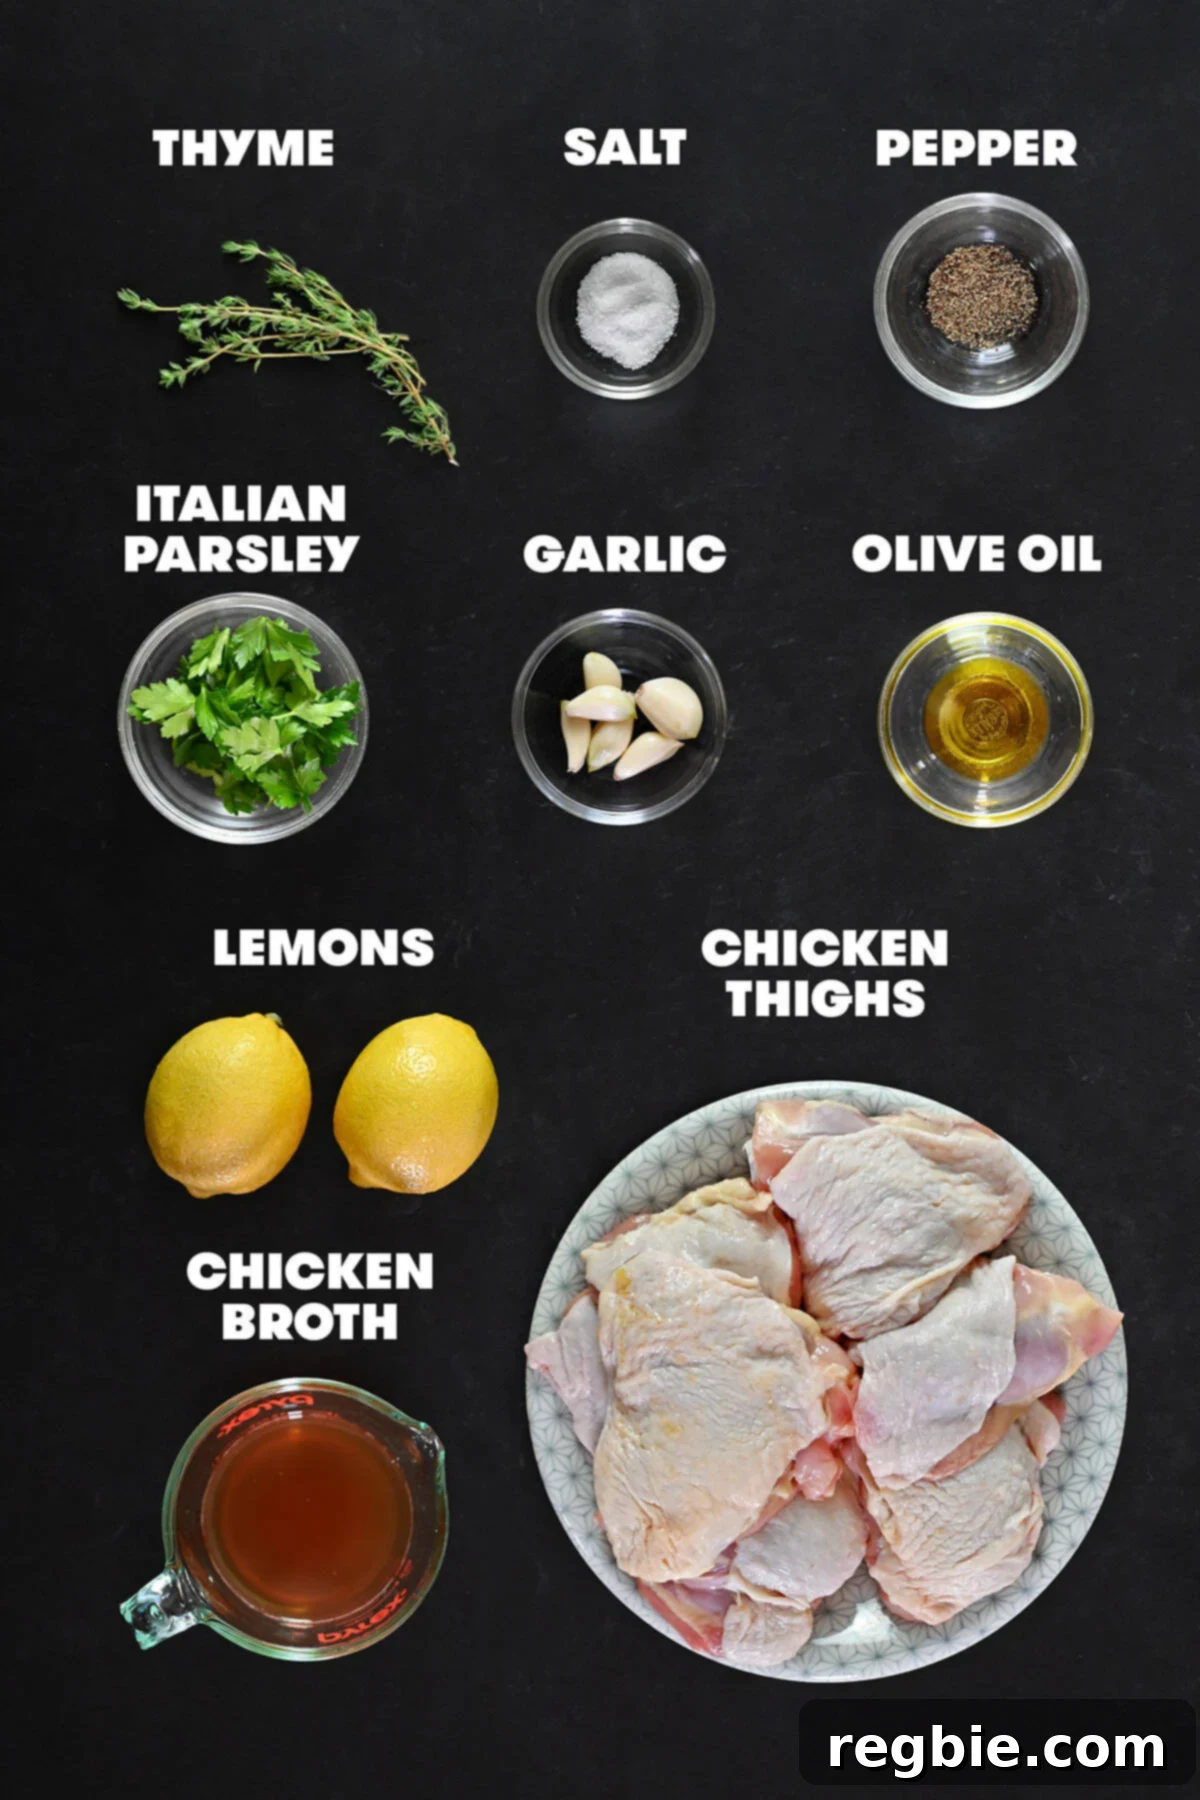
- Bone-in, Skin-on Chicken Thighs: As discussed, this cut is paramount for achieving the ideal balance of crispy skin and incredibly juicy, flavorful meat. The fat content and bone contribute significantly to the dish’s richness. While boneless, skinless thighs or breasts can be substituted in a pinch, be aware that the texture and flavor will differ, and you’ll need to adjust cooking times to prevent overcooking.
- Fresh Lemons: The star of the zesty sauce! You’ll need two large, juicy lemons—one for vibrant slices that bake with the chicken and add visual appeal, and the other for its fresh, bright juice, which forms the acidic backbone of the sauce. Always opt for fresh lemons over bottled juice for superior flavor.
- Garlic Cloves: Six cloves, minced, provide a wonderfully pungent and aromatic base for the sauce. Adjust the amount to your personal preference; garlic lovers might even add more!
- Fresh Thyme Sprigs: Fresh herbs elevate the flavor profile, and thyme is a classic pairing with lemon and chicken. Toss in a few sprigs during the baking process and remove them before serving. Fresh rosemary sprigs or a couple of bay leaves also make excellent alternatives. If using dried herbs, substitute about half a teaspoon of your preferred dried herb, adding it with the garlic.
- Chicken Broth or Bone Broth: This liquid forms the bulk of your pan sauce, adding depth and savory notes. Opt for a good quality, low-sodium chicken broth, or for an even richer flavor and added nutritional benefits, use bone broth.
- Diamond Crystal Kosher Salt: Our preferred salt for its coarse texture and consistent seasoning. Its larger flakes allow for more controlled salting, essential for crispy skin and perfectly balanced flavors.
- Extra Virgin Olive Oil: Used for searing the chicken and sautéing the garlic, extra virgin olive oil keeps this recipe dairy-free. Its fruity notes complement the lemon and garlic beautifully. Avocado oil is another excellent neutral-flavored, high-heat cooking oil that works well.
- Freshly Ground Black Pepper: A staple seasoning that adds a subtle warmth and balances the other flavors. Grind it fresh for the best aroma and taste.
- Minced Fresh Italian Parsley (Optional Garnish): A final sprinkle of fresh Italian parsley adds a burst of vibrant color and a fresh, herbaceous finish, elevating the dish’s presentation and brightness.
Step-by-Step Guide: How to Make Crispy Lemon Garlic Chicken Thighs
Creating this irresistible one-pan dish is surprisingly simple. Follow these detailed steps to ensure perfectly crispy skin, juicy meat, and a vibrant lemon garlic sauce.
Heat the Oven and Prep the Chicken
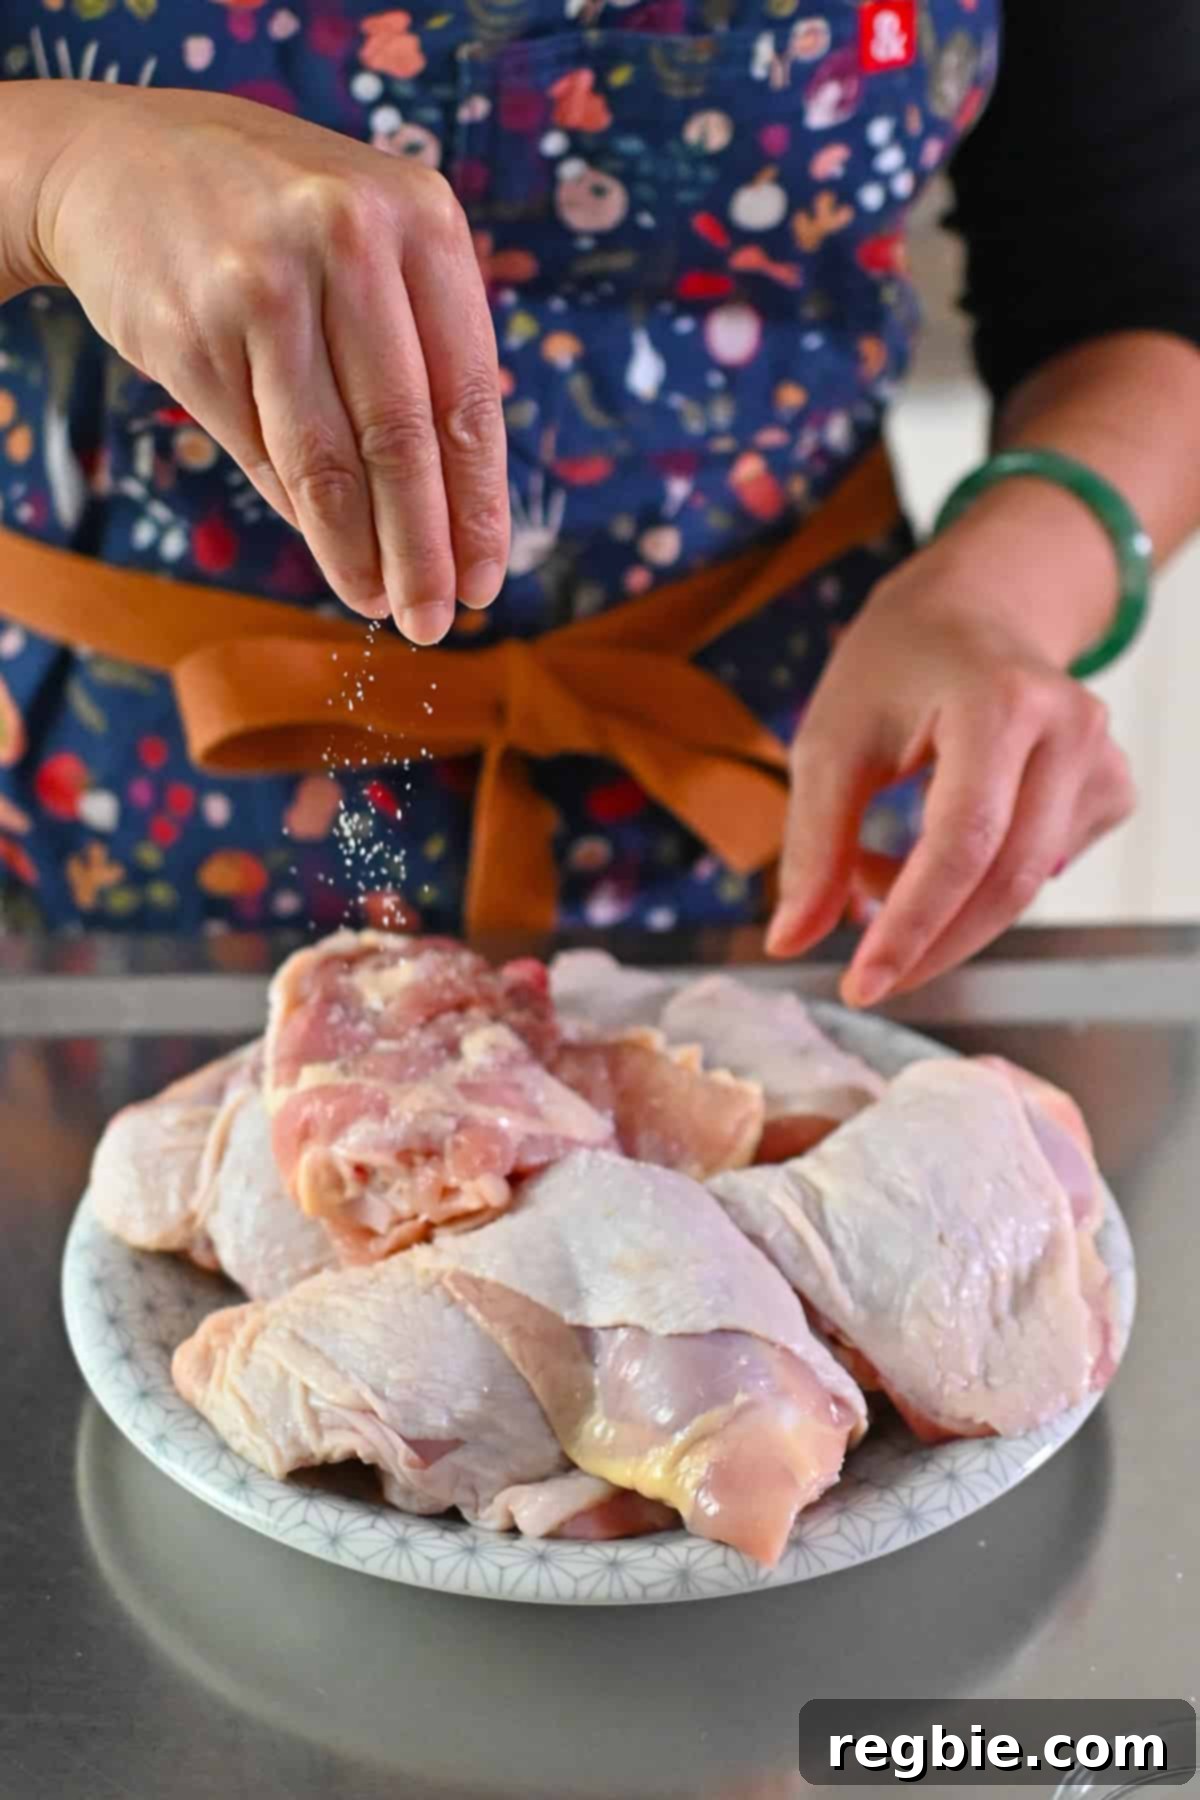
Begin by preheating your oven to a robust 450°F (230°C). Position the oven rack in the middle, ensuring even heat distribution for baking. As the oven warms, take your chicken thighs and pat them thoroughly dry with paper towels. This step is critical for achieving that coveted crispy skin; any excess moisture will steam the chicken rather than sear it. Once dry, liberally sprinkle both sides of each chicken piece with kosher salt, using approximately 2 teaspoons in total. Don’t be shy with the salt, as it enhances both flavor and crispness.
Perfectly Prep Your Lemons
Carefully prepare your lemons to maximize their flavor and presentation. Take one of your large lemons and cut it in half crosswise. From one of these halves, slice it lengthwise into thin, elegant half-moon shapes. These slices will be tucked into the pan during baking, contributing both flavor and a beautiful aesthetic. Set these lemon slices aside. Now, take your second lemon and cut it in half crosswise. Juice the remaining three lemon halves (the two halves from the second lemon and the one un-sliced half from the first). Measure out exactly 3 tablespoons of this fresh lemon juice and set it aside; this will be the bright, zesty base for your pan sauce.

Sear the Chicken for Ultimate Crispness
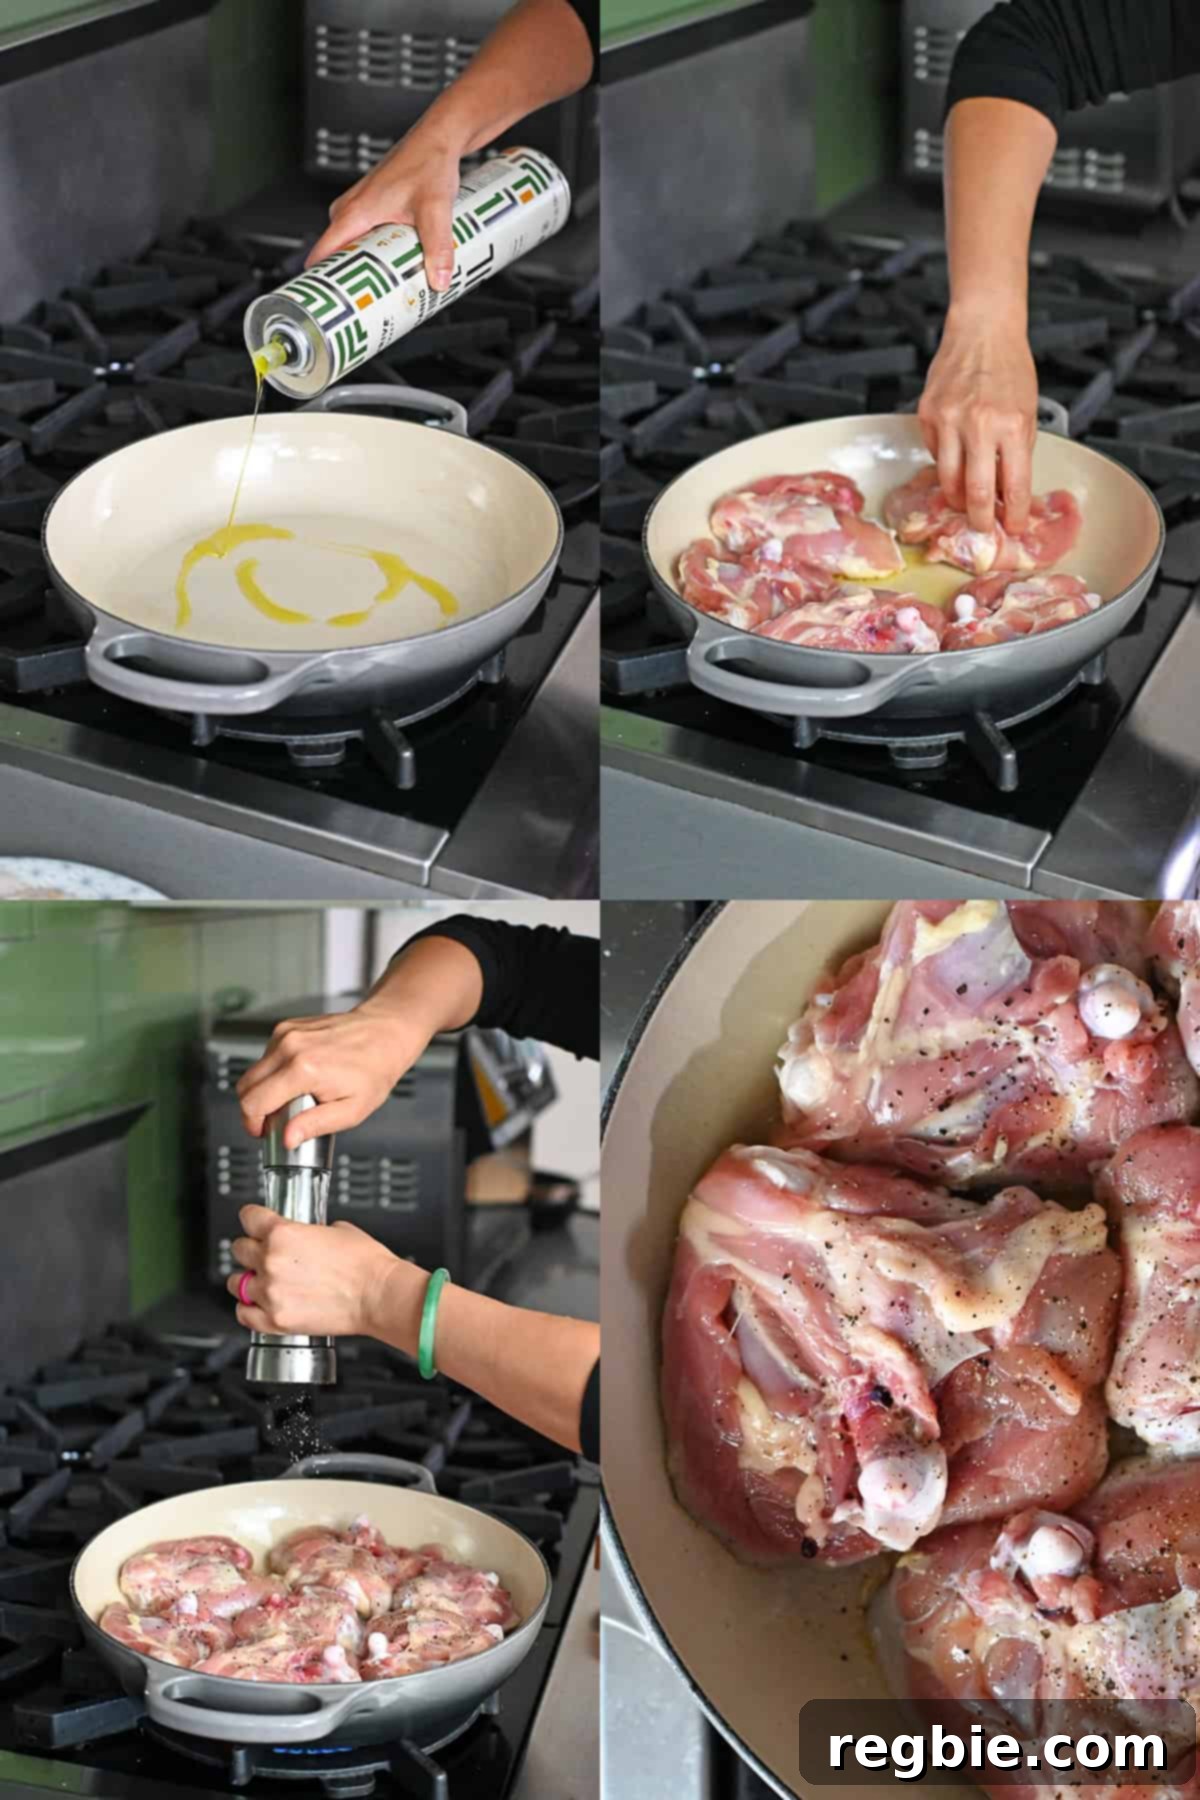
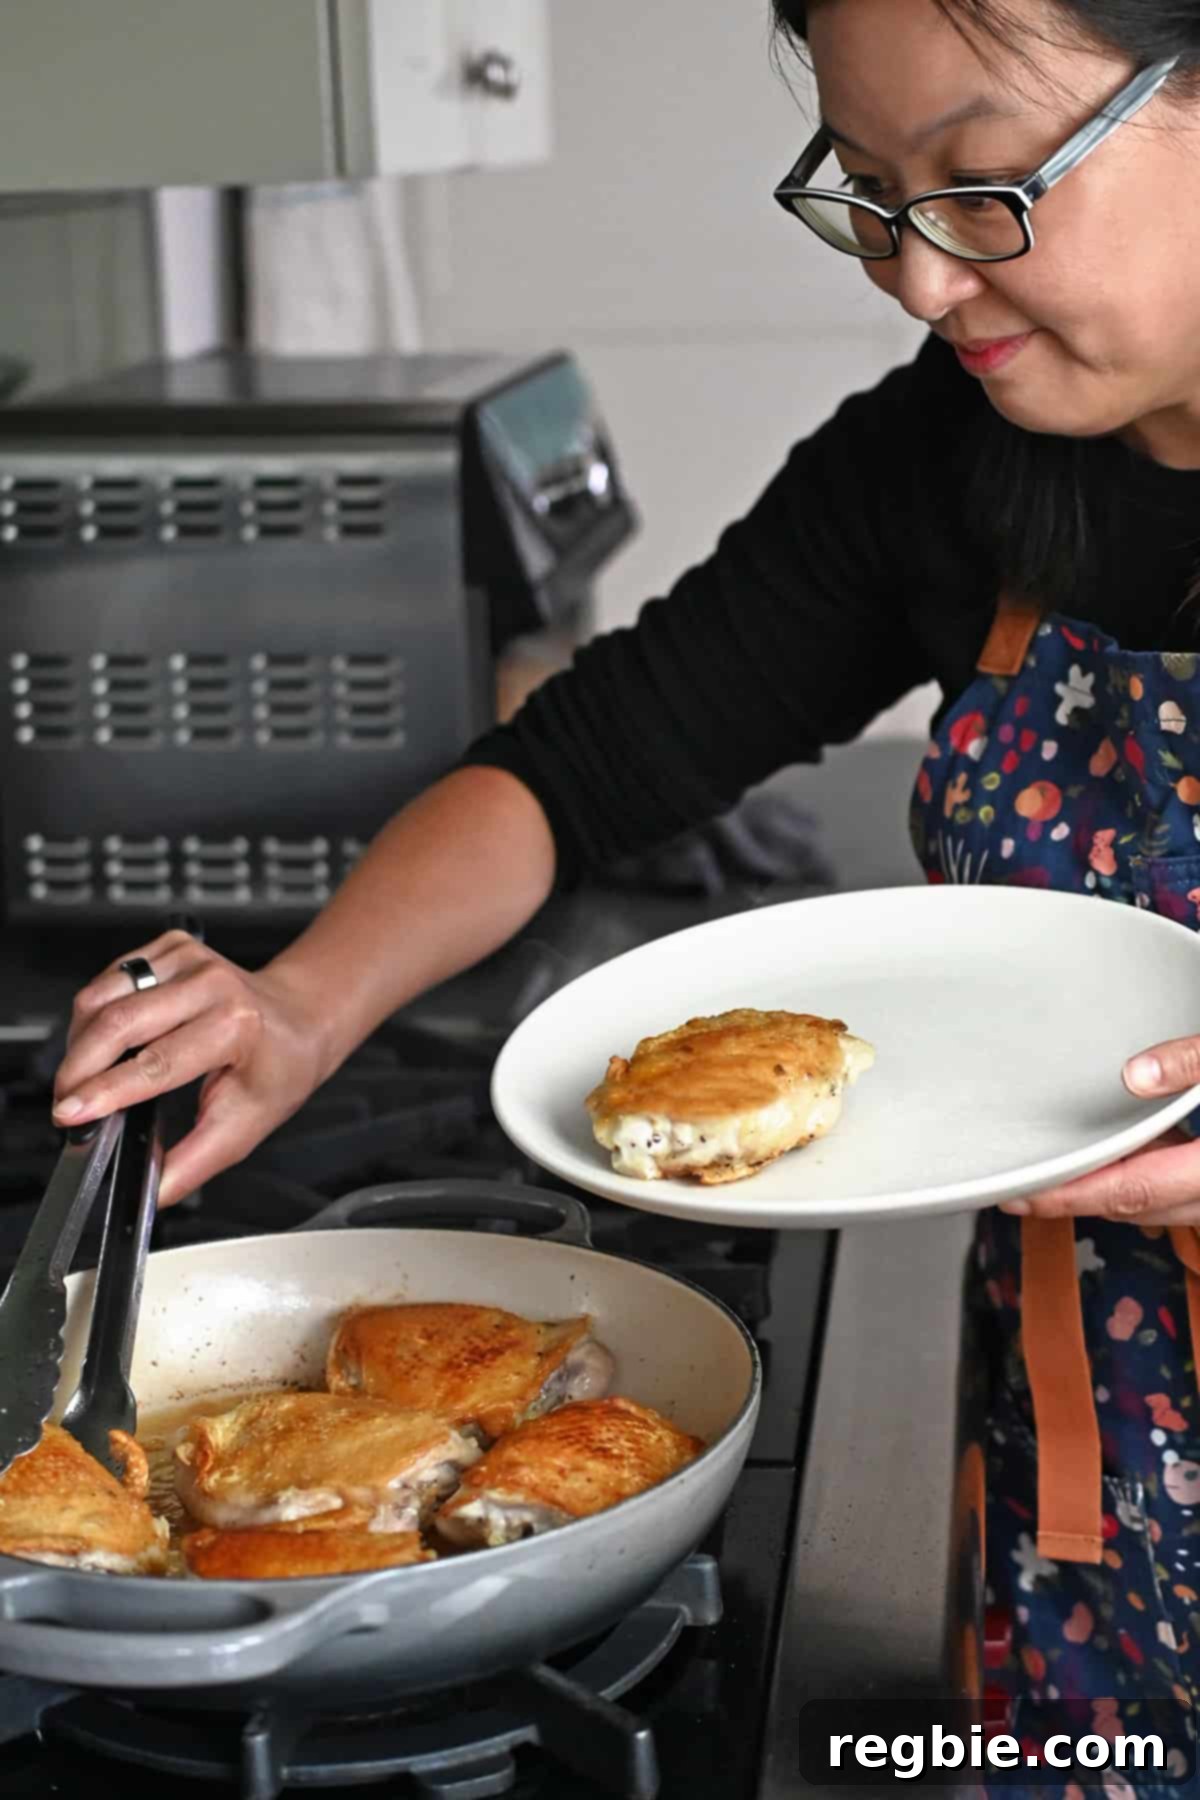
Place a 12-inch oven-safe, heavy-bottomed skillet over medium-high heat. Allow the pan to get thoroughly hot. Once adequately heated, add a tablespoon of extra virgin olive oil to the pan. Carefully place the chicken pieces, skin-side down, into the hot pan. Sear them without moving for about 5 minutes, or until the skin achieves a beautiful golden-brown color and becomes wonderfully crispy. While the skin is crisping, take the opportunity to generously season the meaty side of the chicken with freshly ground black pepper. This dual seasoning ensures flavor penetrates both sides.
Once the skin has reached that perfect golden-brown crisp, carefully flip each chicken piece over. Continue to cook for just 2 more minutes on the second side. This brief cook time helps to render additional fat and begin the cooking process on the meatier side.
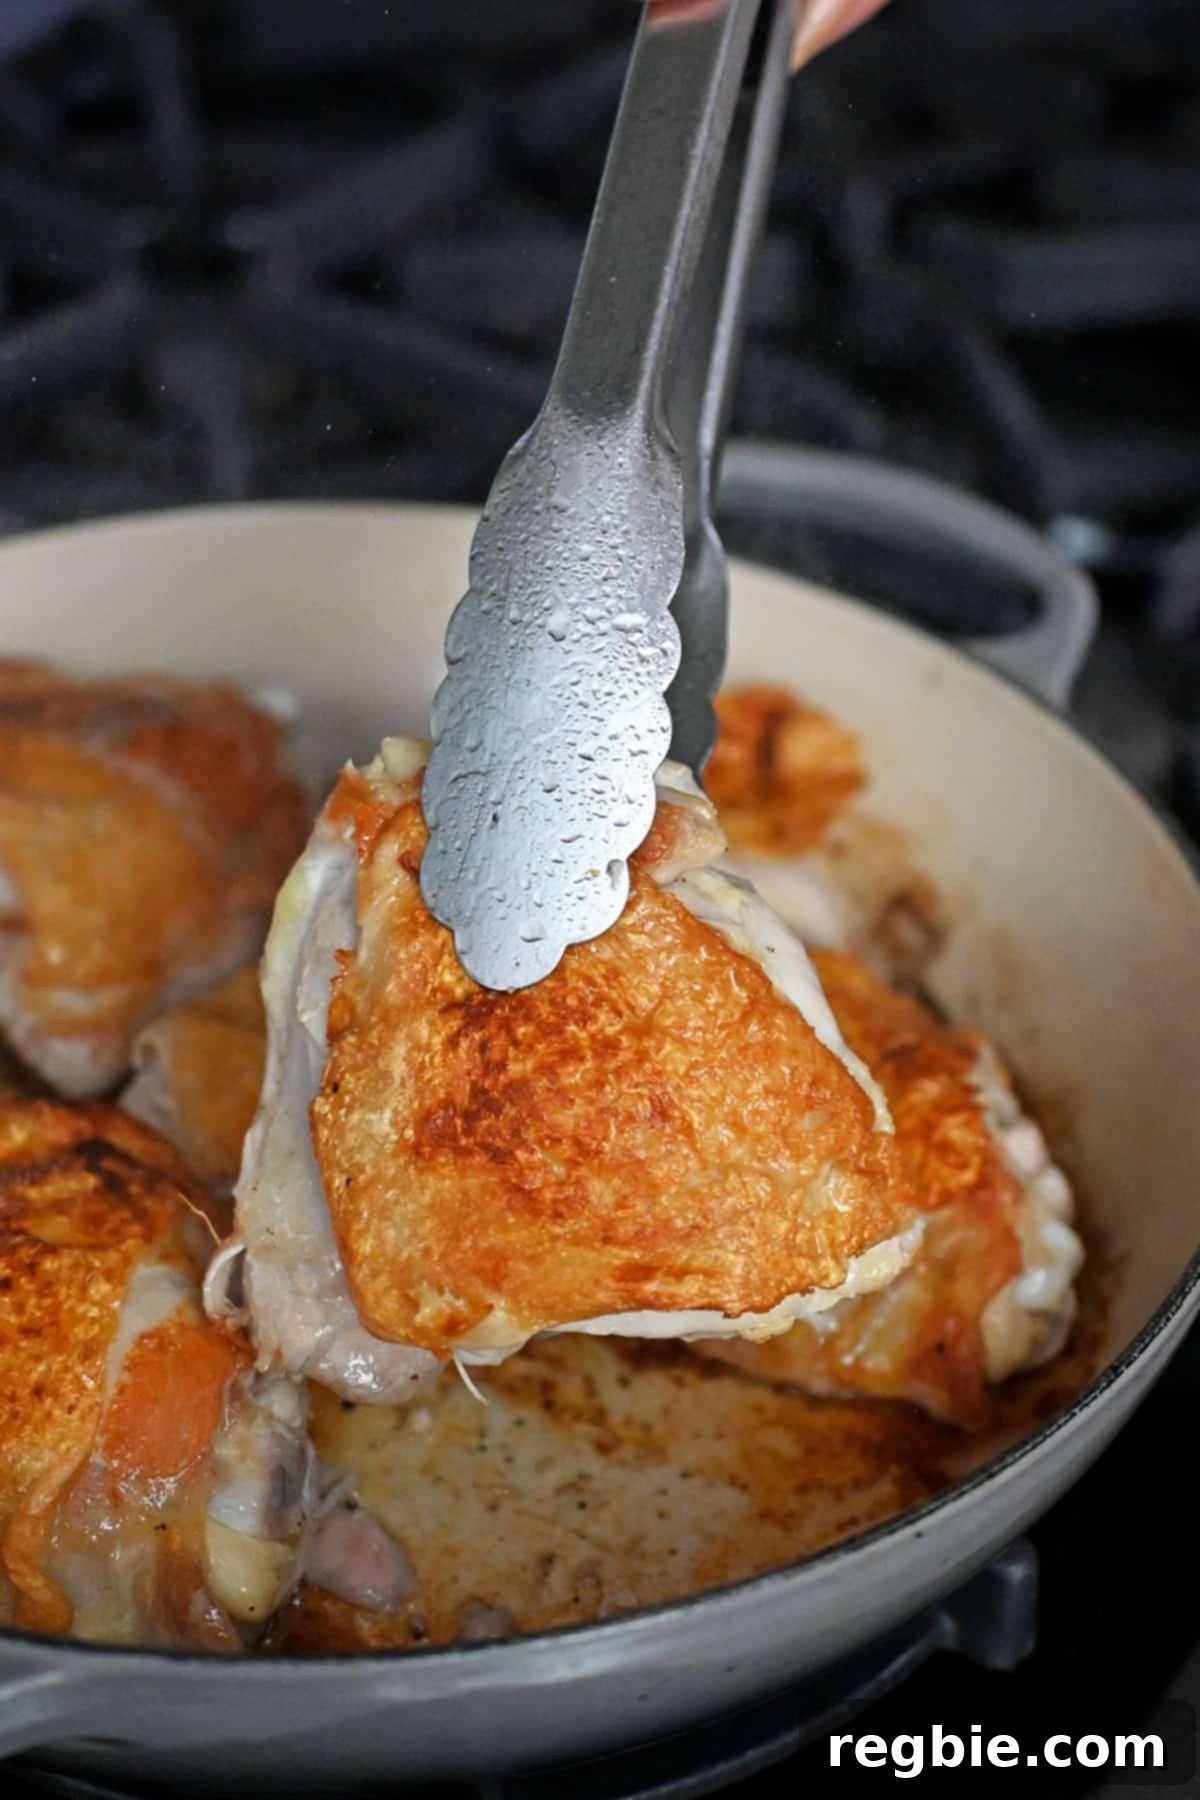
After the brief cook on the second side, transfer all the chicken pieces to a clean plate. This temporarily removes them from the pan while you prepare the sauce. Immediately turn off the heat under the skillet to prevent any leftover bits or fat from burning.
Crafting the Flavorful Lemon Garlic Sauce
Now, it’s time to build the exquisite lemon garlic sauce. First, spoon off any excess fat from the pan, leaving just a thin coating to cover the bottom of the skillet – typically about 1 to 2 tablespoons. With the heat still off (or very low), add the minced garlic to the pan. Stir it gently, allowing it to become fragrant and slightly golden but ensuring it doesn’t burn, which can make it bitter. Immediately after the garlic is fragrant, pour in the chicken broth and the reserved 3 tablespoons of fresh lemon juice. This combination creates the liquid base for your sauce.
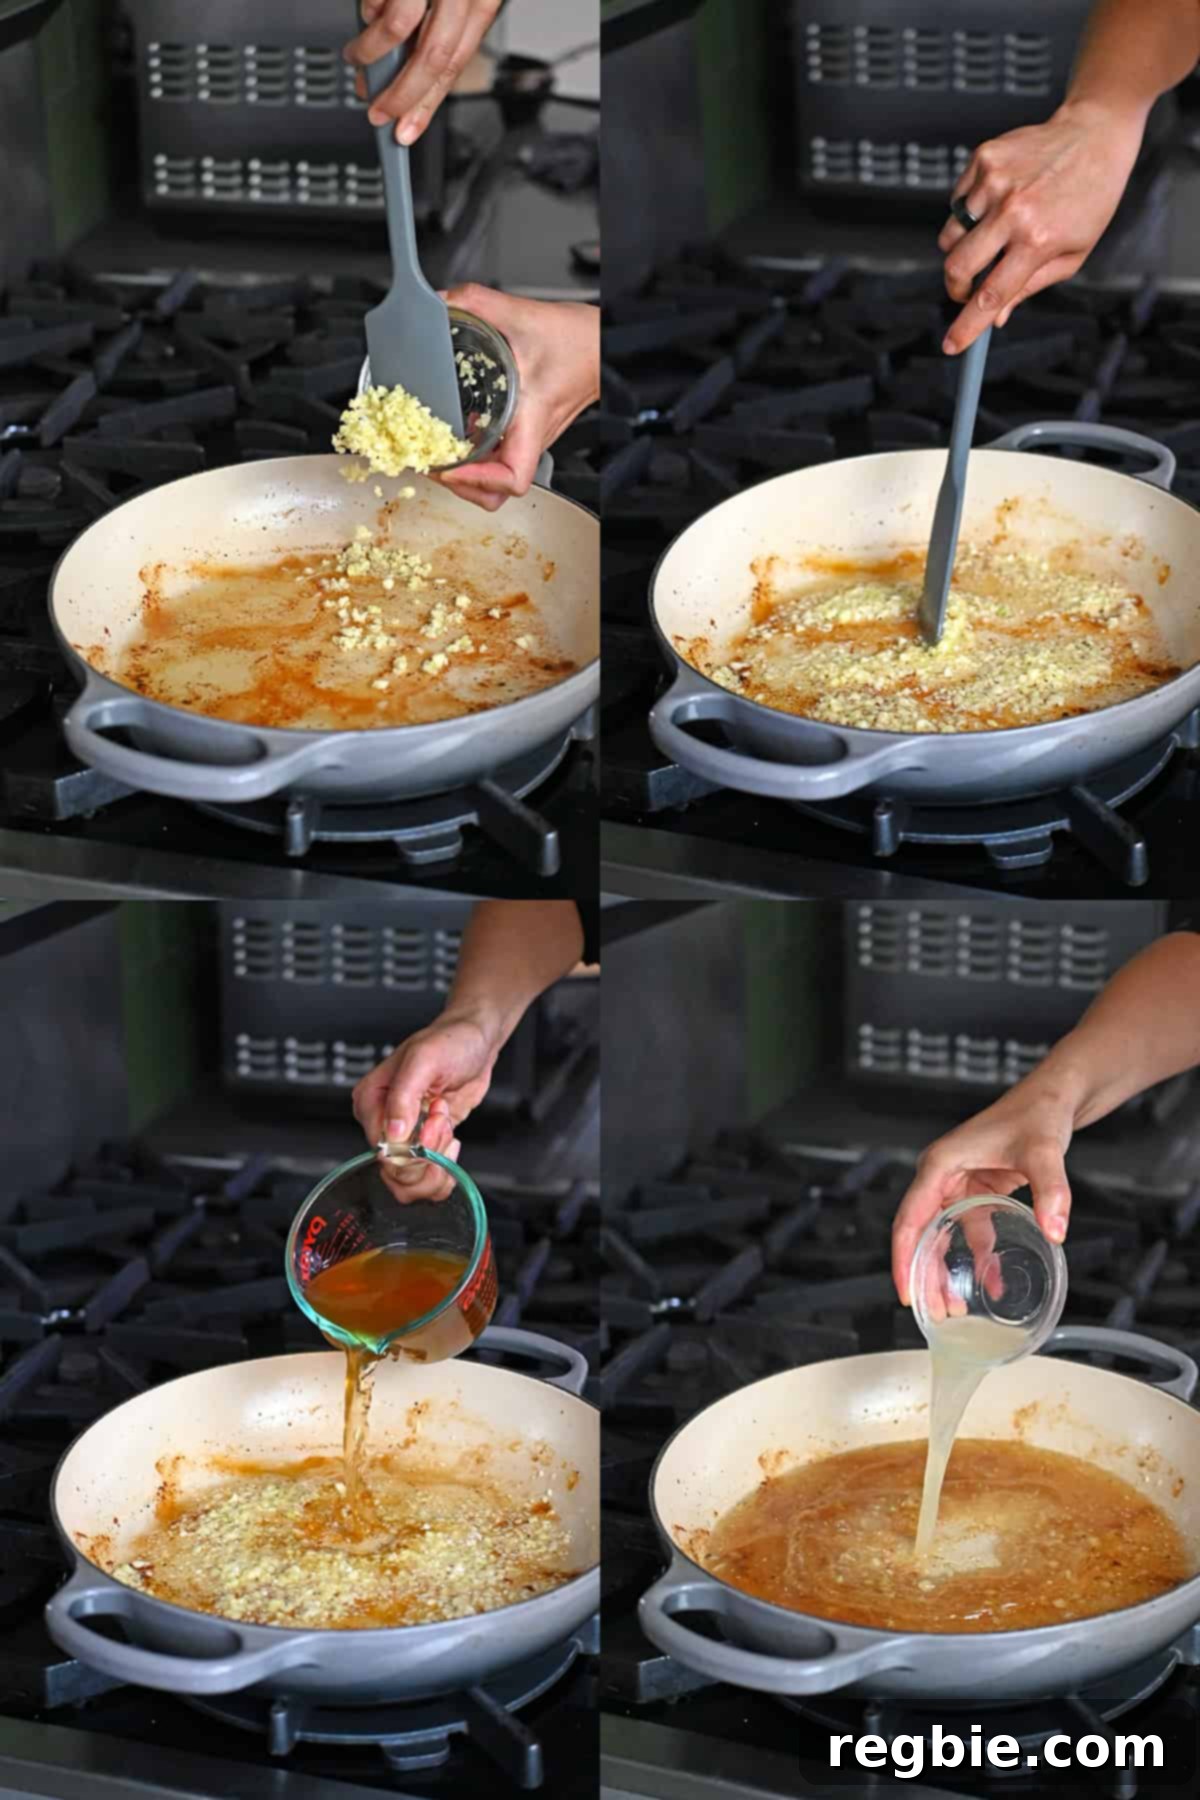
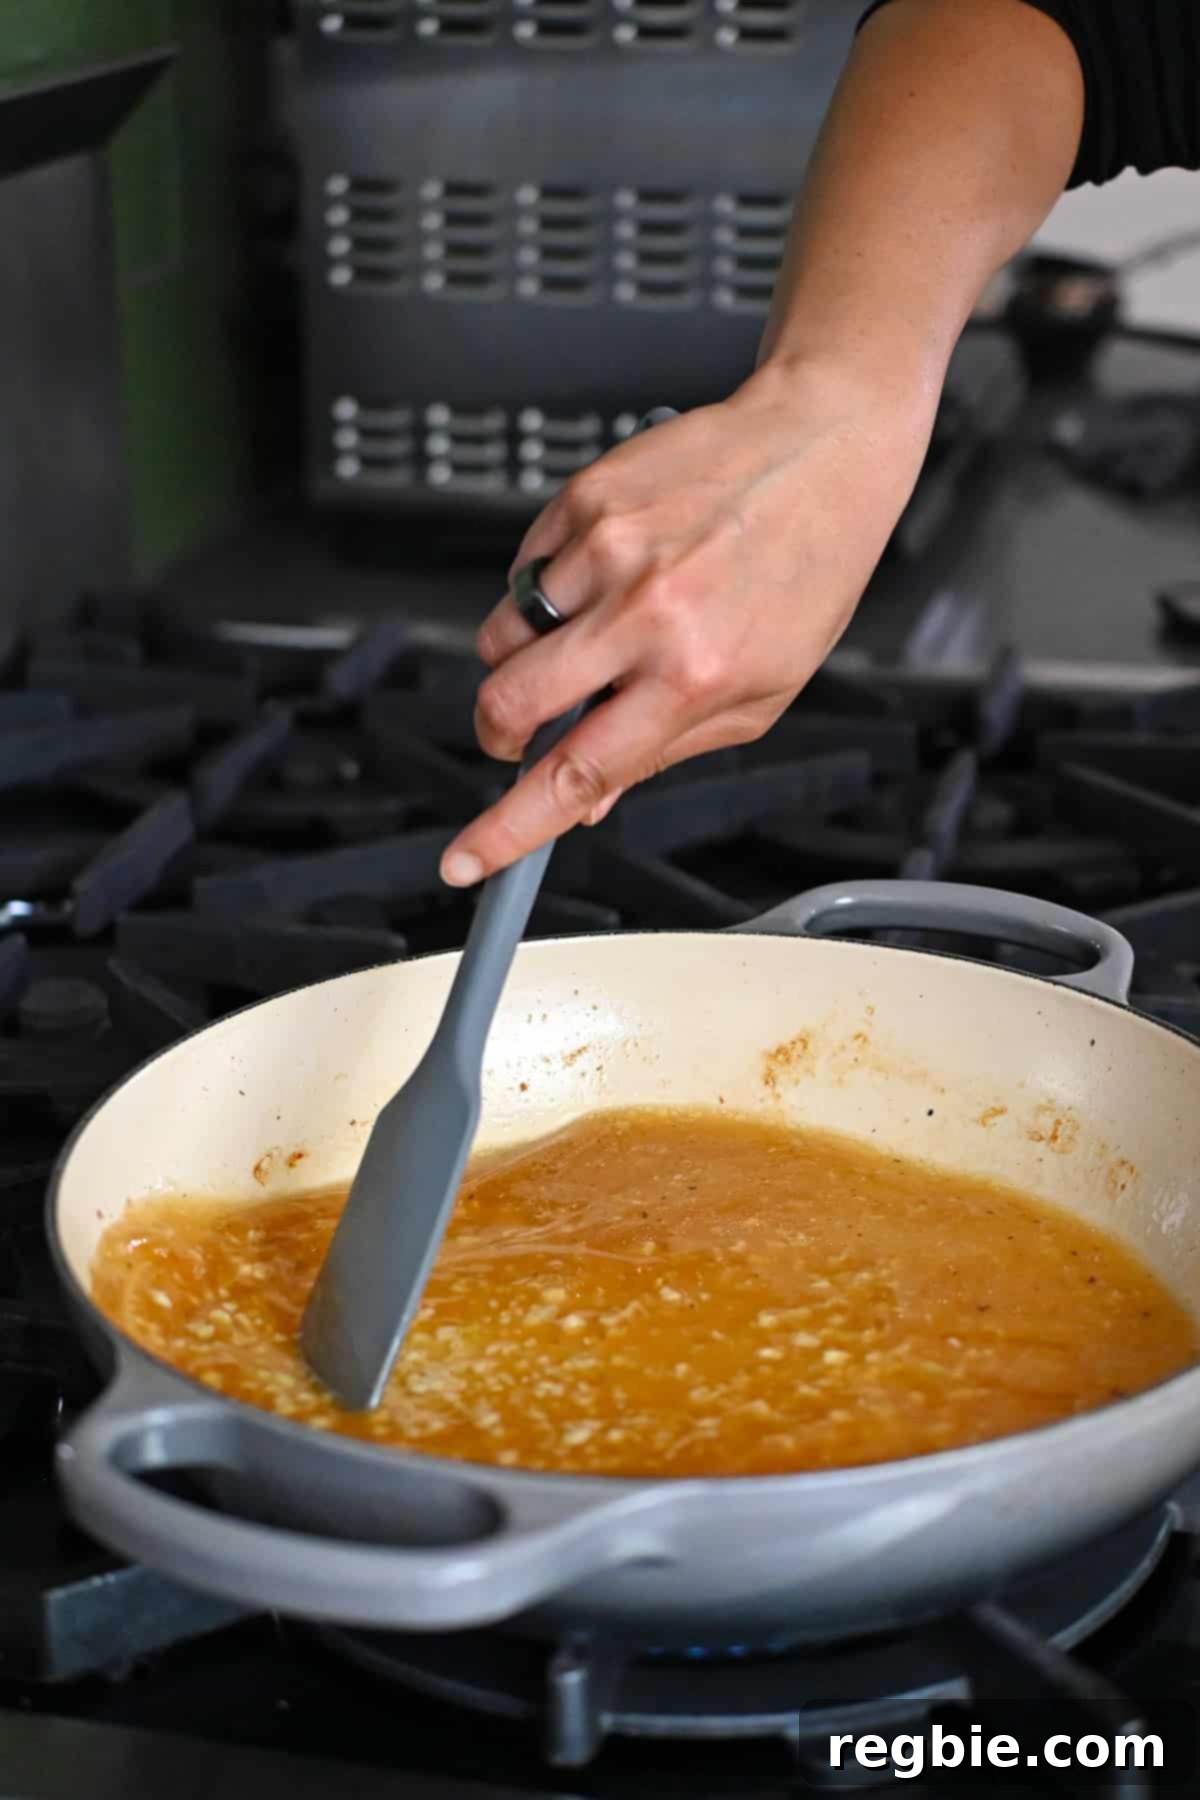
Turn the heat back to medium. Bring the sauce mixture to a gentle simmer. As it simmers, use a wooden spoon or spatula to scrape up any browned bits (the “fond”) from the bottom of the pan. These caramelized bits are packed with incredible flavor and will enrich your sauce significantly.
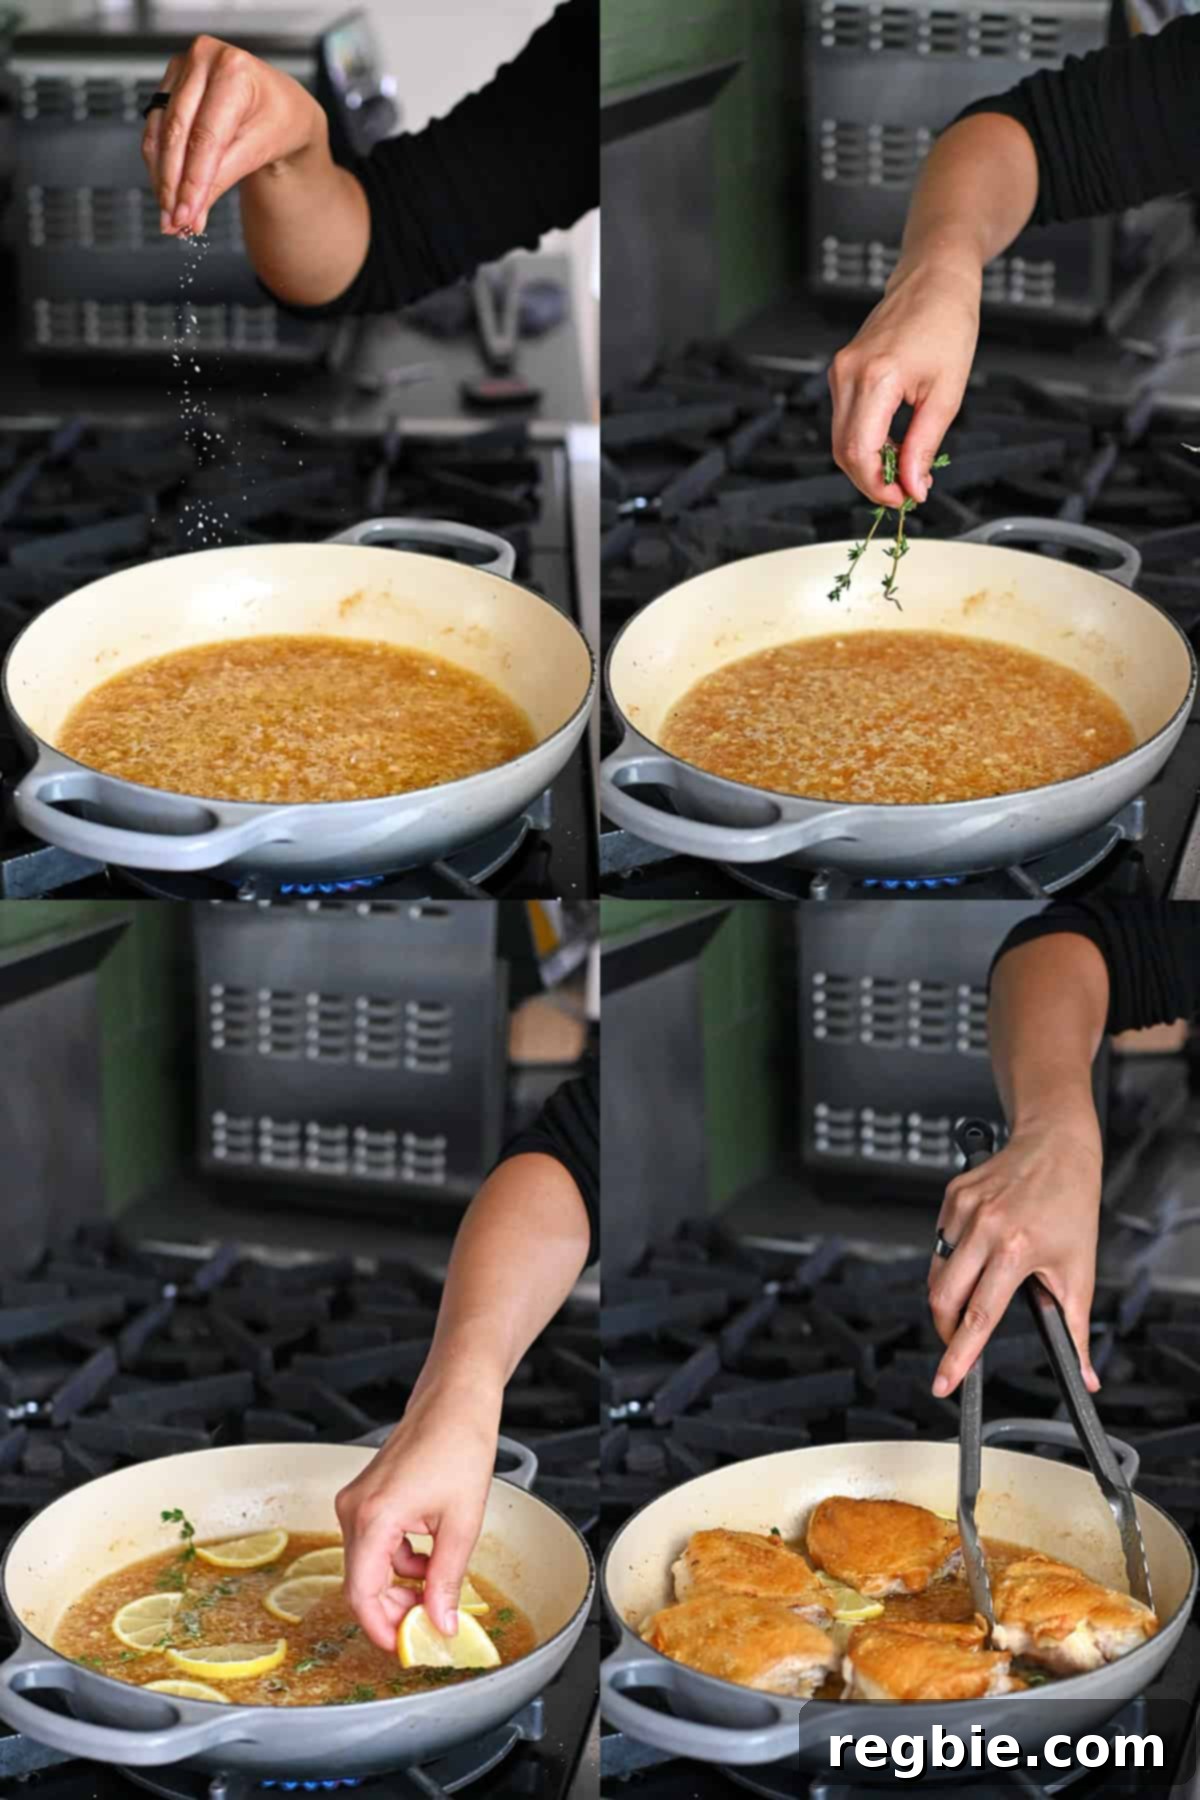
Once the sauce is simmering and you’ve scraped up the fond, taste it for seasoning. Add extra salt and pepper as needed to achieve a perfectly balanced flavor profile. Remember, a well-seasoned sauce will infuse maximum flavor into your chicken. Now, tuck the fresh thyme sprigs and the reserved lemon slices into the sauce. Finally, carefully arrange the seared chicken pieces back into the pan, ensuring the crispy skin side is facing up. This arrangement helps the skin stay crisp while the chicken finishes cooking in the oven.
Bake the Chicken to Perfection
With the chicken nestled in its flavorful sauce, carefully transfer the entire oven-safe pan to your preheated hot oven. The high heat will finish cooking the chicken through while the sauce continues to reduce and concentrate its flavors, infusing into the meat.
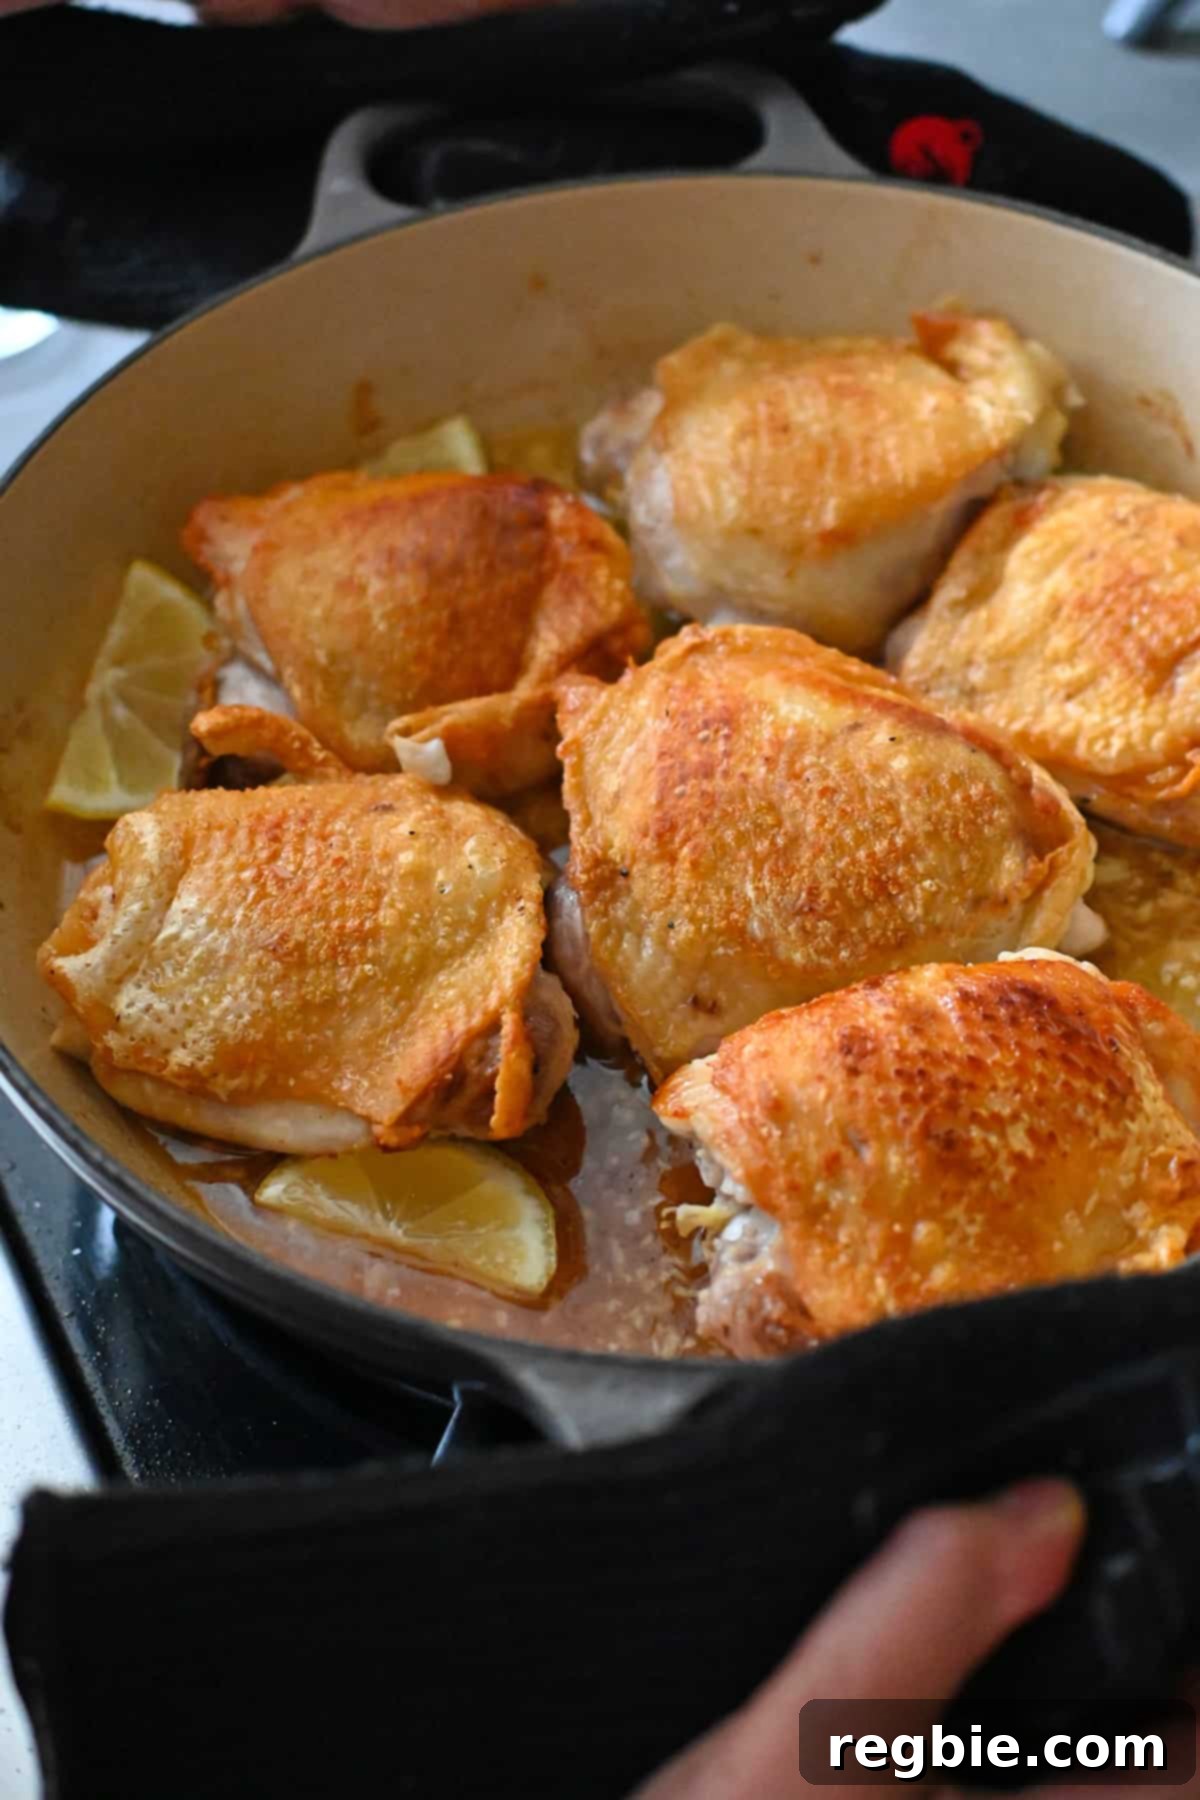
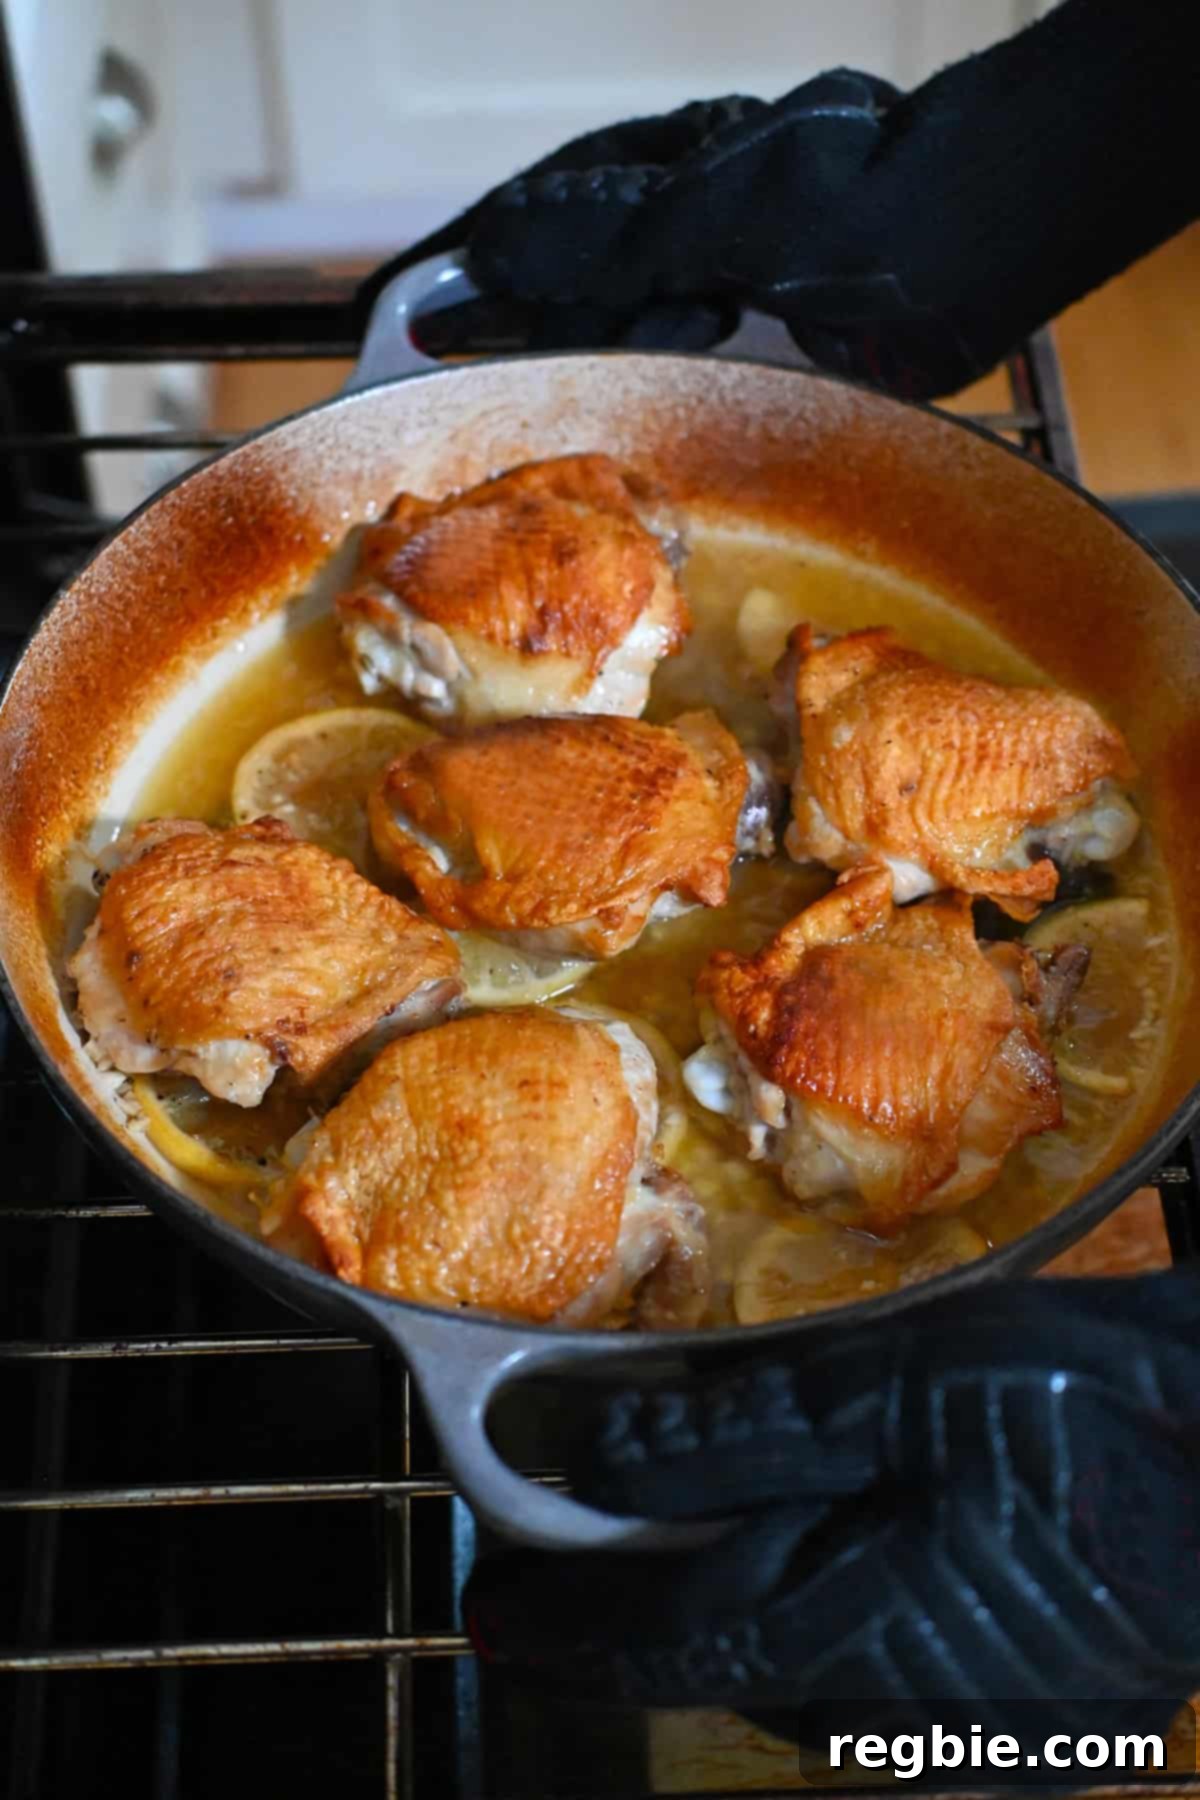
Roast the chicken for 15 to 20 minutes. The exact timing may vary depending on the size of your chicken thighs and your oven’s calibration. The most reliable way to determine doneness is by using an instant-read thermometer. Insert the thermometer into the thickest part of a thigh, avoiding the bone. The chicken is perfectly cooked when its internal temperature reaches 175°F (80°C). This temperature ensures the chicken is fully cooked, juicy, and safe to eat. Once it reaches this temperature, carefully remove the pan from the oven.
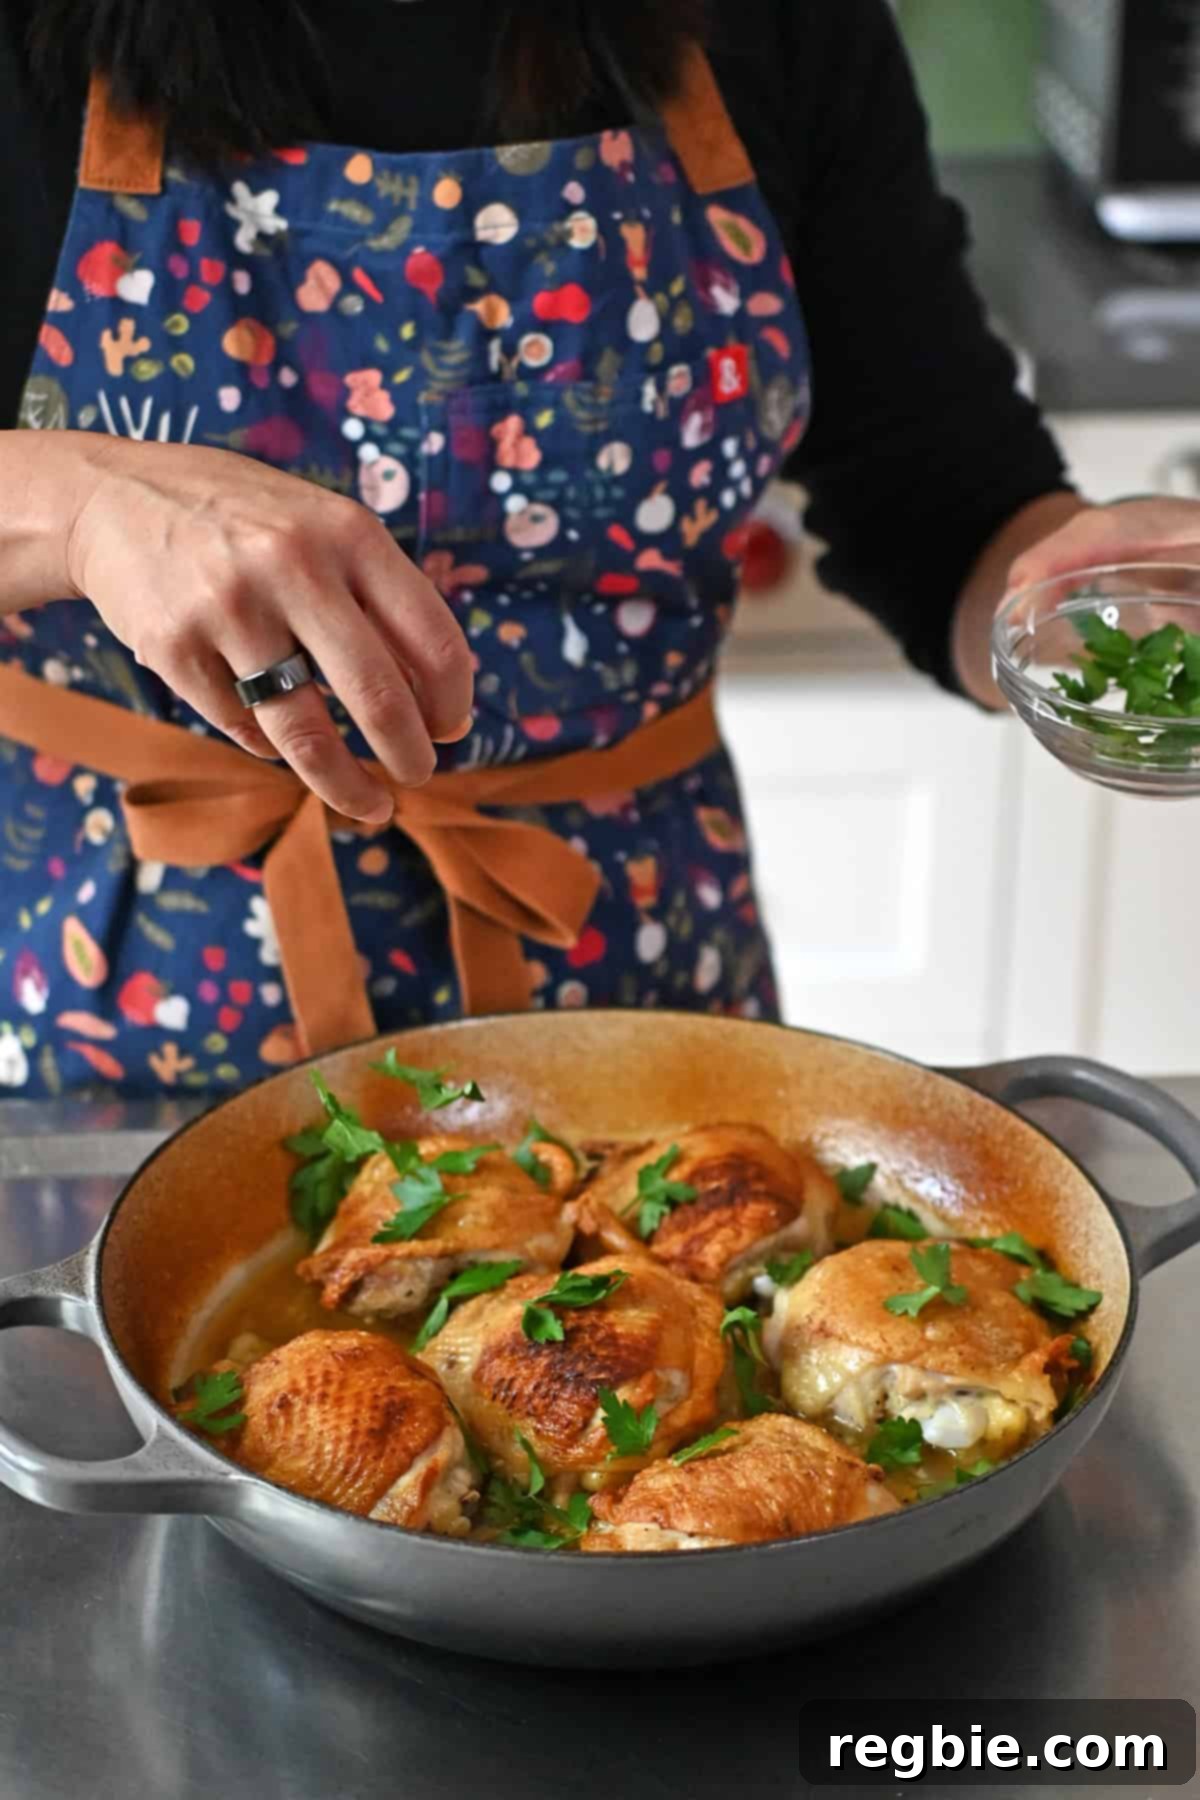
For a final touch of freshness and vibrant color, generously garnish the baked chicken with a shower of freshly minced Italian parsley. The bright, herbaceous notes of the parsley provide a wonderful contrast to the rich, savory chicken and zesty lemon-garlic sauce. Now, it’s time to gather around the table and dig into this incredible one-pan meal!
Storing and Reheating Leftovers
One of the many advantages of this delicious lemon garlic chicken is how well it keeps. To save any leftover portions, allow the chicken to cool completely to room temperature before transferring it to an airtight container. It can be safely stored in the refrigerator for up to 4 days, making it perfect for meal prepping. For longer storage, the chicken can also be frozen for up to 3 months. When reheating, gently warm the chicken in the oven or on the stovetop over low heat, adding a splash of chicken broth if the sauce has thickened too much, to ensure it retains its juiciness and flavor. Avoid high heat, as it can dry out the chicken.
Delicious Serving Suggestions
This versatile Lemon Garlic Chicken pairs beautifully with a wide array of side dishes, accommodating various dietary preferences. To maintain its Paleo and Whole30 compliance, consider serving it alongside a vibrant, large green salad with a light vinaigrette, or any number of delicious roasted or sautéed vegetable sides. Some fantastic options include creamy mashed cauliflower, tender roasted green beans, nutrient-rich sautéed spinach with a hint of garlic, or elegant prosciutto-wrapped asparagus spears. The bright, zesty sauce complements these vegetables perfectly. If you’re not following a strict Paleo diet, this flavorful chicken and its zingy sauce are utterly delightful when served with classic accompaniments like fluffy white rice, your favorite pasta (perhaps tossed with a little extra sauce), or comforting mashed potatoes. The sauce is truly the star that ties any meal together!
More One-Skillet Crispy Chicken Thigh Recipes
If you loved the ease and flavor of this one-pan crispy chicken, you’ll be thrilled to discover more recipes that celebrate the humble yet mighty chicken thigh. These dishes deliver similar levels of convenience, delicious crispiness, and robust flavor, perfect for expanding your weeknight repertoire:
- Ollie’s Cracklin’ Chicken
- Crispy Baked Chicken with Summer Vegetables
- Cantonese Crispy Chicken Thighs
Hungry for more culinary inspiration? Explore a treasure trove of ideas by heading over to my Recipe Index. For exclusive recipes and in-depth cooking guides, be sure to check out my acclaimed cookbooks: Nom Nom Paleo: Food for Humans (Andrews McMeel Publishing 2013), Ready or Not! (Andrews McMeel Publishing 2017), and Nom Nom Paleo: Let’s Go! (Andrews McMeel Publishing 2022).
Crispy Lemon Garlic Chicken Thighs – Juicy & Flavorful!
10 mins
35 mins
45 mins
6
Michelle Tam

Ingredients
- 3 pounds chicken thighs (about 6 thighs), bone-in, skin-on
- Diamond Crystal kosher salt
- 2 large lemons
- 1 tablespoon extra virgin olive oil
- ¼ teaspoon freshly ground black pepper
- 6 garlic cloves, minced
- 1 cup chicken broth or bone broth
- 4 fresh thyme sprigs
- ¼ cup minced fresh Italian parsley (optional garnish)
Instructions
- Heat the oven to 450°F (230°C) with the rack in the middle position.
- While the oven is heating up, pat your chicken pieces dry with a paper towel. Next, sprinkle kosher salt liberally (about 2 teaspoons) on both sides of the chicken pieces.
- Cut one lemon in half crosswise. Then, cut one of the lemon halves in half lengthwise before slicing it into thin half-moons. Set aside the lemon slices.
- Cut the second lemon in half crosswise and juice the remaining three lemon halves. Measure out 3 tablespoons of the lemon juice and set it aside.
- Heat a 12-inch oven-safe heavy-bottomed skillet over medium-high heat. When the pan is hot, add the oil to the pan. Then, sear the chicken pieces skin-side down in the hot pan until nicely browned and crispy, about 5 minutes. While the skin is crisping, add freshly ground black pepper to the meaty side.
- Once the skin is golden brown, flip the pieces over and cook for 2 minutes more. Transfer the chicken to a clean plate and turn off the heat.
- Spoon off the excess fat in the pan, leaving just enough oil to coat the bottom of the skillet (about 1-2 tablespoons). Add the minced garlic to the pan and stir it around so it gets fragrant but not burned. Then, pour the broth and reserved fresh lemon juice in the pan.
- Turn the heat on medium and bring the sauce to a simmer. Scrape up any browned bits (fond) from the bottom of the pan to incorporate them into the sauce.
- Taste for seasoning and add salt and pepper as needed. Then, tuck in the thyme sprigs and lemon slices. Arrange the chicken pieces back in the pan, skin-side up.
- Transfer the pan to the hot oven. Roast the chicken for 15 to 20 minutes or until the internal temperature of the chicken reaches 175°F (80°C) in the thickest part of the thigh, avoiding the bone.
- Garnish the chicken with a shower of minced Italian parsley, and dig in!
Notes
- Leftovers can be stored in an airtight container in the fridge for up to 4 days or in the freezer for up to 3 months.
Nutrition
Nutrition information is automatically calculated, so should only be used as an approximation.
Like this? Leave a comment below!