
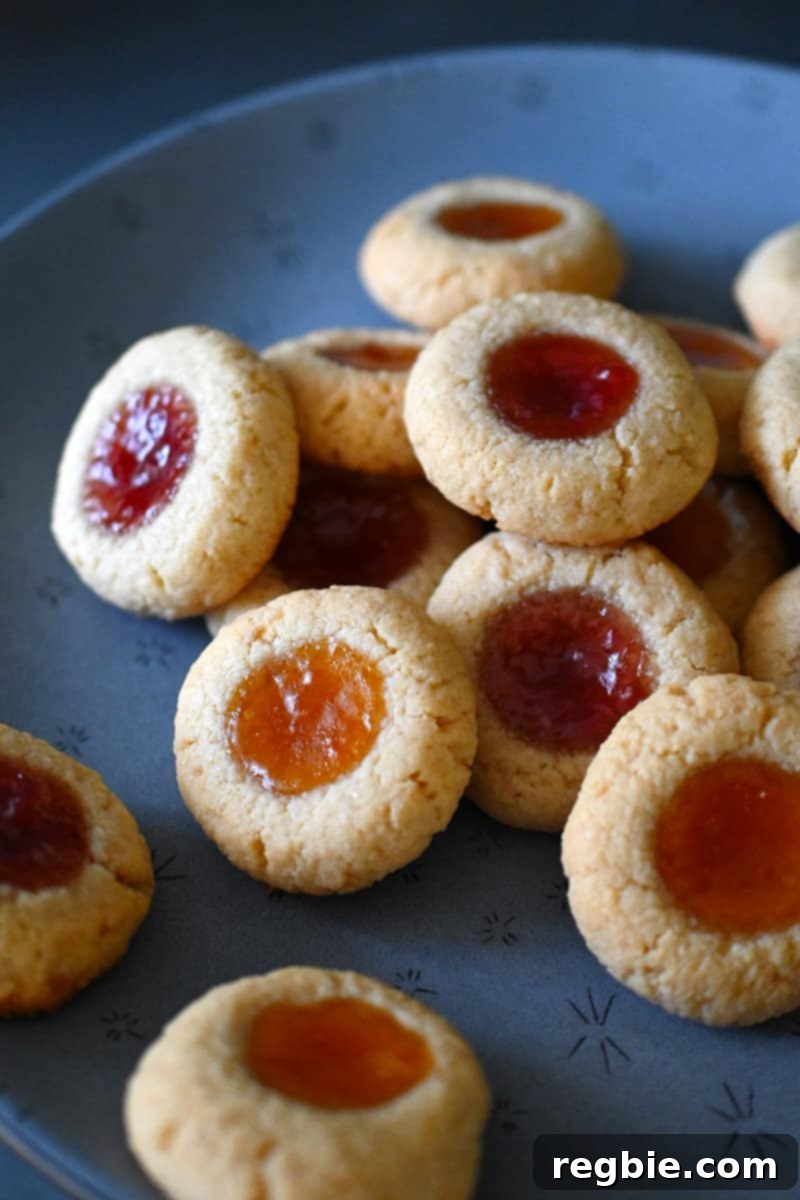
Welcome to a world where cherished childhood memories meet wholesome, paleo-friendly ingredients! These delightful paleo thumbprint cookies are your favorite jam-filled treats, meticulously remade to be completely gluten-free and grain-free. Beyond just being a simple recipe, these tender, jam-studded cookies are destined to become a beloved and delicious tradition, especially during the festive holiday season. Get ready to bake a batch of pure joy that everyone can savor!
Table of Contents
- The Perfect Holiday Cookie: A Nostalgic Treat
- Essential Ingredients for Paleo Thumbprint Cookies
- Fat Choices: Ghee, Coconut Oil, or Palm Shortening
- Natural Sweeteners: Maple Sugar or Coconut Sugar
- The Flour Blend: Almond and Tapioca
- The Binding Agent: Egg and Alternatives
- Flavor Enhancers: Salt and Vanilla
- The Star of the Show: Fruit-Juice Sweetened Jam
- Step-by-Step Guide: How to Make Paleo Thumbprint Cookies
- Creaming the Fat and Sugar: The Foundation of Flavor
- Incorporating the Wet Ingredients
- Preparing the Dry Blend
- Combining Wet and Dry for a Perfect Dough
- Chilling the Dough: A Crucial Step
- Preheating Your Oven and Preparing Trays
- Forming the Iconic Thumbprint Shapes
- Baking to Golden Perfection
- Cooling for the Ideal Texture
- Optimal Storage Solutions for Your Thumbprint Cookies
- Pro Tips for Storing Leftover Paleo Thumbprint Cookies
- More Irresistible Paleo Holiday Treats
- Printer-Friendly Recipe Card
- Thumbprint Cookies (Gluten Free, Paleo, Grain Free) Recipe
The Perfect Holiday Cookie: A Nostalgic Treat
There’s something uniquely comforting about a classic thumbprint cookie. For many, it evokes cherished memories of childhood holidays and cozy kitchens filled with the aroma of freshly baked treats. While my dietary choices lean towards paleo, my love for these buttery shortbread cookies, with their sweet and tangy jammy centers, remains as strong as ever. The thought of holiday baking always brings them to mind, and so, it became my delightful mission to craft a paleo-friendly version that not only met my dietary needs but also tasted indistinguishably like the real thing. This recipe delivers a crave-worthy, gluten-free, and grain-free twist on the traditional favorite, ensuring that the magic of thumbprint cookies can be enjoyed by everyone, without compromise.
Essential Ingredients for Paleo Thumbprint Cookies
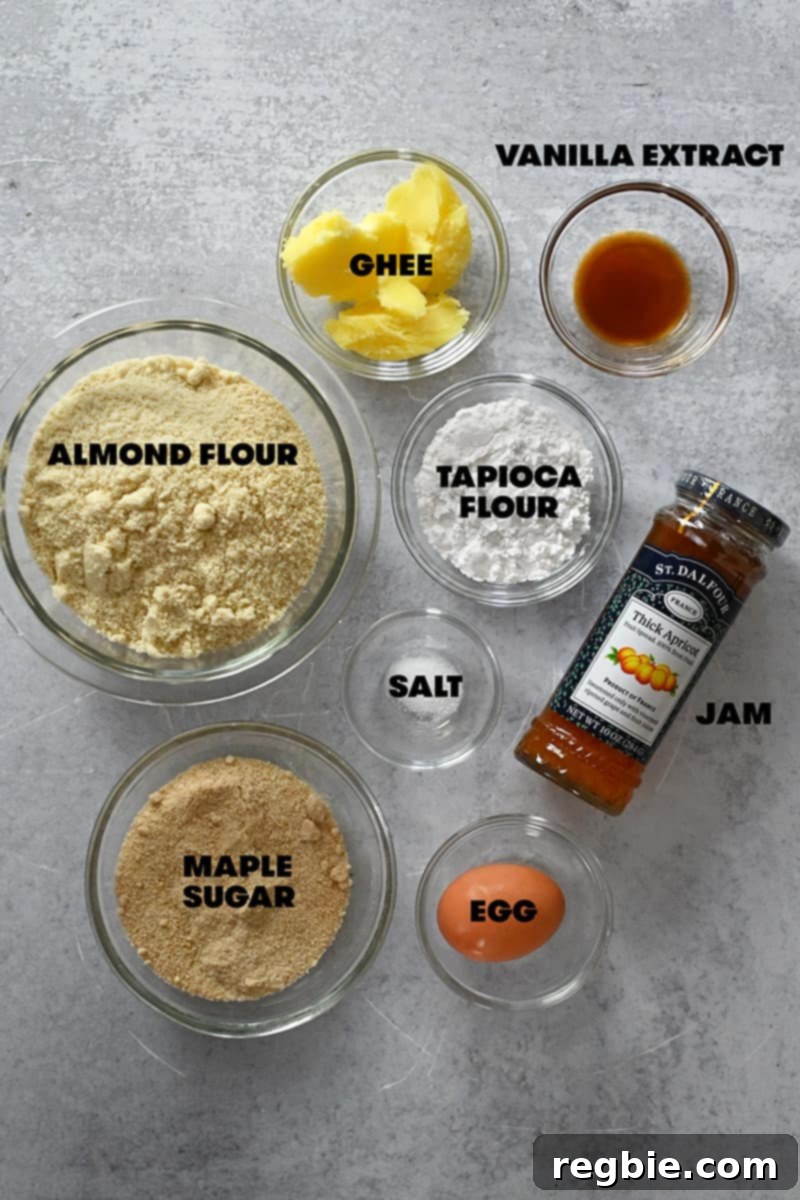
Crafting delicious paleo treats doesn’t require a pantry full of obscure ingredients. In fact, these delightful thumbprint cookies are made with just eight simple, wholesome components that you might already have on hand. Each ingredient plays a vital role in achieving that perfect shortbread texture and vibrant jam filling, all while adhering to paleo guidelines. Let’s delve into what makes these cookies truly special:
Fat Choices: Ghee, Refined Coconut Oil, or Palm Shortening
In traditional thumbprint cookie recipes, butter is the star, providing that rich, melt-in-your-mouth texture. For our paleo version, I wholeheartedly recommend ghee. It offers a similar buttery flavor and consistency, without the lactose and casein found in regular butter, making it suitable for many on a paleo diet. If you prefer to avoid ghee or need a strictly dairy-free option, refined coconut oil is an excellent alternative, offering a neutral flavor profile. Sustainably-farmed palm shortening also works wonderfully, providing a very similar texture to traditional shortening. Whichever fat you choose, it’s absolutely crucial that it is softened to room temperature before you begin, as this allows for proper creaming with the sugar, which is key for a delicate cookie crumb.
Natural Sweeteners: Maple Sugar or Coconut Sugar
Achieving a delicate crumb and a light, tender texture in these gluten-free cookies relies heavily on the creaming process of granulated sugar and fat. My top pick for a paleo-friendly granulated sweetener is maple sugar, which I often source online for its fine texture and subtle caramel notes. It bakes beautifully and helps maintain a lighter cookie color. Coconut sugar is another viable option and works equally well in terms of function, but be aware that it will impart a slightly darker hue and a more pronounced molasses-like flavor to your cookies. Both options ensure these treats remain free from refined sugars.
The Flour Blend: Almond and Tapioca Flour
The foundation of this delicious cookie dough primarily consists of finely ground almond flour. This low-carb, gluten-free flour provides a rich flavor and a tender, moist crumb that’s ideal for shortbread-style cookies. It’s paired with a smaller amount of tapioca flour, which is crucial for lightening the dough and adding a touch of crispness. If you need a nut-free alternative, you might consider experimenting with cassava flour to replace the almond flour, but please note that I haven’t personally tested this substitution. If you do try it, I’d love to hear about your results in the comments!
The Binding Agent: Egg and Alternatives
A single large egg plays a vital role in binding the cookie dough together, providing essential structure and contributing to the overall richness of these cookies. It helps prevent the cookies from crumbling excessively and ensures a more consistent texture. If you need to make these cookies egg-free, there are a couple of alternatives you can explore. Substituting with 2 tablespoons of unsweetened applesauce or a dairy-free creamer like Nutpods can work, but be prepared for a slightly softer cookie that might spread a bit more during baking. While egg replacers are an option, I haven’t personally tested them in this specific recipe. If you discover an egg replacement that yields fantastic results, please share your findings with me and other bakers in the comments!
Flavor Enhancers: Diamond Crystal Kosher Salt and Vanilla Extract
Just like in many culinary creations, a tiny pinch of Diamond Crystal kosher salt makes all the difference in desserts. It perfectly balances the sweetness of the sugar and jam, enhancing all the other flavors without making the cookies taste salty. The quality of salt truly matters here for a subtle, even flavor distribution. Complementing this, a hint of vanilla extract elevates the overall aroma and taste of these cookies. For those who enjoy a nuttier profile, feel free to swap vanilla extract for almond extract to add another layer of deliciousness.
The Star of the Show: Fruit-Juice Sweetened Jam
The vibrant, gooey center of these thumbprint cookies is, of course, the jam. To keep this recipe strictly paleo-friendly and free from refined sugars, it’s essential to use jam sweetened only with fruit juice. While making your own homemade jam is always an option for ultimate control, for convenience and consistent results, I often opt for high-quality, 100% fruit-sweetened jams. My go-to brand is St. Dalfour, which offers a fantastic range of flavors. Strawberry, raspberry, and apricot jams are particularly delightful choices for these thumbprint cookies, each offering a unique burst of fruity sweetness. Interestingly, this is the same brand of jam I enjoy using in my Paleo Char Siu recipe, showcasing its versatility!
Step-by-Step Guide: How to Make Paleo Thumbprint Cookies
Making these paleo thumbprint cookies is a straightforward and rewarding process. While the result is a sophisticated and delicious treat, the steps are simple enough for any home baker. Follow these detailed instructions to ensure your cookies come out perfectly tender, golden, and bursting with fruity flavor.
Creaming the Fat and Sugar: The Foundation of Flavor
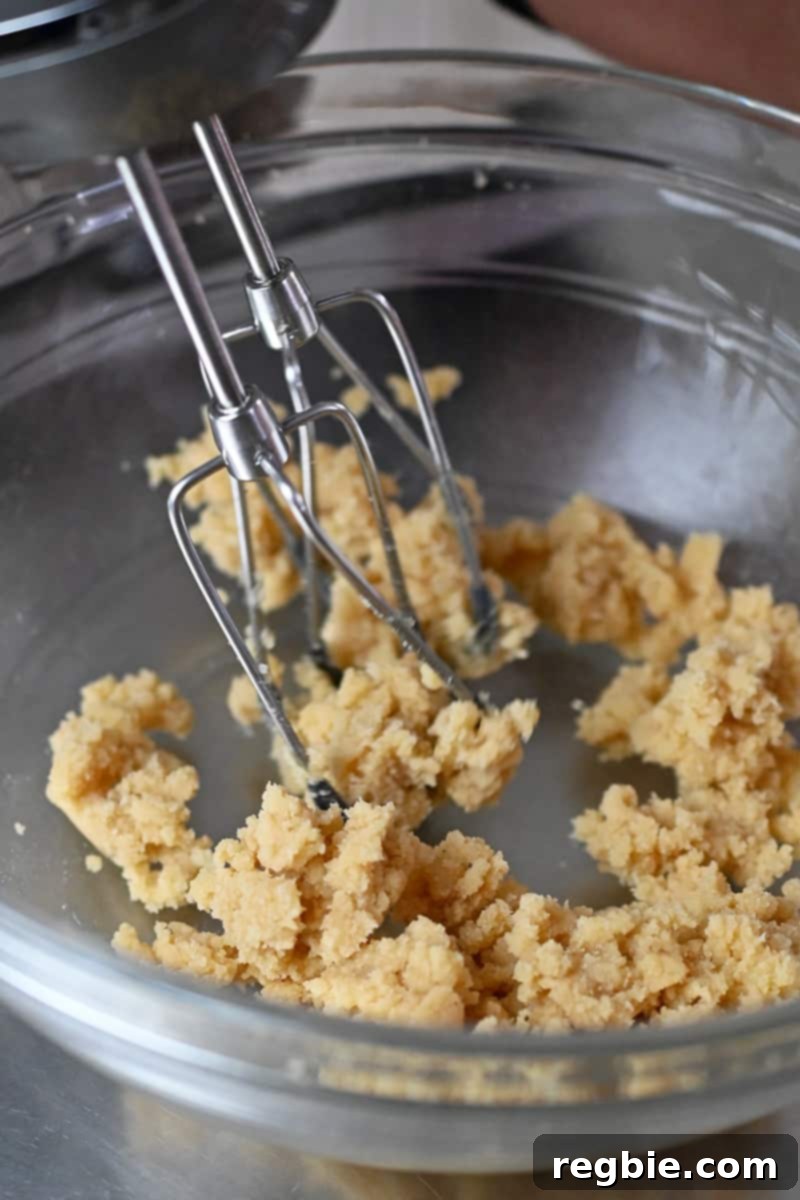
Begin by placing your softened maple sugar (or coconut sugar) and room-temperature ghee (or chosen fat) into a large mixing bowl. Using an electric hand mixer or a stand mixer fitted with a paddle attachment, beat these ingredients together on a low speed. The goal here is to achieve a light, fluffy, and well-combined mixture. This creaming process is vital for incorporating air, which contributes to the shortbread’s signature tender texture.
Incorporating the Wet Ingredients
Once your fat and sugar mixture is light and creamy, it’s time to add the liquid elements. Crack the large egg directly into the bowl, and then pour in the vanilla extract (or almond extract, if you prefer). Continue to beat these wet ingredients with your mixer until they are fully incorporated and the mixture appears smooth and homogenous. This ensures that the egg is evenly distributed, helping to bind the dough and add richness to every bite.
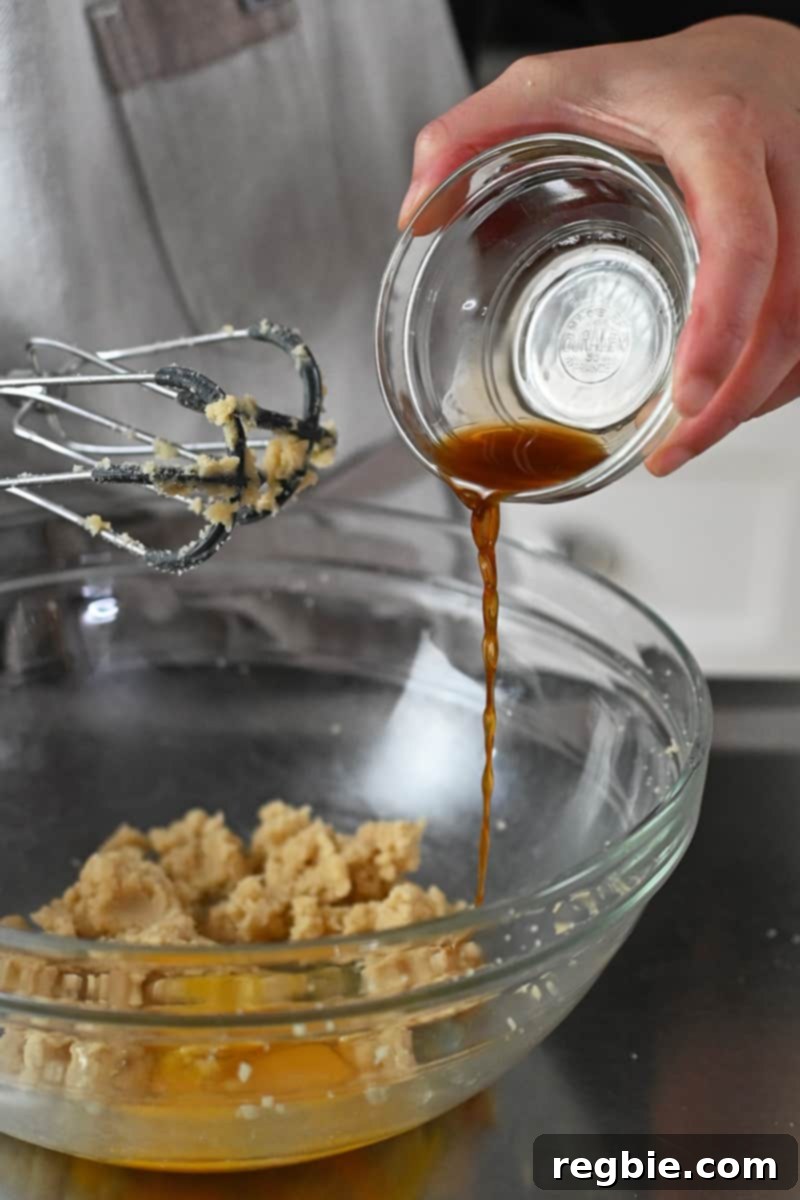
Continue beating until the mixture is completely smooth and well-integrated. The batter should have a consistent texture and color, without any visible streaks of unmixed ingredients.
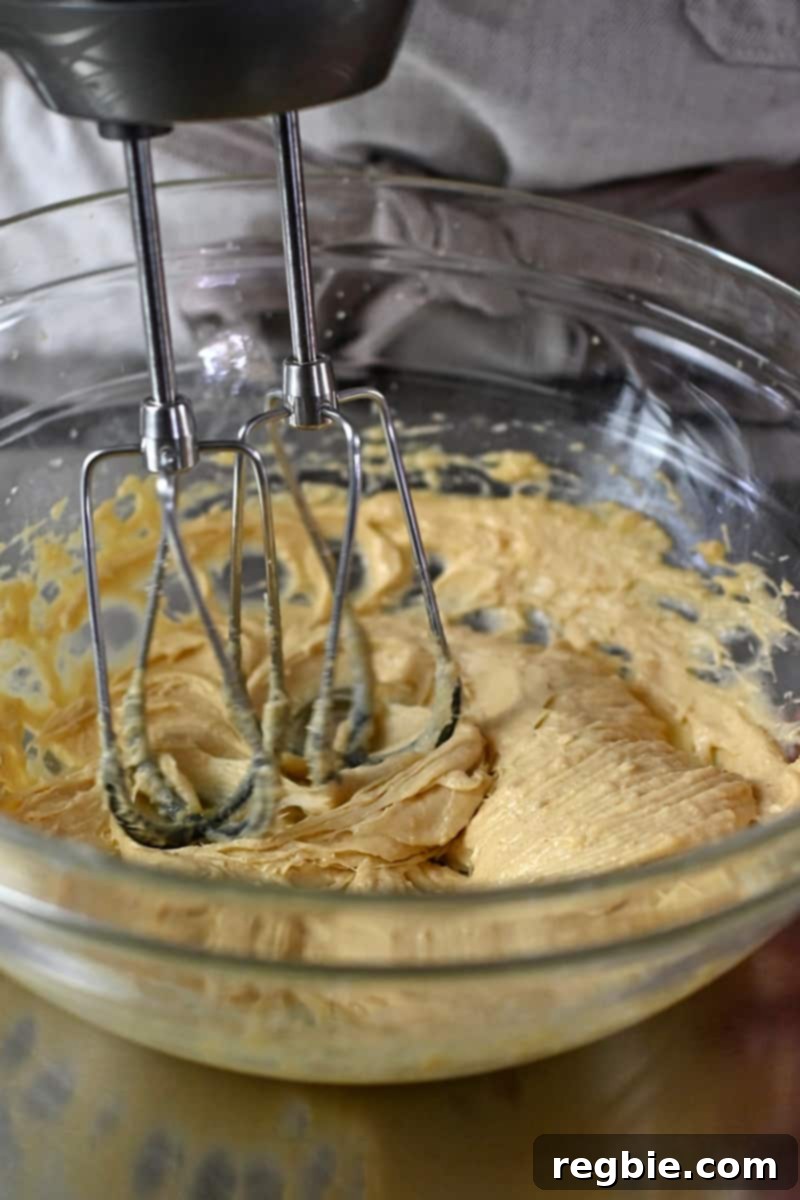
Preparing the Dry Blend
In a separate medium-sized bowl, combine all your dry ingredients: the almond flour, tapioca flour, and Diamond Crystal kosher salt. Use a whisk to thoroughly mix them together. This step is important because it ensures that the leavening (though not applicable here) and flavorings are evenly distributed throughout the dry mixture, preventing pockets of uneven texture in your final cookies.
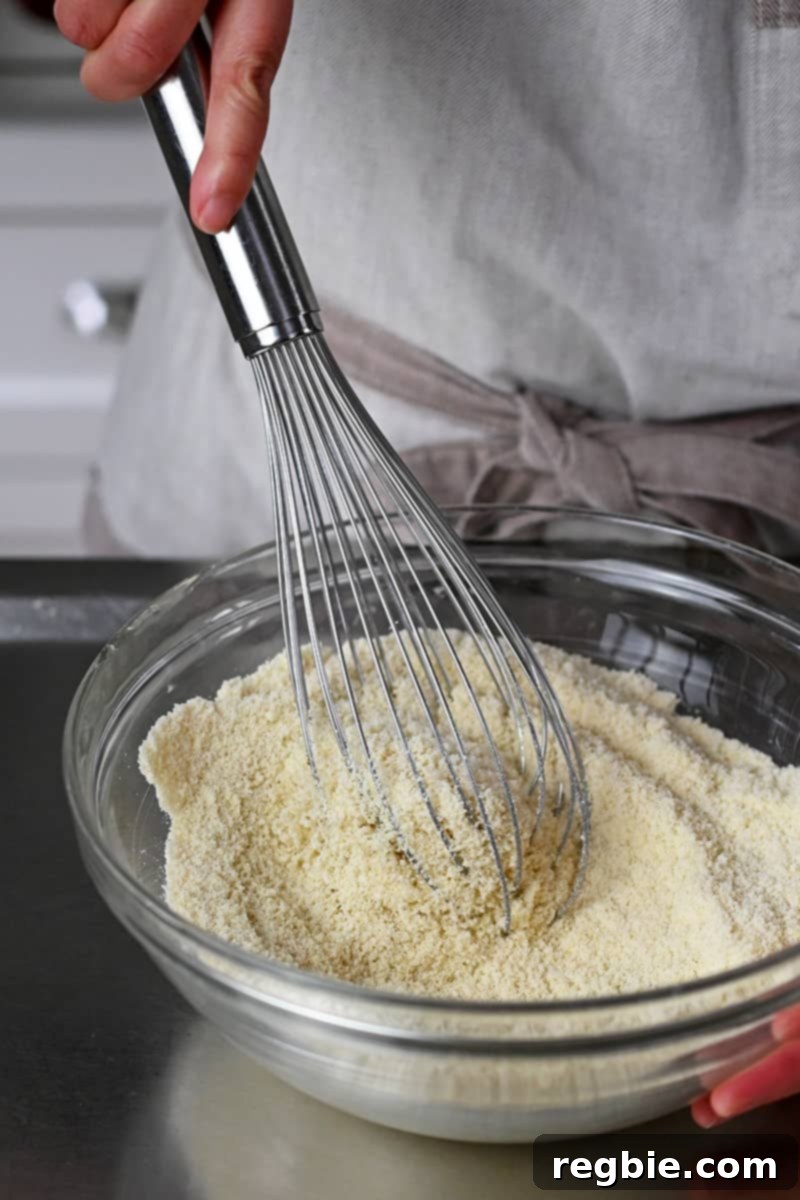
Combining Wet and Dry for a Perfect Dough
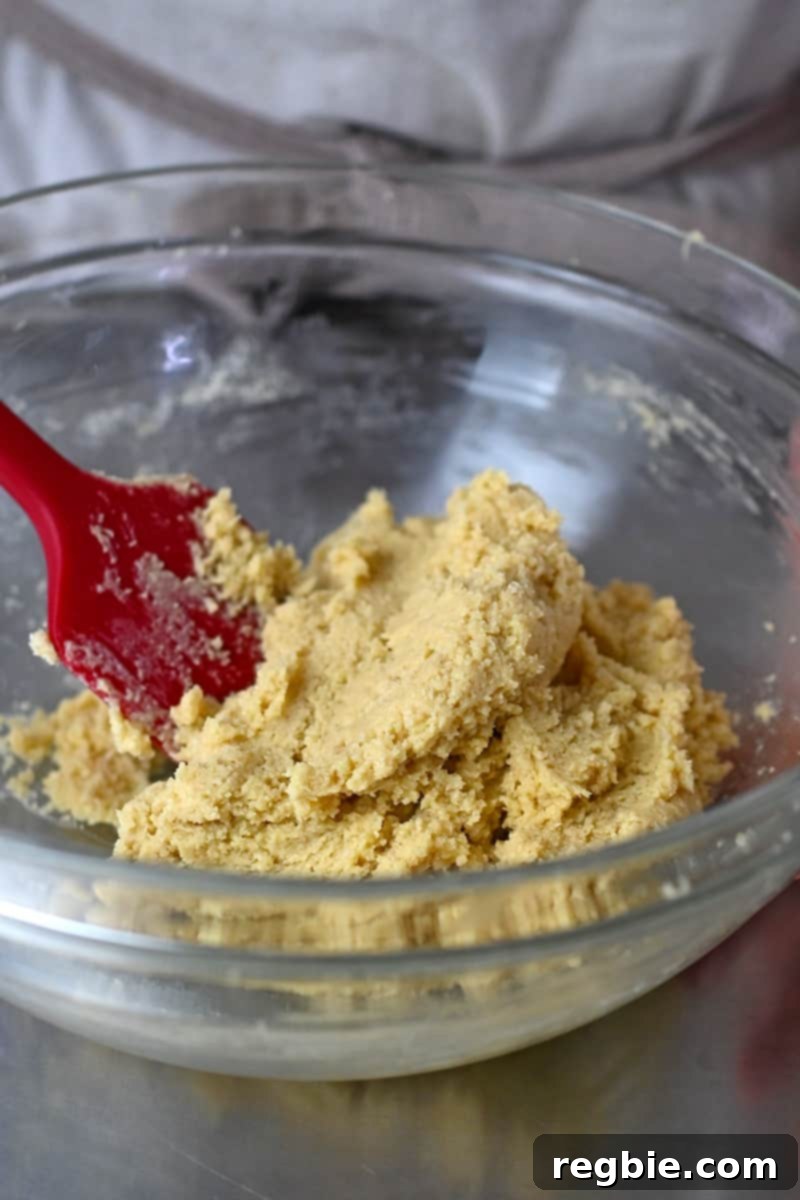
Now, gently pour the whisked dry ingredients into the bowl containing your wet mixture. Using a sturdy spatula or a wooden spoon, begin to stir the ingredients. Mix just until they are well combined and a uniform cookie dough forms. Be careful not to overmix, as this can lead to tougher cookies, especially with gluten-free flours. Stop mixing as soon as no dry streaks of flour are visible.
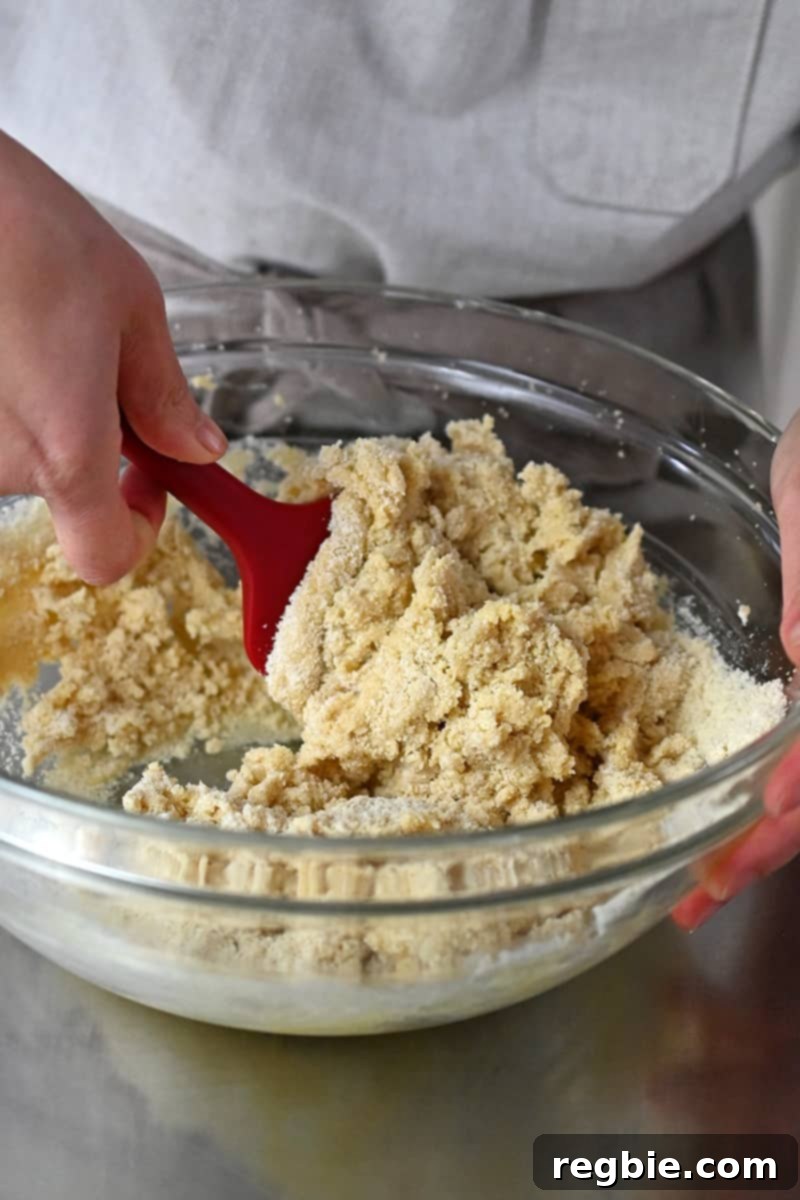
Chilling the Dough: A Crucial Step
Once your dough is ready, cover the bowl with plastic wrap or a clean kitchen towel and place it in the refrigerator to chill for at least 30 minutes. This chilling period is absolutely essential. It not only allows the flavors to meld beautifully but, more importantly, it helps the fats solidify, making the dough much firmer and easier to handle. This prevents the cookies from spreading too much during baking, ensuring they hold their perfect thumbprint shape.
Preheating Your Oven and Preparing Trays
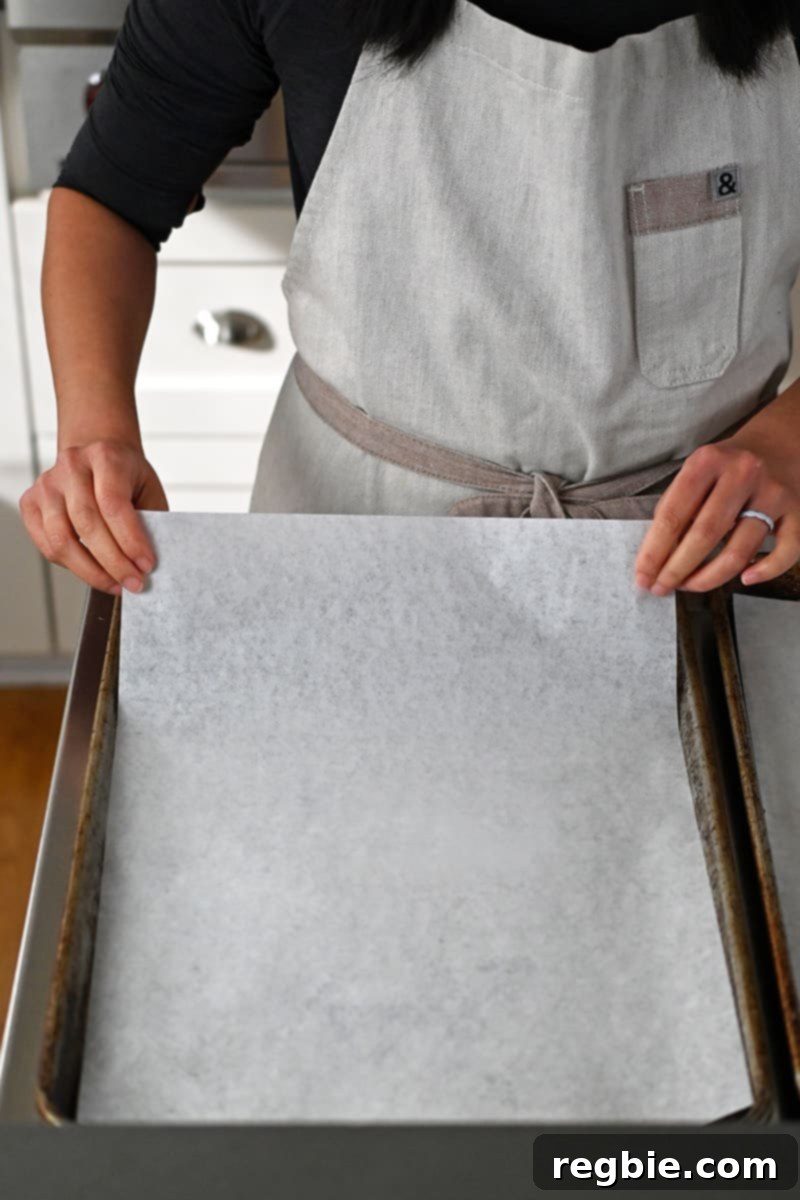
As you near the end of the chilling time, begin to preheat your oven to 350°F (175°C). For optimal and even baking, position your oven racks in the upper and lower thirds of the oven. Next, line two large, rimmed baking sheets or cookie sheets with parchment paper. This non-stick surface ensures that your delicate cookies don’t stick and makes for easy cleanup. Set these prepared sheets aside, ready for the cookie dough.
Forming the Iconic Thumbprint Shapes
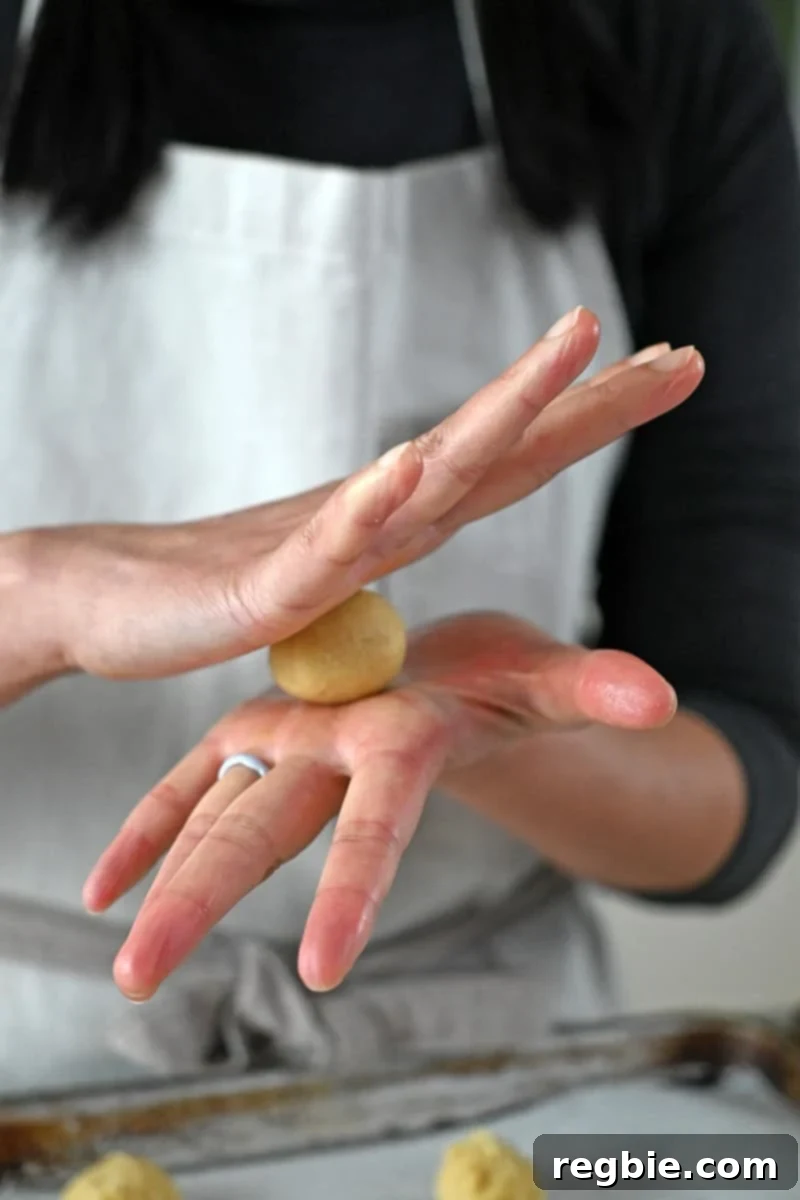
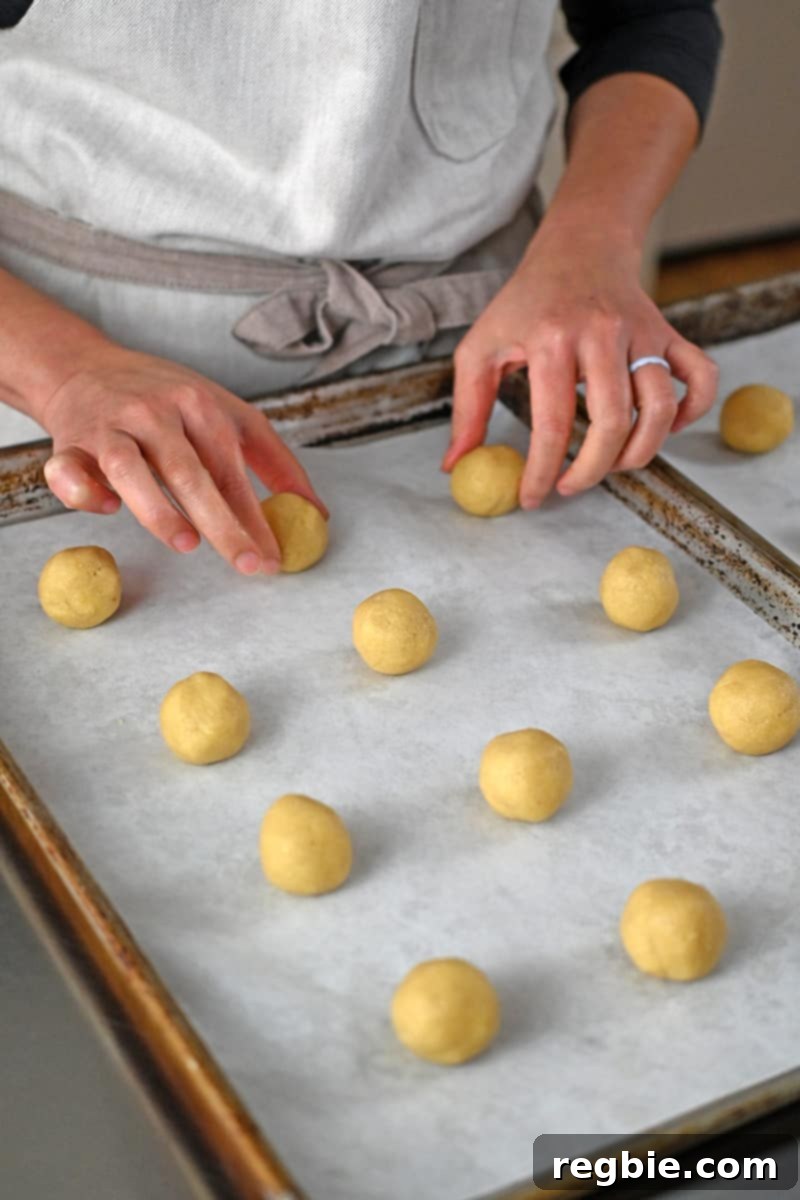
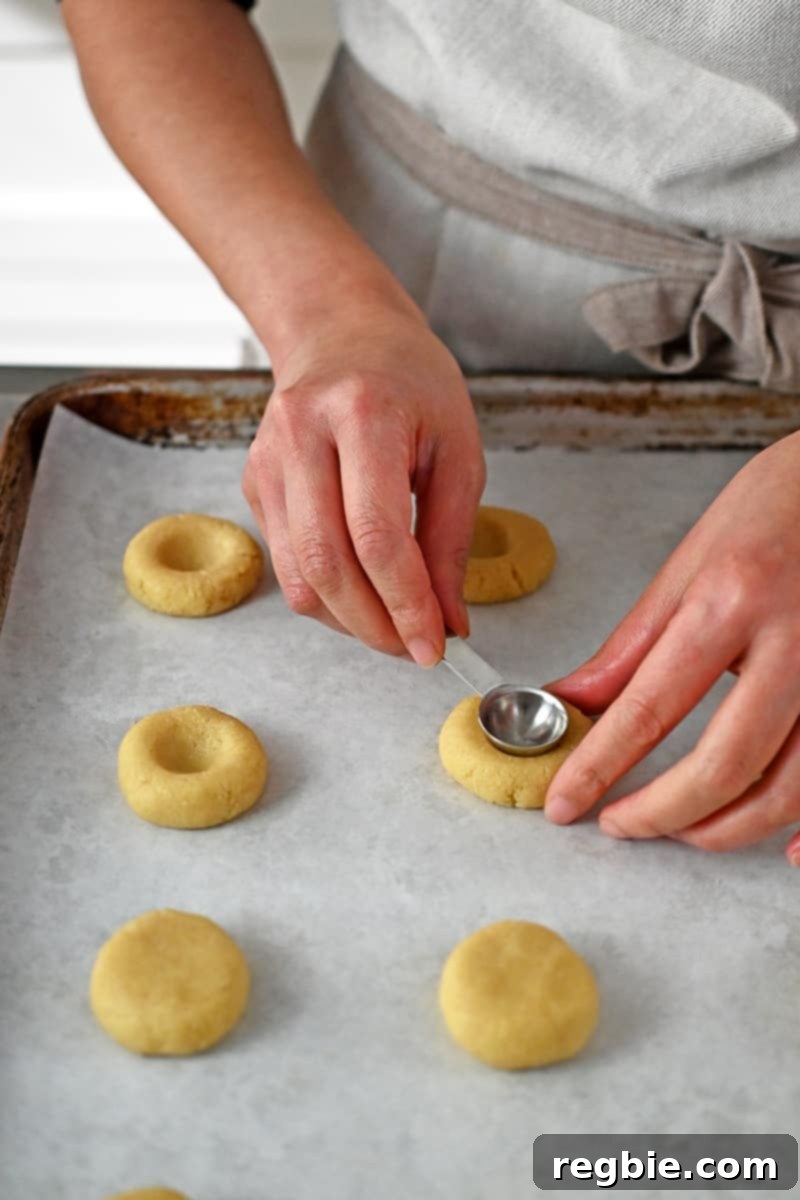
Retrieve the chilled dough from the fridge. Use a small cookie scoop to portion out approximately 24 equal balls of dough. For best results, aim for balls that are about 1-inch in diameter. Roll each portion between your palms until it forms a smooth, round sphere. Arrange these dough balls evenly across your two parchment-lined baking sheets, leaving enough space between them for slight spreading. Then, gently flatten each ball with a flat surface, such as the bottom of a measuring cup or simply your fingers, until they are about ½-inch thick. Finally, to create the signature indent for the jam, use your thumb or the back of a ½-teaspoon measuring spoon to press a cavity into the center of each cookie, being careful not to press all the way through.
Carefully arrange the uniformly shaped dough balls on your prepared baking sheets, ensuring even spacing for proper baking.
Once flattened, use your preferred tool (thumb or a measuring spoon) to create the perfect indent for the jam filling.
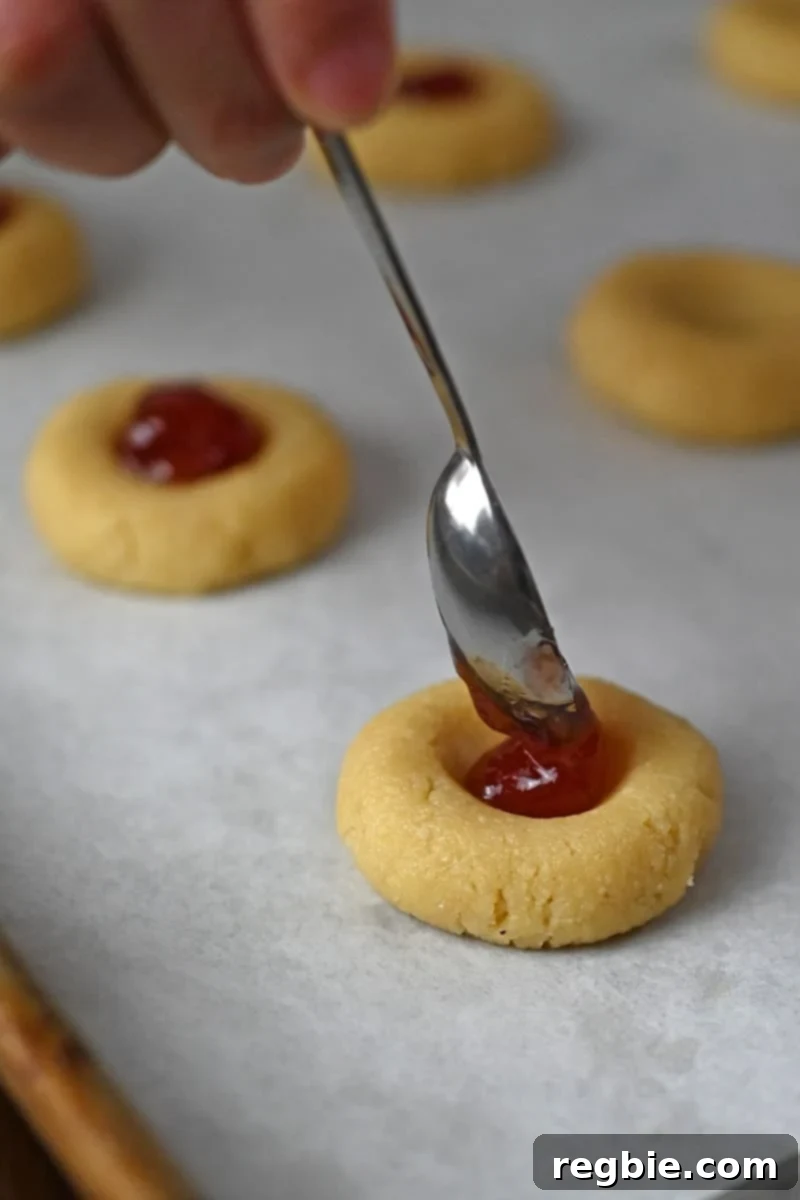
Finally, carefully spoon a generous ¼-teaspoon of your chosen fruit-sweetened jam into the center of each indentation. A narrow spoon works best here to avoid spills and ensure a tidy appearance.
Baking to Golden Perfection
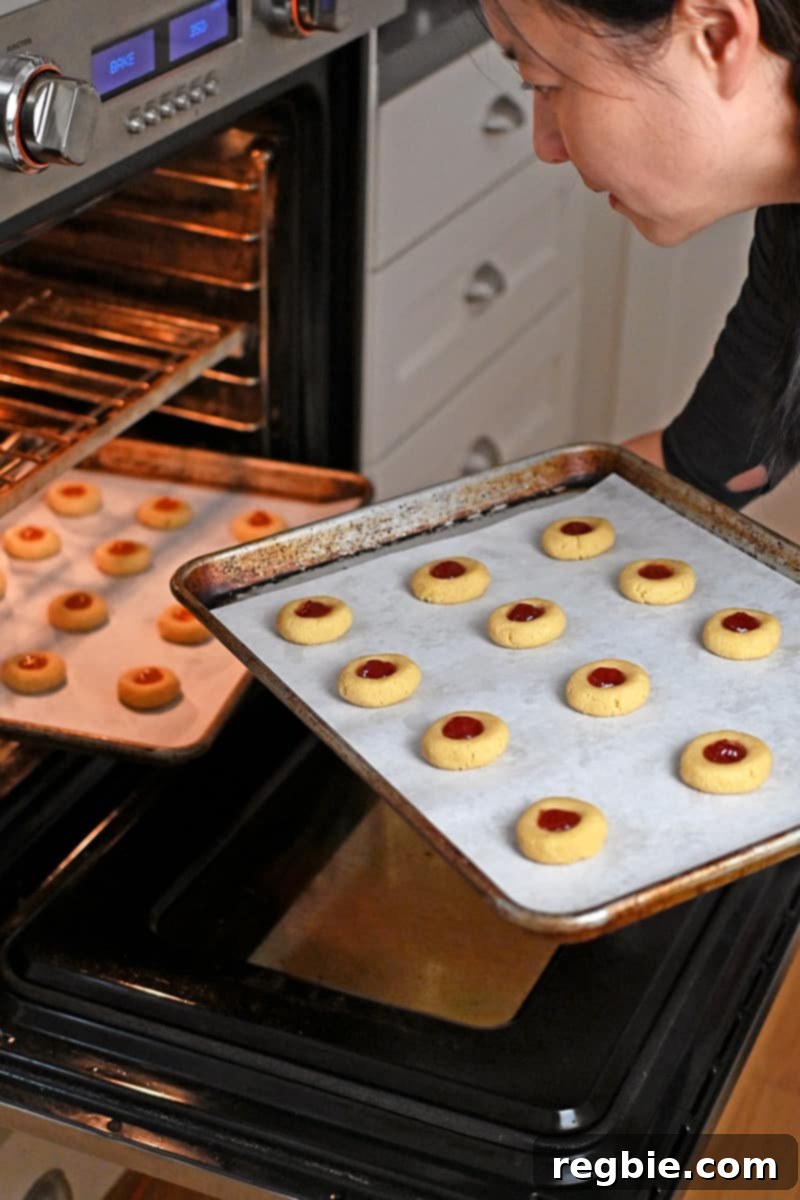
Place both baking trays into your preheated oven. Bake the cookies for approximately 11 to 13 minutes. To ensure even baking and a consistent golden-brown finish, remember to rotate the trays halfway through the baking time. The cookies are perfectly done when their edges turn a light golden brown and their bottoms achieve a beautiful golden hue. Keep a close eye on them, as baking times can vary slightly between ovens.
Cooling for the Ideal Texture
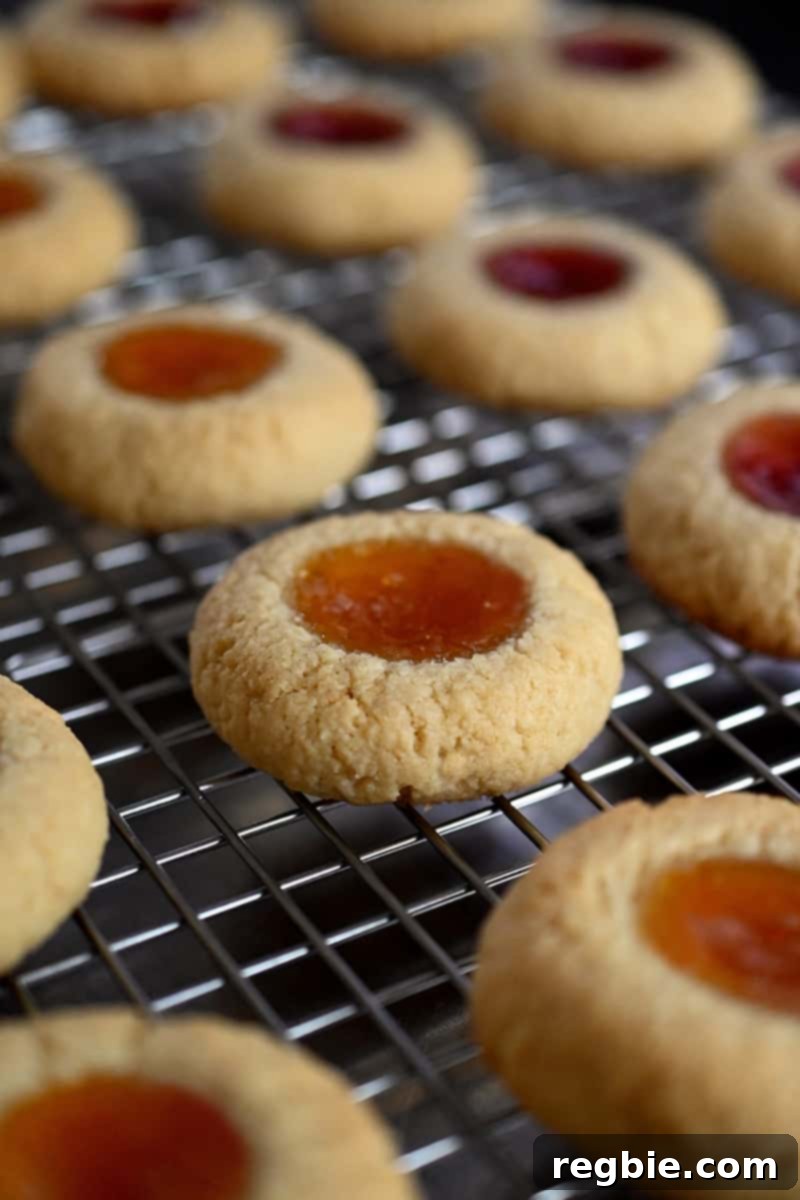
Once baked, remove the trays from the oven and allow the cookies to cool directly on the baking sheets for about 5 minutes. This initial cooling period allows the cookies to firm up slightly, preventing them from breaking when you move them. After 5 minutes, carefully transfer the warm cookies to a wire rack to cool completely. Cooling on a wire rack ensures air circulation, which prevents the bottoms from becoming soggy and helps achieve that desired tender-crisp texture.
Optimal Storage Solutions for Your Thumbprint Cookies
These paleo thumbprint cookies are absolutely delicious fresh out of the oven, but they also store beautifully, allowing you to enjoy them for days to come. Due to their jam filling, they might become a touch softer the day after baking, but with a few simple storage tips, you can maintain their delightful texture and flavor for a considerable period. Whether you’re making them in advance for a holiday gathering or simply want to savor a few over time, proper storage is key.
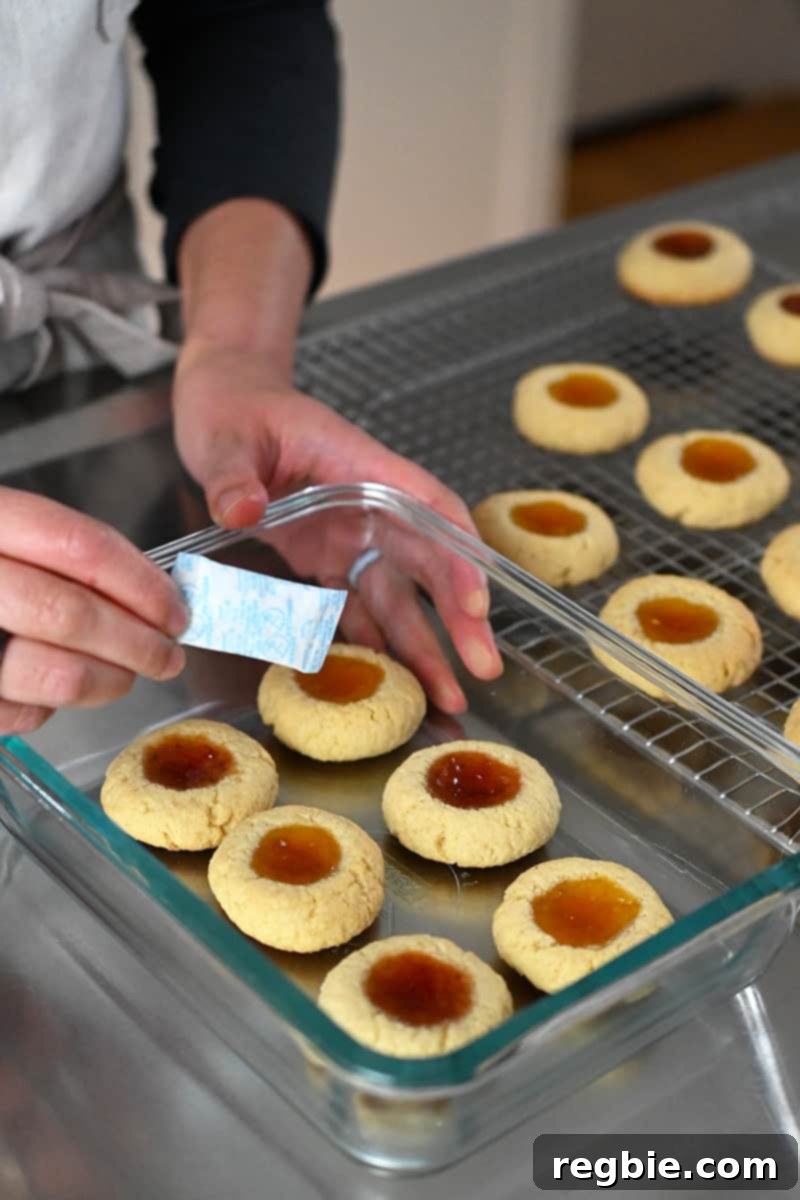
Pro Tips for Storing Leftover Paleo Thumbprint Cookies:
- Cool Completely Before Storing: This is a golden rule for any baked good. Ensure your cookies are completely cooled to room temperature before attempting to store them. Storing warm cookies will create condensation, leading to soggy cookies and potential spoilage.
- Airtight Container, Single Layer (or Layered with Parchment): For best results, arrange your cooled cookies in a single layer within an airtight container. This prevents excess air exposure, which can dry out the cookies. If you need to stack them, place a piece of parchment paper between each layer to prevent sticking and moisture transfer, keeping each cookie perfect.
- Consider a Silica Packet (Optional, but Recommended): For an extra layer of protection against moisture, consider adding a food-safe silica gel packet to your storage container. These desiccants are excellent at absorbing ambient moisture, helping to keep your cookies fresher and less prone to softening over time. While entirely optional, it’s a clever trick I employ, often saving these packets from packaged foods and supplements specifically for holiday cookie storage!
- Storage Duration and Freezing:
- Room Temperature: Stored in an airtight container, these cookies will remain delicious at room temperature for up to 5 days.
- Refrigerator: For extended freshness, keep them in the fridge for up to two weeks. The colder temperature helps to preserve both the cookie and the jam filling.
- Freezer: These cookies are also excellent candidates for freezing! Wrap the baked and cooled cookies individually or in small batches in parchment paper, then place them in an airtight freezer-safe container or bag. They can be frozen for up to two months. When you’re ready for a treat, simply take out a frozen cookie and let it thaw at room temperature for about an hour before enjoying.
More Irresistible Paleo Holiday Treats
The holiday season is a perfect time for sharing joy through delicious, homemade treats. If you’re looking for more paleo-friendly options to gift or to simply enjoy with loved ones, here are some of my all-time favorite recipes that make wonderful Christmas gifts or festive additions to any spread:
- Spiced Nuts: A savory and sweet crunch, these nuts are perfectly seasoned and make a fantastic snack or appetizer for any gathering.
- Paleo Snickerdoodles: Recreating the classic cinnamon-sugar cookie, these soft and chewy snickerdoodles are a comforting delight without the grains.
- Raspberry Financiers: Elegant and subtly sweet, these small almond cakes with fresh raspberries are a sophisticated treat.
- Chocolate Dipped Pistachio Cookies: A luxurious combination of nutty pistachios and rich dark chocolate, these cookies are a true indulgence.
- Coco-Nutty Dark Bark: Easy to make and incredibly satisfying, this chocolate bark is studded with coconut and other delicious additions.
- Nom Nom Chocolate Truffles: Decadent and rich, these truffles are a simple yet impressive sweet treat, perfect for chocolate lovers.
- Chocolate Cherry Paleo Granola: A delightful blend of crunchy granola, sweet cherries, and rich chocolate, ideal for breakfast or snacking.
- The World’s Easiest Cookies: For those times when you need a quick and delicious cookie with minimal effort, this recipe is a lifesaver.
Looking for more recipe ideas to inspire your culinary adventures? Head on over to my Recipe Index for a vast collection of delicious and healthy meals. You’ll also discover exclusive recipes and cooking tips within my award-winning cookbooks: Nom Nom Paleo: Food for Humans (Andrews McMeel Publishing 2013), Ready or Not! (Andrews McMeel Publishing 2017), and the latest, Nom Nom Paleo: Let’s Go! (Andrews McMeel Publishing 2022).
PRINTER-FRIENDLY RECIPE CARD
Thumbprint Cookies (Gluten Free, Paleo, Grain Free)
10 minutes
11-13 minutes
30 minutes
24 cookies
Michelle Tam

Ingredients
- ¾ cup maple sugar or coconut sugar
- ⅓ cup ghee or coconut oil or palm shortening, softened at room temperature
- 1 large egg
- 1 teaspoon vanilla extract
- 2 cups finely ground almond flour
- ⅓ cup tapioca flour
- ¼ teaspoon Diamond Crystal kosher salt
- ⅓ cup fruit jam sweetened with only fruit juice
Instructions
-
Combine maple sugar and softened fat in a large bowl. Beat on low speed with an electric mixer until well-combined and fluffy.
-
Add the egg and vanilla extract to the bowl. Beat thoroughly until smooth and fully mixed.
-
In a separate medium bowl, whisk together the almond flour, tapioca flour, and salt until evenly distributed.
-
Pour the dry ingredients into the wet mixture. Stir with a spatula or wooden spoon until a uniform dough forms, being careful not to overmix.
-
Cover the bowl and chill the dough in the refrigerator for at least 30 minutes to firm up.
-
Preheat your oven to 350°F (175°C). Line two baking sheets with parchment paper and set aside.
-
Use a small cookie scoop to portion out 24 dough balls. Roll them into 1-inch spheres and arrange evenly on the prepared baking sheets (12 per sheet).
-
Flatten each dough ball to about ½-inch thick with your fingers or a flat measuring cup bottom. Create an indentation in the center of each cookie using your thumb or a ½-teaspoon measuring spoon.
-
Carefully spoon a heaping ¼-teaspoon of fruit jam into the center of each cookie.
-
Bake for 11 to 13 minutes, rotating trays halfway through, until edges are light golden brown and bottoms are golden.
-
Cool cookies on trays for 5 minutes, then transfer to a wire rack to cool completely before enjoying or storing.
Video
Notes
- Chill the dough for at least 30 minutes; this significantly eases handling and prevents spreading during baking.
- For quick preparation, use a good quality store-bought jam sweetened with 100% fruit juice.
-
Cookie Storage Tips:
For comprehensive storage advice, including tips for room temperature, refrigeration, and freezing, please refer to the detailed section: Optimal Storage Solutions for Your Thumbprint Cookies.
Nutrition
|
Carbohydrates: 13g
|
Protein: 2g
|
Fat: 7g
|
Fiber: 1g
|
Sugar: 9g
Nutrition information is automatically calculated, so should only be used as an approximation.
Like this? Leave a comment below!
(This content is over 900 words.)