
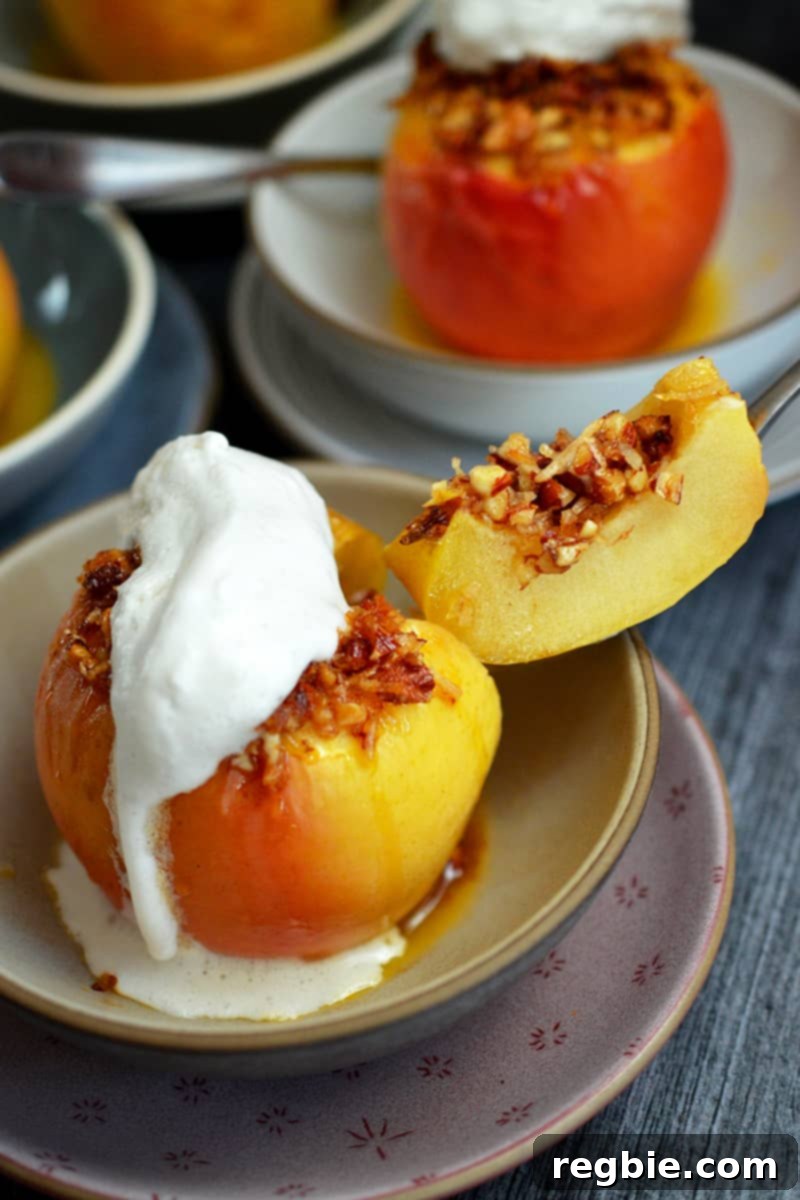
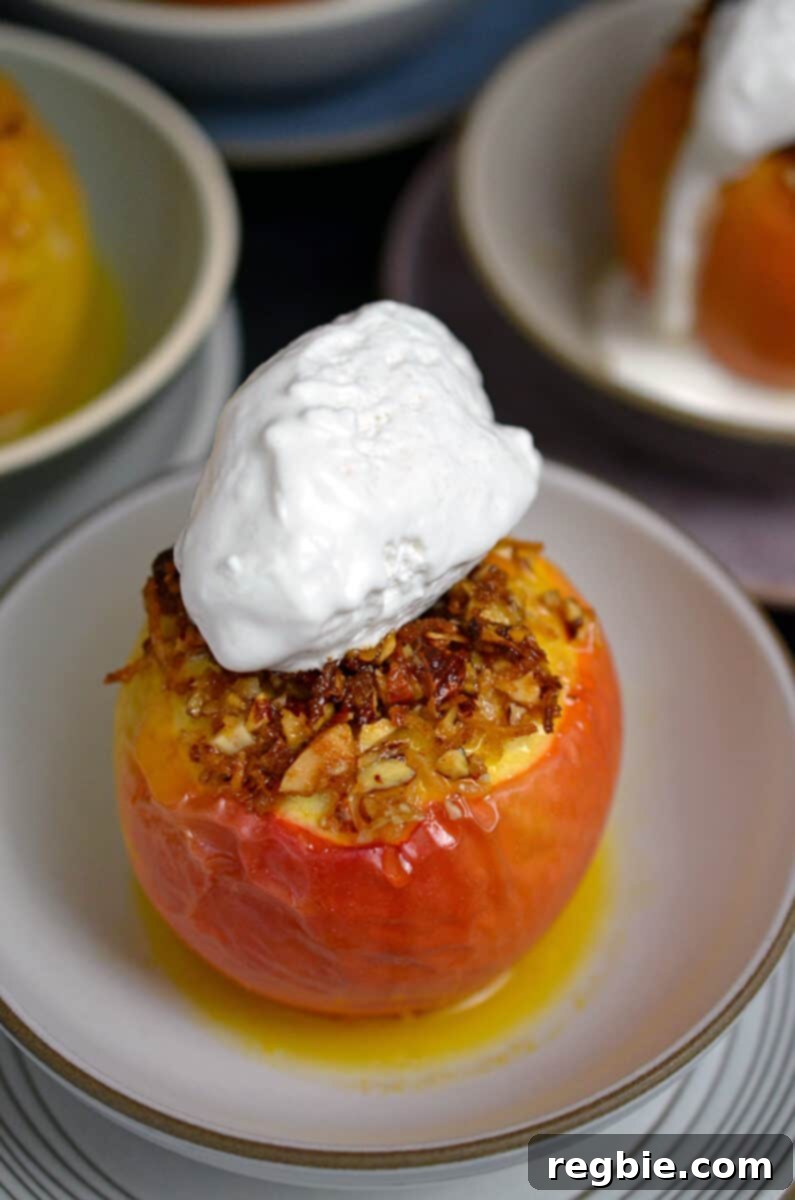
As autumn leaves paint the landscape in hues of red and gold, a familiar craving emerges: the comforting warmth of apple desserts. These healthy baked apples offer a delightful and simple way to celebrate the season, bringing the cozy aroma of cinnamon and sweet apples into your home. Each apple is generously filled with a rich, crunchy mixture of pecans, almonds, and coconut – a truly irresistible blend that stands out because it’s completely oat-free. Designed for those with specific dietary needs, this recipe is perfectly paleo, vegan, gluten-free, and grain-free, making it the ultimate guilt-free fall treat for everyone to enjoy.

Table of Contents
- The Ultimate Fall Dessert: Naturally Vegan, Paleo, and Gluten-Free
- Why Choose Baked Apples?
- Essential Ingredients for Perfect Baked Apples
- Selecting the Best Apples for Baking
- Step-by-Step Guide to Making Healthy Baked Apples
- Prepare Your Oven
- Prepare the Apples
- Crafting the Irresistible Filling
- Stuffing the Apples with Flavor
- Baking to Perfection
- Serving Your Delicious Baked Apples
- Storing and Reheating Leftovers
- Explore More Paleo Apple Dessert Recipes
- Printer-Friendly Recipe Card
- Baked Apples (Paleo, Vegan, Gluten Free) Recipe
The Ultimate Fall Dessert: Naturally Vegan, Paleo, and Gluten-Free
Every year, as the crisp autumn air signals the arrival of sweater weather and holiday festivities, my thoughts inevitably turn to apple-centric desserts. It’s more than just the delightful taste; it’s the entire experience of filling the kitchen with the intoxicating scent of warm apples and fragrant cinnamon that truly captures the spirit of the season. While I adore the process of baking more intricate treats like a homemade apple crisp or an elegant apple bundt cake, there’s something uniquely satisfying about these simple yet stunning baked apples. They effortlessly fulfill all my autumnal dessert desires with minimal fuss.
Why Choose Baked Apples?
This recipe offers an incredibly straightforward path to a gourmet-level dessert. Forget complicated crusts or lengthy prep times. Crafting these delectable baked apples involves just three primary steps: carefully coring the apples, generously stuffing them with a rich, sweet, and nutty filling, and then baking them until they reach a tender perfection. The beauty of this dessert lies in its simplicity and versatility. Once baked, a dollop of creamy whipped coconut cream or your favorite dairy-free vanilla ice cream transforms these wholesome apples into a show-stopping treat that’s guaranteed to impress.
Think of it as all the beloved flavors of a classic apple pie, but reimagined without the flour, the intensive labor, or the traditional dairy and grains. It’s a healthier, easier, and equally delicious alternative that caters to various dietary preferences without compromising on taste. Each bite delivers a harmonious blend of soft, baked apple, crunchy nuts, and sweet spice, making it a perfect end to any meal or a comforting snack on a cool evening. Plus, the minimal cleanup means you can spend more time enjoying the flavors and less time scrubbing dishes.
Essential Ingredients for Perfect Baked Apples
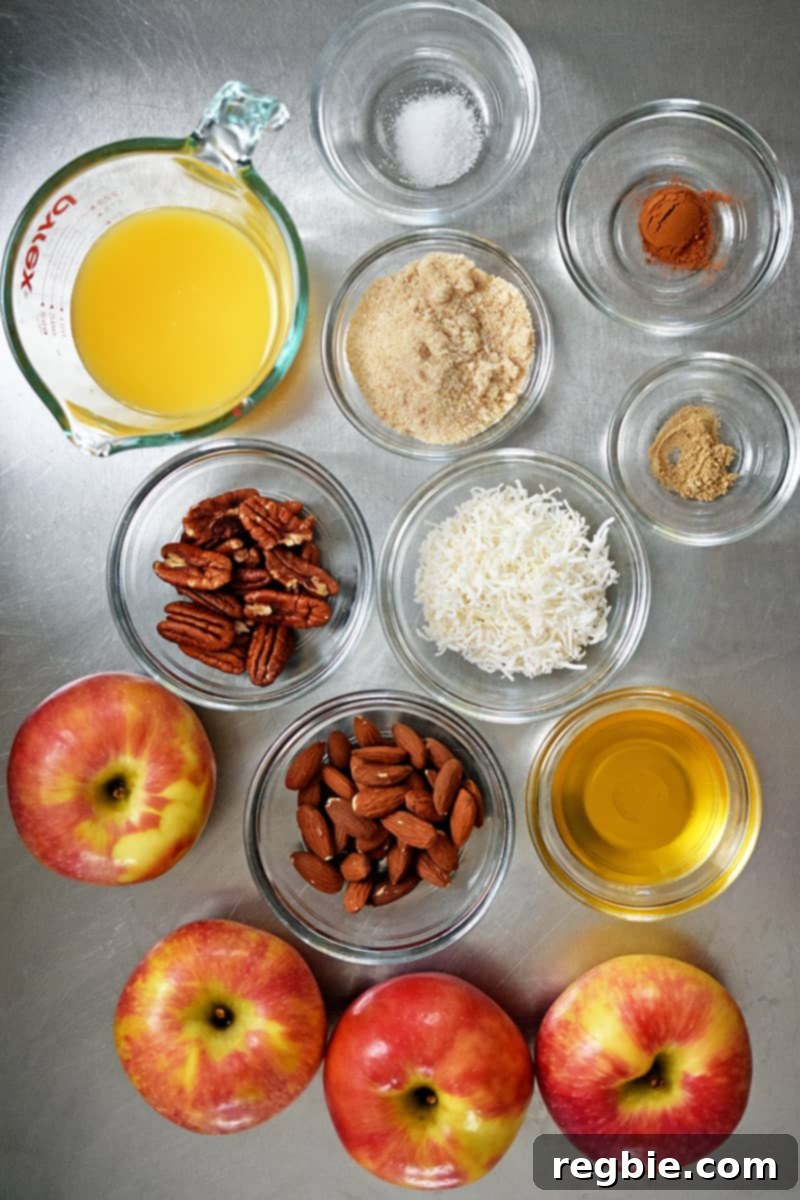
- Apples: The foundation of this delightful dessert. Opt for large, firm apples that are specifically known for their baking suitability. A larger apple provides ample space for our delicious filling, while a stable base and a centrally located core will make the preparation much easier. Look for apples that feel heavy for their size and have smooth, unblemished skin.
- Nuts (Pecans and Almonds): This crunchy duo forms the heart of our irresistible filling. While pecans and almonds are my top picks for their rich flavor and complementary textures, feel free to experiment with other nuts like walnuts or cashews. The key is to maintain a total of ½ cup of finely chopped nuts for the perfect balance in the filling. Fresh, raw nuts will provide the best flavor and crunch once baked.
- Unsweetened Shredded Coconut: Beyond adding a delightful tropical note, shredded coconut contributes a fantastic chewy texture to the filling. If you have a nut allergy, you can easily increase the amount of shredded coconut and combine it with seeds such as pumpkin or sunflower seeds for a similar textural experience. For those who aren’t fond of coconut, simply omit it and compensate by adding more of your preferred chopped nuts.
- Maple or Coconut Sugar: These natural sweeteners are chosen for their ability to impart a beautiful caramel-like depth of flavor, perfectly complementing the apples and spices. Both maple and coconut sugar can be used interchangeably and serve as excellent, unrefined alternatives to traditional brown sugar. For a more liquid, gooey filling, you could also use honey or maple syrup, though this will alter the texture slightly.
- Diamond Crystal Kosher Salt: A small amount of salt is crucial here; it cleverly enhances the sweetness of the filling and provides a welcome contrast to the rich flavors. If you’re using a finer grain salt or a different brand of kosher salt like Morton’s, remember to reduce the amount to ¼ teaspoon, as they can be saltier by volume.
- Spices: Ground cinnamon is a classic partner to apples, and its warm, inviting aroma is central to this dish. A dash of ground cardamom or nutmeg further elevates the flavor profile, adding complex, aromatic notes that make these baked apples truly special. Choose fresh, fragrant spices for the best results.
- Ghee or Coconut Oil: These fats are essential for binding the filling ingredients together, ensuring it stays moist and flavorful as it bakes. Ghee, a clarified butter, offers a rich, buttery taste, while coconut oil provides a neutral flavor and is the ideal choice for keeping the recipe strictly vegan. Ensure it’s melted before mixing.
- Orange Juice: This often-overlooked ingredient plays a vital role in creating a moist baking environment, preventing the apples from drying out. As the apples bake, the orange juice concentrates into a sweet and tangy sauce, offering a refreshing counterpoint to the rich filling. This natural sauce is a much lighter and more flavorful option compared to a traditional, often overly sweet, caramel sauce.
Selecting the Best Apples for Baking
Choosing the right apple is paramount for achieving the perfect baked apple experience. The best baking apples possess a delicate balance: they must have robust flavor that intensifies with heat, yet maintain their structural integrity without turning into an unappetizing mush. Varieties such as Golden Delicious, Gala, Jonagold, Honeycrisp, Mutsu, Braeburn, Cortland, Empire, and Pink Lady are all outstanding choices. These apples tend to have a firm flesh that softens beautifully in the oven while holding their shape, offering a satisfying texture with every bite. Their natural sweetness and subtle tartness also contribute to a well-rounded flavor profile.
While Granny Smith apples are known for holding their shape exceptionally well when baked, their distinctly tart flavor might be too intense for some palates. If you enjoy a more pronounced tartness, they can be a wonderful option, perhaps balanced with a touch more sweetness in the filling. On the other hand, it is highly advisable to avoid Red Delicious apples for this recipe. Despite their name, they are notorious for becoming excessively mushy and losing their appealing texture when cooked, leading to a disappointing result. Trust me, selecting one of the recommended varieties will ensure your baked apples are a resounding success!
Step-by-Step Guide to Making Healthy Baked Apples
Prepare Your Oven
Before you begin assembling your delicious baked apples, preheat your oven to a consistent 350°F (175°C). Position the oven rack in the middle to ensure even baking. This crucial first step allows the oven to reach and maintain the target temperature, which is essential for properly cooking the apples and achieving that perfect tender texture.

Prepare the Apples
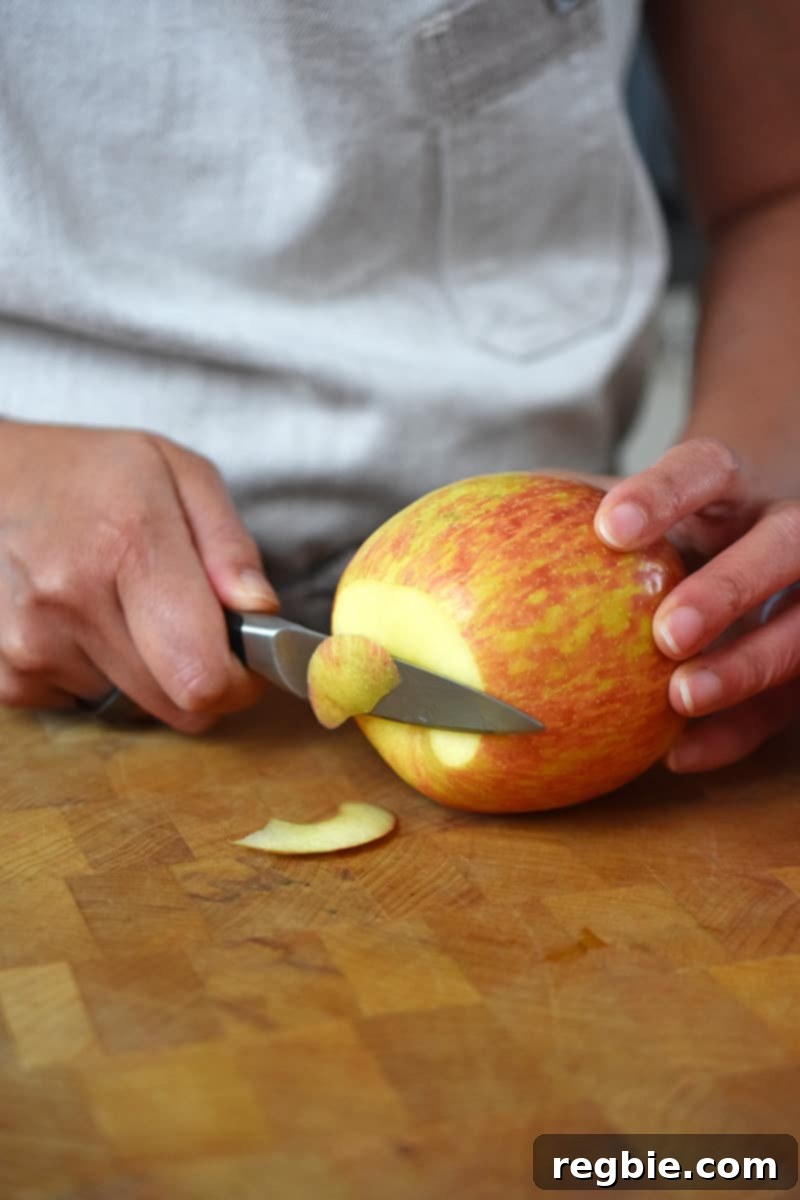
Stabilize the Apples: If any of your chosen apples feel slightly wobbly or unstable on a flat surface, take a small paring knife and carefully trim a tiny slice off the bottom. This creates a flat base, ensuring the apples stand upright during the coring and baking process. Be cautious not to remove too much, as puncturing the bottom of the apple would compromise its ability to hold the filling.
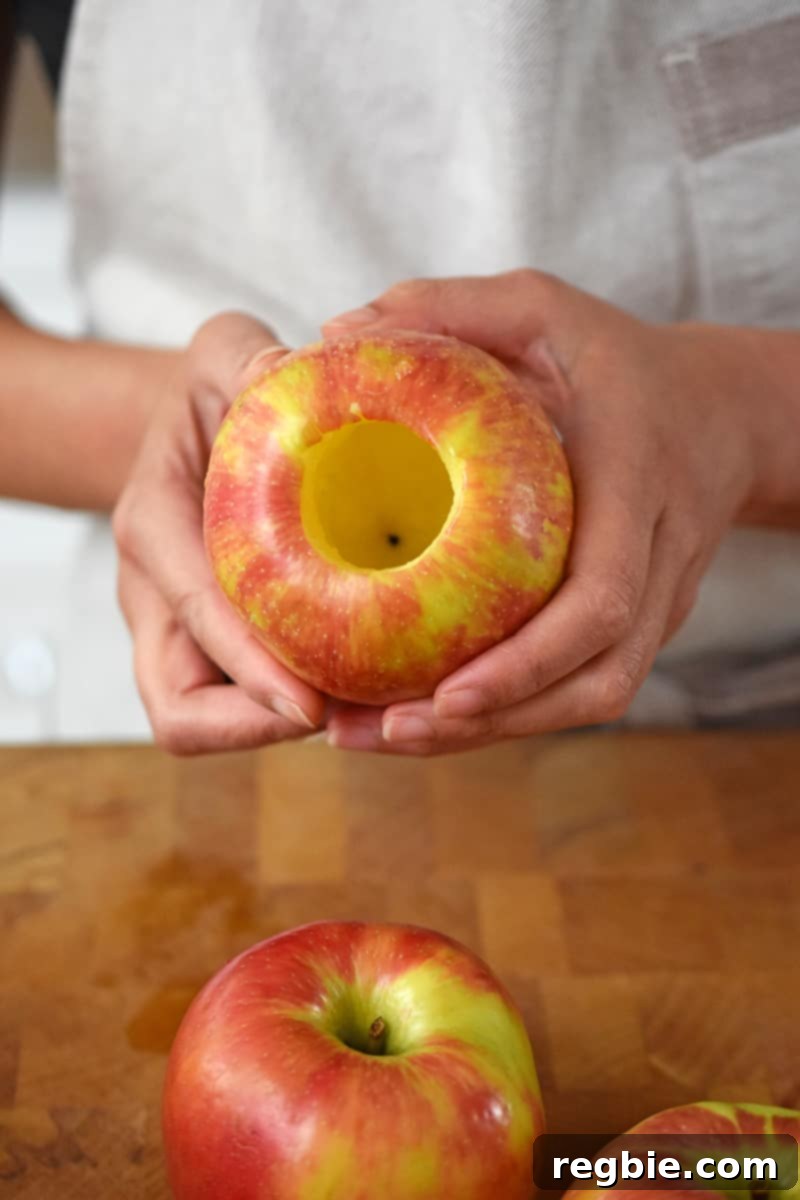
Core the Apples: The next step is to remove the core and seeds to create a cavity for the filling. A melon baller is an excellent tool for this, as it allows for precise and clean removal of the stem, core, and seeds without damaging the apple flesh. Gently scoop out the central portion, making sure to remove all seeds and stringy bits. The goal is to create a well-defined hollow while leaving the bottom and sides of the apple completely intact. This ensures your filling stays securely inside.
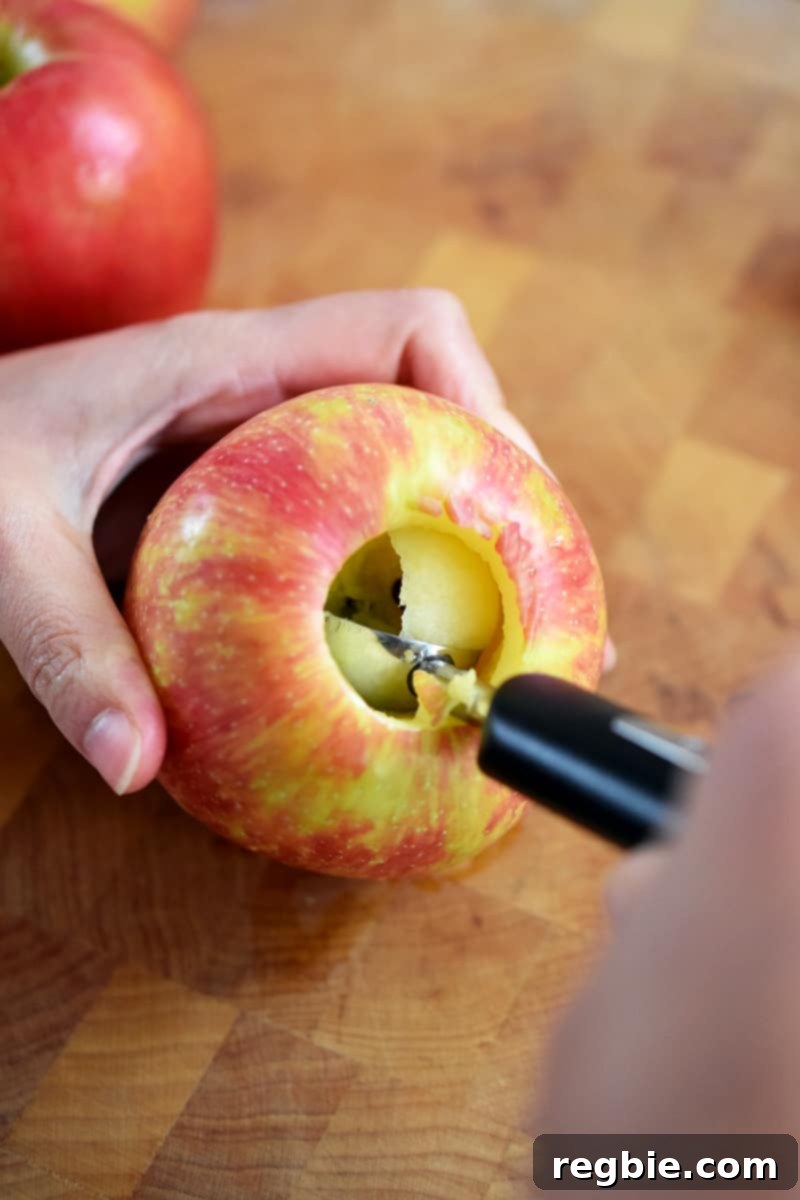
Alternative Coring Method: If you don’t own a melon baller, don’t worry! You can achieve the same result with a sharp paring knife and a small teaspoon. Carefully cut around the core with the knife, then use the teaspoon to scoop out the seeds and fibrous core material. Again, paramount care is needed to avoid piercing the apple’s skin or bottom.
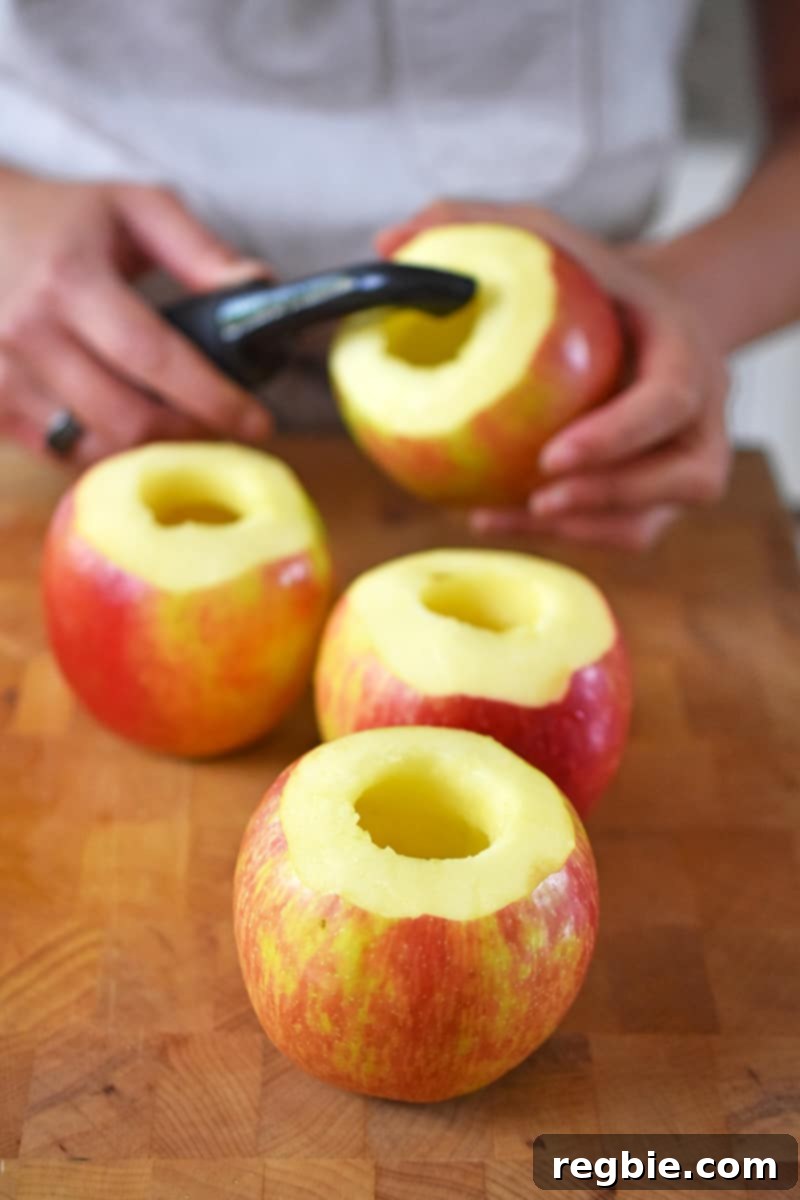
Peel the Top Edge: For a more refined look and to allow the topping to melt beautifully into the apple, use a vegetable peeler or paring knife to remove a ½-inch wide strip of skin around the top edge of each cored apple. This step not only adds to the aesthetic appeal but also ensures the filling adheres perfectly and the apple softens evenly around the opening.
Crafting the Irresistible Filling
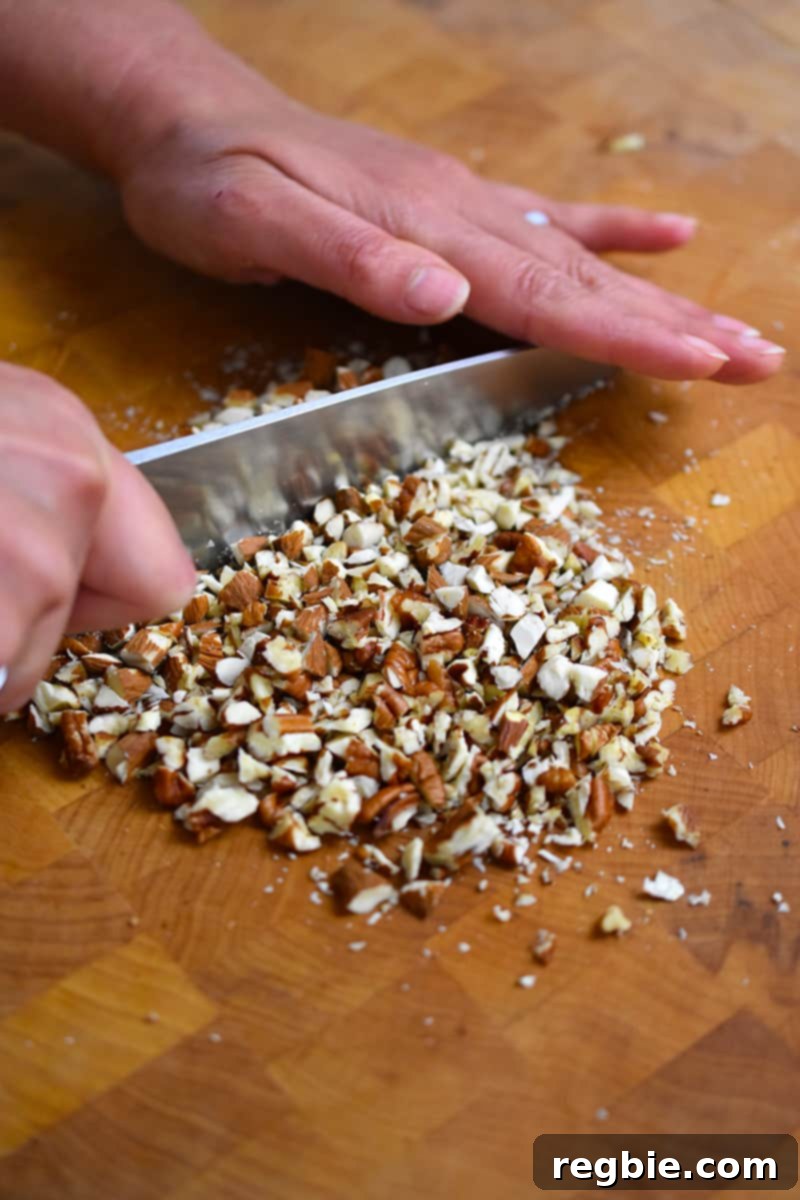
Chop the Nuts: Begin by finely chopping your pecans and almonds. A finer chop ensures a cohesive filling and prevents large, clunky pieces that might make stuffing difficult. Transfer the chopped nuts into a medium-sized mixing bowl. You want a texture that is roughly uniform but still provides a satisfying crunch.
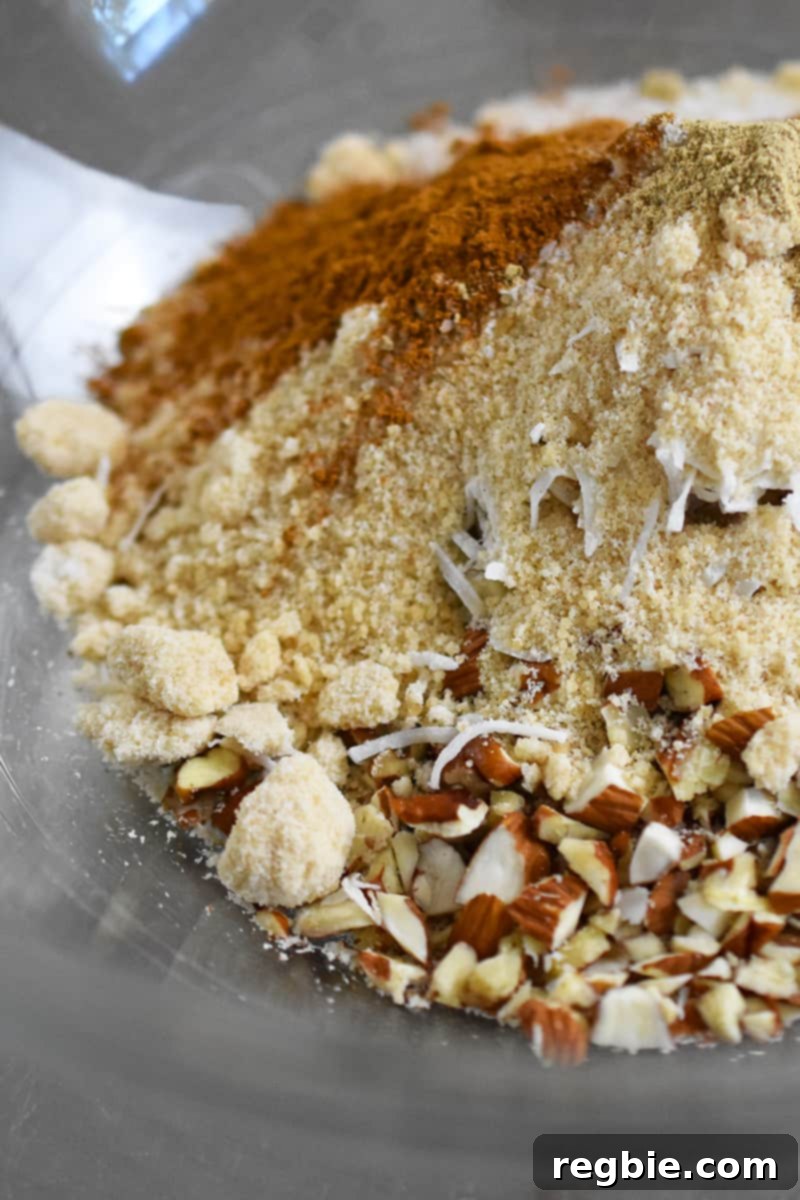
Combine Dry Ingredients: To the bowl with the nuts, add the unsweetened shredded coconut, maple sugar (or coconut sugar), Diamond Crystal kosher salt, ground cinnamon, and ground cardamom (or nutmeg). Whisk these dry ingredients together thoroughly, ensuring all the spices and sugar are evenly distributed among the nuts and coconut. This creates a fragrant, sweet, and nutty base for your filling.
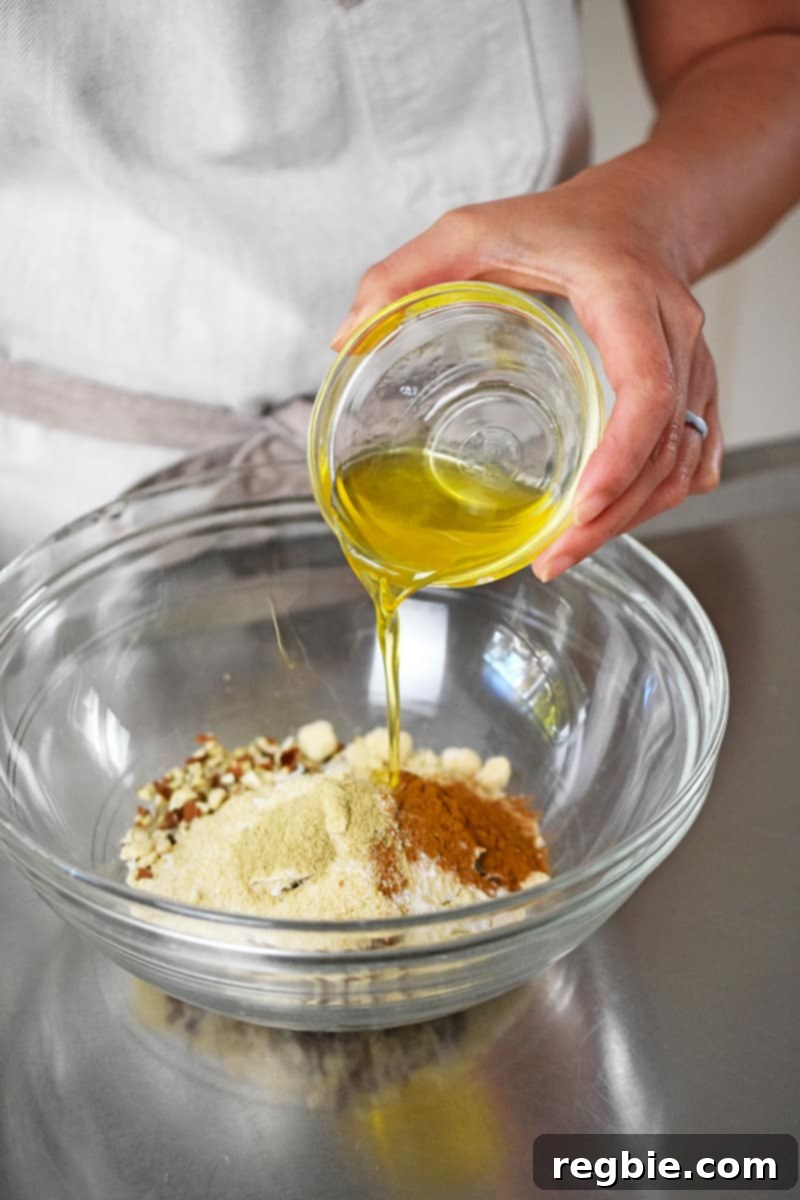
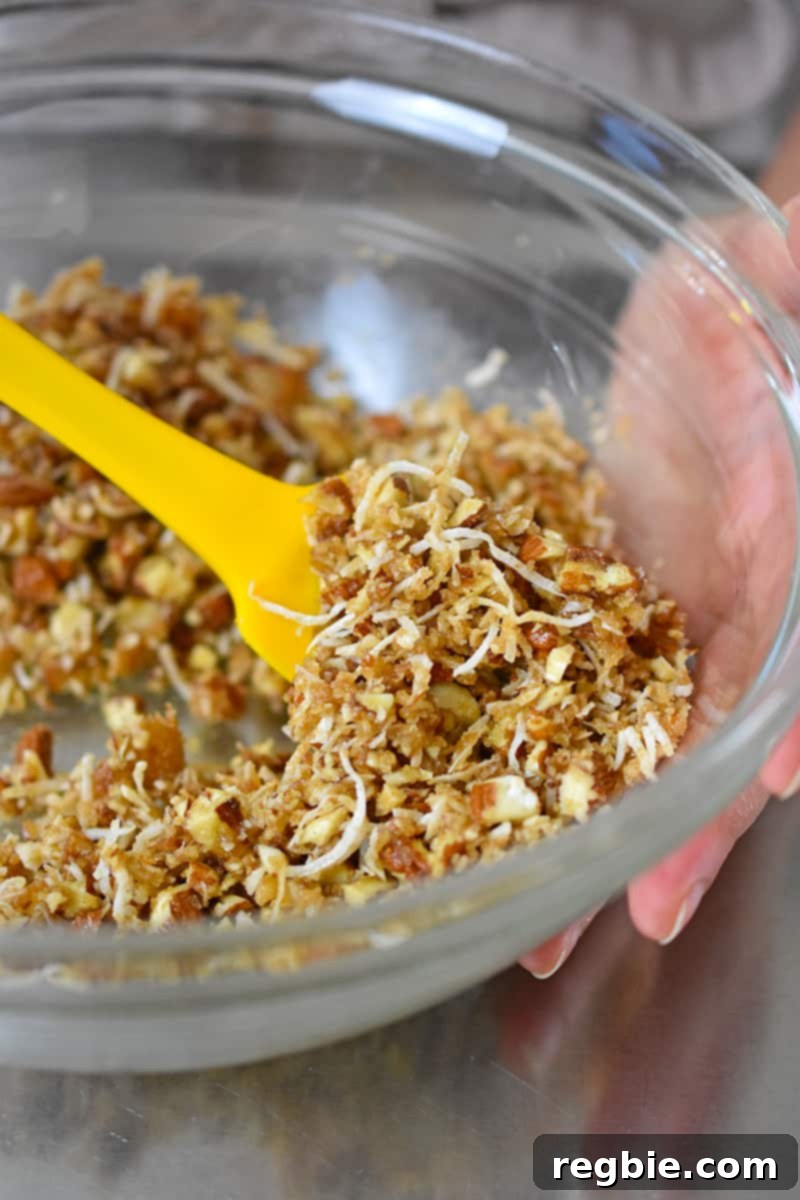
Add Melted Fat: Pour in the melted ghee or coconut oil. This liquid fat is essential for binding the filling ingredients, allowing them to clump together and stay moist during baking. Mix everything very well until all the dry ingredients are coated and a crumbly but cohesive mixture forms. If the mixture seems too dry, add another tiny bit of melted fat or a few drops of apple juice.
Taste and Adjust: Always taste your filling mixture at this stage! It should be nutty, pleasantly sweet, with a subtle saltiness that enhances the overall flavor, and a distinct but not overpowering cinnamon aroma. Adjust any seasonings as needed – perhaps a pinch more salt or a dash more spice – to achieve your perfect flavor balance.
Stuffing the Apples with Flavor
Fill the Cavities: Using a spoon, carefully pack the delicious filling into the center of each cored apple. Press down gently to ensure the filling is compact and reaches all the way to the bottom and fills the cavity to the top. Don’t be shy; a generous filling makes for a more satisfying dessert.
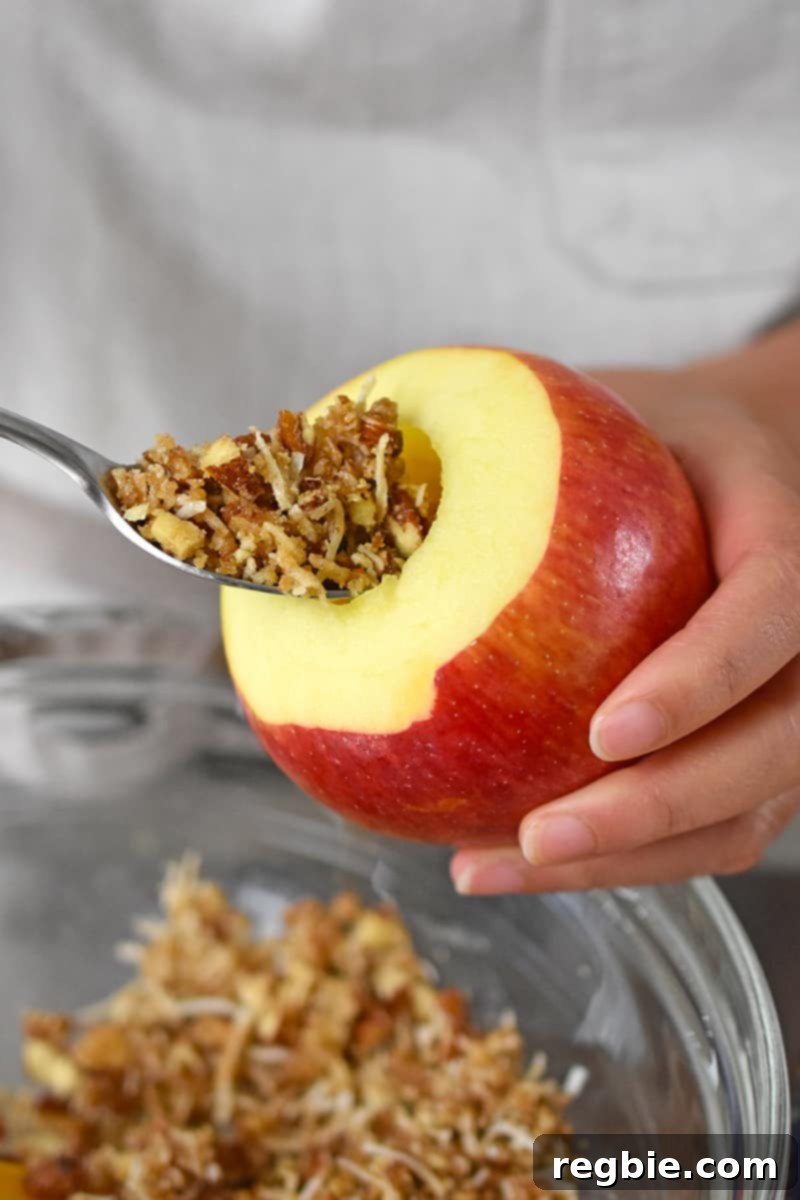
Create a Crown: Once the main cavity is filled, take any remaining filling and mound it on top of each apple, creating a delightful “crown” that covers the peeled portion of the skin. This not only adds more flavor and texture but also creates a beautiful presentation as the filling gets golden and crispy during baking.
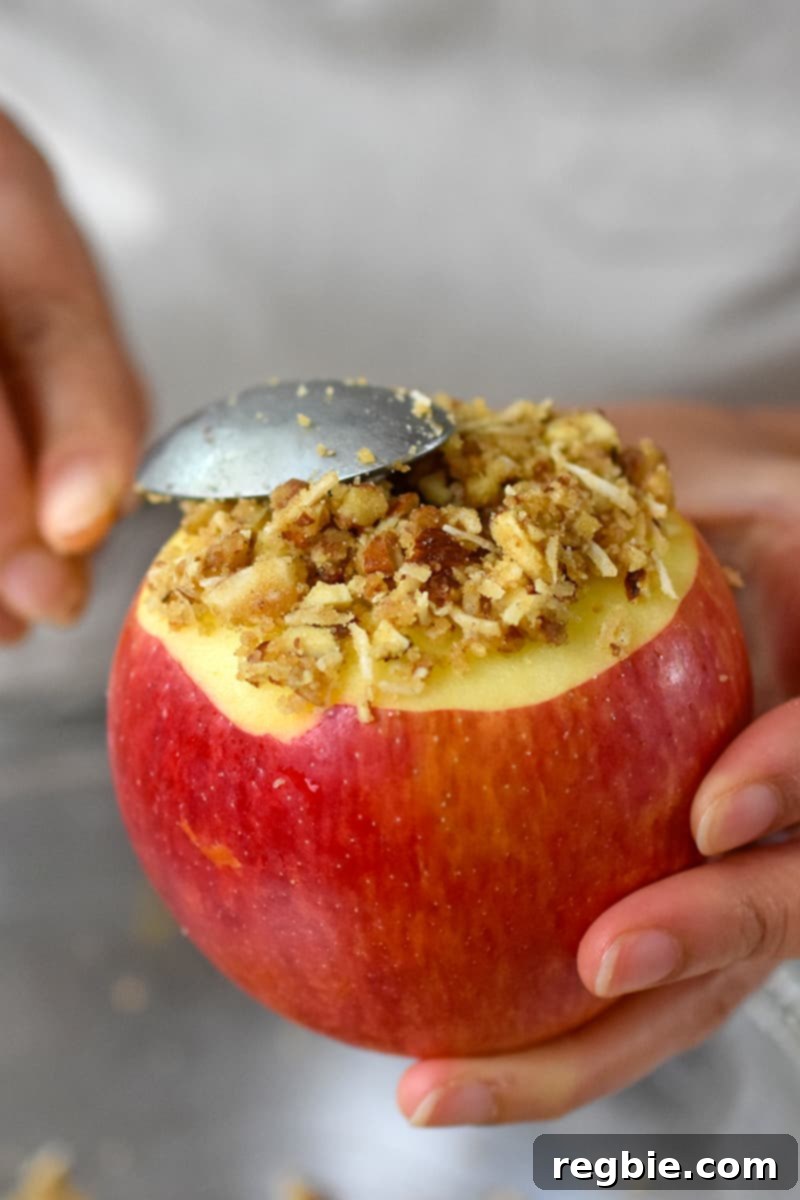
Arrange for Baking: Carefully place the stuffed apples in a single layer within a 2-quart oven-safe baking dish. Ensure there’s a little space between each apple for even heat circulation. This arrangement prevents them from steaming too much and helps the tops brown beautifully.
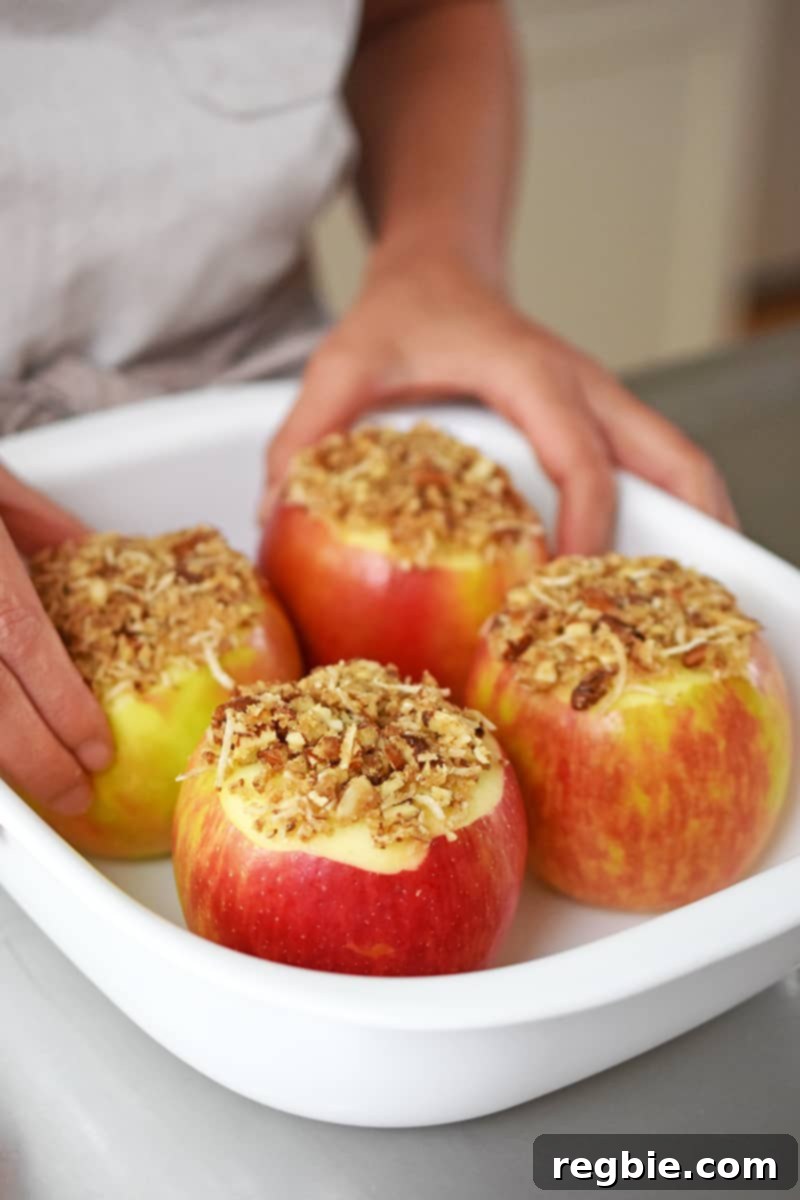
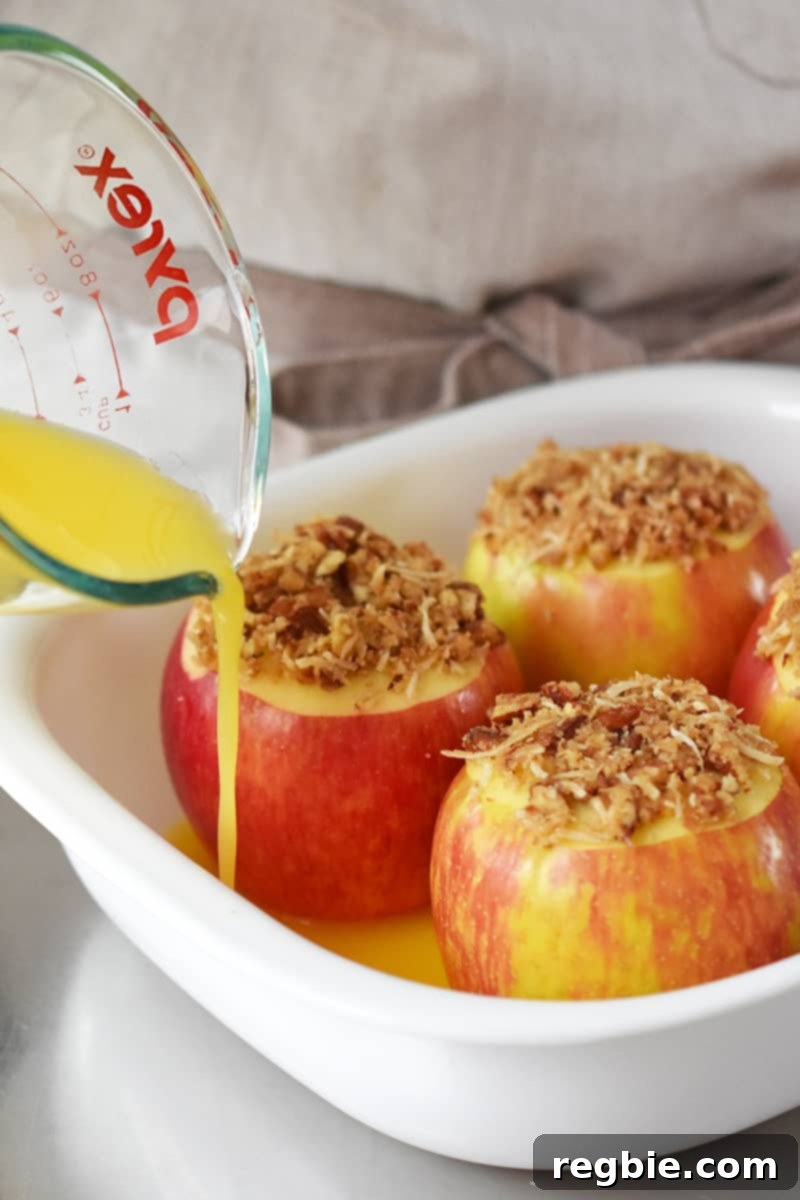
Add Moisture: Pour ½ cup of orange juice into the bottom of the baking dish, around the apples. This liquid serves a dual purpose: it creates a moist environment in the oven, helping the apples cook through without drying out, and it concentrates into a wonderfully tangy and sweet sauce that you can spoon over the finished dessert.
Baking to Perfection
Bake: Gently slide the baking dish with the stuffed apples into your preheated oven. Bake for approximately 40 to 50 minutes. The exact baking time can vary depending on the size and type of apple, as well as your oven’s calibration. It’s always best to start checking for doneness at the 40-minute mark.
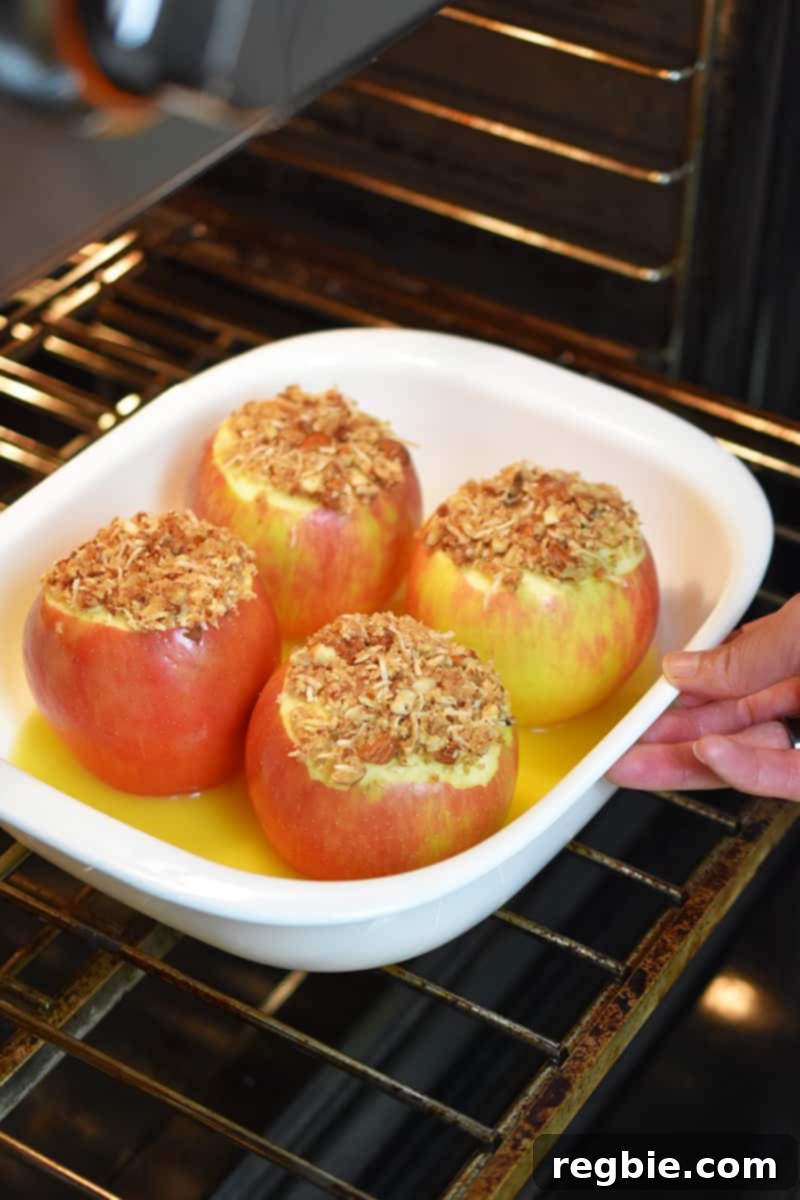
Check for Doneness: The apples are perfectly baked when a knife or skewer can easily pierce through the flesh with minimal resistance, and the filling on top has turned a beautiful golden brown and appears slightly caramelized. You want the apples to be wonderfully tender, but still hold their shape – avoid overbaking, which can result in a mushy texture. If the tops are browning too quickly, you can loosely cover the dish with foil for the remaining bake time.
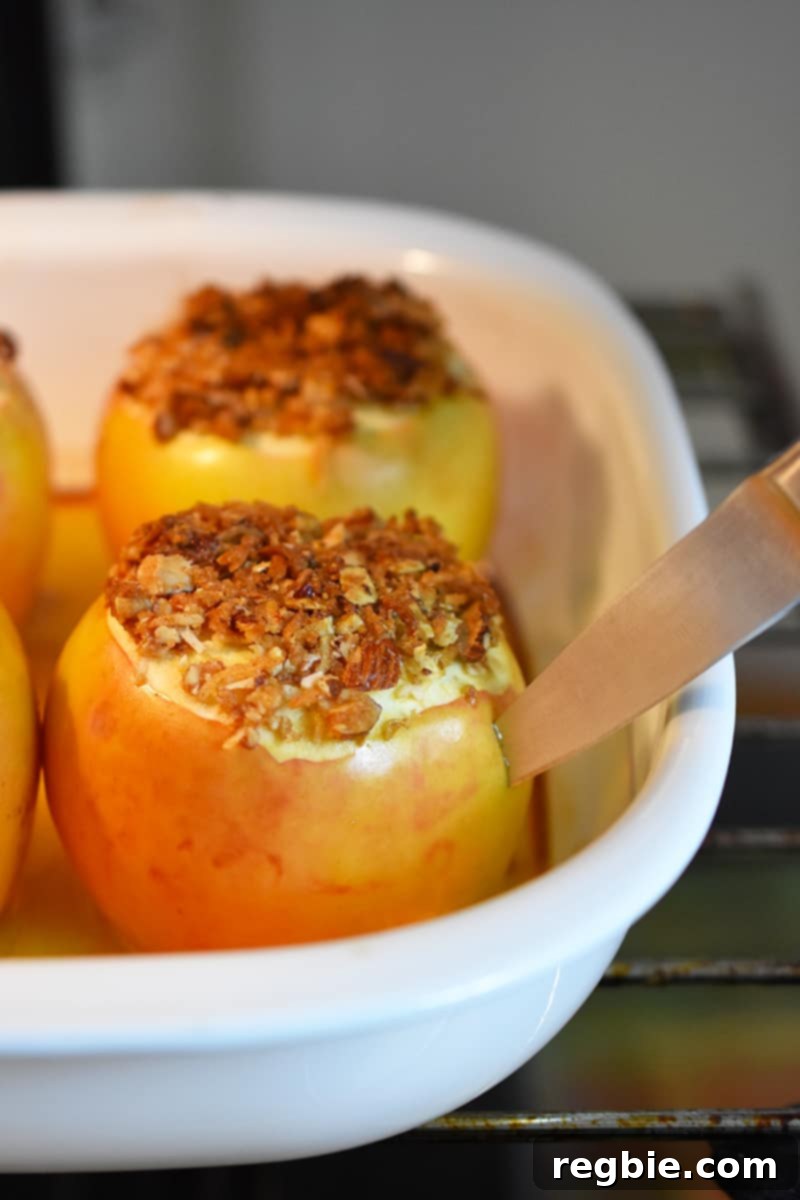
Serving Your Delicious Baked Apples
Once your baked apples emerge from the oven, allow them to cool slightly for a few minutes. While they are best served warm, you’ll want to avoid burning your mouth with the hot fruit and filling. Carefully transfer each baked apple to its own small, shallow bowl for an elegant presentation.
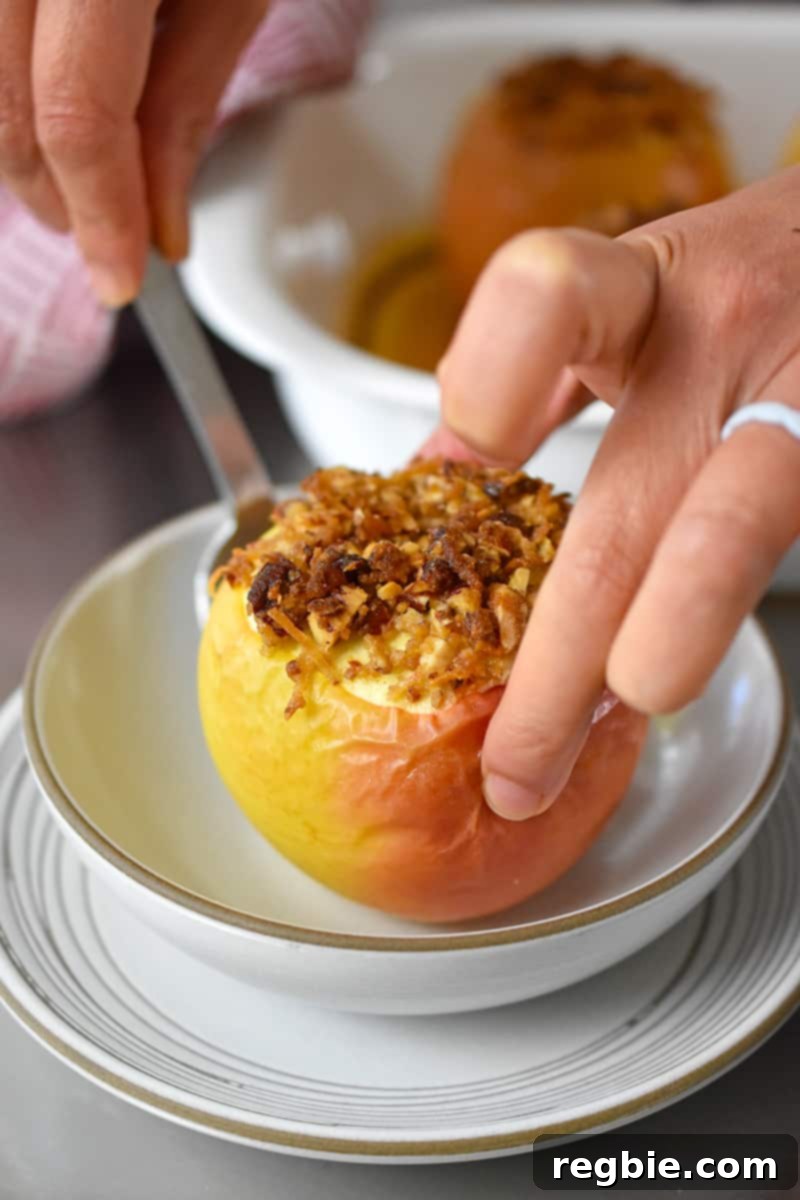
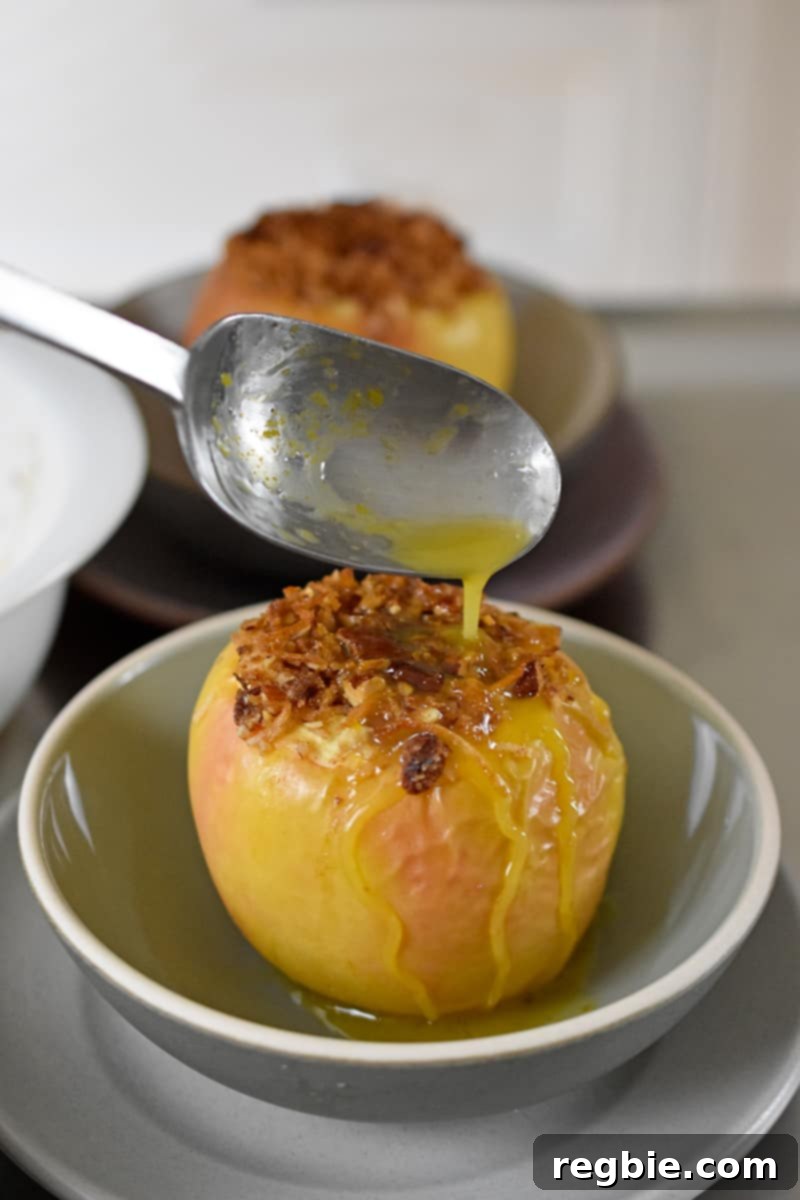
To enhance the flavor and moisture, don’t forget the beautiful, concentrated orange juice at the bottom of the baking dish. Spoon some of this sweet and tangy reduction over the top of each apple before serving. This creates a natural sauce that elevates the entire dish, far superior to cloyingly sweet caramel.
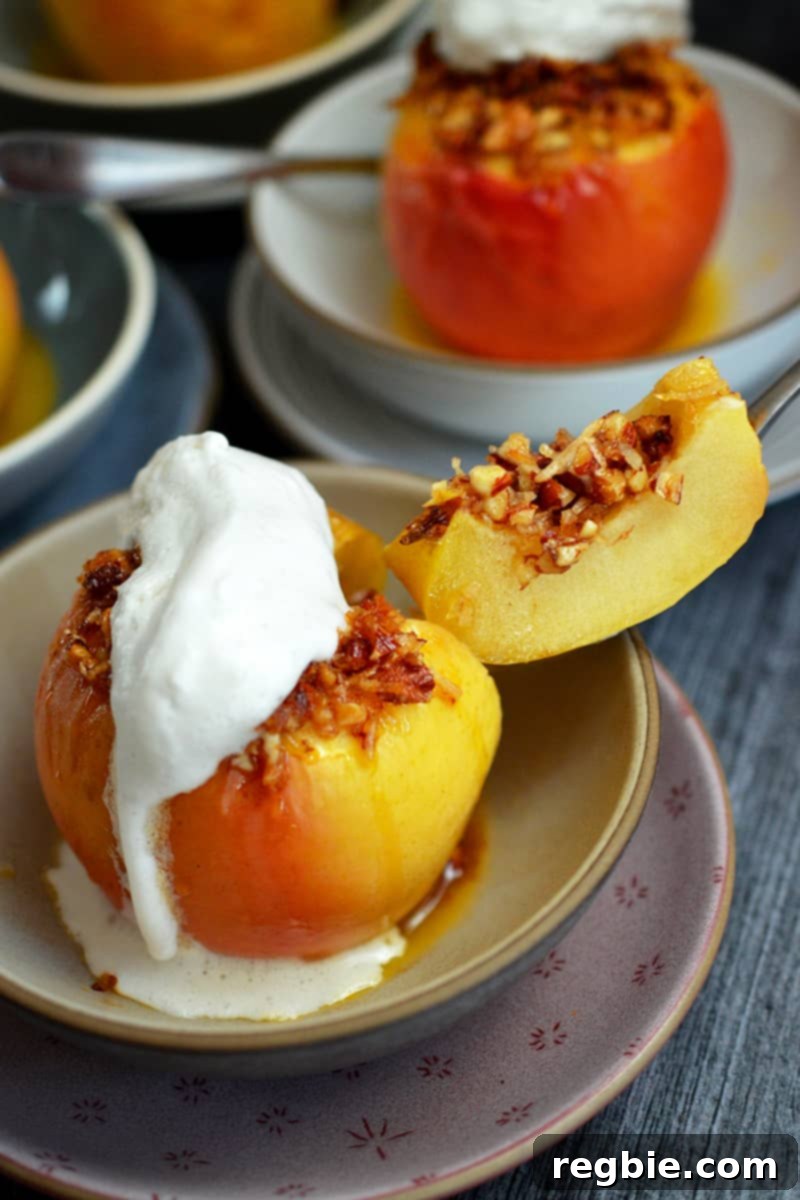
For an extra touch of indulgence, consider topping your warm baked apples with a generous scoop of vanilla ice cream. If you’re adhering to a paleo or vegan diet, a dairy-free vanilla ice cream or a dollop of fluffy whipped coconut cream makes for an equally delightful accompaniment. A sprinkle of extra cinnamon or a few chopped nuts can add a final flourish. Prepare to dig into a truly heartwarming and satisfying dessert!
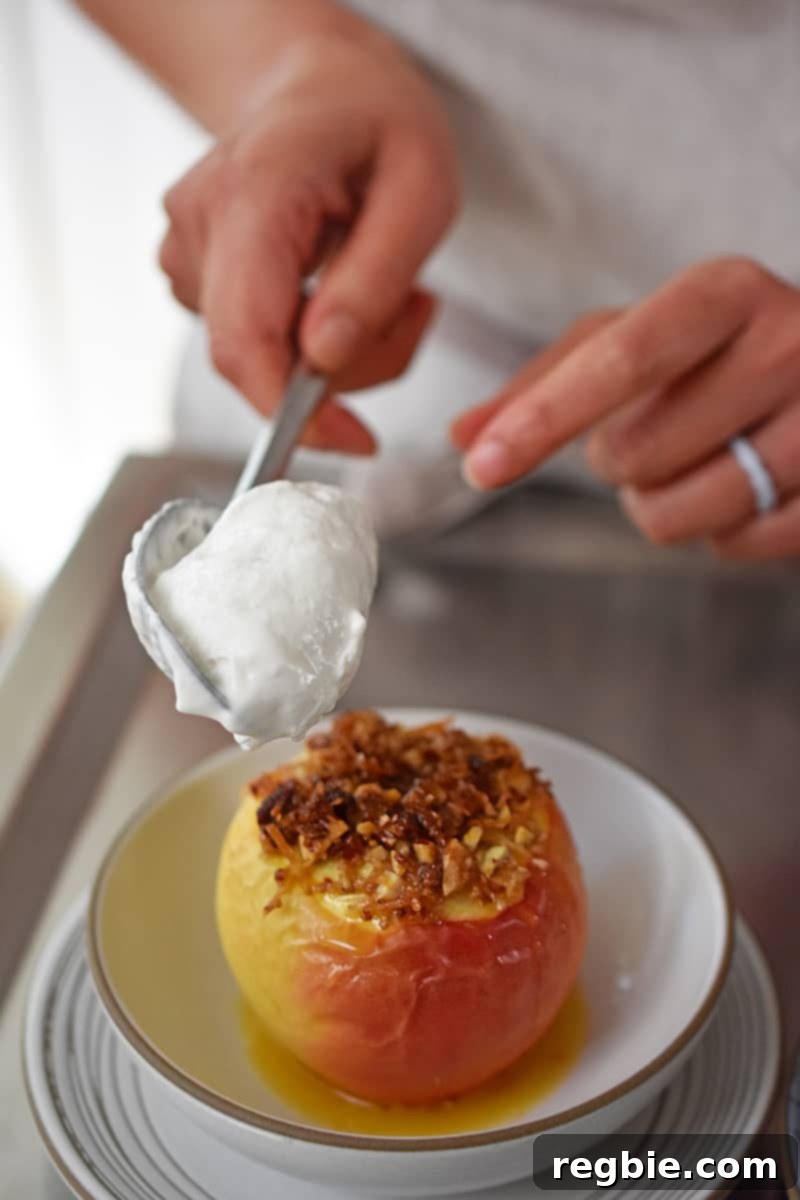
Every bite reveals the tender apple mingling with the spiced, crunchy filling, perfectly complemented by the creamy topping. Enjoy!
Storing and Reheating Leftovers
Should you find yourself with any of these delectable baked apples remaining – a rare occurrence, perhaps! – they can be easily stored for later enjoyment. Simply place the cooled baked apples in an airtight container and refrigerate for up to 4 days. This ensures they retain their freshness and flavor.
When you’re ready to savor them again, reheating is straightforward. For a quick refresh, microwave each apple on high power for approximately 1 minute, or until heated through to your liking. If you prefer the oven, preheat it to 325°F (160°C) and bake the apples for 5 to 10 minutes, or until warmed thoroughly. Reheating gently helps to preserve the apple’s tender texture and the filling’s crunch. Avoid adding toppings until just before serving to maintain their quality.
Explore More Paleo Apple Dessert Recipes
If you’ve enjoyed these healthy baked apples and are eager for more apple-inspired, paleo-friendly treats, explore these other fantastic recipes from our collection:
- Apple Crisp
- Apple Mug Cake
- Apple Bundt Cake
Looking for more recipe ideas? Head on over to my Recipe Index. You’ll also find exclusive recipes in my cookbooks, Nom Nom Paleo: Food for Humans (Andrews McMeel Publishing 2013), Ready or Not! (Andrews McMeel Publishing 2017), and Nom Nom Paleo: Let’s Go! (Andrews McMeel Publishing 2022).
Printer-Friendly Recipe Card
Baked Apples (Paleo, Vegan, Gluten Free) Recipe
5 mins
55 mins
4
Michelle Tam

Ingredients
- 4 large baking apples Golden Delicious, Gala, Jonagold, Honeycrisp, Mutsu, Braeburn, Cortland, Empire, Pink Lady, and Granny Smith are good baking apples
- ¼ cup whole raw pecans
- ¼ cup whole raw almonds
- ¼ cup unsweetened shredded coconut
- ¼ cup maple sugar or coconut sugar
- ½ teaspoon Diamond Crystal kosher salt
- ½ teaspoon ground cinnamon
- ¼ teaspoon ground cardamom or ground nutmeg
- 3 tablespoons melted ghee or coconut oil
- ½ cup orange juice
- dairy-free vanilla ice cream or whipped coconut cream (optional)
Instructions
-
Heat the oven to 350°F with the rack in the middle while you assemble the ingredients.
-
If an apple is slightly wobbly, use a paring knife to trim a little off of the bottom to make it stable. Don’t trim off too much apple or you’ll run the risk of puncturing the apple when you core it.
-
Use a melon baller to remove the stem and scoop out the core and seeds. Remove all of the seeds and core, but be careful to leave the bottom and sides intact. No melon baller? Simply use a sharp paring knife and teaspoon to remove the core.
-
Next, use a vegetable peeler or paring knife to peel the skin off the top edge, about ½-inch wide.
-
Finely chop the pecans and almonds and transfer them to a medium bowl. Add the shredded coconut, maple sugar, salt, cinnamon, and cardamom. Pour in the melted ghee or coconut oil and mix well to combine.
-
Taste the filling and adjust the seasoning if needed. It should taste nutty, sweet, mildly salty, and have just the right amount of cinnamon-y flavor.
-
Use a spoon to carefully pack the filling in the center of each apple, adding enough to reach the top. When the apples are stuffed, add some of the remaining filling on the top of each apple, covering the peeled portion of the apple.
-
Carefully place the filled apples in a single layer in a 2-quart oven-safe baking dish. Pour the orange juice into the bottom of the dish.
-
Pop the apples into the oven and bake for 40 to 50 minutes or until a knife easily pierces through the apple and the top is golden brown. You want your baked apples to be tender but not mushy, so start checking them at the 40 minute mark.
-
Take the baked apples out of the oven and cool slightly. Spoon some of orange juice from the baking dish on top of the apples. Top with a scoop of vanilla ice cream (dairy-free if you want to keep it paleo or vegan) or whipped coconut cream, if desired.
Video

A video demonstration for making Baked Apples is available.
Nutrition
Carbohydrates: 46g |
Protein: 4g |
Fat: 24g |
Fiber: 7g |
Sugar: 35g
Nutrition information is automatically calculated, so should only be used as an approximation.