
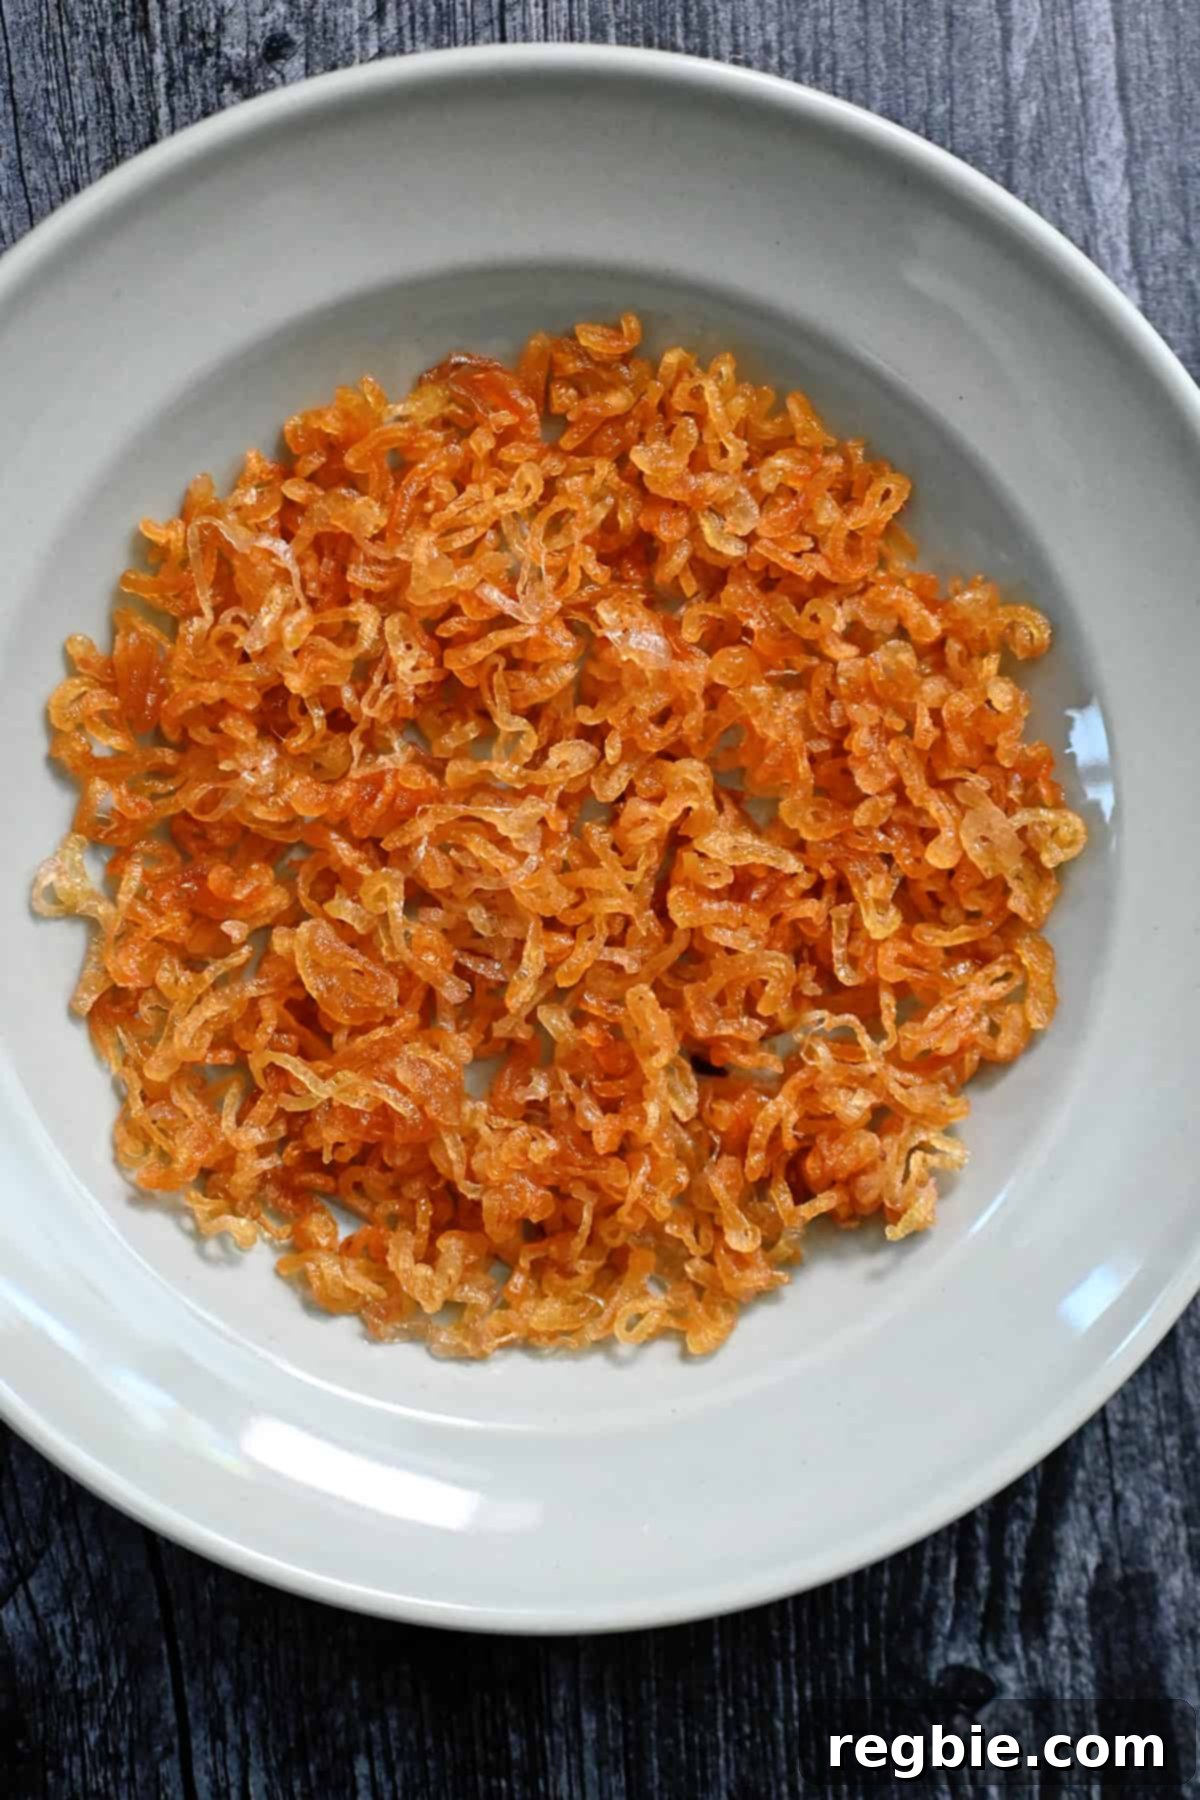
Unlock the secret to perfectly crispy, golden-brown fried shallots and a fragrant, versatile shallot oil, all made effortlessly in your microwave. This ingenious method guarantees a mess-free cooking experience and results in a pantry staple that will elevate countless dishes. Say goodbye to splattering oil and tedious stovetop frying – your microwave is about to become your new best friend for creating this culinary gem.
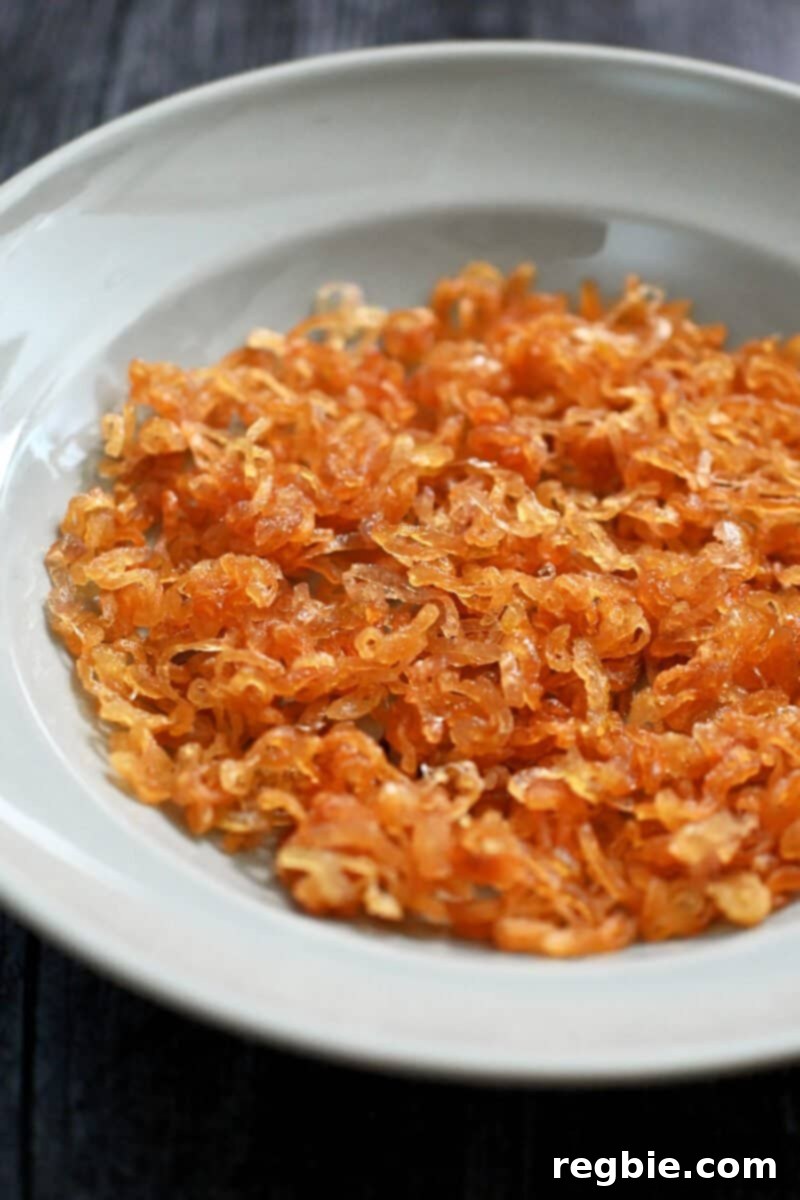
Table of Contents
- Why Choose the Microwave Method?
- Essential Tips for Flawless Microwave Crispy Shallots
- The Right Equipment for Success
- Quality Ingredients Make the Difference
- Step-by-Step Guide: Making Crispy Shallots in Your Microwave
- Storing Your Homemade Crispy Shallots and Shallot Oil
- Endless Culinary Applications for Crispy Shallots and Shallot Oil
- More Innovative Microwave Recipes
- Printer-Friendly Recipe Card
- Crispy Shallots and Shallot Oil (Microwave Method) Recipe
Why Choose the Microwave Method for Crispy Shallots?
If you’re skeptical about using a microwave for anything beyond reheating leftovers, prepare to have your mind changed! The microwave isn’t just a convenient appliance; it’s a powerful cooking tool, especially when it comes to achieving perfectly crispy shallots without the usual fuss. Many home cooks shy away from deep frying due to the mess, the constant monitoring, and the lingering smell of oil. This microwave method eliminates all those concerns, offering a surprisingly efficient and clean way to produce consistently crisp results.
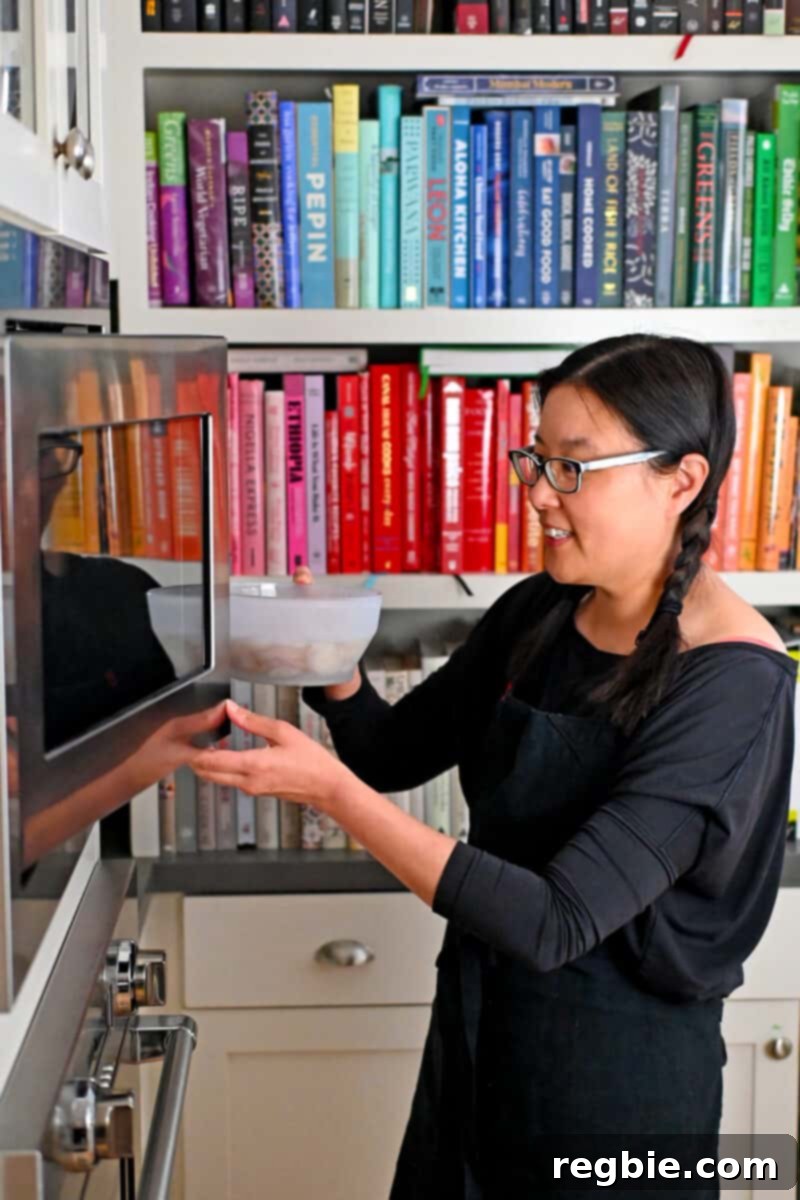
My journey into advanced microwave cooking truly began with my Anyday microwave bowls, which revolutionized how I view this kitchen staple. Far from just a reheating box, the microwave has become integral to streamlining my cooking processes. I regularly use it to prepare dishes like Crispy Bacon, tender Spaghetti Squash, and even delightful Mug Cakes. The secret lies in understanding its capabilities and applying the right techniques.
Still questioning the microwave’s safety or health benefits for cooking? Rest assured, numerous reputable institutions have confirmed its efficacy. Studies from respected organizations like Harvard University and Cornell University have affirmed that microwave cooking is a safe and healthy method for preparing food. My philosophy is simple: if there’s a way to cook something safely, deliciously, and swiftly in the microwave, I’m all for it!
This innovative crispy shallots recipe draws inspiration from this incredibly detailed method by Serious Eats. For those curious about the science behind achieving such a satisfying crunch in a microwave, that article provides comprehensive answers to all your food science inquiries. And for those without a microwave, don’t fret! You can easily adapt this by using the stovetop method outlined in this Serious Eats post, simply substituting avocado oil for the vegetable oil for a healthier alternative.
Essential Tips for Flawless Microwave Crispy Shallots
Achieving perfectly crispy shallots in the microwave is simple when you follow a few key guidelines. These tips will help you avoid common pitfalls and ensure a delightful outcome every time.
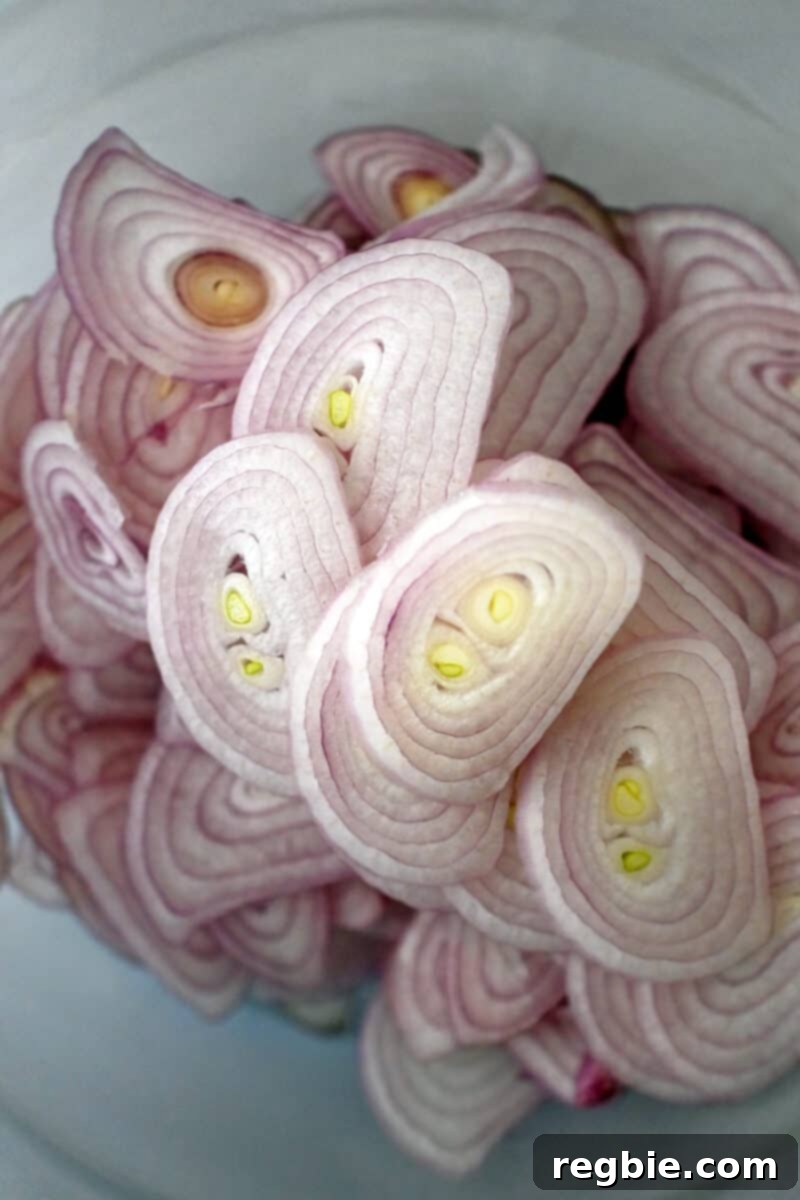
- Slice Thickness Matters: Uniformity and thickness are paramount. To ensure your shallots crisp up evenly and don’t become soggy or oil-logged, use a mandolin to slice them crosswise. Aim for slices that are consistently about an eighth of an inch thick. This allows them to cook through and become crunchy without absorbing too much oil. While paper-thin might seem appealing, it can lead to burnt bits; slices too thick will remain chewy. Precision here makes all the difference.
- Understand Your Microwave’s Wattage: Not all microwaves are created equal, and wattage directly impacts cooking time. Your microwave’s power level will determine how quickly your shallots cook. I use a 900-watt microwave, and my timing recommendations are based on this. If your microwave has higher wattage, your cooking time will likely be shorter; if it’s lower, you’ll need a bit more time. Always consider your appliance’s power and be prepared to adjust timings accordingly. This awareness prevents over or undercooking.
- Trust the Color, Not Just the Clock: Given the variability in microwave wattages and individual shallots, the visual cue of color is your most reliable indicator of doneness. Begin by microwaving in longer increments (3 to 5 minutes) until the shallots soften and transition to a light yellow hue. From this point onward, switch to shorter bursts (30 seconds to 1 minute), checking the shallots after each interval. Continue until they reach a beautiful golden brown. Resist the temptation to microwave for extended periods (like 10-12 minutes straight), as this almost guarantees burnt shallots and a very disappointing outcome – a lesson I’ve learned from personal experience! The color progression is your true guide to perfection.
The Right Equipment for Success
Having the proper tools can make this simple microwave recipe even easier and more enjoyable. Here’s what you’ll need to gather before you start:
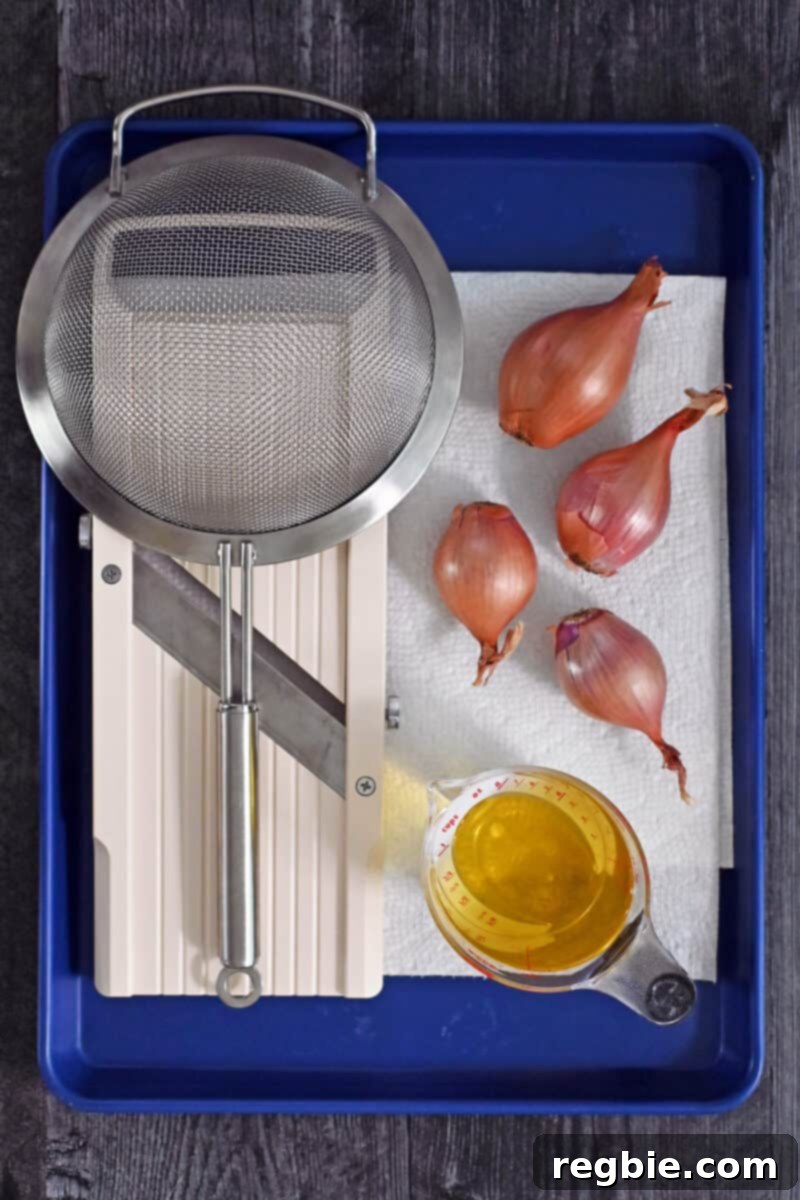
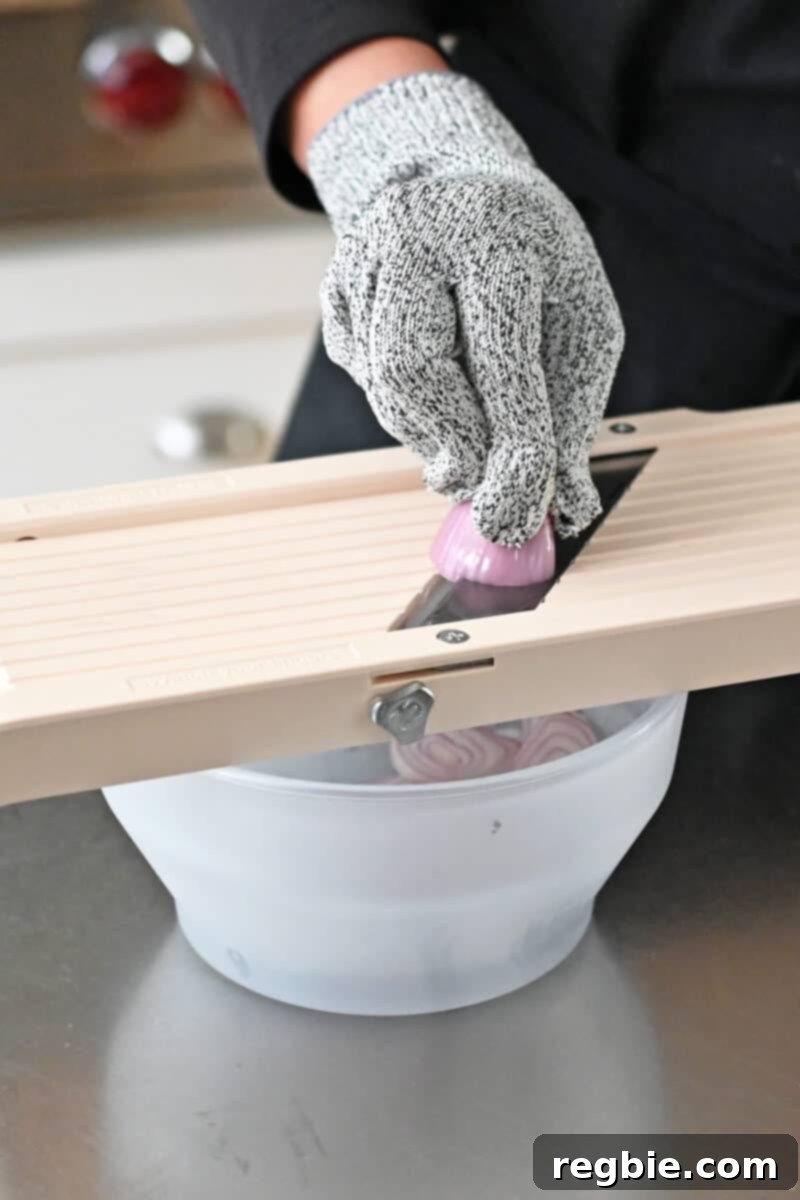
- Mandolin Slicer: For achieving those essential uniformly thin shallot slices, a mandolin is indispensable. My personal favorite is the reliable Benriner slicer, known for its precision and ease of use. A crucial safety note: always use cut-resistant gloves with any mandolin to protect your fingers from accidental nicks. If you possess exceptional knife skills, you can certainly slice the shallots by hand, but aim for consistency.
- Heatproof Microwave-Safe Bowl: You’ll need a bowl that can safely withstand microwave temperatures and is large enough to comfortably submerge your shallots in oil. While I’m fond of my Anyday bowls, any standard microwave-safe glass bowl will work perfectly. A lid isn’t required for this particular recipe, as the shallots need to “breathe” to crisp up.
- Slotted Spoon: This simple tool is incredibly useful for quickly and safely transferring the hot crispy shallots from the oil to your draining station, leaving excess oil behind.
- Rimmed Baking Sheet Lined with Paper Towels: Prepare this ahead of time! A rimmed baking sheet prevents the shallots from rolling off, and a generous layer of paper towels will absorb any residual oil, ensuring maximum crispiness.
- Fine Mesh Strainer: Essential for separating your precious crispy shallots from the flavorful shallot oil. It also ensures that any small fragments of shallots are removed from the oil, preventing them from burning the next time you use the oil.
Quality Ingredients Make the Difference
A few simple, high-quality ingredients are all you need to create these irresistible crispy shallots and the accompanying aromatic oil.
- Shallots: Select medium-sized shallots that comfortably fit in the palm of your hand. Look for firm shallots without any soft spots or sprouting. Before slicing, ensure you peel off all dried outer layers to reveal the fresh, clean shallot beneath. Typically, half a pound of shallots will yield about two cups of sliced shallots.
- Avocado Oil: This is my preferred high-temperature cooking oil for several compelling reasons. Avocado oil boasts a highly favorable fatty acid profile, making it a healthier choice. Crucially, it has an impressively high smoke point, which is ideal for frying and prevents the oil from breaking down and imparting a bitter taste. Compared to other neutral oils like canola or peanut oil, avocado oil is minimally processed. For purity and quality, I often recommend Chosen Foods or Marianne’s Avocado Oil, as these brands were rigorously tested and confirmed to be pure and non-oxidized in this UC Davis study.
- Diamond Crystal Kosher Salt (Optional): A light sprinkle of salt immediately after the shallots are transferred to the paper towel-lined tray enhances their flavor and provides a delightful savory finish. While I highly recommend it, seasoning is entirely optional and can be adjusted to your personal taste.
Step-by-Step Guide: Making Crispy Shallots in Your Microwave
Follow these straightforward steps to create your own batch of golden, crunchy shallots and aromatic shallot oil. Precision and careful observation are your best tools here!
1. Prepare the Shallots: Begin by using a mandolin to thinly slice the peeled shallots crosswise into uniform ⅛-inch thick rings. This precision is key for even cooking and optimal crispiness. You should yield approximately 2 cups of perfectly sliced shallots.
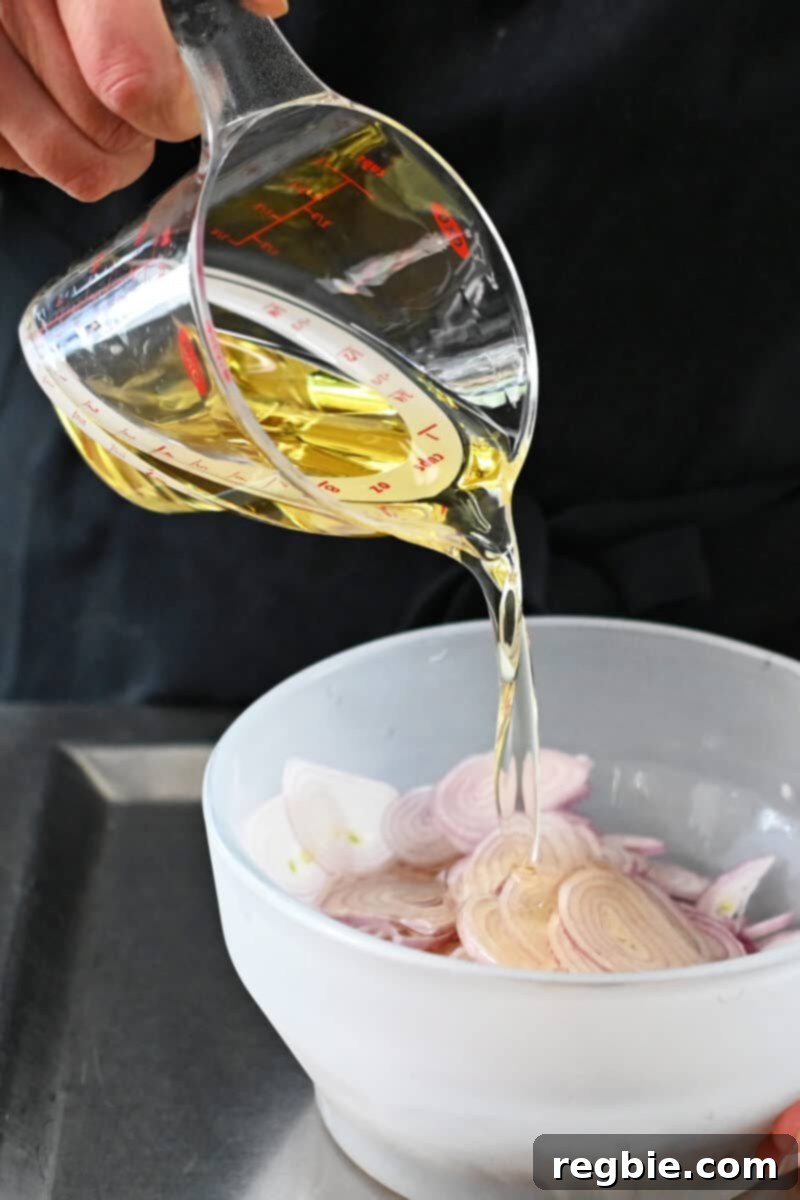
2. Combine Shallots and Oil: Transfer the sliced shallots into a medium-sized, microwave-safe glass bowl. Pour enough avocado oil over the shallots to fully submerge them. The shallots should be completely covered to ensure they cook evenly and crisp up beautifully.
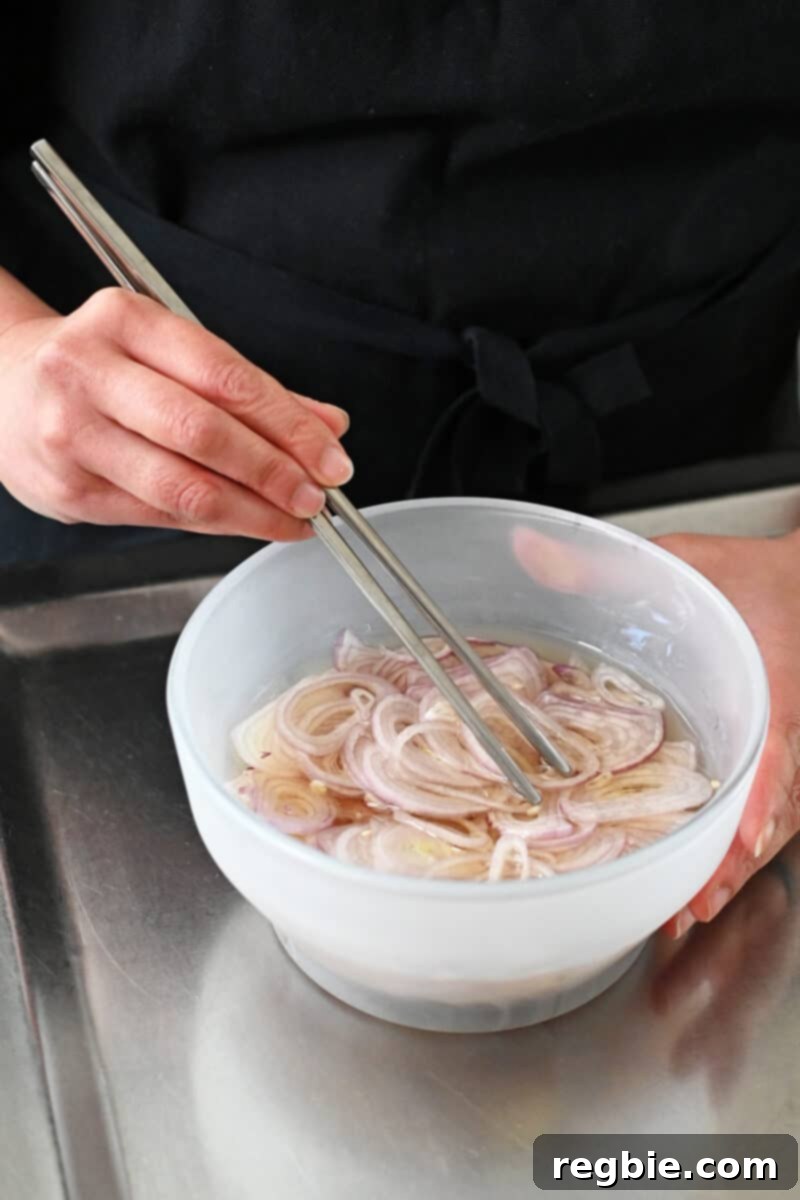
3. Ensure Full Submersion: Using a utensil, gently stir and press down the shallots to make sure every slice is fully submerged in the avocado oil. This is crucial for even “frying” in the microwave.
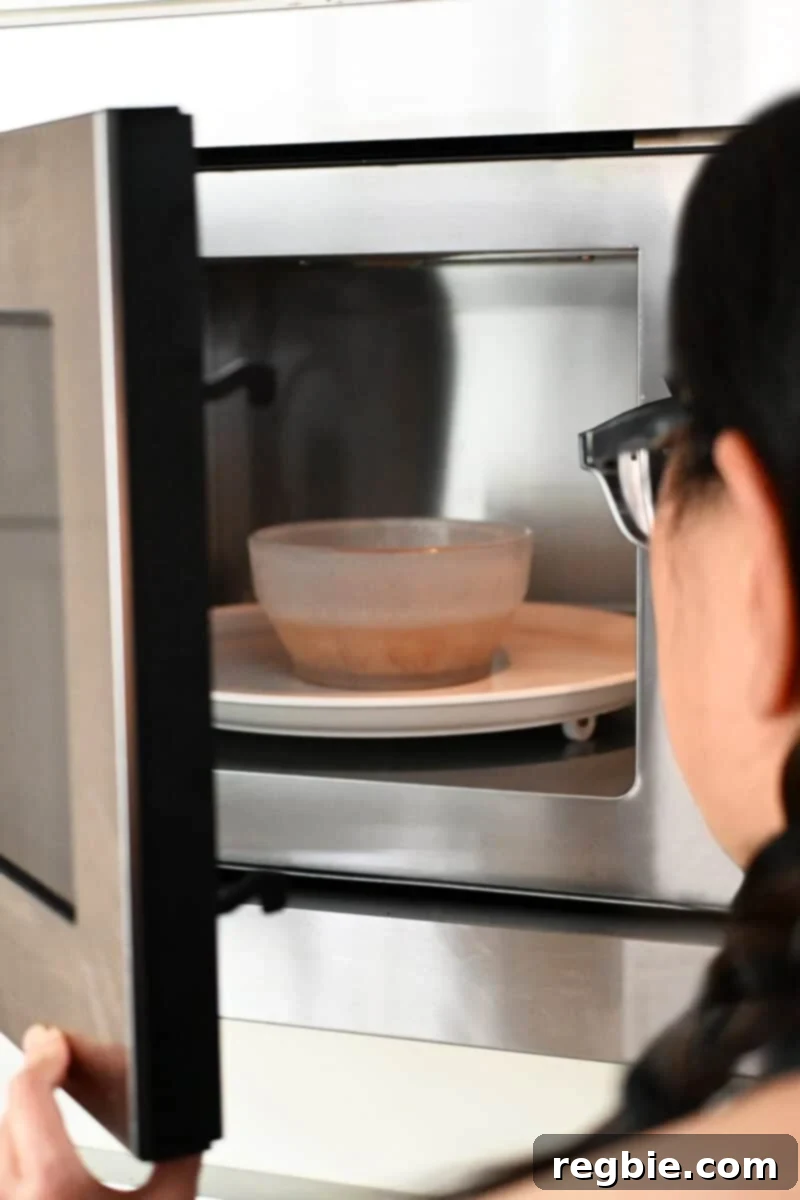
4. Initial Microwave Phase: Place the uncovered bowl into your microwave and cook on high for an initial 5 minutes. After this time, carefully remove the hot bowl. The shallots will have softened. Use a utensil (like chopsticks or a fork) to gently break apart any shallot rings that are sticking together, ensuring they are separated for more even cooking.
5. Continue Softening and Light Browning: Return the bowl to the microwave. Continue cooking in 2 to 3-minute intervals. Between each interval, check the shallots and give them a quick stir. You’re looking for them to become noticeably softer and begin to turn a very light golden color. This phase is about gently cooking them through before the intense crisping begins.
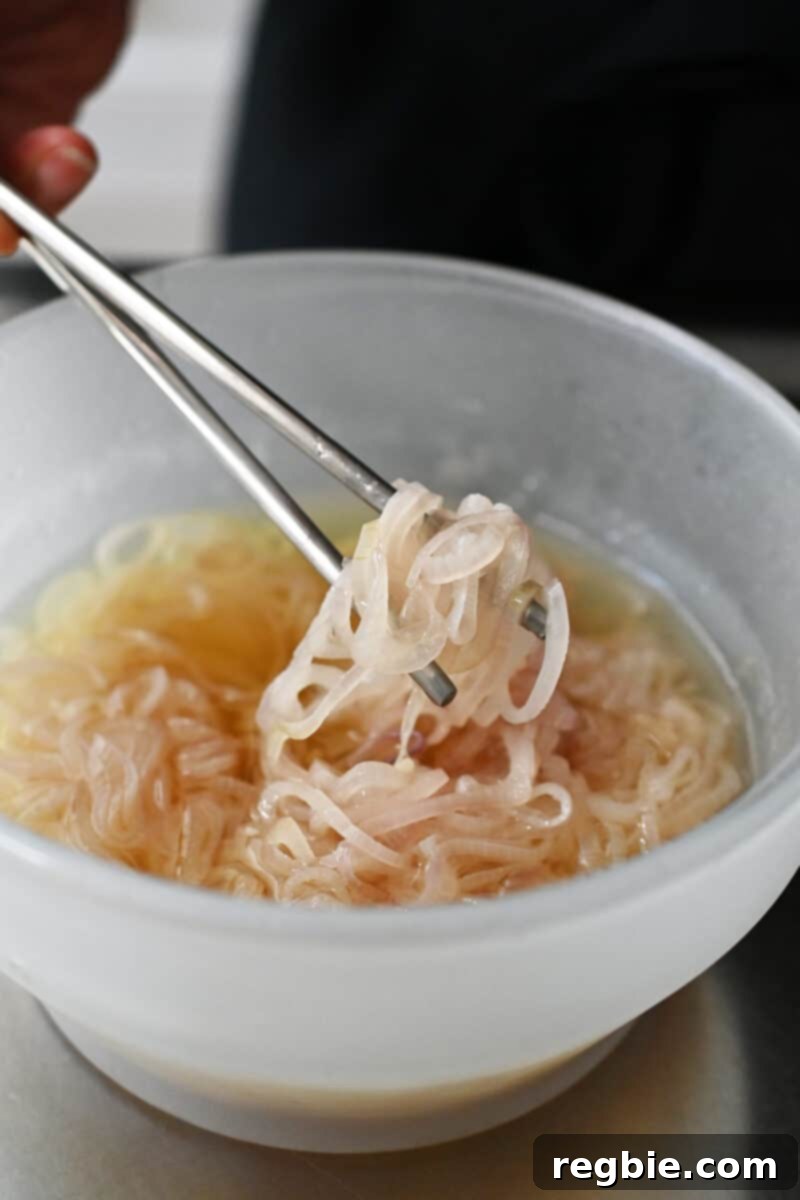
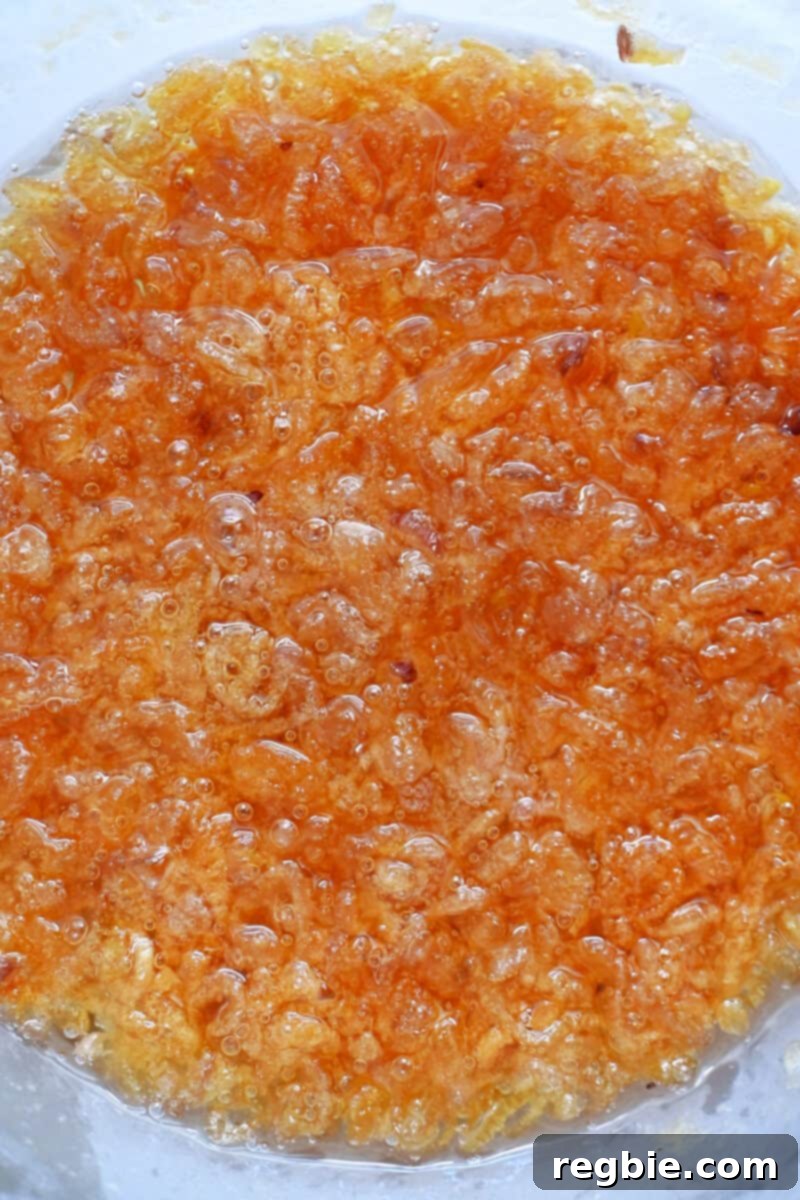
6. Achieve Golden Perfection: Now, the critical browning phase. Microwave the shallots in much shorter 30-second intervals. It’s absolutely essential to monitor them very closely during this stage, as they can go from perfectly golden to burnt in a matter of seconds. Keep stirring between each interval. Continue until the shallots are beautifully cooked down and a rich, deep golden brown. For reference, in my 900-watt microwave, this entire process took a total of 12 minutes and 30 seconds to reach the ideal color and crispness.
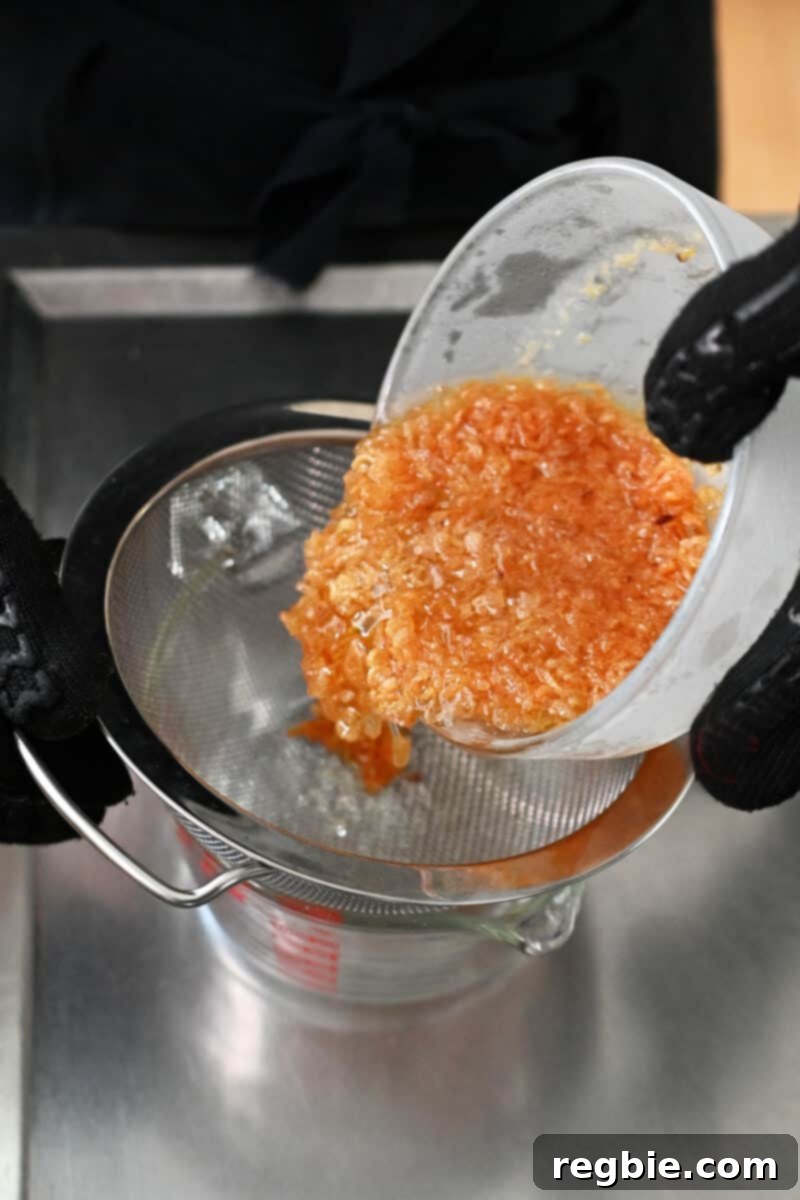
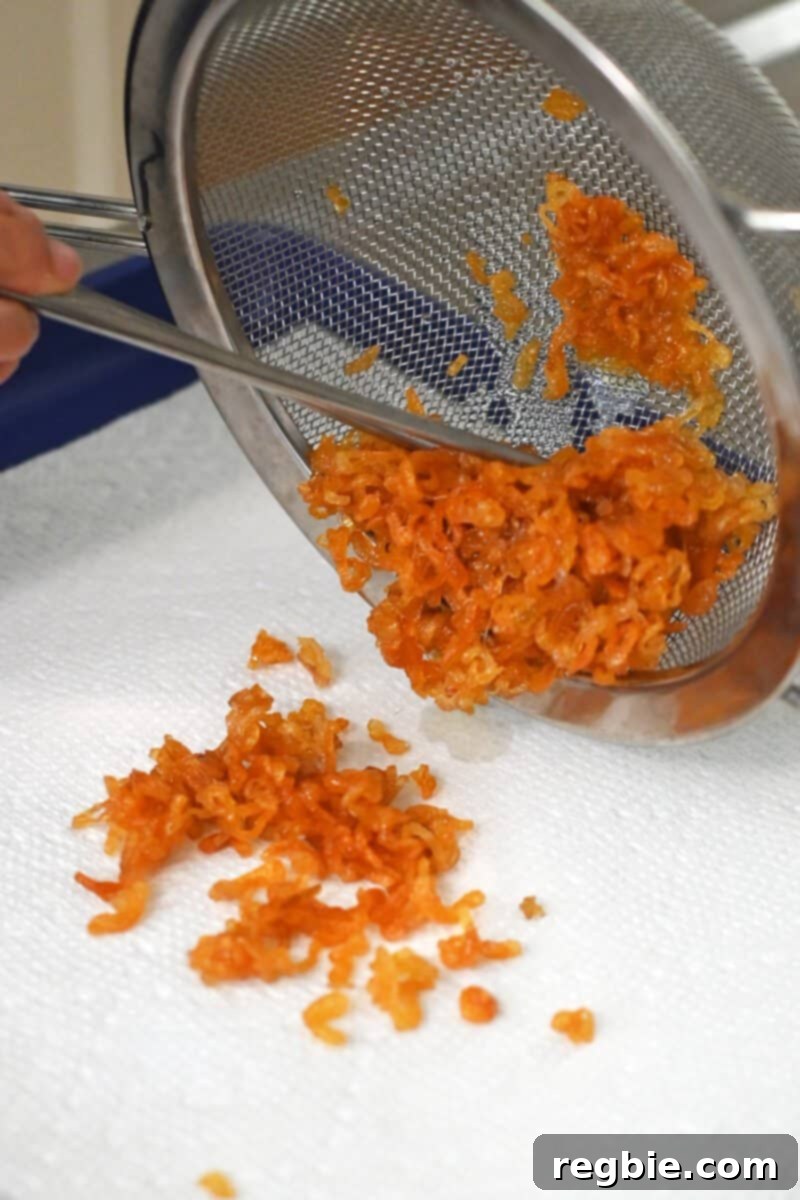
7. Separate Shallots and Oil: Once the shallots are a perfect golden brown, carefully remove the bowl from the microwave. Position a fine mesh sieve over a heatproof glass container (like a jar or another bowl). Pour the entire contents of the shallot bowl – both shallots and oil – through the sieve. This separates the crispy shallots from the newly infused shallot oil.
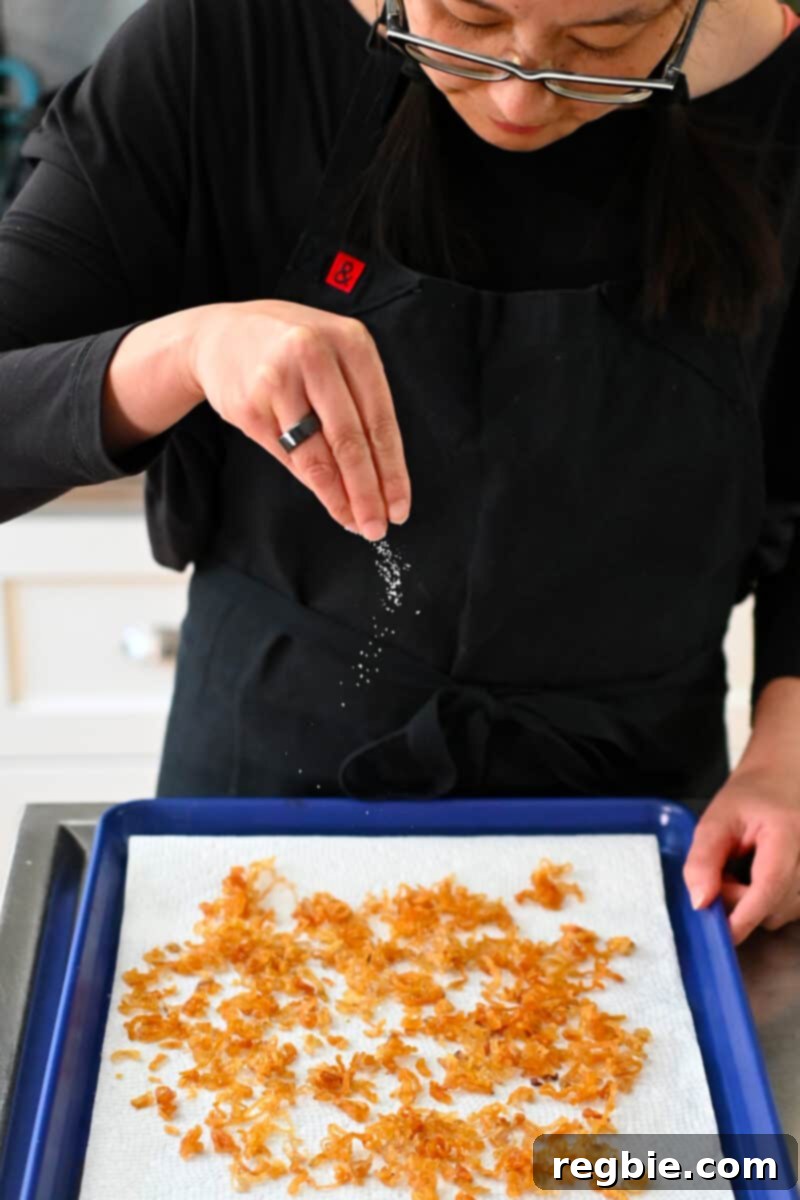
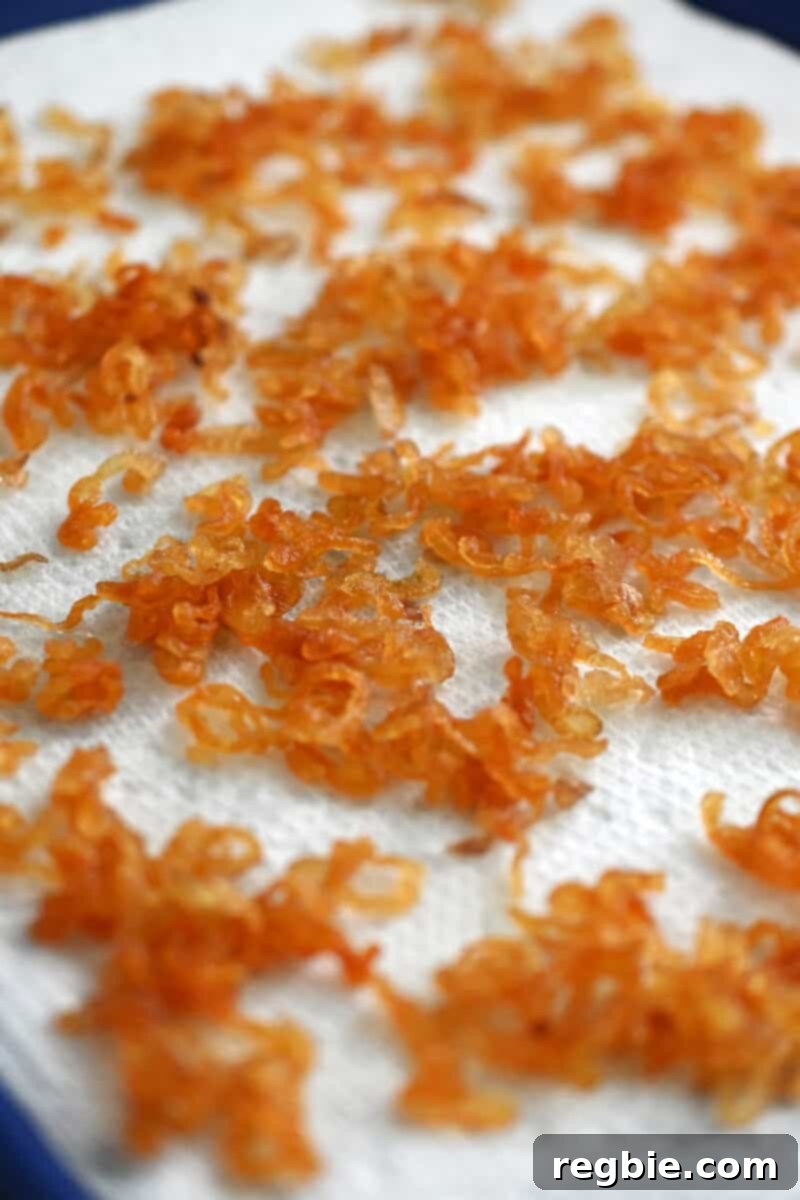
8. Drain and Season Crispy Shallots: Immediately transfer the cooked shallots from the sieve onto your prepared paper towel-lined rimmed baking sheet. Spread them out quickly into a single, even layer to maximize air exposure and facilitate draining. If desired, sprinkle a pinch of Diamond Crystal kosher salt over the hot crispy shallots right away. Don’t be concerned if they feel a little soft or “floppy” at this stage; they will continue to crisp up beautifully as they cool down completely.
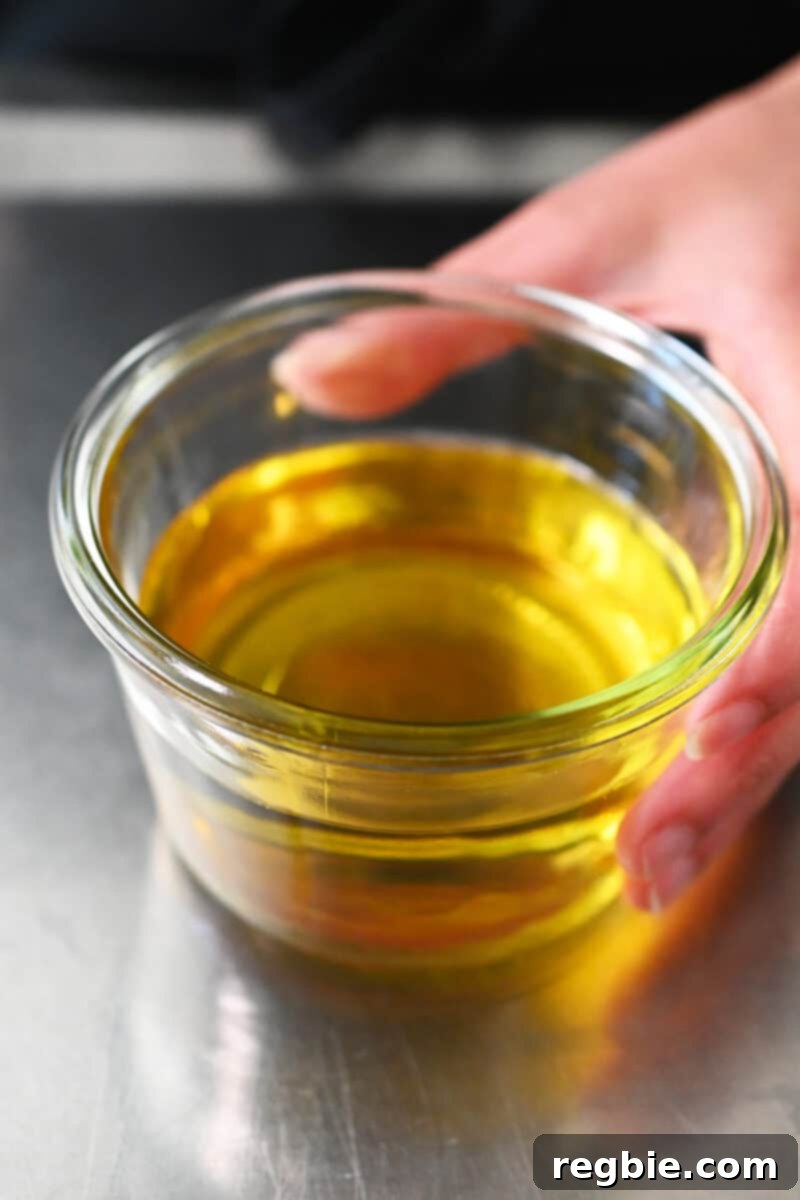
9. Bottle the Shallot Oil: Allow the strained shallot oil to cool slightly, then carefully pour it into a clean, airtight glass jar. This flavorful oil is a fantastic byproduct of your crispy shallot-making adventure and is ready to be used in a myriad of culinary applications.
Storing Your Homemade Crispy Shallots and Shallot Oil
Proper storage is key to maintaining the crispiness of your shallots and the freshness of your shallot oil, allowing you to enjoy these flavor boosters for weeks to come.
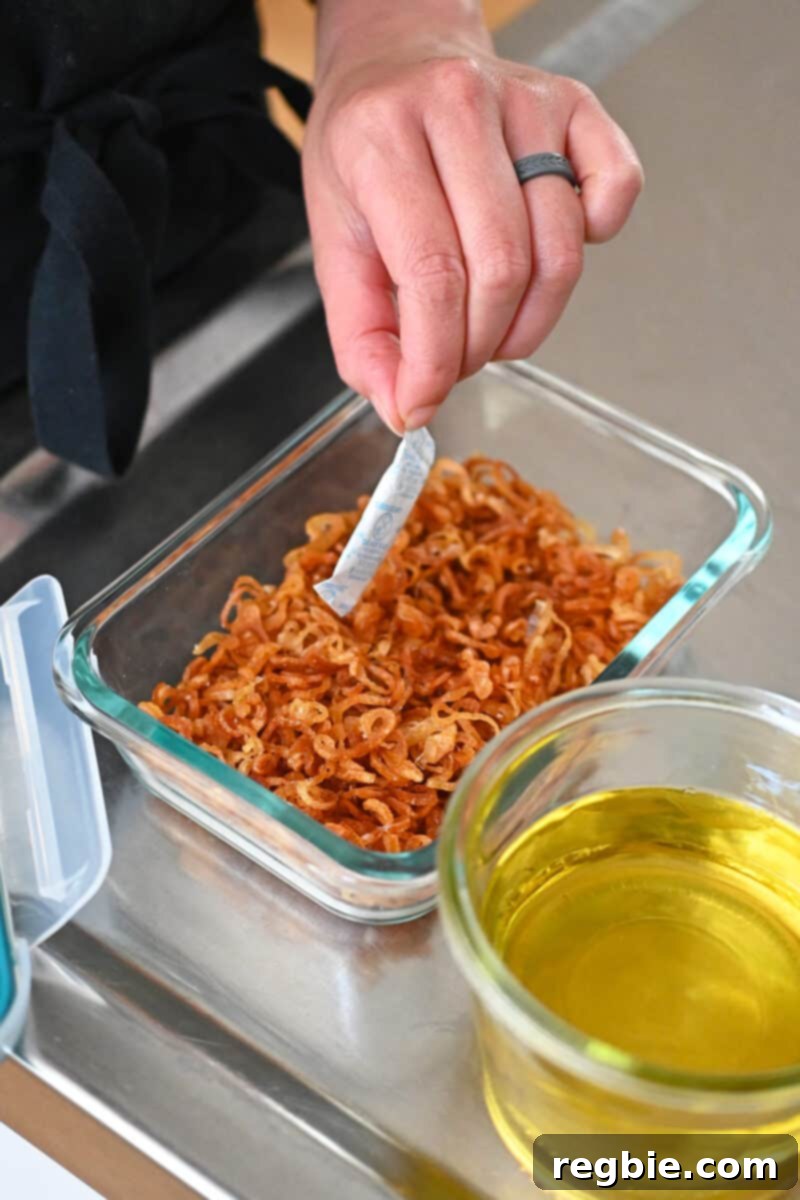
Once the crispy shallots have completely cooled to room temperature, transfer them to an airtight container. They will retain their delightful crunch and flavor when stored at room temperature for up to two weeks. For an extra measure to combat moisture and extend their crispiness even further, consider adding a food-grade desiccant packet to the container. This simple trick helps absorb any ambient moisture that could otherwise diminish their texture over time.
The infused shallot oil, a valuable byproduct, should be stored in a sealed glass jar in the refrigerator. When stored correctly, it will keep fresh and flavorful for up to one month. Before using the oil for cooking or dressing, allow it to come to room temperature, or gently warm it if necessary, as it may solidify slightly when chilled.
Endless Culinary Applications for Crispy Shallots and Shallot Oil
Once you’ve made a batch of these homemade crispy shallots and their accompanying aromatic oil, you’ll discover a world of culinary possibilities. These two ingredients are more than just garnishes; they are true flavor enhancers capable of transforming everyday meals into extraordinary dining experiences.
For Crispy Shallots: Think of crispy shallots as your new favorite all-purpose topping. They offer a delightful crunch and a subtle, savory onion flavor that complements a wide array of dishes. Sprinkle them generously over fresh salads, where they provide a superior alternative to traditional croutons. They are magnificent scattered over roasted vegetables, adding texture and depth. Elevate your favorite soups, stews, and stir-fries with a handful of these golden beauties. Even a simple burger or a plate of scrambled eggs can be dramatically improved with their addition. Basically, whenever you crave an extra layer of crunch and that irresistible fried onion essence in a dish, reach for your jar of crispy shallots!
For Shallot Oil: This infused oil is a versatile ingredient in its own right. Its delicate, savory flavor instantly adds a “fried onion” flair to anything it touches. Use it as the base for vibrant salad dressings, creating a more complex and enticing flavor profile than plain oil. Incorporate it into homemade mayonnaise or other sauces for an unexpected depth of flavor. I particularly love using shallot oil to cook scrambled eggs, giving them an incredibly rich taste. It’s also perfect for sautéing vegetables in stir-fries or simply drizzling over finished soups, pasta dishes, or grilled meats just before serving. Its aromatic qualities are sure to impress.
More Innovative Microwave Recipes
Inspired by the simplicity and efficiency of microwave cooking? Explore these other fantastic recipes that leverage the power of your microwave to create delicious meals and treats:
- Microwave Spaghetti Squash: Perfectly cooked, tender spaghetti squash in minutes.
- Microwave Crispy Bacon: Achieve perfectly crispy bacon without the stovetop mess.
- Pumpkin Mug Cake: A delightful, single-serving pumpkin treat.
- Apple Mug Cake: Quick and easy apple-cinnamon goodness.
- Black Sesame Mug Cake: An unique and flavorful dessert in a mug.
- Matcha Mug Cake: A vibrant, green tea-infused quick cake.
Searching for more culinary inspiration? Dive into my extensive Recipe Index for a treasure trove of delicious ideas. You’ll also discover exclusive recipes and cooking insights within my acclaimed cookbooks: Nom Nom Paleo: Food for Humans (Andrews McMeel Publishing 2013), Ready or Not! (Andrews McMeel Publishing 2017), and the latest, Nom Nom Paleo: Let’s Go! (Andrews McMeel Publishing 2022).
PRINTER-FRIENDLY RECIPE CARD
Crispy Shallots and Shallot Oil (Microwave Method)
★★★★★
10 minutes
15 minutes
25 minutes
8
people
Michelle Tam
Ingredients
-
½
pound
shallots -
1
cup
avocado oil -
Diamond Crystal kosher salt
optional
Instructions
-
Using a mandolin, slice the shallots crosswise into ⅛-inch thick slices. You’ll end up with about 2 cups of sliced shallots.
-
Place the shallot slices in a medium-sized microwave safe glass bowl. Pour the avocado oil on top of the sliced shallots. There should be just enough oil to cover the sliced shallots. Use your favorite utensil to make sure the shallots are submerged in the oil.
-
Microwave the bowl uncovered on high for 5 minutes. Take out the bowl and use a utensil to break up the shallot rings.
-
Next, microwave in 2 to 3 minute intervals until the shallots are softened and a light golden color.
-
Then, microwave in 30 second intervals until the shallots are cooked down and golden brown. Make sure you keep a close eye on the shallots or they may burn! (In my 900 watt microwave, it took a total of 12 minutes and 30 seconds to cook the shallots to the right color.)
-
When the shallots are golden brown, carefully pour the shallots and oil through a fine mesh sieve and collect the shallot oil in a glass container.
-
Transfer the cooked shallots onto a paper towel-lined rimmed baking sheet to drain. Quickly, spread out the shallots into a single layer and sprinkle some salt on the hot crispy shallots, if desired. Don’t worry if the shallots seem a little floppy. They’ll continue to crisp up as they cool.
-
After the crispy shallots are completely cooled, transfer them to an airtight container and store at room temperature for up to two weeks. You can also throw in a desiccant packet to ensure they stay crispy for as long as possible. The shallot oil can be stored in a sealed jar in the fridge for up to one month.
Video
Notes
- You will end up with approximately 1 cup of crispy shallots and ¾ cup of shallot oil. A serving size is calculated as 2 tablespoons of crispy shallots.
Tips for perfect crispy shallots:
- Size matters: Use a mandolin to uniformly slice the shallots crosswise into thin slices. The trick is slice the shallots thin—but not paper-thin—so they will get crispy and cook at the same time. Aim for slices that are about ⅛-inch thick.
- Wattage matters: Check to see what wattage your microwave is because that’ll make a difference in how fast you can cook stuff, including these crispy shallots. I have a 900 watt microwave so if yours is different, adjust your timing accordingly.
- Color matters: Because every microwave is different, you should use the color of the shallots as a guide as opposed to a specific amount of time. I microwave in longer bursts (3 to 5 minutes) until the shallots soften and turn light yellow. Then, I microwave in short bursts (30 seconds to 1 minute) until the shallots turn golden brown. Don’t be impatient and microwave for 10 to 12 minutes straight—your shallots will burn and you will cry.
Nutrition
Calories: 81kcal
|
Carbohydrates: 5g
|
Protein: 1g
|
Fat: 7g
|
Fiber: 1g
|
Sugar: 2g
Nutrition information is automatically calculated, so should only be used as an approximation.
Like this? Leave a comment below!