
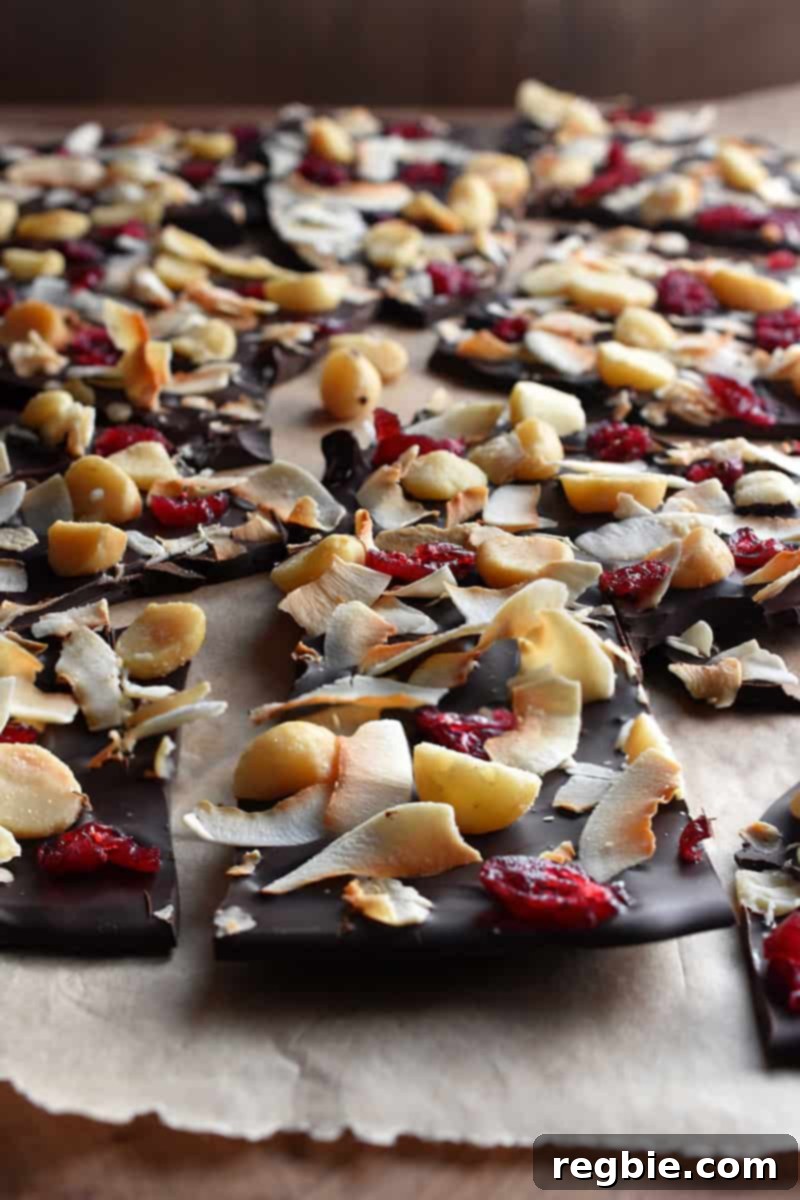
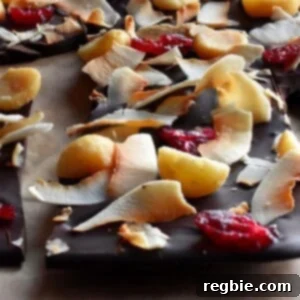
Prepare to delight your taste buds and impress your loved ones with this exquisite Coco-Nutty Dark Chocolate Bark – the ultimate homemade holiday treat! Not only is it incredibly delicious and visually stunning, but it also caters to various dietary needs, being dairy-free, vegan, and gluten-free. This recipe makes for the perfect personalized gift, embodying thoughtfulness and gourmet appeal.
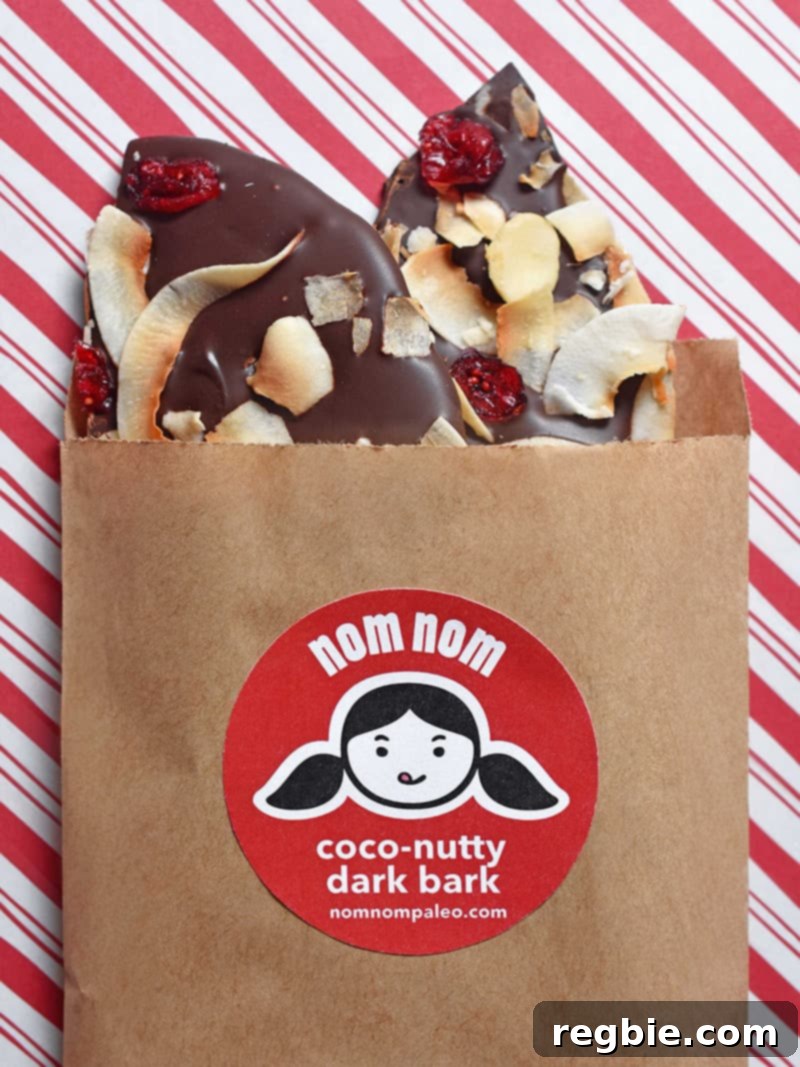
Table of Contents
- The Joy of Edible Holiday Gifts
- Why This is a Healthier Chocolate Bark Option
- Unleash Your Creativity: Customizable Chocolate Bark
- Key Ingredients for Perfect Dark Chocolate Bark
- Step-by-Step Guide: How to Make Chocolate Bark
- Beyond Bark: More DIY Holiday Gift Ideas
- Printer-Friendly Recipe Card
- Coco-Nutty Dark Chocolate Bark Recipe
- Frequently Asked Questions About Chocolate Bark
The Joy of Edible Holiday Gifts
There’s an undeniable charm to homemade holiday gifts, especially those crafted in the kitchen. A thoughtful, edible present often feels more authentic and carries a deeper sentiment than something purchased off a shelf, even if it’s a truly fantastic store-bought item that brings immense joy. The challenge with many DIY edible gifts, however, is that they can often be loaded with unhealthy ingredients or prove overwhelmingly difficult and time-consuming to prepare. This can lead to stress during a season meant for joy, or gifts that don’t quite align with a healthier lifestyle.
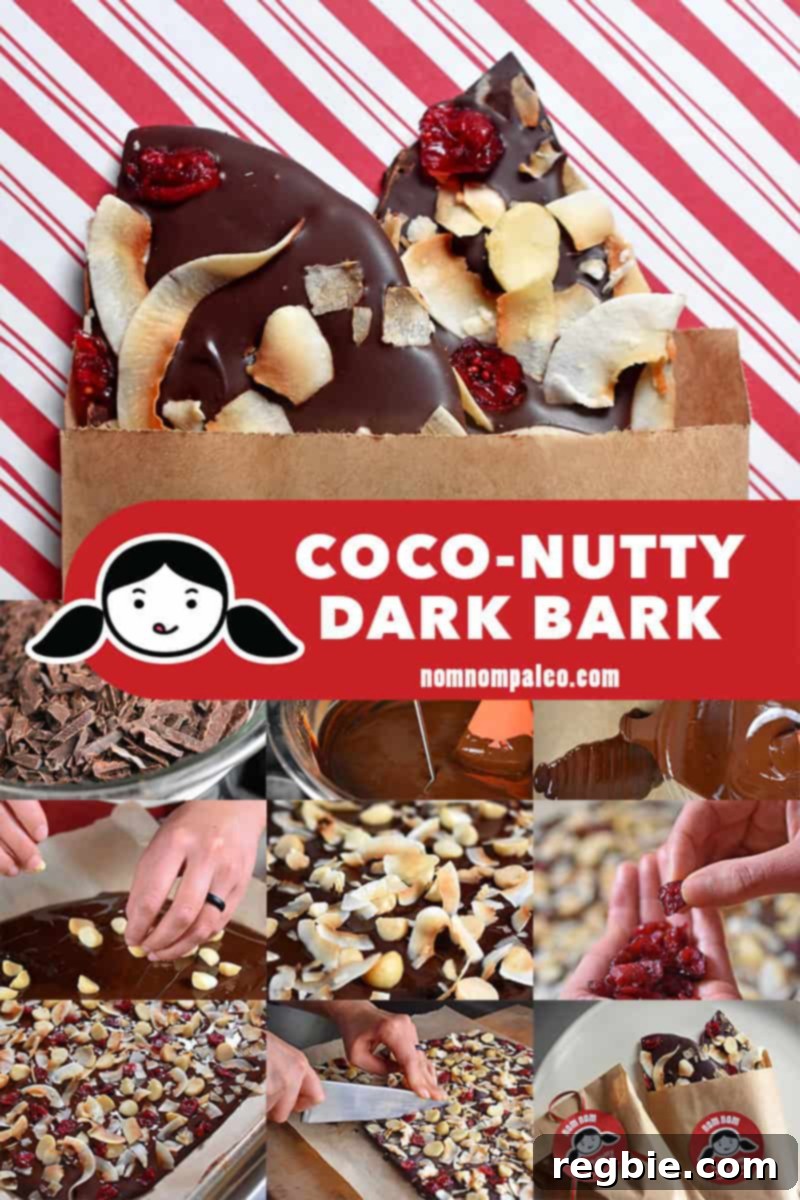
But what if you could create a holiday treat that is not only incredibly impressive-looking but also surprisingly simple to make and not (too) bad for you? Allow me to introduce you to our star: Coco-Nutty Dark Chocolate Bark! This delightful confection is significantly easier to prepare than traditional holiday cookies, requires minimal baking skills, and delivers the perfect balance of sweetness, making it an ideal candidate for gifting or simply indulging yourself. Its elegant appearance belies its straightforward preparation, making you look like a gourmet chef without the fuss.
Why This is a Healthier Chocolate Bark Option
Let’s be clear from the outset: while this tart, nutty, and bittersweet dark chocolate bark recipe is a fantastic treat, it’s not designed to be a health food or a substitute for a balanced meal. It’s certainly not Whole30 compatible due to the sugar content in the dark chocolate and dried fruit. However, compared to many other holiday sweets, our crunchy bark recipe contains significantly fewer highly processed ingredients and artificial additives. We prioritize high-quality dark chocolate, which is known for its antioxidants, and natural toppings. This approach allows you to enjoy a festive indulgence with a slightly cleaner ingredient profile, making it a “healthier” choice in the realm of desserts. Think of it as a mindful treat to enjoy in moderation, alongside your vibrant greens and lean proteins. My aim is to provide a delicious option that still fits into a sensible eating plan, offering joy without excessive guilt.
One of the biggest advantages of making Coco-Nutty Dark Bark is its remarkable simplicity and endless customizability. Honestly, calling this a “recipe” almost feels like an exaggeration. The core process involves melting the finest dark chocolate you can get your hands on, then artfully scattering your preferred toppings. This minimal effort yields maximum flavor and impressive results, proving that you don’t need complex techniques to create something truly special. The ease of preparation makes it perfect for busy holiday schedules, allowing you to whip up a batch in under an hour.
Unleash Your Creativity: Customizable Chocolate Bark
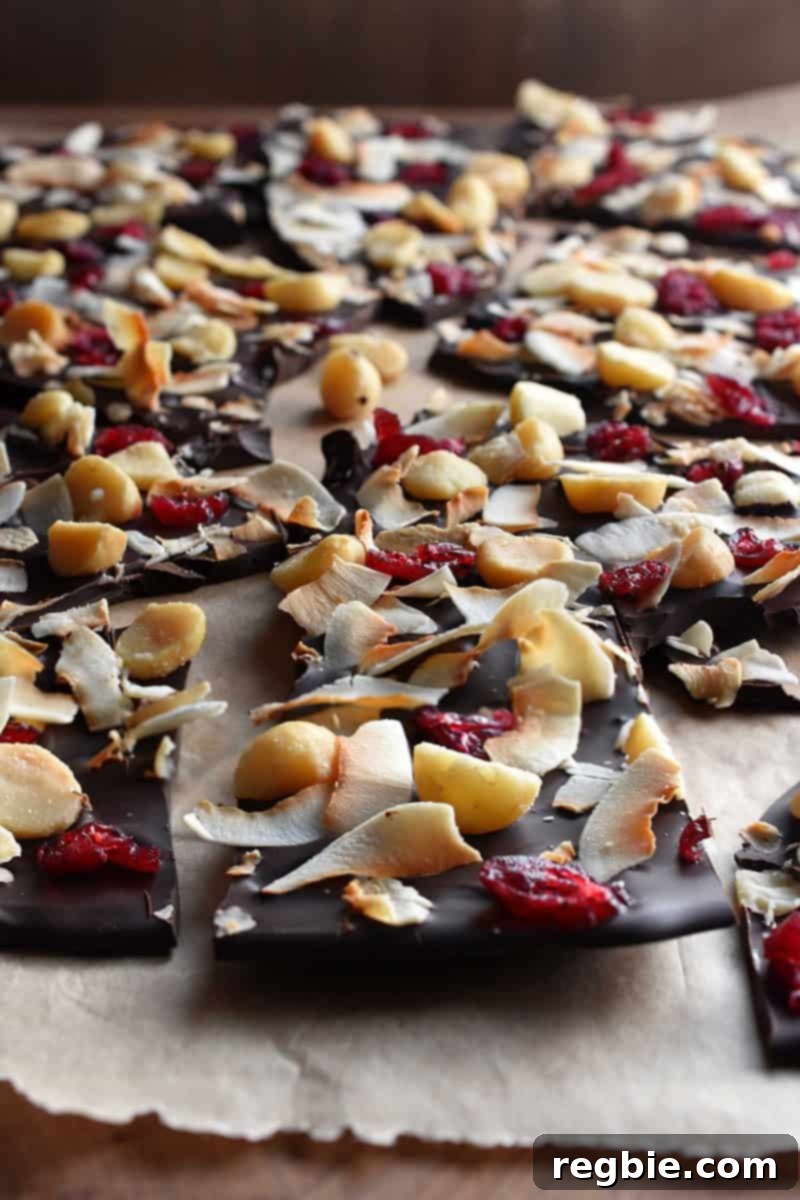
While the classic combination of toasted coconut flakes, tangy dried cranberries, and salty roasted macadamia nuts holds a special place in my heart as the crowning trio, the beauty of this homemade chocolate bark lies in its infinite customizability. You are the artist here, and your palate is the guide! Feel free to experiment with various toppings to perfectly suit your taste preferences or to create unique gifts tailored to each recipient.
However, a crucial piece of advice: the quality of your finished bark will directly reflect the quality of your ingredients. Do not skimp on the dark chocolate – invest in a high-quality bar (70-85% cacao is ideal for a balanced bittersweet profile). Ensure your coconut flakes are properly toasted to unlock their fragrant, nutty essence, and always choose fresh, high-quality nuts to avoid any stale flavors. Each ingredient plays a vital role in the overall taste and texture, so selecting the best components will elevate your chocolate bark from good to absolutely phenomenal.
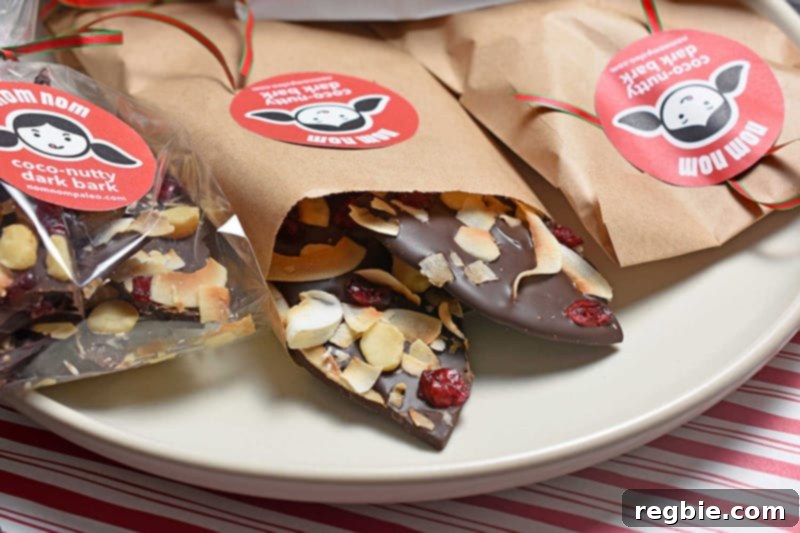
Ready to impress your friends and family with a homemade gift that truly stands out? Let’s dive into the simple steps to create this delectable Coco-Nutty Dark Chocolate Bark!
Key Ingredients for Perfect Dark Chocolate Bark
Gathering high-quality ingredients is the first step towards creating truly memorable chocolate bark. Here’s what you’ll need:
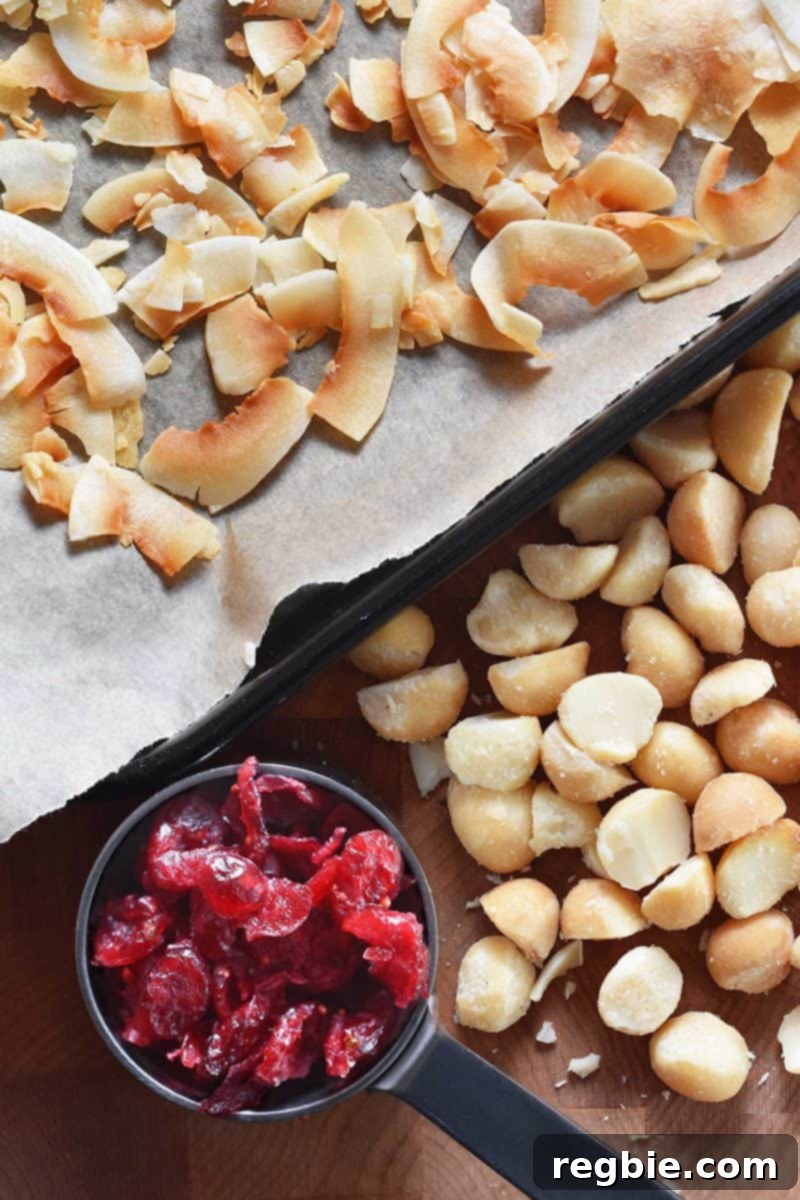
- Unsweetened Coconut Flakes: These add a wonderful crunch and tropical flavor. Toasting them amplifies their natural sweetness and aroma significantly. If coconut isn’t your favorite, feel free to omit or substitute with other toasted nuts or seeds.
- Dark Chocolate (70-85% Cacao): The star of the show! High-quality dark chocolate is essential for a rich, complex flavor. My go-to brands for excellent dark chocolate bars are Alter Eco and Green & Black’s. While I generally steer clear of most chocolate chips because they tend to be overly sweet, these Guittard 74% organic chocolate baking wafers are a fantastic exception and melt beautifully. Remember, for the best results, avoid using white chocolate as it lacks true cocoa solids and won’t give you the same depth of flavor.
- Dry-Roasted and Salted Macadamia Nuts, cut into halves: The saltiness is key here! The interplay of sweet dark chocolate, tart cranberries, and savory, salty macadamia nuts creates an incredibly addictive flavor profile. If macadamia nuts aren’t to your liking, or you want to try other options, feel free to substitute with other roasted and salted nuts like almonds, pecans, pistachios, walnuts, cashews, or even crunchy pumpkin seeds.
- Dried Cranberries: These vibrant little fruits bring a wonderful burst of tartness and a pop of beautiful color to the dark canvas of the chocolate. They perfectly cut through the richness of the dark chocolate. You can also experiment with other dried fruits like dried cherries for a deeper tartness, chopped apricots for a chewy texture and sweet-tart flavor, or even candied ginger for a spicy, aromatic kick.
Step-by-Step Guide: How to Make Chocolate Bark
Creating this delicious chocolate bark is a straightforward process, but paying attention to a few details will ensure a perfectly smooth, crunchy, and delightful treat every time. Follow these steps for success:
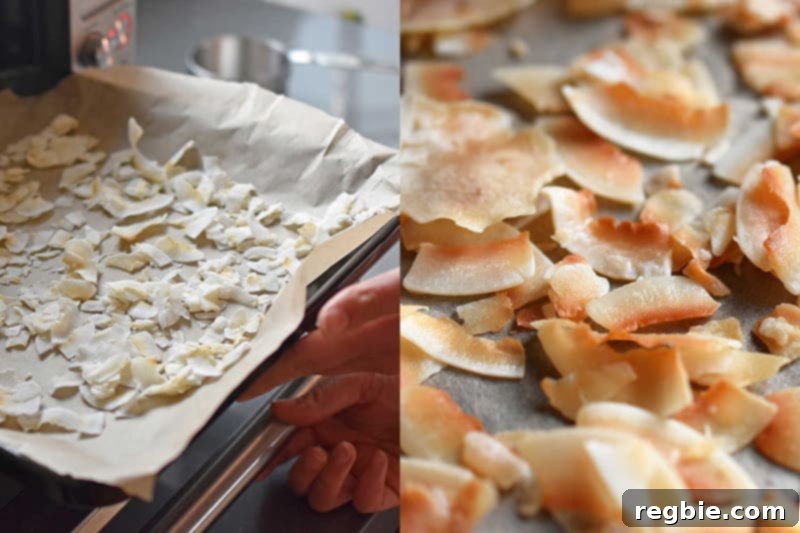
1. Toast the Coconut Flakes for Enhanced Flavor
Start by preheating your oven or toaster oven to a moderate 300°F (150°C). Arrange the unsweetened coconut flakes in a single, even layer on a baking sheet lined with parchment paper. Toast them in the oven for about 3-5 minutes, keeping a very close eye on them, as they can burn quickly! You’re looking for a beautiful golden-brown color around the edges and a fragrant, nutty aroma. Once toasted, remove them from the oven and let them cool completely to room temperature. This cooling step is essential to ensure they retain their crispness when added to the chocolate.
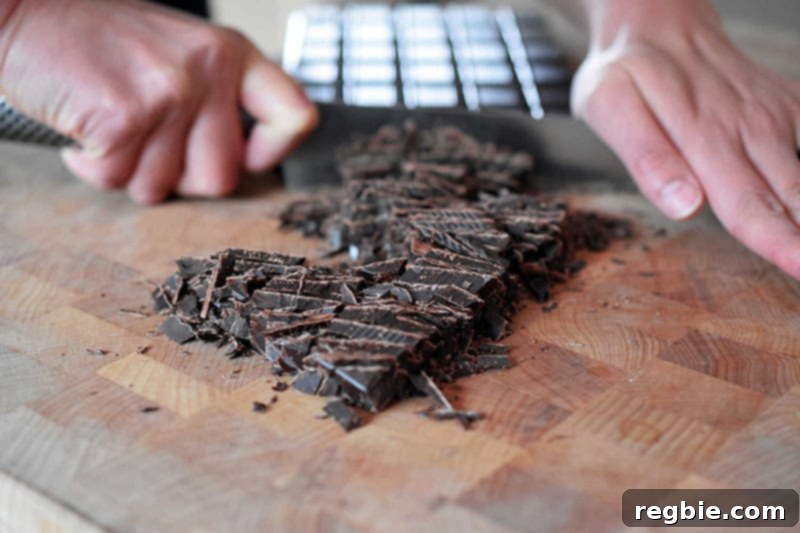
2. Prepare Your Dark Chocolate for Even Melting
One of the crucial steps for achieving perfectly smooth, evenly melted chocolate is proper preparation. Instead of simply breaking your chocolate bars into large squares, take the time to cut them into small, uniform pieces or “shards.” Starting from one corner, use a sharp serrated knife to cut the chocolate on the diagonal into smaller fragments. This might feel like a bit of a workout for your hands, but it’s a vital step. Smaller pieces will melt much faster and more evenly, reducing the risk of overheating and ensuring a silky-smooth base for your bark. Unevenly melted chocolate can lead to a grainy texture, which we definitely want to avoid.
3. Choose Your Melting Method: Double Boiler or Microwave
Place your finely chopped chocolate shards into a clean, dry glass mixing bowl. You have two excellent options for melting the chocolate, depending on your kitchen setup and preference:
Double Boiler Method:
Many home cooks might not own a dedicated double boiler, but it’s incredibly easy to create one. Simply grab a metal or glass bowl that fits snugly over a medium saucepan without touching the bottom. Fill the saucepan with about two inches of water and bring it to a gentle simmer over medium-low heat. Place the bowl containing the chocolate on top of the saucepan, ensuring that the bottom of the bowl does not touch the simmering water. The steam from the simmering water will gently and indirectly heat the bowl, melting the chocolate gradually and preventing it from burning. This method offers excellent control over the temperature.
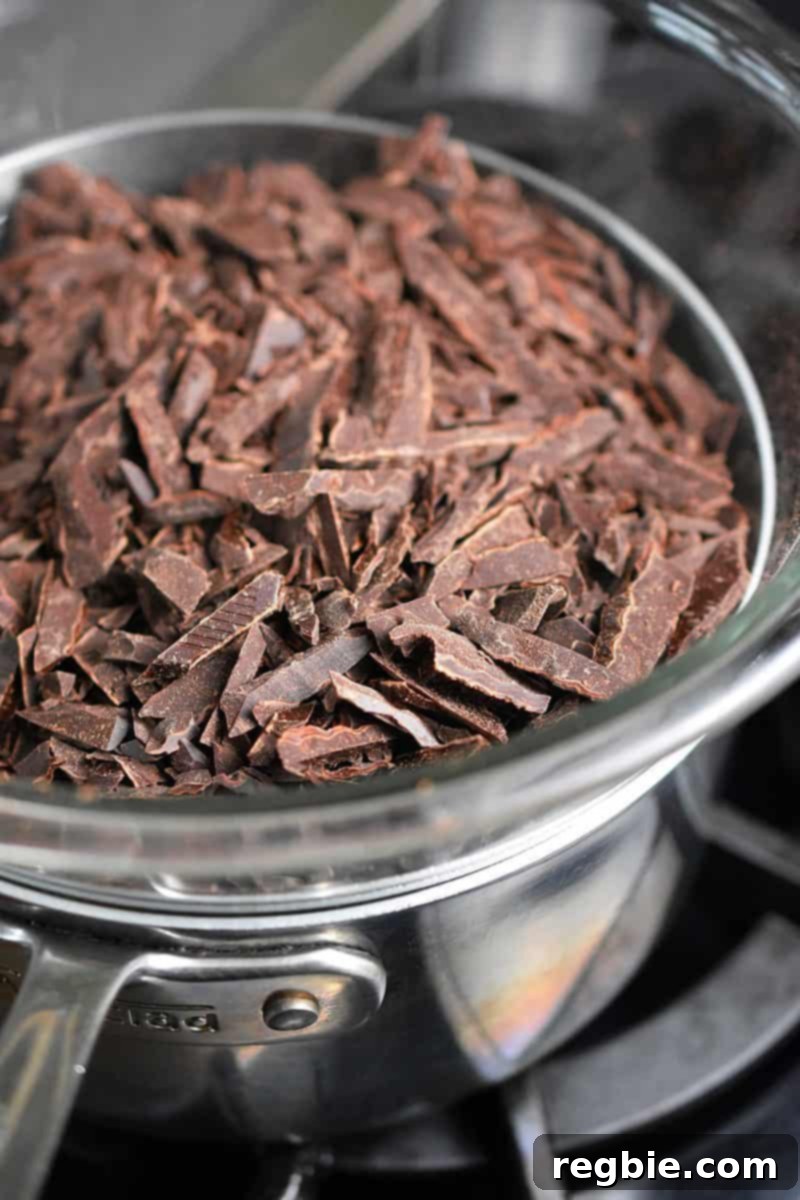
Maintain the water at a steady simmer and stir the melting chocolate frequently with a heat-resistant spatula until it becomes completely smooth and glossy. Patience is key here; resist the urge to rush the process by increasing the heat. Overheating chocolate can cause it to “seize” and become grainy, making it unusable for bark. Aim for a temperature below 115°F (46°C) for optimal texture. A reliable food thermometer can be very helpful if you’re concerned about temperature control.
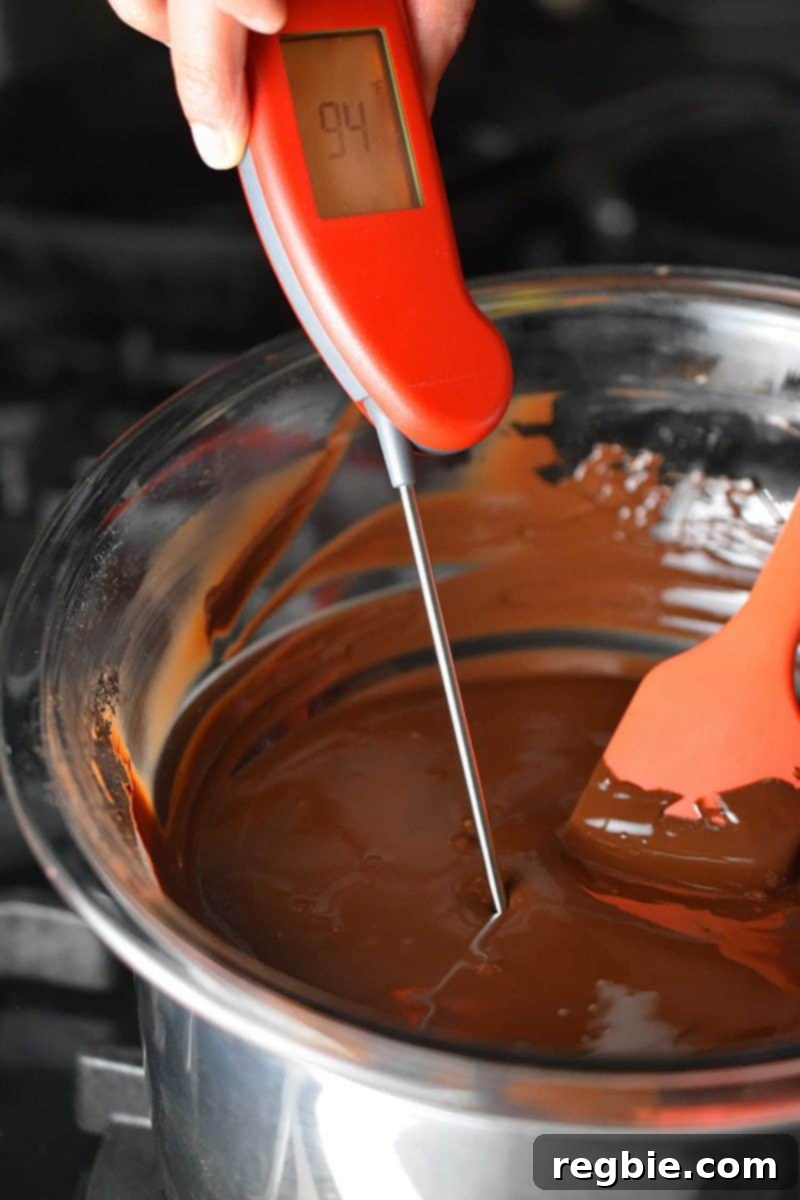
Microwave Method:
For a quicker option, you can melt the chocolate in a microwave-safe bowl. Zap it on high power for 30-second intervals, stirring thoroughly after each interval to distribute the heat evenly. Repeat this process two more times (for a total of 90 seconds initial heating). After the third interval, continue stirring until the chocolate is smooth. If there are still a few unmelted pieces after 90 seconds, continue heating in shorter 15-second increments, stirring well after each, until fully melted. Be extremely cautious not to overcook the chocolate in the microwave, as it can burn very quickly and become unusable.
4. Prepare Your Baking Surface and Spread the Chocolate
While your chocolate is melting, line a rimmed baking sheet with either parchment paper or a silicone mat. This step is crucial for easy removal of the hardened bark and makes cleanup a breeze. Once your chocolate is perfectly melted and smooth, pour it onto the prepared baking sheet. Using an offset spatula or a silicone spatula, spread the chocolate thinly and evenly into a rough rectangular shape. Aim for a thickness of about ⅛- to ¼-inch. Remember, chocolate bark is celebrated for its rustic charm, so don’t fret if your rectangle isn’t perfectly uniform. Embrace the irregular edges – it adds to its homemade appeal!
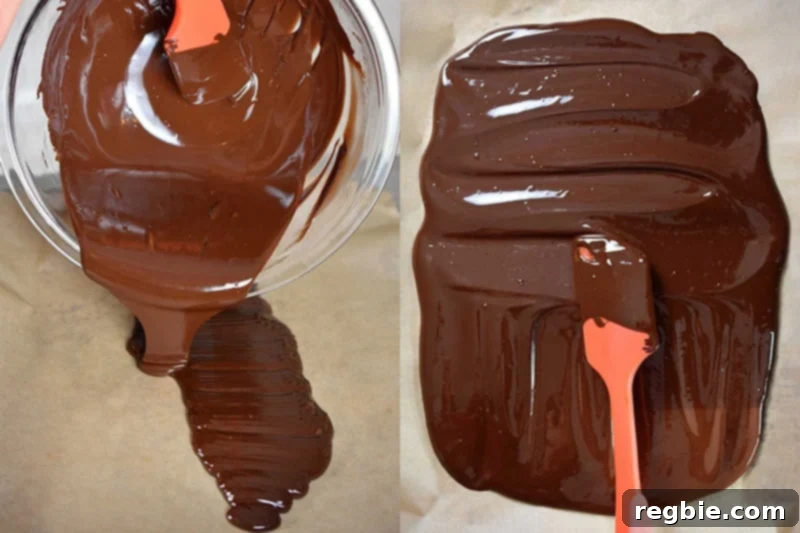
5. Decorate with Your Chosen Toppings
Now comes the fun part: decorating! Have your prepped toppings – the toasted coconut flakes, dry-roasted macadamia nuts, and dried cranberries – ready at hand. Time is of the essence here, as the chocolate will start to set fairly quickly, especially if your kitchen is cool.
Generously sprinkle the macadamia nuts, followed by the toasted coconut flakes, evenly over the melted chocolate. Ensure a good distribution so every piece of bark gets a delightful mix of flavors and textures.
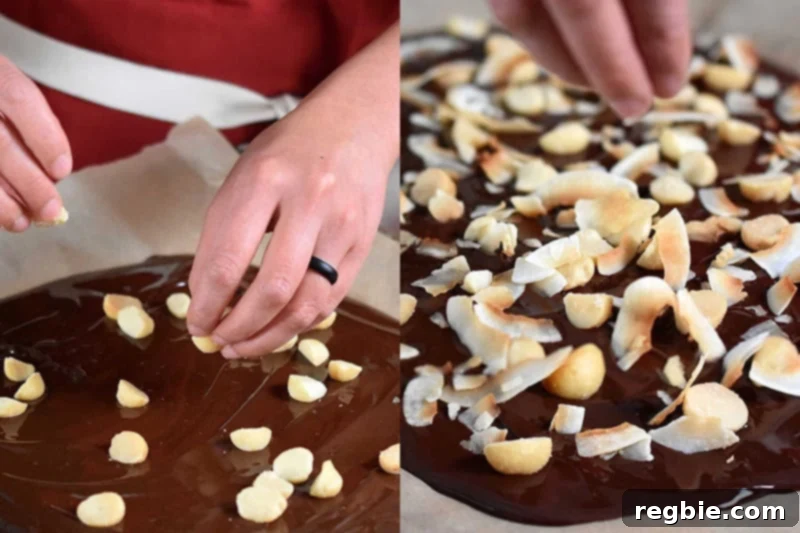
Finally, scatter the dried cranberries across the chocolate, adding those beautiful pops of red and bursts of tangy flavor.
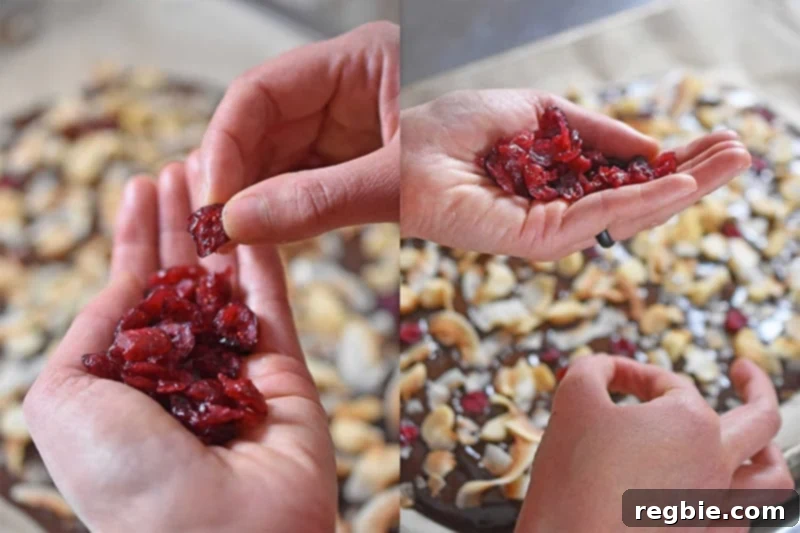
After all the toppings are applied, gently press down any pieces that look like they might not be fully embedded in the chocolate. This ensures everything adheres nicely once the bark hardens.
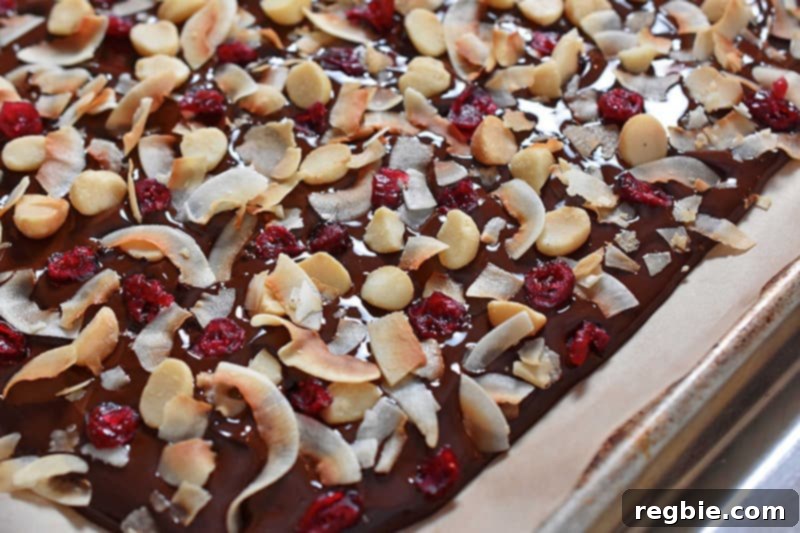
6. Chill Until Hardened and Break into Pieces
Carefully transfer the baking sheet with your decorated chocolate bark to the refrigerator. Allow it to chill for at least 30 minutes, or until the chocolate is completely set and firm to the touch. This chilling process ensures a crisp snap when broken.
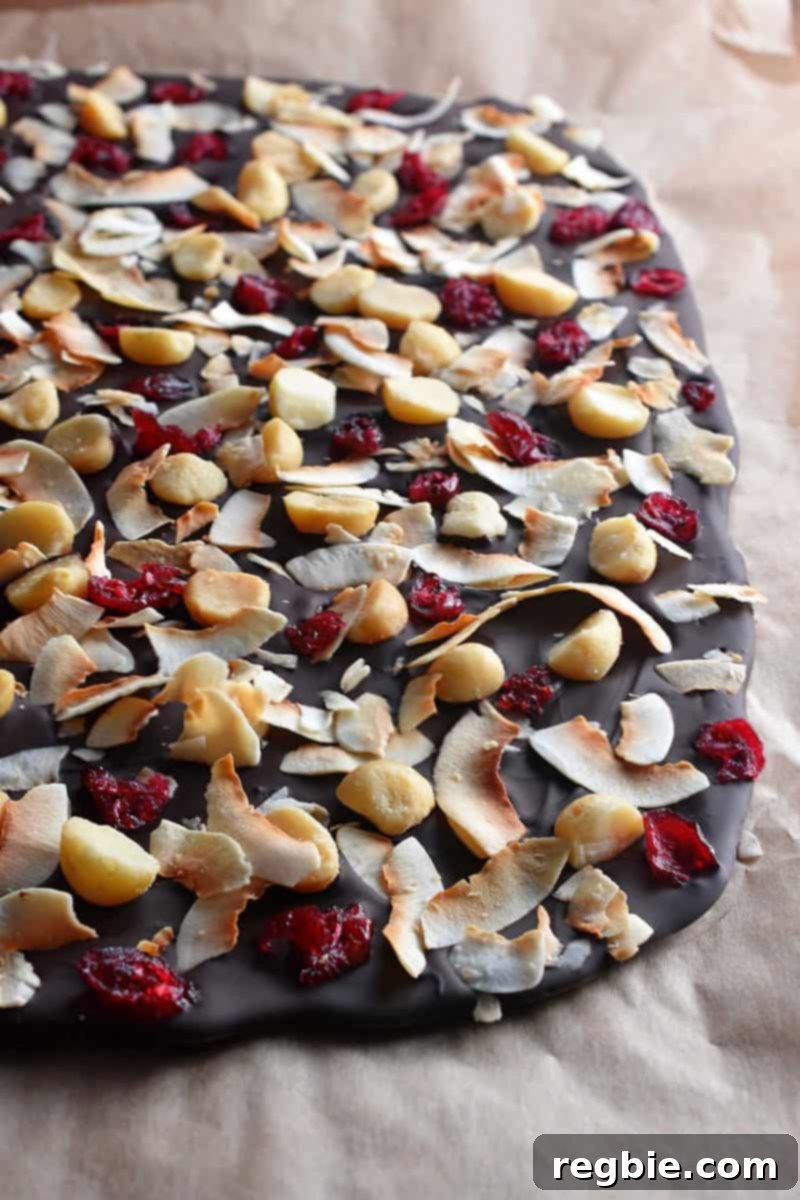
Once fully solidified, remove the bark from the refrigerator. You can either gently break it into irregular, jagged pieces – which adds to its rustic charm – or use a sharp knife to cut it into more uniform squares or rectangles. Whichever method you choose, you’ll end up with beautiful, delicious dark chocolate bark.
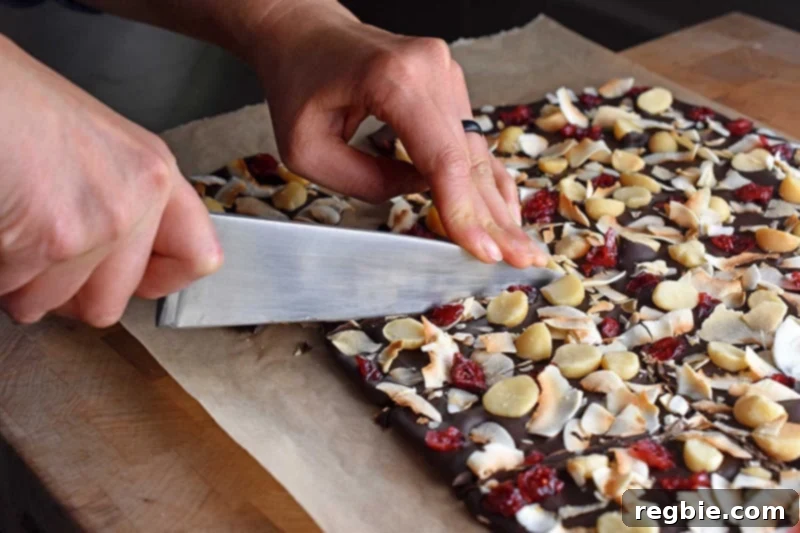
7. Handling and Storage Tips
To keep your chocolate bark pristine and free from fingerprints, especially when handling or packaging, consider using a piece of parchment paper or even a clean sandwich bag as a makeshift glove. It’s a simple trick that helps maintain its polished appearance – quite classy, wouldn’t you say?
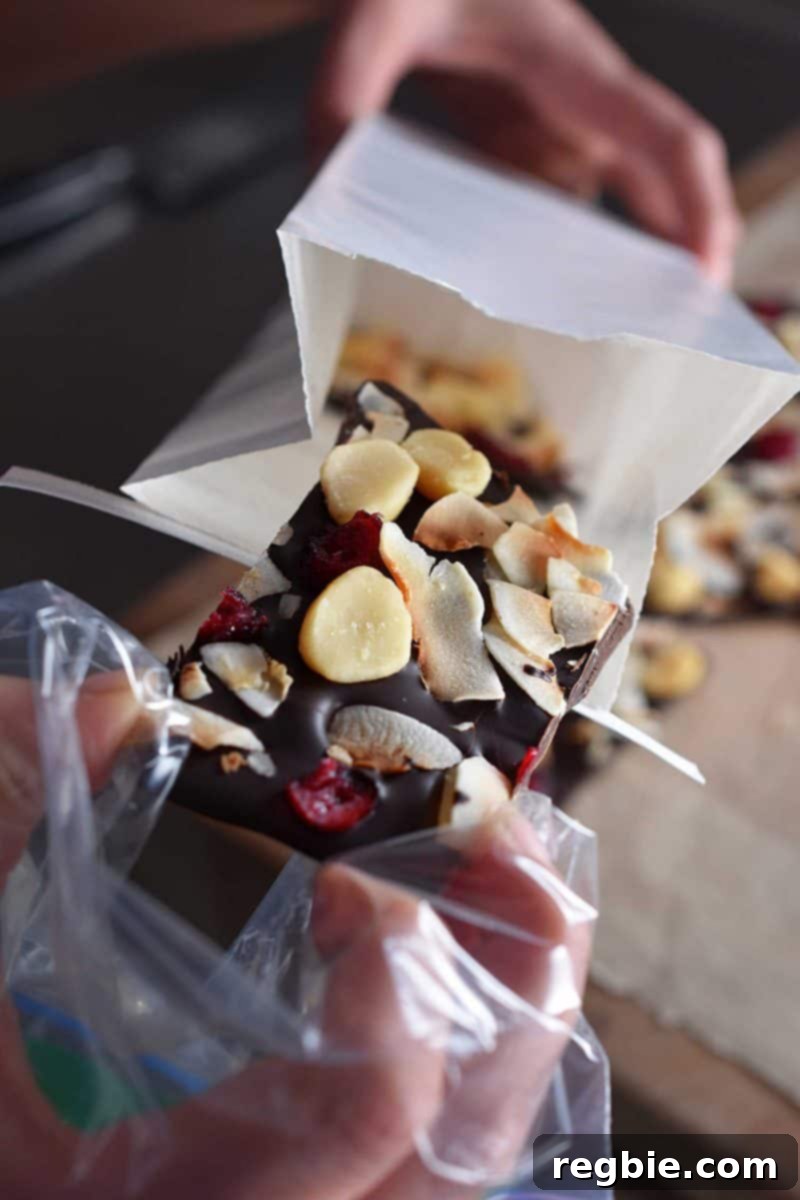
For personal enjoyment, store any leftover dark chocolate bark in an airtight container in the refrigerator for up to a week. The cool temperature helps maintain its snap and prevents the chocolate from melting or softening.
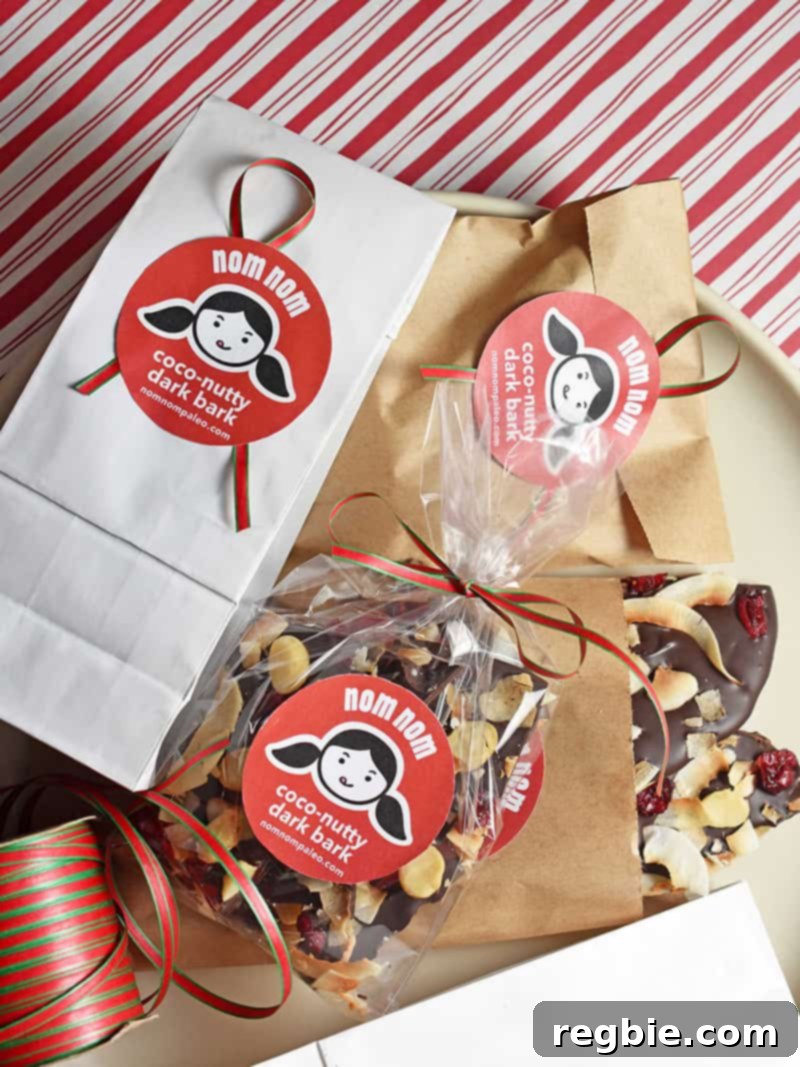
If you’re preparing this delightful candy for gifting, divide the jagged bark into attractive decorative bags. I highly recommend these fold-over lined bakery bags, classic cellophane bags, or rustic kraft bags. Seal them with a festive ribbon or some charming stickers for that extra special touch. This presentation elevates a simple treat into a thoughtful, personalized present.
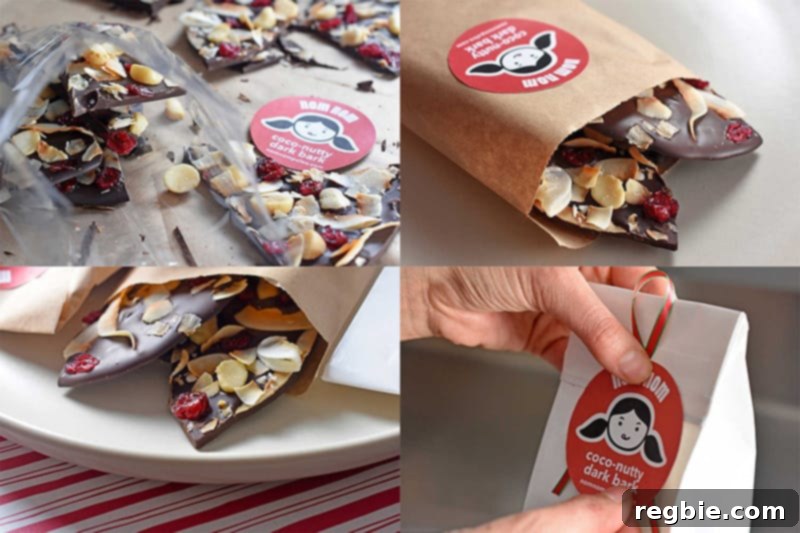
8. Enhance Your Gifts with Printable Labels
To truly elevate your Coco-Nutty Dark Chocolate Bark gifts, why not add a personalized touch with custom labels? I’ve made some fantastic “Nom Nom Coco-Nutty Dark Bark” stickers available for free download! If you prefer the convenience of pre-cut 2.5-inch circular Avery labels, you can download the ready-to-print sticker template here. Alternatively, if you enjoy a bit of crafting and prefer to cut them out yourself, you can use this template instead, which is designed for manual cutting. (Please note: these are two distinct templates, so choose the one that best suits your needs!)
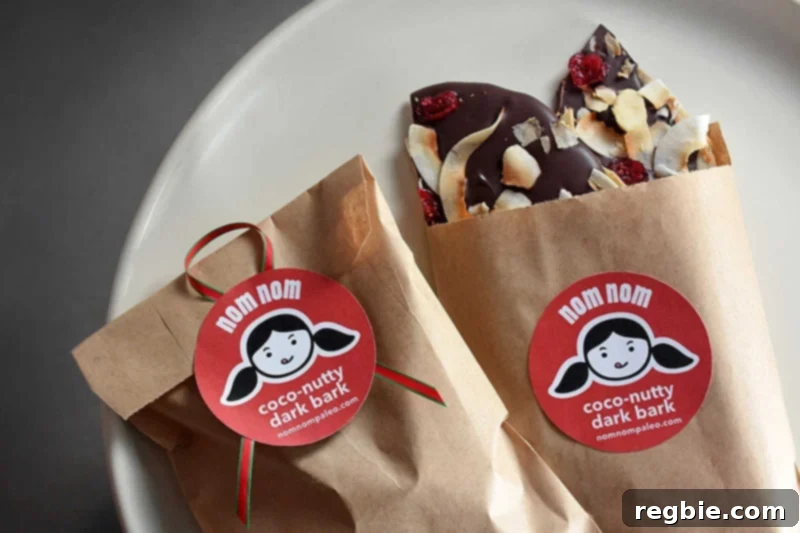
Now, go forth and share the love, and these delightful calories, with everyone you cherish! Happy making!
Beyond Bark: More DIY Holiday Gift Ideas
If you’ve enjoyed making this Coco-Nutty Dark Chocolate Bark and are looking for more thoughtful, homemade gifts to spread holiday cheer, I have plenty of other fantastic recipes for you! Consider whipping up a batch of my savory Magic Mushroom Powder – a unique seasoning blend that foodies will adore. Or, for another decadent chocolate option, my Nom Nom Chocolate Truffles are always a huge hit. You’ll find a wide array of other tasty and creative homemade gift ideas compiled in my comprehensive Nomtastic DIY Edible Holiday Gifts roundup.
Not feeling particularly crafty this year, or simply short on time? There’s absolutely no shame in choosing a carefully selected store-bought gift! To help you navigate the holiday shopping season, be sure to consult my latest Holiday Gift Guide, packed with curated recommendations for everyone on your list. Happy holidays and happy gifting!
Looking for an even wider array of delicious and healthy recipe ideas? Head on over to my comprehensive Recipe Index, where you’ll discover a treasure trove of culinary inspiration. You’ll also find exclusive, fan-favorite recipes carefully crafted and beautifully presented in my award-winning cookbooks: Nom Nom Paleo: Food for Humans (Andrews McMeel Publishing 2013), Ready or Not! (Andrews McMeel Publishing 2017), and my latest release, Nom Nom Paleo: Let’s Go! (Andrews McMeel Publishing 2022). Happy cooking!
Printer-Friendly Recipe Card
Coco-Nutty Dark Chocolate Bark
5 from 7 votes
Print Recipe
5
25
1
12 servings
Michelle Tam
Ingredients
- 1 cup unsweetened coconut flakes
- 1 pound dark chocolate 70-85% cacao (e.g., Alter Eco or Green & Black bars)
- ½ cup dry-roasted and salted macadamia nuts cut into halves
- ¼ cup dried cranberries
Instructions
-
Preheat an oven or toaster oven to 300°F (150°C). Place the coconut flakes in a single layer on a parchment-lined baking sheet and toast in the oven for 3-5 minutes or until golden brown on the edges. Take them out and cool to room temperature.
-
To ensure even melting, cut the dark chocolate bars into small shards. Starting at a corner, use a sharp serrated knife to cut the chocolate diagonally into small pieces. This makes melting faster and more uniform.
-
Place the chocolate shards into a glass mixing bowl. To melt: Double Boiler Method: Create a double boiler by placing the bowl over a saucepan with about two inches of simmering water, ensuring the bowl does not touch the water. Microwave Method: Microwave on high for 30 seconds, stir well, then repeat two more times. If not fully melted, continue in 15-second increments, stirring after each.
-
For both methods, stir the melting chocolate until it’s smooth and glossy. Be patient and avoid overheating the chocolate; temperatures above 115°F (46°C) can cause it to become grainy.
-
While the chocolate is melting, line a rimmed baking sheet with parchment paper or a silicone mat.
-
Pour the melted chocolate onto the parchment paper and, using an offset or silicone spatula, spread it thinly and evenly into a rough rectangle, about ⅛- to ¼-inch thick. Don’t worry about perfect uniformity; the rustic look is part of its charm.
-
Immediately sprinkle the macadamia nuts, toasted coconut, and dried cranberries evenly over the melted chocolate. Gently press down any toppings that appear loose to ensure they adhere to the chocolate as it sets.
-
Place the tray in the refrigerator for at least 30 minutes, or until the chocolate is completely hardened. Once solidified, break or cut the bark into desired pieces.
-
Store leftover dark bark in a sealed container in the fridge for up to a week. For gifting, divide the bark into decorative bags and seal them with stickers or ribbon.
-
For custom gift labels, download the Avery label template for pre-cut 2.5-inch circular labels, or use this template if you prefer to cut them out by hand.
Notes
- Handling Tip: To avoid fingerprints on the chocolate, handle the bark using parchment paper or a sandwich bag as a glove.
- More Gift Ideas: Explore other DIY holiday gifts like my Magic Mushroom Powder or Nom Nom Chocolate Truffles. If homemade isn’t your style, check out my Holiday Gift Guide for curated gift suggestions.
Nutrition
Carbohydrates: 22g |
Protein: 4g |
Fat: 25g |
Fiber: 6g
Nutrition information is automatically calculated and should be used as an approximation only.
Enjoyed this recipe? Share your thoughts below!
Frequently Asked Questions About Chocolate Bark
How long does chocolate bark last?
When stored properly in an airtight container in the refrigerator, Coco-Nutty Dark Chocolate Bark can last for up to a week. For longer storage, you can freeze it for up to 3 months. Just be sure to thaw it in the refrigerator before serving.
Can I use different nuts or dried fruits?
Absolutely! This recipe is incredibly versatile. Feel free to substitute macadamia nuts with almonds, pecans, pistachios, or walnuts. For dried fruits, dried cherries, apricots, or even candied ginger are excellent choices that complement dark chocolate beautifully. Just ensure nuts are roasted and salted for the best flavor balance.
What kind of dark chocolate is best for bark?
Using high-quality dark chocolate with 70-85% cacao content is recommended. This range offers a rich, deep chocolate flavor that isn’t overly sweet, creating a perfect balance with the toppings. Brands like Alter Eco, Green & Black’s, or Guittard baking wafers are excellent choices.
How can I prevent my chocolate from seizing when melting?
Chocolate can seize (become grainy and thick) if it’s overheated or if even a tiny bit of water gets into it. To prevent this, ensure your bowl and utensils are completely dry. If using a double boiler, make sure the bottom of the bowl does not touch the simmering water. For microwave melting, use short intervals and stir frequently to avoid overheating.
Is this chocolate bark suitable for all diets?
Yes, this recipe is designed to be dairy-free, vegan, and gluten-free, making it a wonderful treat for those with these dietary considerations. Always check the labels of your specific dark chocolate and other ingredients to ensure they meet your dietary requirements.