
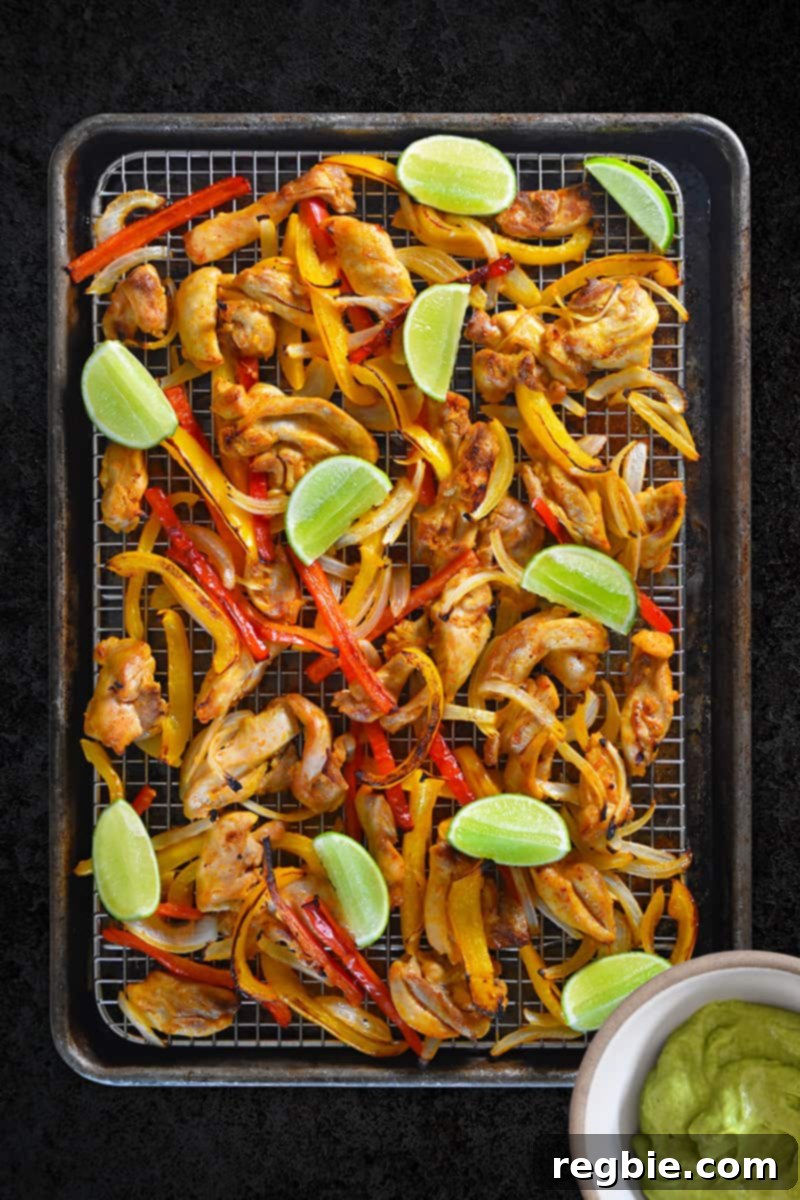
Craving the vibrant flavors of chicken fajitas but dreading the messy stovetop or the disappointment of soggy oven-baked versions? Look no further! This sheet pan chicken fajitas recipe is meticulously crafted for perfect weeknight dinners, promising a fuss-free experience and consistently delicious results. We’ve cracked the code to ensure your fajitas emerge from the oven beautifully roasted and never soggy, making this an instant family favorite. As a bonus, it’s an all-in-one meal that’s naturally Whole30-friendly, paleo, and gluten-free, especially when crowned with our irresistibly smooth, dairy-free avocado crema!
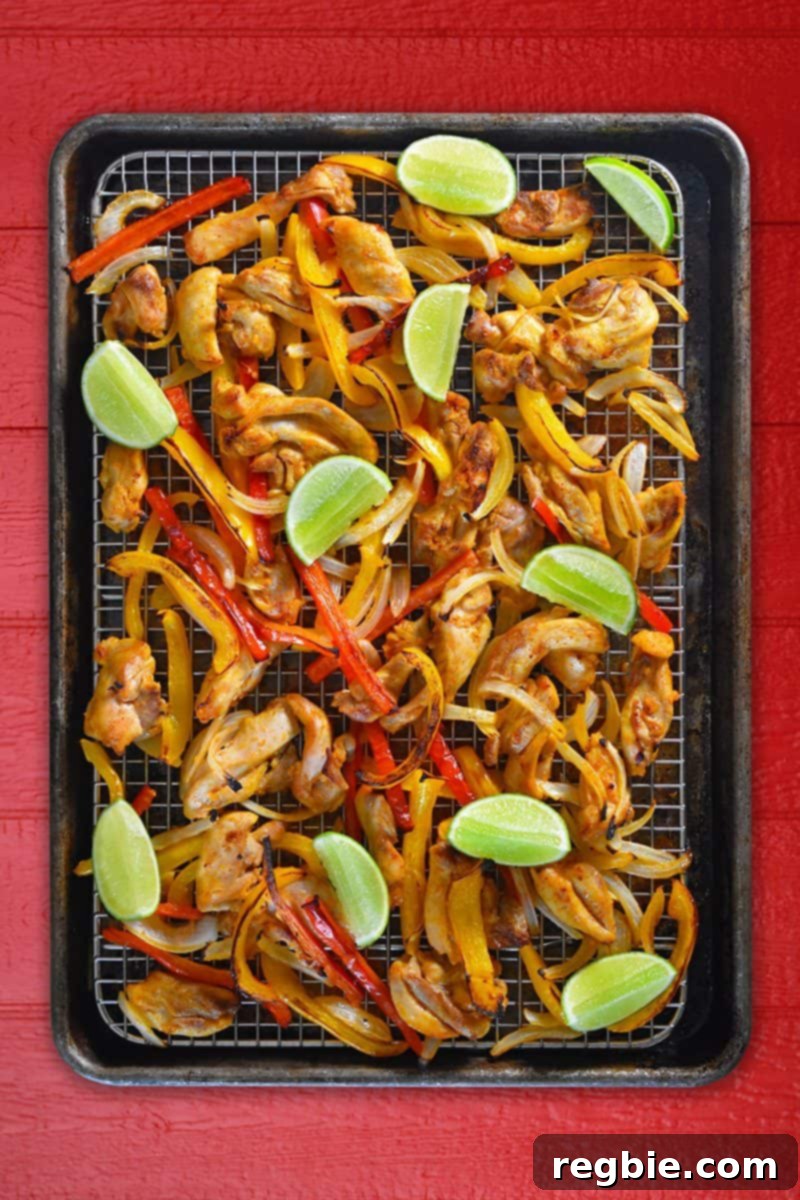
Table of Contents
- The Quest for Perfect Sheet Pan Chicken Fajitas
- Say Goodbye to Soggy Fajitas: The Secret Revealed!
- The Essential Tool: Why a Wire Rack is a Game-Changer
- The “No Rack” Reality: What to Expect and How to Cope
- Ingredients for Flavor-Packed Sheet Pan Chicken Fajitas & Dairy-Free Avocado Crema
- Step-by-Step: How to Make Crispy Sheet Pan Chicken Fajitas
- Perfect Pairings: What to Serve with Your Fajitas
- Meal Prep & Storage: Enjoying Fajitas All Week Long
- Beyond the Meal: Effortless Wire Rack Cleaning
- Sheet Pan Chicken Fajitas – Easy, Flavorful & Never Soggy! Recipe
The Quest for Perfect Sheet Pan Chicken Fajitas
Sheet pan dinners have revolutionized weeknight cooking, promising minimal cleanup and maximum flavor. The idea of perfectly seasoned chicken, vibrant bell peppers, and sweet onions, all roasted together on a single pan, sounds like a dream come true for any busy home cook. Chicken fajitas, with their bold Tex-Mex inspired marinade, seem like a natural fit for this convenient cooking method. Imagine tossing everything onto a sheet pan, sliding it into the oven, and having a delicious, wholesome meal ready in minutes. It’s an enticing vision, isn’t it?
However, the reality of sheet pan fajitas often falls short of this culinary fantasy. Many attempts result in a disappointing medley of ingredients that steam rather than roast, leading to limp vegetables and unappetizingly soft chicken. The vibrant sizzle and char we associate with authentic fajitas often get lost in the confines of a baking sheet, leaving home cooks disheartened by the lack of crispiness and depth of flavor. This quest for truly perfect, non-soggy sheet pan chicken fajitas became a personal mission, driven by a desire to transform this simple concept into a consistent success story for every kitchen.
Say Goodbye to Soggy Fajitas: The Secret Revealed!
If you’re anything like me, you’ve probably been captivated by the alluring aroma and dramatic sizzle of fajitas arriving at your table in a Tex-Mex restaurant. That iconic cast-iron platter, smoking and spitting, creates an irresistible sensory experience – a clever marketing ploy known as the “Fajita effect” that truly makes your mouth water, even if it might slightly overcook your food in the process. Inspired by this restaurant magic, I embarked on a journey to create a one-pan fajita recipe that mirrored that vibrant flavor and appealing texture, without all the fuss.
My initial attempts, however, were a significant letdown. Despite nailing the delicious Tex-Mex flavors, the chicken, peppers, and onions invariably ended up steaming in their own juices. This led to tray after tray of soggy, limp ingredients swimming in an orangey liquid, much to the dismay of my family. My kids, bless their hearts, insisted I abandon the mission, but I refused to give up. Why? Primarily, because I’m persistent – I knew the flavors were spot-on, and a breakthrough felt imminent. Secondly, as any seasoned parent knows, sometimes kids just have to eat what’s served, even if it’s the “same thing” a few nights in a row until perfection is achieved!
The problem was clear: the ingredients were releasing moisture faster than it could evaporate, essentially boiling instead of roasting. This lack of air circulation meant the beautiful browning and tender-crisp texture I craved were impossible to achieve directly on a flat sheet pan. The solution, I intuitively knew, had to address this fundamental issue of moisture management and airflow.
The Essential Tool: Why a Wire Rack is a Game-Changer
My persistence paid off, but not without considerable experimentation. I tried various cooking temperatures, preheating the sheet pan before adding ingredients, and even adjusting the vegetable-to-chicken ratio – all to no avail. The soggy situation persisted. It was then that my astute partner, Henry, suggested a brilliant idea: what if I elevated the ingredients on a wire rack, similar to how I achieve perfectly crispy roasted chicken in other recipes (like Spatchcocked Chicken with Herb Butter or Vietnamese Lemongrass Chicken)?
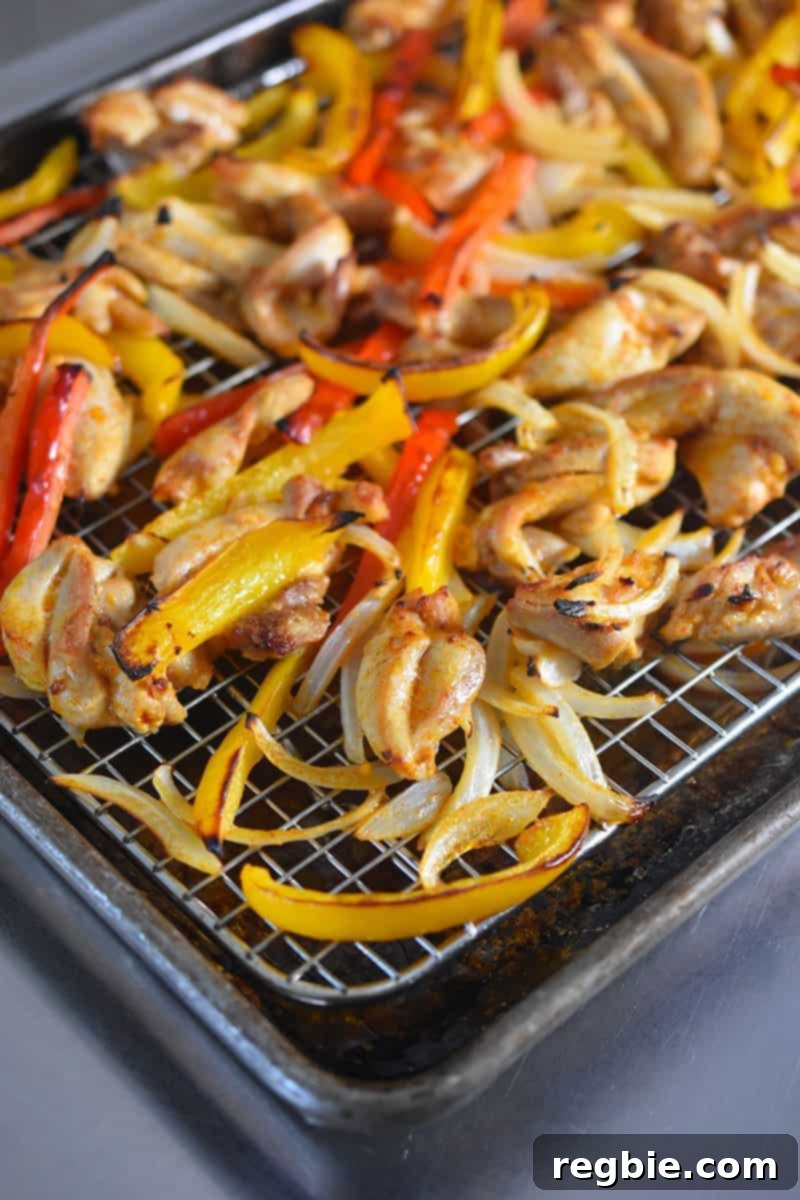
Spoiler alert: The wire rack was the miraculous solution! This simple addition fundamentally changes the cooking dynamic. By elevating the chicken and vegetables above the baking sheet, you allow hot air to circulate freely around all sides of the ingredients. More importantly, the extra liquid released from the chopped veggies and chicken drips through the rack and collects at the bottom of the pan, preventing the ingredients from stewing in their own juices. This essential air circulation and drainage mechanism ensures that your fajitas roast evenly, develop beautiful caramelization, and achieve that coveted tender-crisp texture we all desire.
When selecting a wire rack, it’s crucial to choose a sturdy, oven-safe stainless steel model like this one. Avoid chrome-plated racks, as they can flake over time with vigorous scrubbing or high heat, and may not be heat-safe up to the necessary temperatures (around 575°F) required for proper roasting and broiling. A good quality stainless steel rack will be a valuable investment for many oven-roasted dishes, ensuring even cooking and superior results every time.
The “No Rack” Reality: What to Expect and How to Cope
I must give you fair warning: if you choose to forgo the wire rack, your fajitas will undoubtedly steam. The chicken might cook through, but it won’t achieve that delightful browning, and your bell peppers and onions will likely end up soft and limp, rather than tender-crisp. While they will still taste good thanks to the delicious marinade, the texture will be significantly compromised. The bottom of your pan will accumulate a substantial amount of liquid, which means you’ll need to carefully tilt the pan and spoon off this excess liquid before serving to prevent a truly soggy experience.
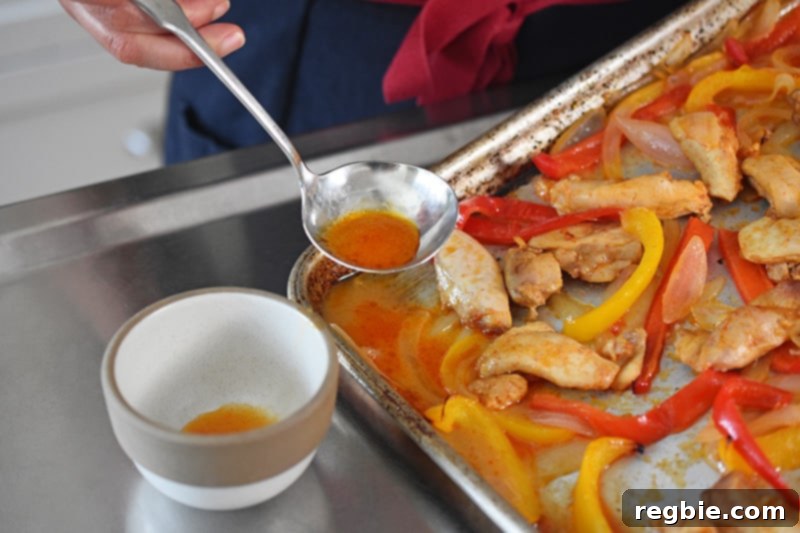
For me, the choice is clear: the wire rack is indispensable for achieving sheet pan fajita perfection. The difference in texture and appearance is simply undeniable.
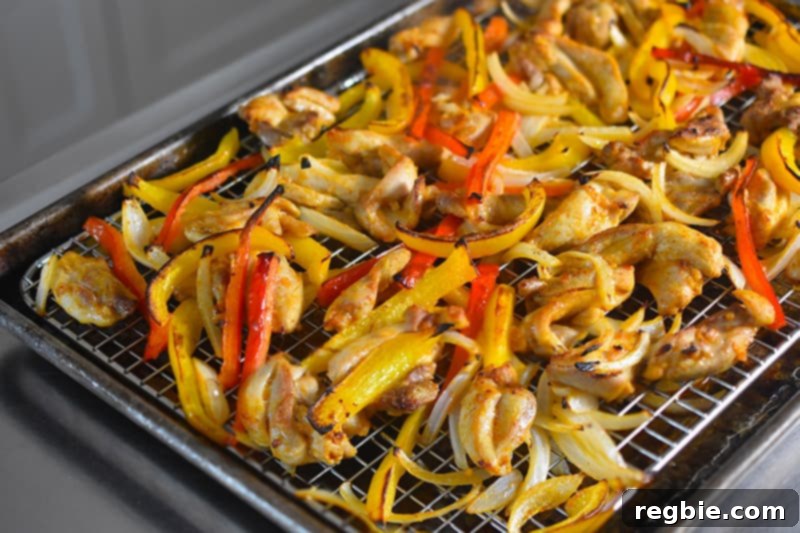
While your fajitas are baking to perfection in the oven, you’ll have the ideal window of time to whip up our simple yet sensational dairy-free Avocado Crema. This vibrant, zesty sauce adds an incredible layer of flavor and creamy texture, elevating your fajitas from great to absolutely extraordinary.
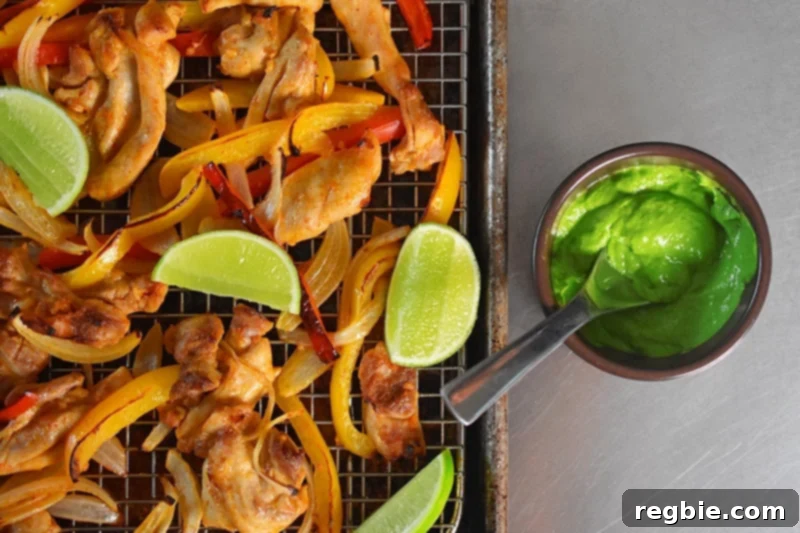
This luscious crema was initially developed as the perfect accompaniment to my Paleo Shrimp Tacos recipe, but its versatility quickly became apparent. It’s fantastic on virtually anything that could use a creamy, tangy kick! And for those nights when time is truly of the essence, feel absolutely free to skip the homemade sauce and opt for your favorite store-bought guacamole, salsa, or even a dollop of traditional sour cream (if dairy isn’t a concern for your dietary needs). The goal is deliciousness and convenience!

Ingredients for Flavor-Packed Sheet Pan Chicken Fajitas & Dairy-Free Avocado Crema
Chicken Fajitas
- Boneless, skinless chicken thighs: For the most succulent and flavorful fajitas, chicken thighs are my top recommendation. Their higher fat content ensures they stay juicy and tender, even under high heat. While you *can* use skinless chicken breasts, be aware they tend to dry out more easily. (Not a chicken fan? Check out my incredible Shrimp Fajitas recipe for an equally delicious alternative!)
- Red and yellow bell peppers: These add essential sweetness, vibrant color, and a satisfying crunch. Feel free to use orange or green bell peppers for variety.
- White onion: Sliced onions caramelize beautifully in the oven, adding a fundamental aromatic base to the fajitas.
- Garlic: Freshly minced garlic is key for a robust and authentic Tex-Mex flavor profile.
- Avocado oil or extra virgin olive oil: Both are excellent choices for their high smoke points and neutral flavor, allowing the spices to shine.
- Limes: Fresh lime juice is crucial for the marinade, adding bright acidity that tenderizes the chicken and enhances all the other flavors. Lime wedges for serving are a must!
- Diamond Crystal kosher salt: My preferred salt for its consistent seasoning and ability to bring out the best in ingredients. Adjust to your taste.
- Chili powder: While you could certainly blend your own homemade fajita seasoning, a high-quality store-bought chili powder combined with extra cumin makes for a quick and incredibly flavorful marinade.
- Ground cumin: Essential for that signature earthy, warm fajita flavor.
- Green or butter lettuce leaves (optional): A fantastic Whole30 and paleo alternative to traditional tortillas, offering a crisp, fresh wrap.
- Grain-free tortillas (optional, omit if on a Whole30): For those not strictly adhering to Whole30, Siete brand grain-free tortillas (especially their cassava flour or chickpea flour varieties) are my absolute favorite for fajitas, providing a delicious and satisfying base.
- Avocado Crema (see recipe below): The creamy, zesty topping that ties the entire meal together.
Avocado Crema
- Hass avocado: Choose a ripe avocado for the creamiest texture.
- Full-fat coconut milk: This is the secret to a rich, dairy-free creaminess. Make sure to use full-fat for the best consistency.
- Chives: Finely chopped chives add a delicate oniony freshness.
- Fresh cilantro: A classic Tex-Mex herb that brightens the entire crema.
- Freshly squeezed lime juice: Provides essential tang and acidity, balancing the richness of the avocado.
- Diamond Crystal kosher salt: To season the crema perfectly.
- Freshly ground black pepper: A touch of pepper adds a subtle warmth.
Step-by-Step: How to Make Crispy Sheet Pan Chicken Fajitas
Achieving truly crispy, flavorful sheet pan fajitas is surprisingly simple with the right technique. Follow these steps to transform your weeknight dinner!
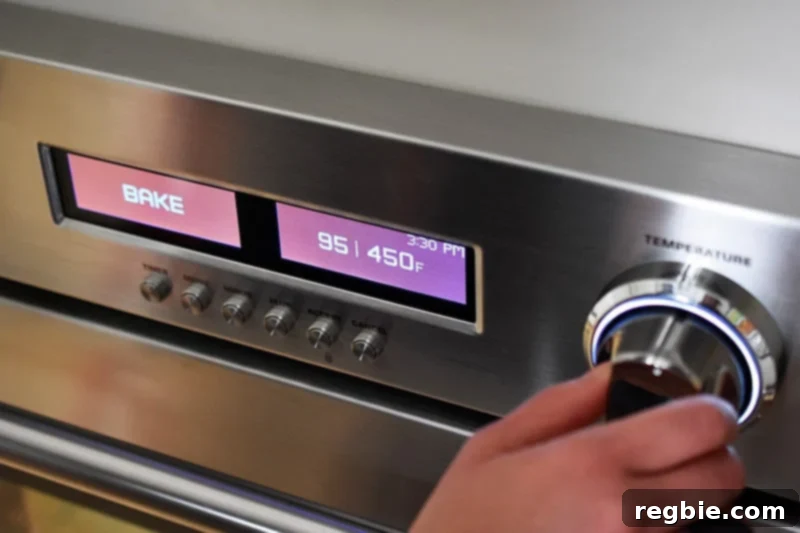
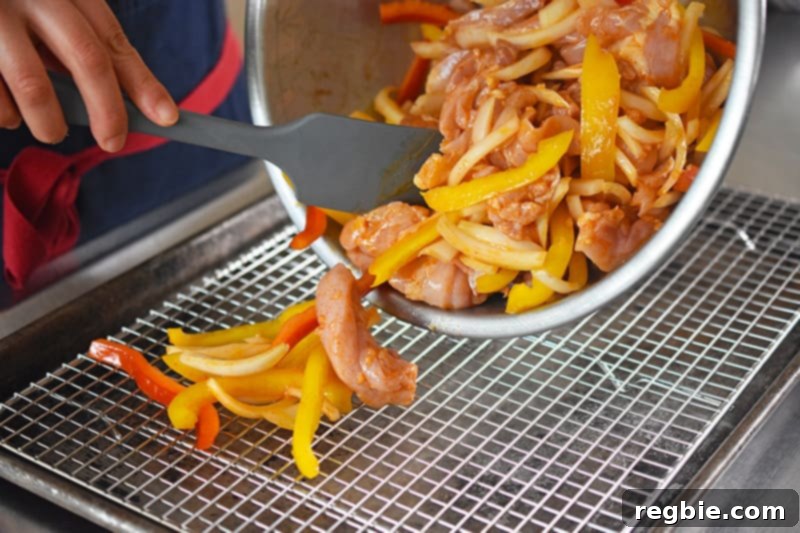
- Prepare Your Oven and Pan: Begin by preheating your oven to a high heat of 450°F (230°C). Position an oven rack in the middle of your oven. Crucially, place a sturdy stainless steel wire rack inside a large rimmed baking sheet. This setup is key to preventing soggy fajitas, allowing air circulation and moisture drainage. Set it aside.

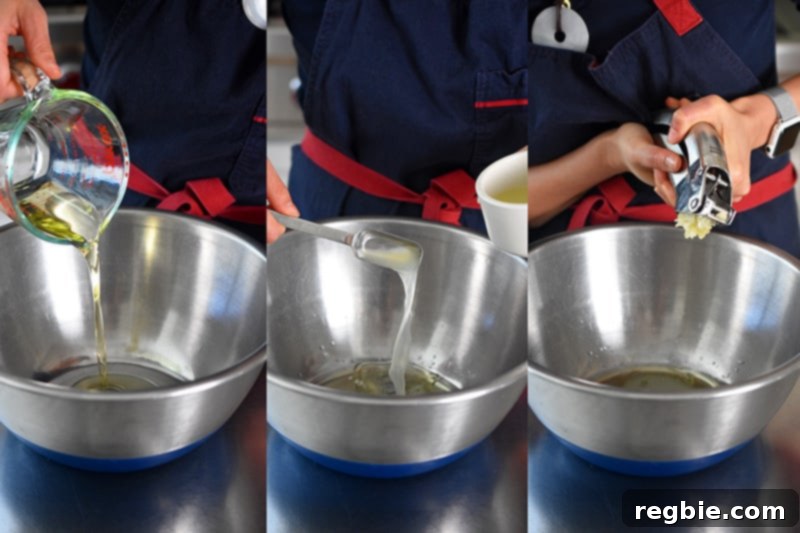
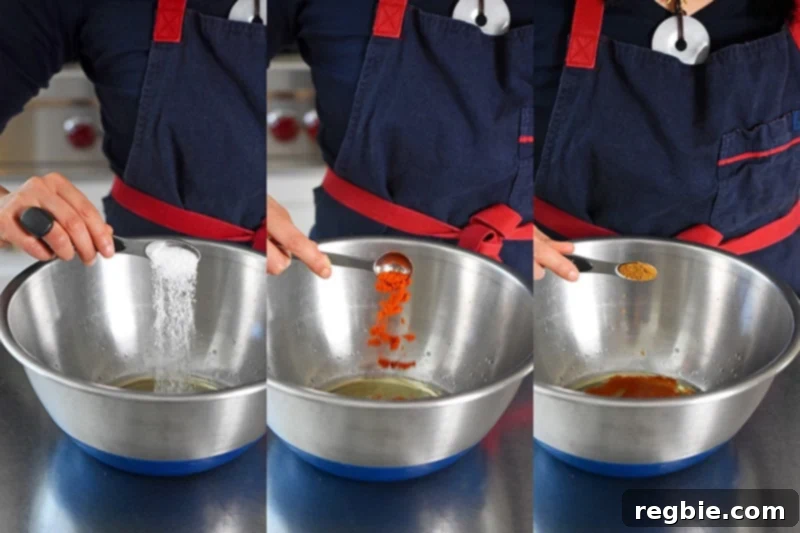
- Whisk the Marinade: In a spacious mixing bowl, combine the avocado oil (or olive oil), fresh lime juice, and minced garlic. These wet ingredients form the base of your flavorful marinade.
- Add the Spices: To the wet ingredients, add the Diamond Crystal kosher salt, chili powder, and ground cumin. This blend of spices is what gives fajitas their authentic, aromatic kick.
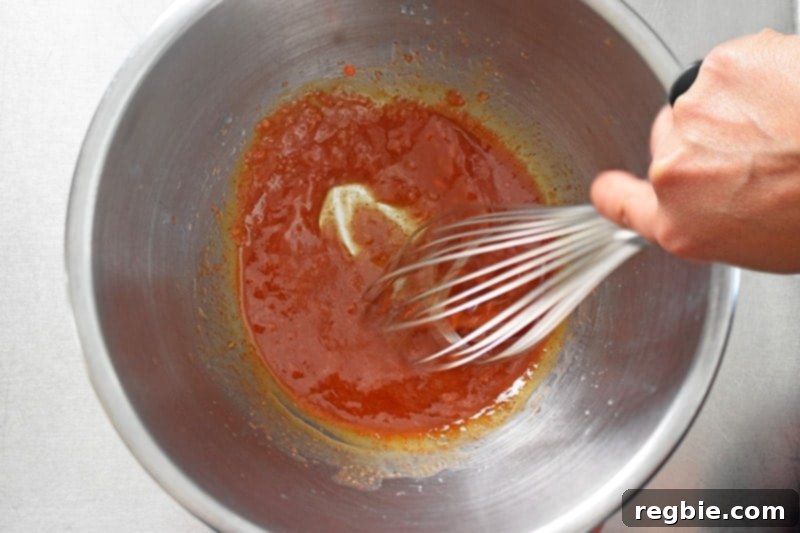
- Create the Marinade: Whisk all the ingredients together vigorously until well combined, forming a fragrant and consistent fajita marinade.
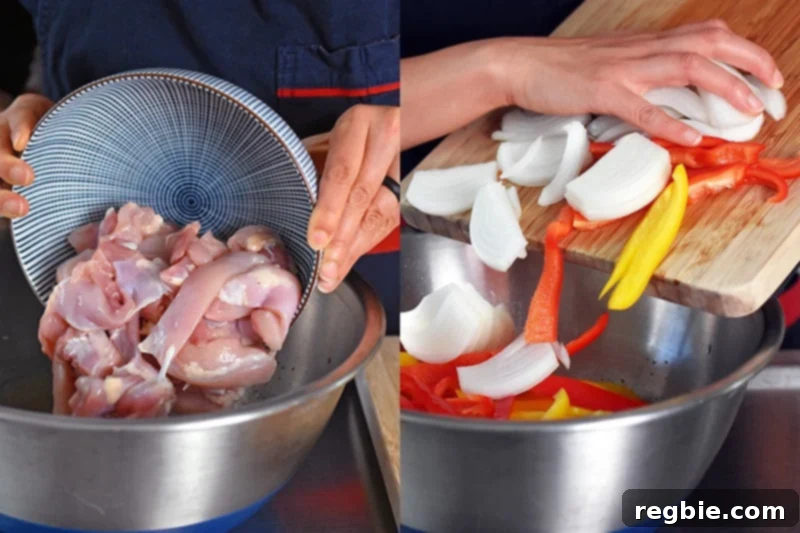
- Marinate Chicken and Veggies: Add the 1-inch strips of boneless, skinless chicken thighs to the marinade. (Seriously, stick with thighs for maximum juiciness; chicken breasts are prone to drying out in this high-heat method.) Then, toss in the sliced bell peppers and onions.
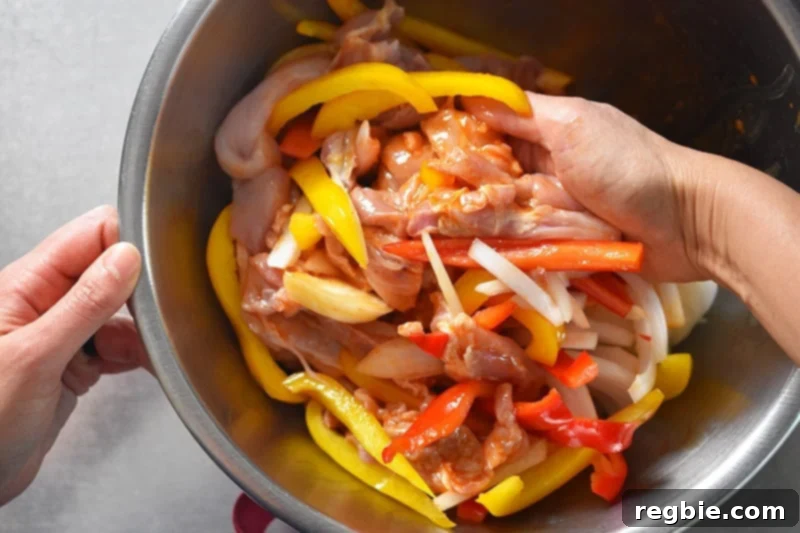
- Combine by Hand: Use your hands to thoroughly combine all the ingredients, ensuring every piece of chicken and vegetable is evenly coated with the vibrant marinade. This hands-on approach guarantees maximum flavor distribution.
- Arrange on Baking Sheet: Transfer the marinated chicken and veggies onto the prepared rimmed baking sheet with the wire rack.
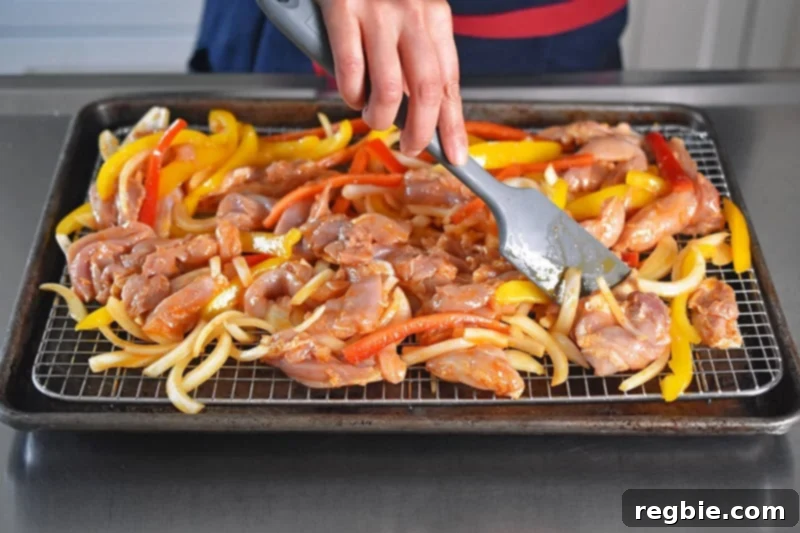
- Spread in a Single Layer: Using a silicone spatula or your hands, spread the chicken and vegetables into a single, even layer across the wire rack. This is critical for proper air circulation and browning, preventing steaming.
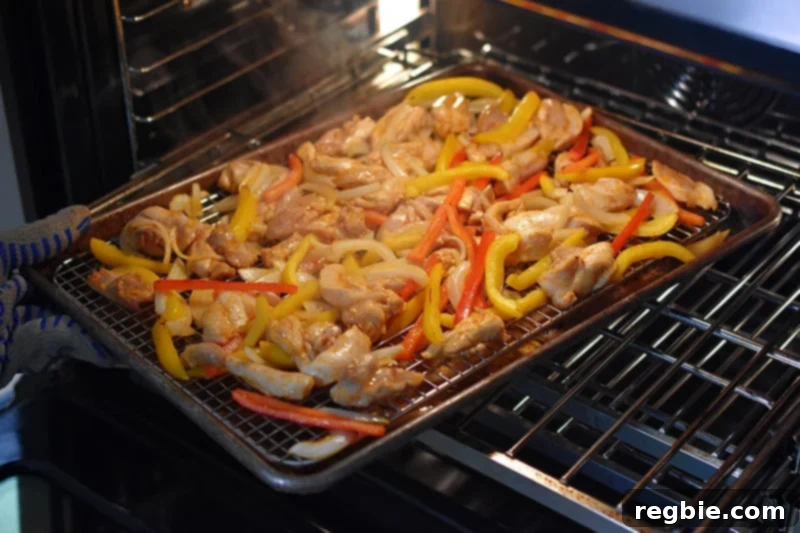
- Initial Bake: Place the tray in the preheated oven and bake for 10 minutes. During this time, the ingredients will begin to roast and release some moisture.
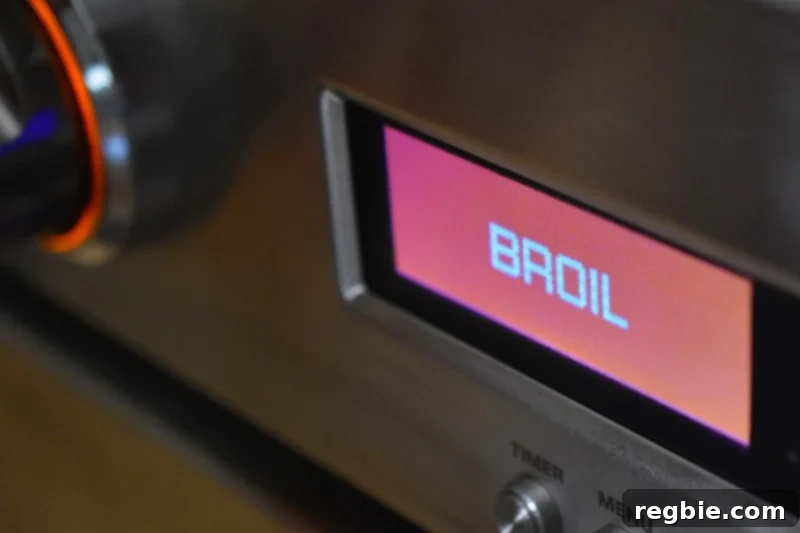
- Toss, Rotate & Broil: After 10 minutes, carefully pull the tray out, toss the chicken and veggies, and rotate the tray 180 degrees for even cooking. Then, switch your oven setting to broil (high heat).
- Broil to Perfection: Continue cooking under the broiler for an additional 5 to 10 minutes. Keep a very close eye on the fajitas during this stage, as broilers can cook very quickly! You want the chicken to be cooked through (internal temperature of 165°F or 74°C) and the peppers and onions to develop beautiful browned, slightly charred edges. Remove promptly once desired browning is achieved to prevent burning.
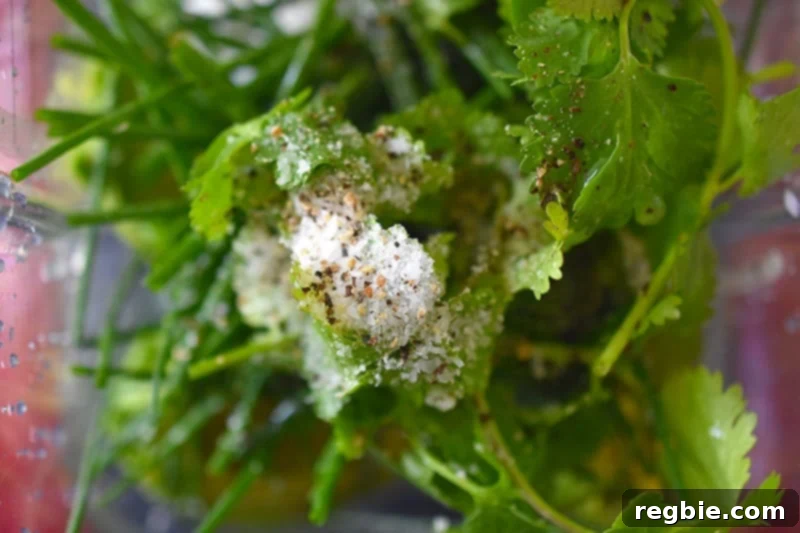
- Prepare the Avocado Crema: While the chicken is cooking, you can swiftly prepare the Avocado Crema. Cut the Hass avocado in half lengthwise and carefully remove the seed. Scoop the creamy flesh into a food processor or high-speed blender. Add the full-fat coconut milk, roughly chopped chives, fresh cilantro, freshly squeezed lime juice, kosher salt, and a pinch of freshly ground black pepper.
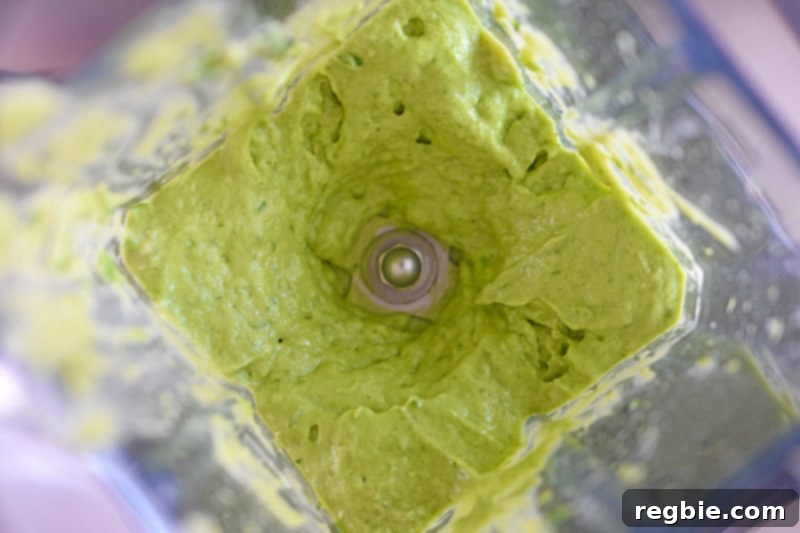
- Blend the Crema: Blitz all the crema ingredients until the mixture is completely smooth and creamy. If you prefer a thinner consistency, you can add a tablespoon or two of water until it reaches your desired texture. Taste and adjust the seasoning as needed; you might want a little more salt, pepper, or an extra squeeze of lime juice to brighten it up. This delightful crema can be stored in an airtight container in the refrigerator for up to 2 days.
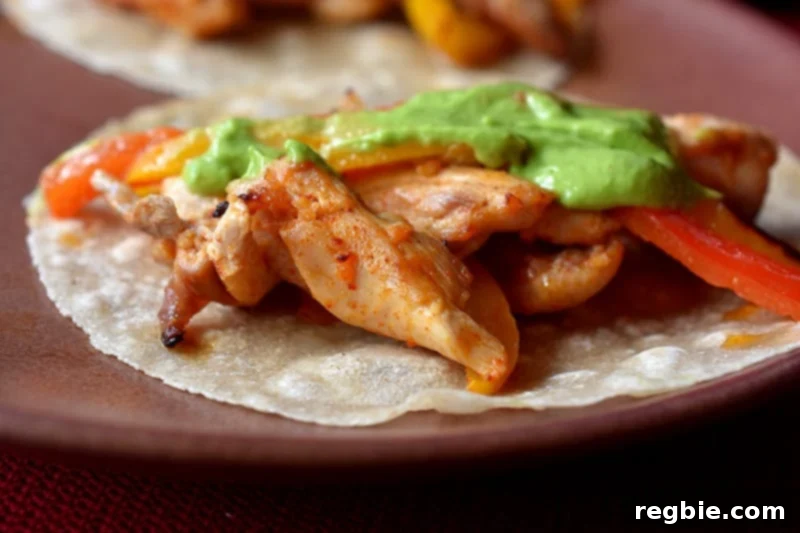
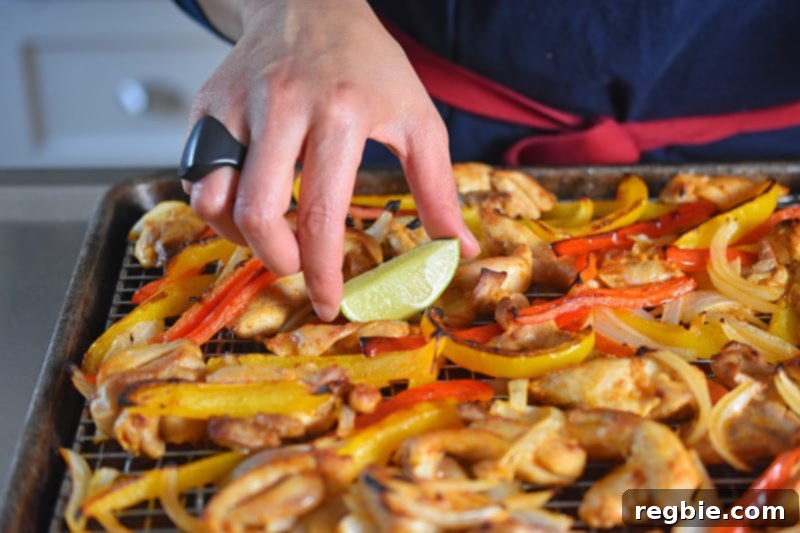
- Serve Immediately: Once the chicken and veggies are perfectly cooked and beautifully browned, carefully remove the baking tray from the oven. Serve your irresistible fajitas hot, accompanied by fresh lime wedges, crisp green or butter lettuce leaves (for Whole30), grain-free tortillas (if desired), and generous dollops of the creamy Avocado Crema.
Perfect Pairings: What to Serve with Your Fajitas
Sheet pan chicken fajitas are incredibly versatile and pair wonderfully with a variety of sides. Traditionally, they’re often served with classic Mexican accompaniments like fluffy Mexican rice and hearty refried beans or black beans. For those following a paleo or Whole30 lifestyle, you can easily maintain the spirit of the meal with smart substitutions.
Consider serving your crispy chicken fajitas with a vibrant batch of Mexican cauliflower rice – it’s a fantastic, grain-free alternative that soaks up all the delicious flavors without adding any unwanted carbs. Another excellent option is a simple side salad with a zesty lime vinaigrette, or even a fresh batch of sautéed greens. Don’t forget the fresh garnishes like extra cilantro, finely diced red onion, or a sprinkle of your favorite compliant hot sauce for an extra kick!
Meal Prep & Storage: Enjoying Fajitas All Week Long
One of the many benefits of this sheet pan chicken fajitas recipe is its suitability for meal prepping and storing leftovers. You can easily double the recipe to have healthy, delicious meals ready for days! The dairy-free avocado crema, once prepared, can be stored in a sealed, airtight container in your refrigerator for up to 4 days. A pro tip to prevent browning: press a piece of plastic wrap directly onto the surface of the crema before sealing the container.
The cooked chicken fajitas themselves (the chicken and vegetable mixture) can be stored separately in an airtight container in the fridge for up to 4 days. For longer storage, they freeze exceptionally well! Simply transfer the cooled fajita mixture to a freezer-safe container or bag and store for up to 3 months. When reheating from the fridge, a quick warm-up in a skillet or microwave will do. If frozen, thaw overnight in the fridge before reheating. The flavors remain robust, making these fajitas an ideal component of a healthy, prepared meal plan.
Beyond the Meal: Effortless Wire Rack Cleaning
You’ve mastered the art of non-soggy fajitas, so let’s make sure cleaning up is just as easy! The stainless steel wire rack, while essential for cooking, can sometimes be a challenge to clean if left to sit. Here’s a simple trick for effortless cleanup:
As soon as everyone has served themselves and the hot fajitas are off the rack, take the baking sheet and wire rack to the sink. Immediately flip the wire rack upside down and place it back into the rimmed baking sheet. Fill the baking sheet with warm, soapy water, ensuring the rack is submerged. Let the rack soak while you enjoy your delicious dinner – the residual heat and the soapy water will work wonders to loosen any stuck-on grime. By the time you’re done eating, a quick wipe with a sponge should remove all the food residue. After that, you can simply rinse it clean or pop it into the dishwasher to finish the job. Easy peasy!
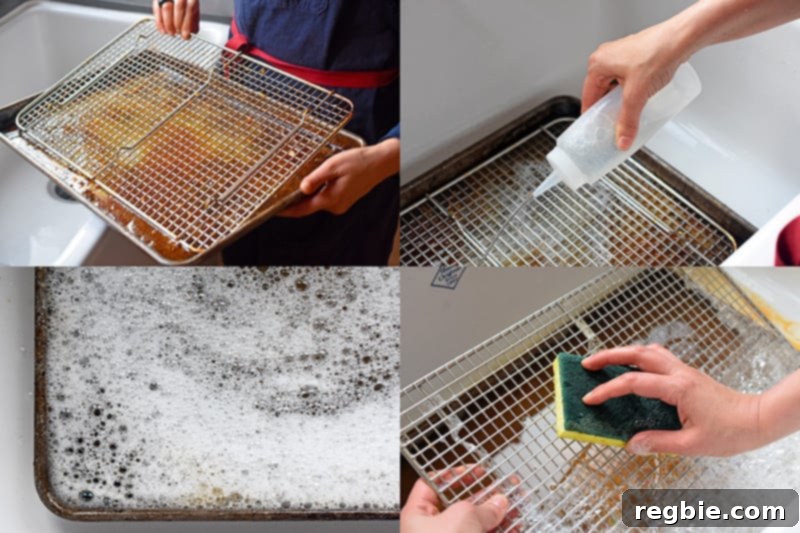
And remember, after all your hard work creating such a fantastic meal, don’t hesitate to delegate the cleaning duties to someone else! Just try not to tell them how incredibly easy it was to make dinner!
Looking for more delicious, healthy recipe ideas? Head on over to my Recipe Index. You’ll also find exclusive recipes and additional culinary inspiration in my cookbooks: Nom Nom Paleo: Food for Humans (Andrews McMeel Publishing 2013), Ready or Not! (Andrews McMeel Publishing 2017), and Nom Nom Paleo: Let’s Go! (Andrews McMeel Publishing 2022).
Sheet Pan Chicken Fajitas – Easy, Flavorful & Never Soggy! Recipe
Recipe Details
- Prep Time: 10 mins
- Cook Time: 15 mins
- Total Time: 25 mins
- Servings: 4 servings
- Author: Michelle Tam
This fantastic sheet pan chicken fajitas recipe is designed for busy weeknight meals, guaranteeing amazing flavor and a perfectly crispy texture. It’s naturally Whole30-friendly, gluten-free, and paleo, especially when paired with our refreshing dairy-free Avocado Crema. Remember the golden rule: use a stainless steel wire rack to avoid soggy results!
Ingredients
Chicken Fajitas
- ¼ cup avocado oil or extra virgin olive oil
- 3 tablespoons fresh lime juice
- 3 garlic cloves, minced
- 1½ teaspoons Diamond Crystal kosher salt
- 1 teaspoon chili powder
- ½ teaspoon ground cumin
- 1½ pounds boneless, skinless chicken thighs, cut into 1-inch strips (Chicken breasts can dry out quickly, so thighs are highly recommended for juicy results.)
- 1 medium red bell pepper, deseeded, cored, and sliced into ¼-inch strips
- 1 medium yellow bell pepper, deseeded, cored, and sliced into ¼-inch strips
- 1 small white onion, sliced into ¼-inch pieces
- 2 limes, cut into wedges (for serving)
- Green or butter lettuce leaves (optional, for Whole30/paleo wraps)
- Grain-free tortillas (optional, omit for Whole30)
- Avocado Crema (see recipe below)
Avocado Crema
- 1 large Hass avocado
- ¼ cup full-fat coconut milk
- ¼ cup chives, roughly chopped
- 2 tablespoons cilantro, roughly chopped
- 2 tablespoons freshly squeezed lime juice
- ½ teaspoon Diamond Crystal kosher salt
- ¼ teaspoon freshly ground black pepper
Instructions
- Preheat Oven & Set Up Pan: Preheat your oven to 450°F (230°C) with an oven rack in the middle. Place a stainless steel wire rack inside a large rimmed baking sheet and set it aside. This step is crucial for preventing soggy fajitas.
- Make the Marinade Base: In a large mixing bowl, whisk together the avocado oil, fresh lime juice, and minced garlic.
- Add Spices to Marinade: Stir in the kosher salt, chili powder, and ground cumin until well combined, forming a flavorful fajita marinade.
- Marinate Chicken & Veggies: Add the chicken thigh strips, sliced bell peppers, and sliced onions to the bowl with the marinade. Use your hands to toss everything thoroughly, ensuring all ingredients are evenly coated.
- Spread on Baking Sheet: Transfer the marinated chicken and vegetables onto the prepared wire rack on the rimmed baking sheet. Spread them out into a single, even layer. Avoid overcrowding the pan to allow for proper roasting.
- Initial Bake: Place the baking sheet in the preheated oven and bake for 10 minutes.
- Toss & Broil: After 10 minutes, carefully remove the tray from the oven. Toss the chicken and veggies, and rotate the tray 180 degrees. Switch your oven’s setting to broil (high heat). Return the tray to the oven.
- Broil to Perfection: Broil for an additional 5 to 10 minutes, or until the chicken is cooked through (internal temperature 165°F/74°C) and the peppers and onions have developed beautiful browned and slightly charred edges. Keep a very close eye on the fajitas during this broiling stage to prevent burning, as ovens vary.
- Prepare Avocado Crema: While the fajitas are cooking, make the Avocado Crema. Cut the avocado in half, remove the seed, and scoop the flesh into a food processor or blender. Add the coconut milk, chives, cilantro, lime juice, salt, and pepper.
- Blend Crema: Blitz the crema ingredients until completely smooth. If you desire a thinner sauce, add a small amount of water (1-2 tablespoons) until it reaches your preferred consistency. Taste and adjust seasoning (salt, pepper, or more lime juice) as needed. Refrigerate the crema in a sealed container for up to 2 days.
- Serve: Once the fajitas are finished, pull the tray out of the oven. Serve the hot fajitas immediately with fresh lime wedges, lettuce wraps or grain-free tortillas, and generous dollops of the creamy Avocado Crema. Enjoy!
Video
Watch the recipe video here to see the steps in action:
Watch Sheet Pan Chicken Fajitas + Avocado Crema Video

Notes
A quick tip for cleaning your stainless steel wire rack: After serving, flip the warm rack upside down into the rimmed baking sheet. Fill the sheet with warm, soapy water, submerging the rack. Let it soak while you eat; the residue will soften, making scrubbing with a sponge much easier afterward. Then, simply rinse or place in the dishwasher.
Nutrition Information (Approximation)
- Calories: 481 kcal
- Carbohydrates: 17g
- Protein: 36g
- Fat: 31g
- Fiber: 6g
Nutrition information is automatically calculated, so should only be used as an approximation. It may vary based on specific ingredient brands and preparation methods.
Like this recipe? Leave a comment below!
We love hearing from you! Share your thoughts, tips, and experiences with our Sheet Pan Chicken Fajitas in the comments section.