
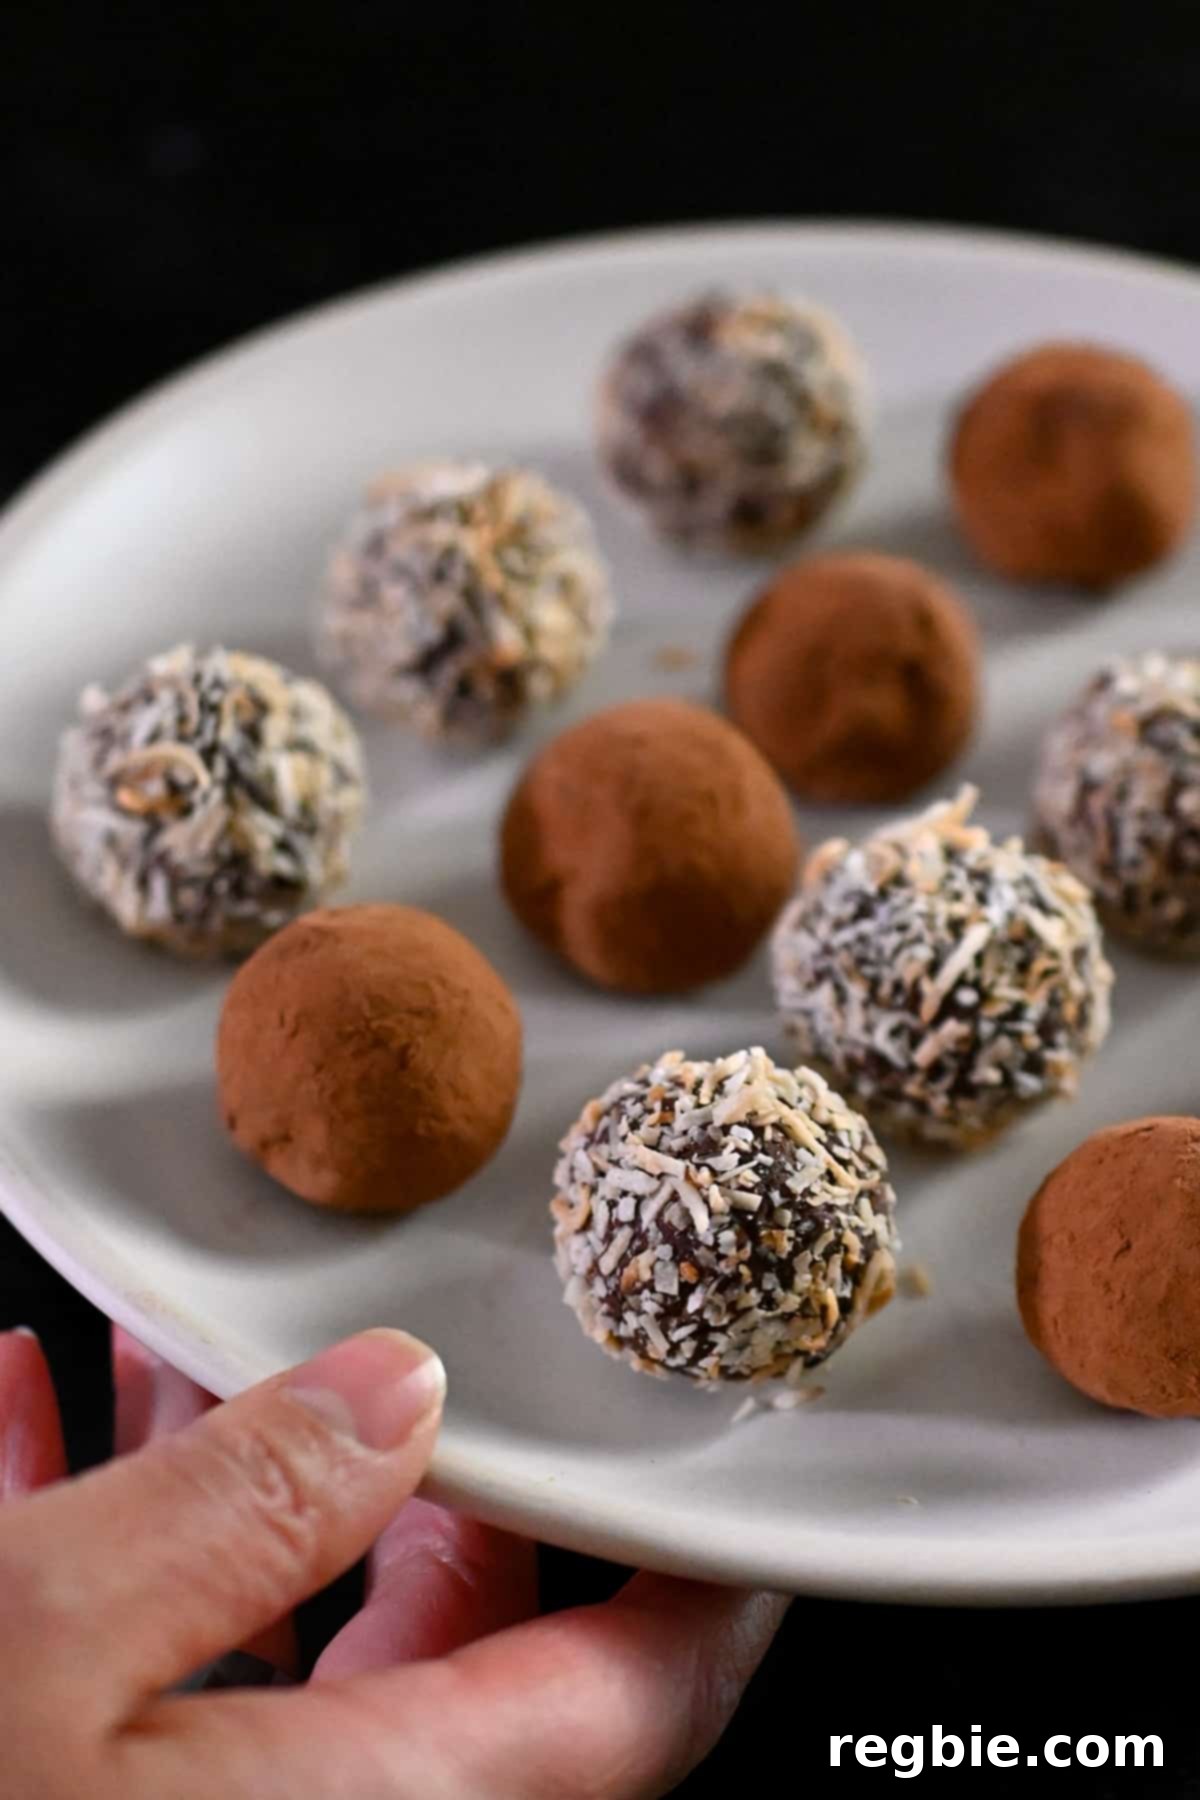
These simple, yet incredibly decadent homemade chocolate truffles have been a cherished recipe in my family and among my friends for years. Every holiday season, without fail, I whip up a batch (or several!) of these irresistible treats, and they are always met with enthusiastic requests for the recipe. Their consistent popularity is a testament to their rich flavor and surprisingly straightforward preparation.
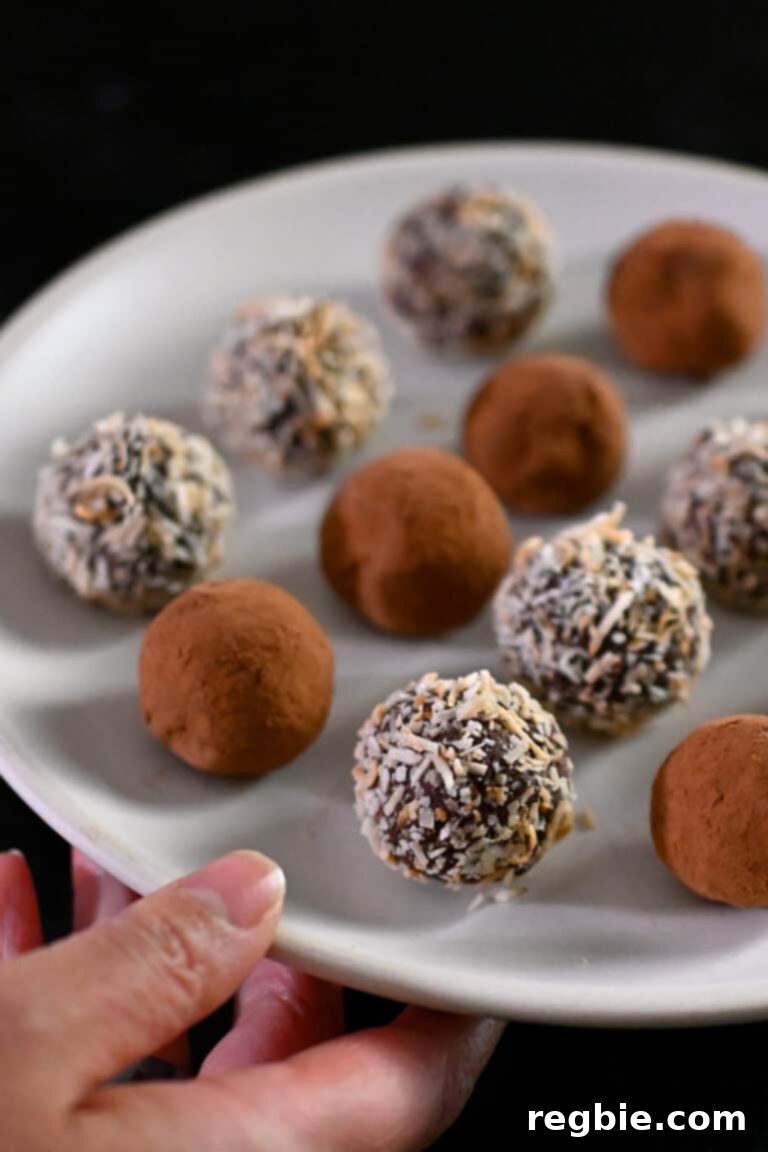
Facing a last-minute need for a thoughtful, homemade gift to bring to a holiday gathering? Don’t fret! These luscious, dairy-free chocolate truffles are your perfect solution. Effortless to make and exquisitely delicious, they’re guaranteed to make you the culinary star of any party. Their rich, deep chocolate flavor, combined with a smooth, melt-in-your-mouth texture, makes them an unforgettable treat that guests will adore.
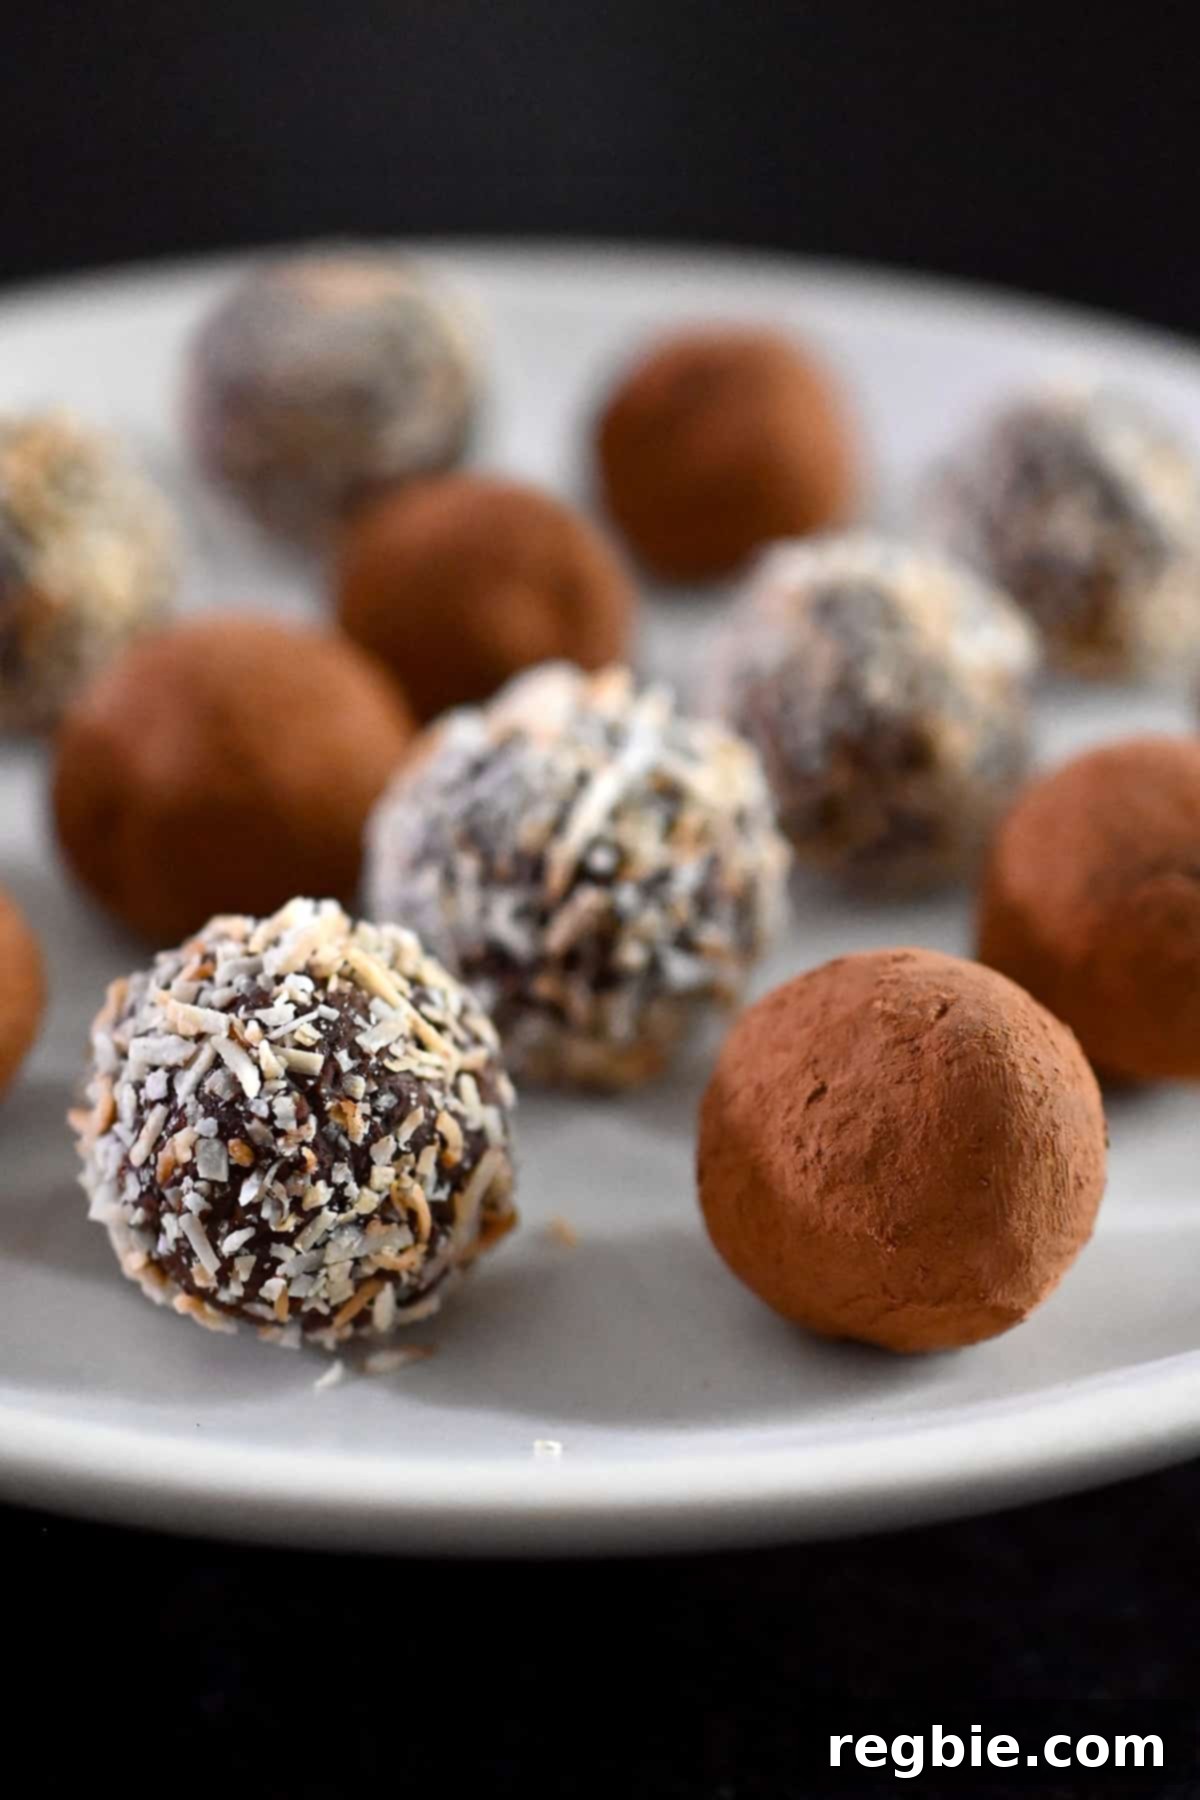
I know what you might be thinking – truffles are candy, and indeed, there’s some natural sugar present in the dark chocolate. While this recipe might not strictly adhere to the pinnacle of a super-strict Paleo regimen, especially during the festive season, I firmly believe in enjoying an occasional indulgence. The holidays are for savoring special moments and delicious treats! So go ahead, enjoy a few of these delightful morsels, and you can always restart your Whole30 in January. Besides, these particular truffles boast some fantastic qualities: they are inherently delectable, completely dairy-free, suitable for vegans, and relatively low in carbohydrates, making them a more conscious choice for your sweet cravings.
Unlock the Secret to Perfect Dairy-Free Chocolate Truffles
Crafting exceptional dairy-free truffles doesn’t require culinary wizardry, but a few key principles can elevate your results from good to absolutely outstanding. Here are my essential tips for achieving that silky, rich, and utterly irresistible chocolate experience every time:
- Prioritize Premium Ingredients: With only a handful of components in this recipe, the quality of your chocolate and coconut milk directly impacts the final flavor and texture. Think of it as a culinary equation where superior inputs yield superior outputs. Always opt for dark chocolate and full-fat coconut milk that you genuinely enjoy on their own. This ensures a deep, nuanced flavor profile in your truffles.
- Master the Art of a Stable Ganache: The foundation of any great truffle is a perfectly emulsified ganache. Follow the detailed steps in this recipe meticulously to achieve a silky-smooth, homogeneous mixture. A well-made ganache will set beautifully, providing that desired melt-in-your-mouth texture. Don’t worry if it looks a little separated at first; gentle, consistent whisking is key to bringing it all together.
- Embrace Rustic Charm: Don’t strive for absolute spherical perfection! Even if your truffles aren’t perfectly round, their incredible taste will more than compensate. Remember, the beautiful cocoa powder or shredded coconut coating will artfully conceal any minor imperfections, adding to their homemade appeal. The slight variations in shape are part of their charm, signaling they are lovingly handmade.
- Temperature Control is Crucial: Patience during the chilling phase is paramount. A properly chilled ganache is firm enough to roll without becoming a sticky mess, ensuring your truffle-making process is smooth and enjoyable. Similarly, bringing frozen truffles to the right temperature before coating helps the toppings adhere perfectly.
- Experiment with Flavor Infusions: While vanilla extract adds a classic touch, don’t hesitate to get creative. A few drops of peppermint extract can create a festive mint chocolate truffle, or a hint of coffee liqueur can add depth. Just remember to add flavorings gradually and taste as you go to find your ideal balance.
Essential Ingredients for Your Dairy-Free Truffles
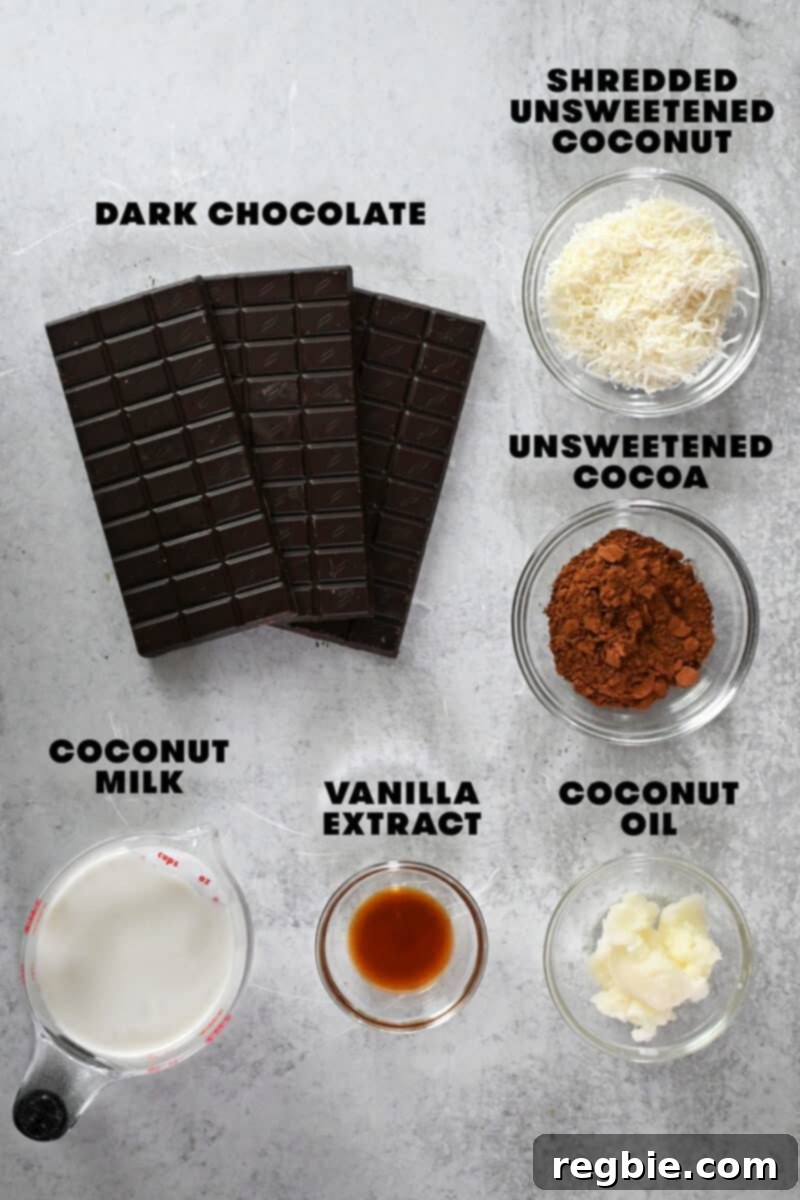
The beauty of this dairy-free truffle recipe lies in its simplicity, making each ingredient a star. Choosing the right ones is essential for a truly outstanding result.
- Premium Dark Chocolate (70% Cacao Content or Higher): This is the backbone of your truffle’s flavor. The higher the cacao percentage, the less sugar and the richer the chocolate flavor. I personally gravitate towards brands like Guittard, Green & Black’s, and Hu Kitchen for their exceptional quality and taste profiles. For gifting to those who might prefer a slightly sweeter truffle or are newer to dark chocolate, 70% cacao is a wonderful sweet spot. For my own indulgence, I often reach for 85% cacao bars, which offer a delightful intensity with just the right touch of sweetness. Ensure your chosen chocolate is dairy-free to keep these truffles vegan and paleo-friendly.
- Refined Coconut Oil: To achieve a dairy-free richness that mimics butter, refined coconut oil is my secret weapon. The “refined” aspect is crucial here, as it means the strong coconut flavor has been neutralized, leaving you with a neutral fat that allows the chocolate to shine. Avoid virgin or unrefined coconut oil, which will impart a distinct coconut taste. If coconut oil isn’t suitable or available, you can consider alternatives like ghee (for non-vegan/non-dairy-free but paleo), unsalted butter (for non-vegan/non-dairy-free), or sustainable palm oil, though I find refined coconut oil gives the best texture for this recipe.
- Coconut Cream or Full-Fat Coconut Milk: This ingredient replaces traditional heavy whipping cream, making these truffles luxuriously creamy and entirely vegan. For the best results, use full-fat coconut milk (often found in cans). If using canned coconut milk, refrigerate it overnight; the thick cream will separate and rise to the top, allowing you to scoop out just the rich cream. I do not recommend using alternative milks like almond or cashew milk, as they typically lack the fat content necessary to create the decadent, firm texture required for a proper truffle ganache.
- Pure Vanilla Extract: A splash of vanilla extract deepens and rounds out the chocolate flavor beautifully. However, this is also an excellent opportunity to experiment! Consider adding a few drops of peppermint extract for a festive twist, orange extract for a bright citrus note, or a small amount of coffee liqueur for sophisticated complexity. When experimenting with new flavors, add them incrementally, a few drops at a time, and taste frequently to achieve your desired intensity without overpowering the chocolate.
- Finely Shredded Unsweetened Coconut and/or Unsweetened Cocoa Powder for Coating: These are my go-to coatings for their simplicity and complementary flavors. Toasting the shredded coconut beforehand intensifies its nutty aroma and adds a delightful crunch. Beyond these classics, feel free to unleash your creativity! Finely chopped nuts like pistachios, almonds, pecans, or hazelnuts add texture and flavor. For a more festive look, you could use dairy-free sprinkles, powdered sugar (if sugar content is not a concern), or even finely ground freeze-dried raspberry powder for a tangy contrast.
Crafting Your Homemade Dairy-Free Truffles: A Step-by-Step Guide
Follow these detailed instructions to create exquisite dairy-free chocolate truffles that are perfect for any occasion.
Step 1: Preparing the Silky Chocolate Ganache
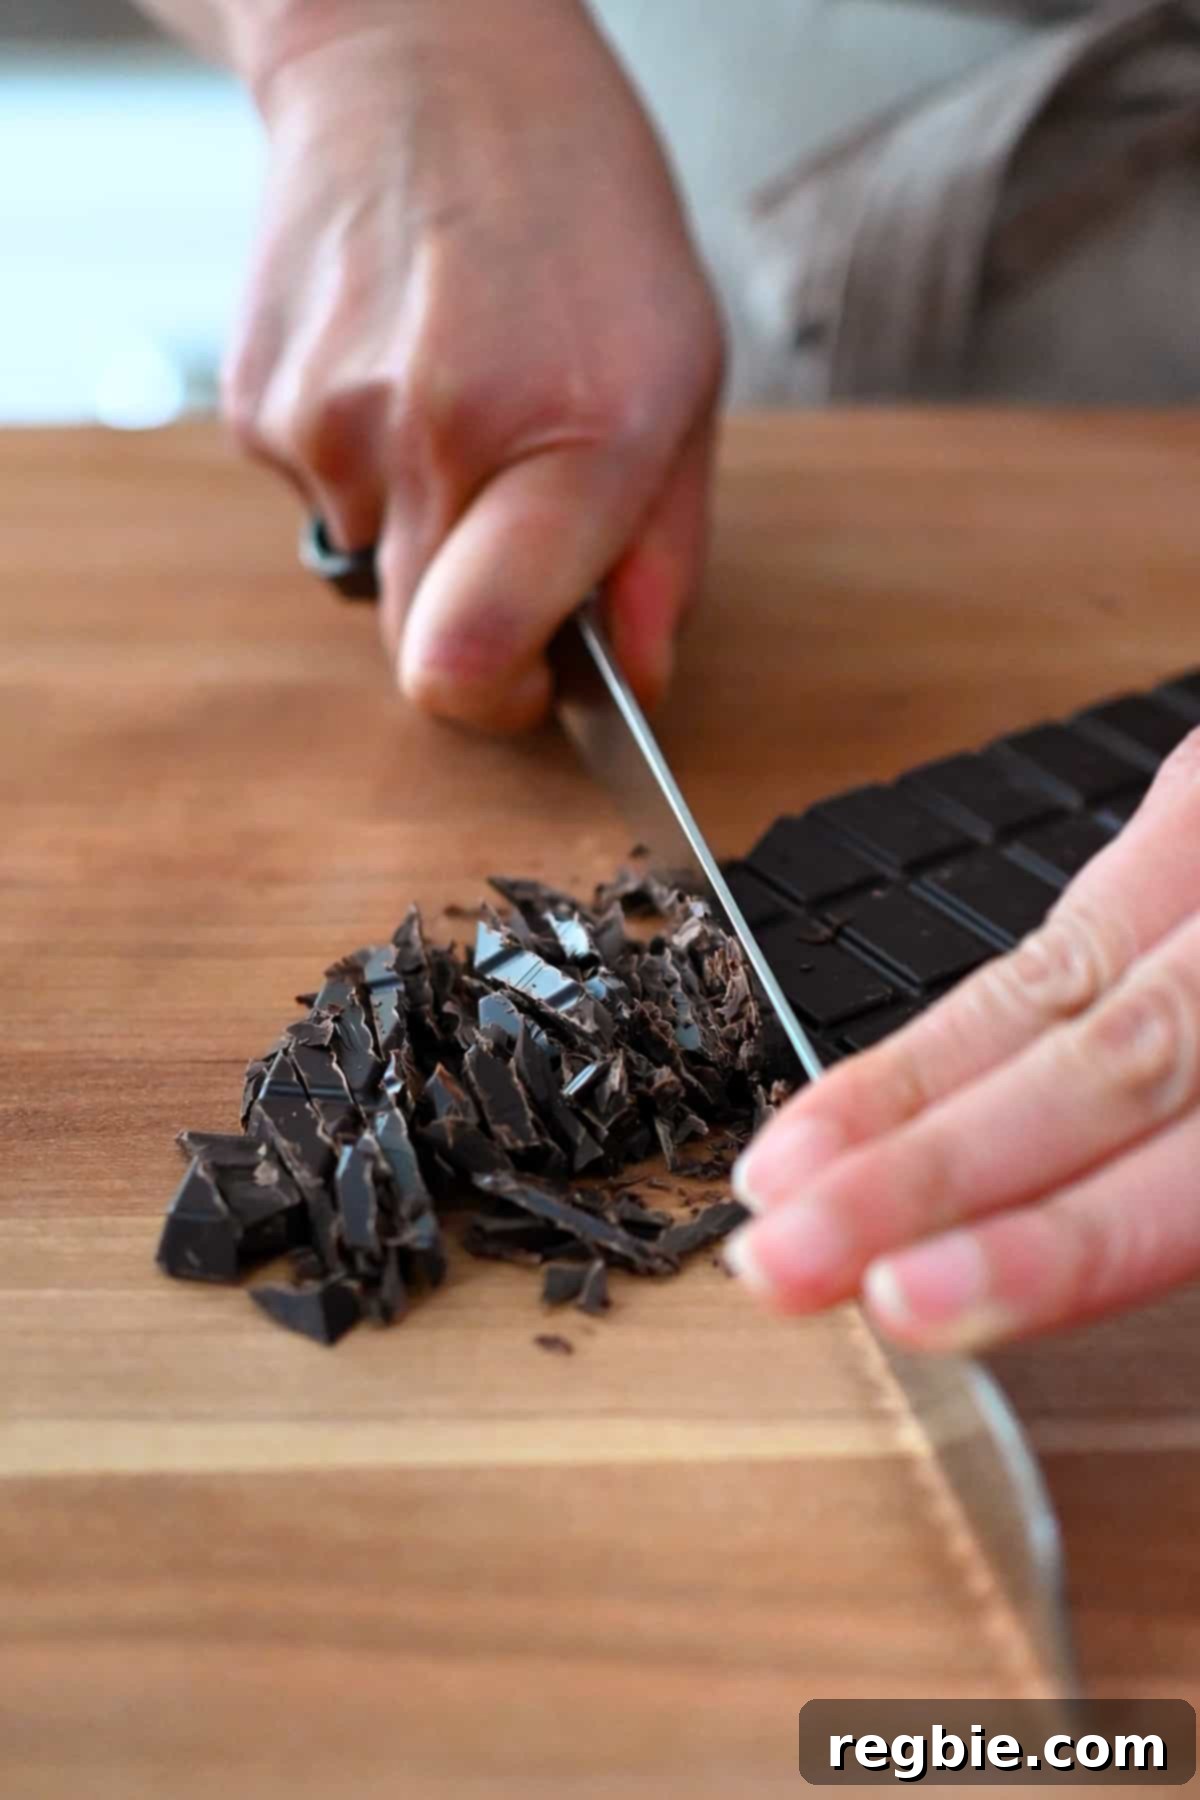
Begin by meticulously chopping your dark chocolate bars into small, uniform shards. Using a sharp chef’s knife and cutting on the diagonal can help achieve this. The goal here is consistency: smaller pieces will melt more evenly and quickly, preventing overheating and ensuring a smooth ganache.
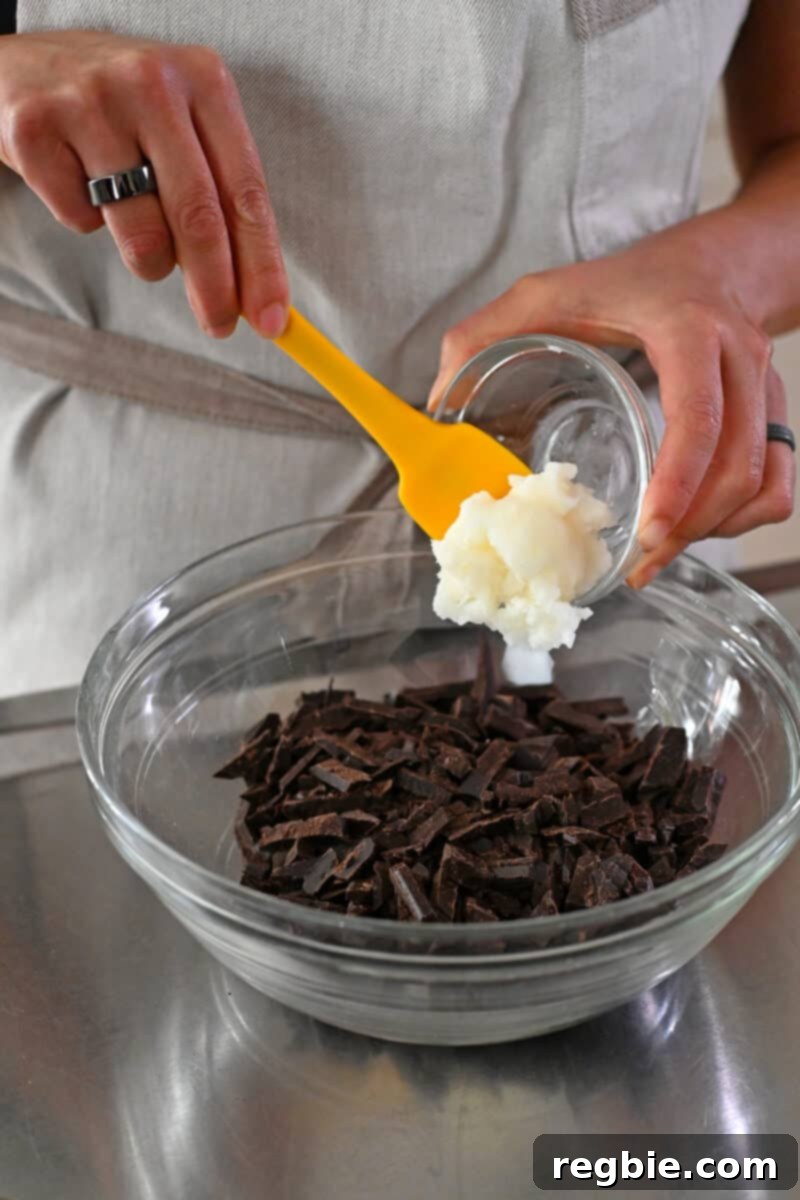
Transfer the finely chopped chocolate to a medium-sized heatproof bowl. Add the measured refined coconut oil to the same bowl, ensuring it’s evenly distributed among the chocolate pieces. Set this bowl aside for a moment.
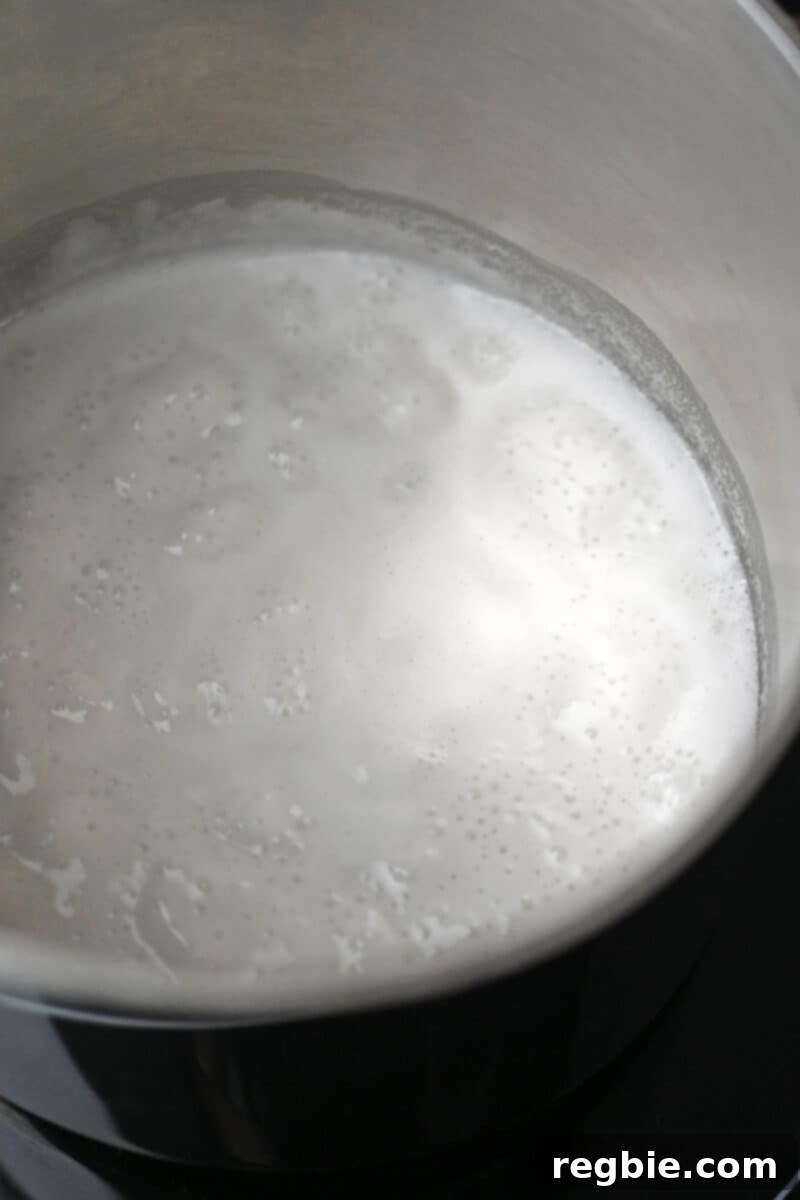
In a small saucepan, gently heat the coconut cream (or the thick cream scooped from canned full-fat coconut milk) over medium heat. Stir occasionally to prevent scorching. Continue heating until the cream just begins to simmer around the edges – you’ll see small bubbles forming. Avoid a rolling boil, as this can affect the ganache’s texture.
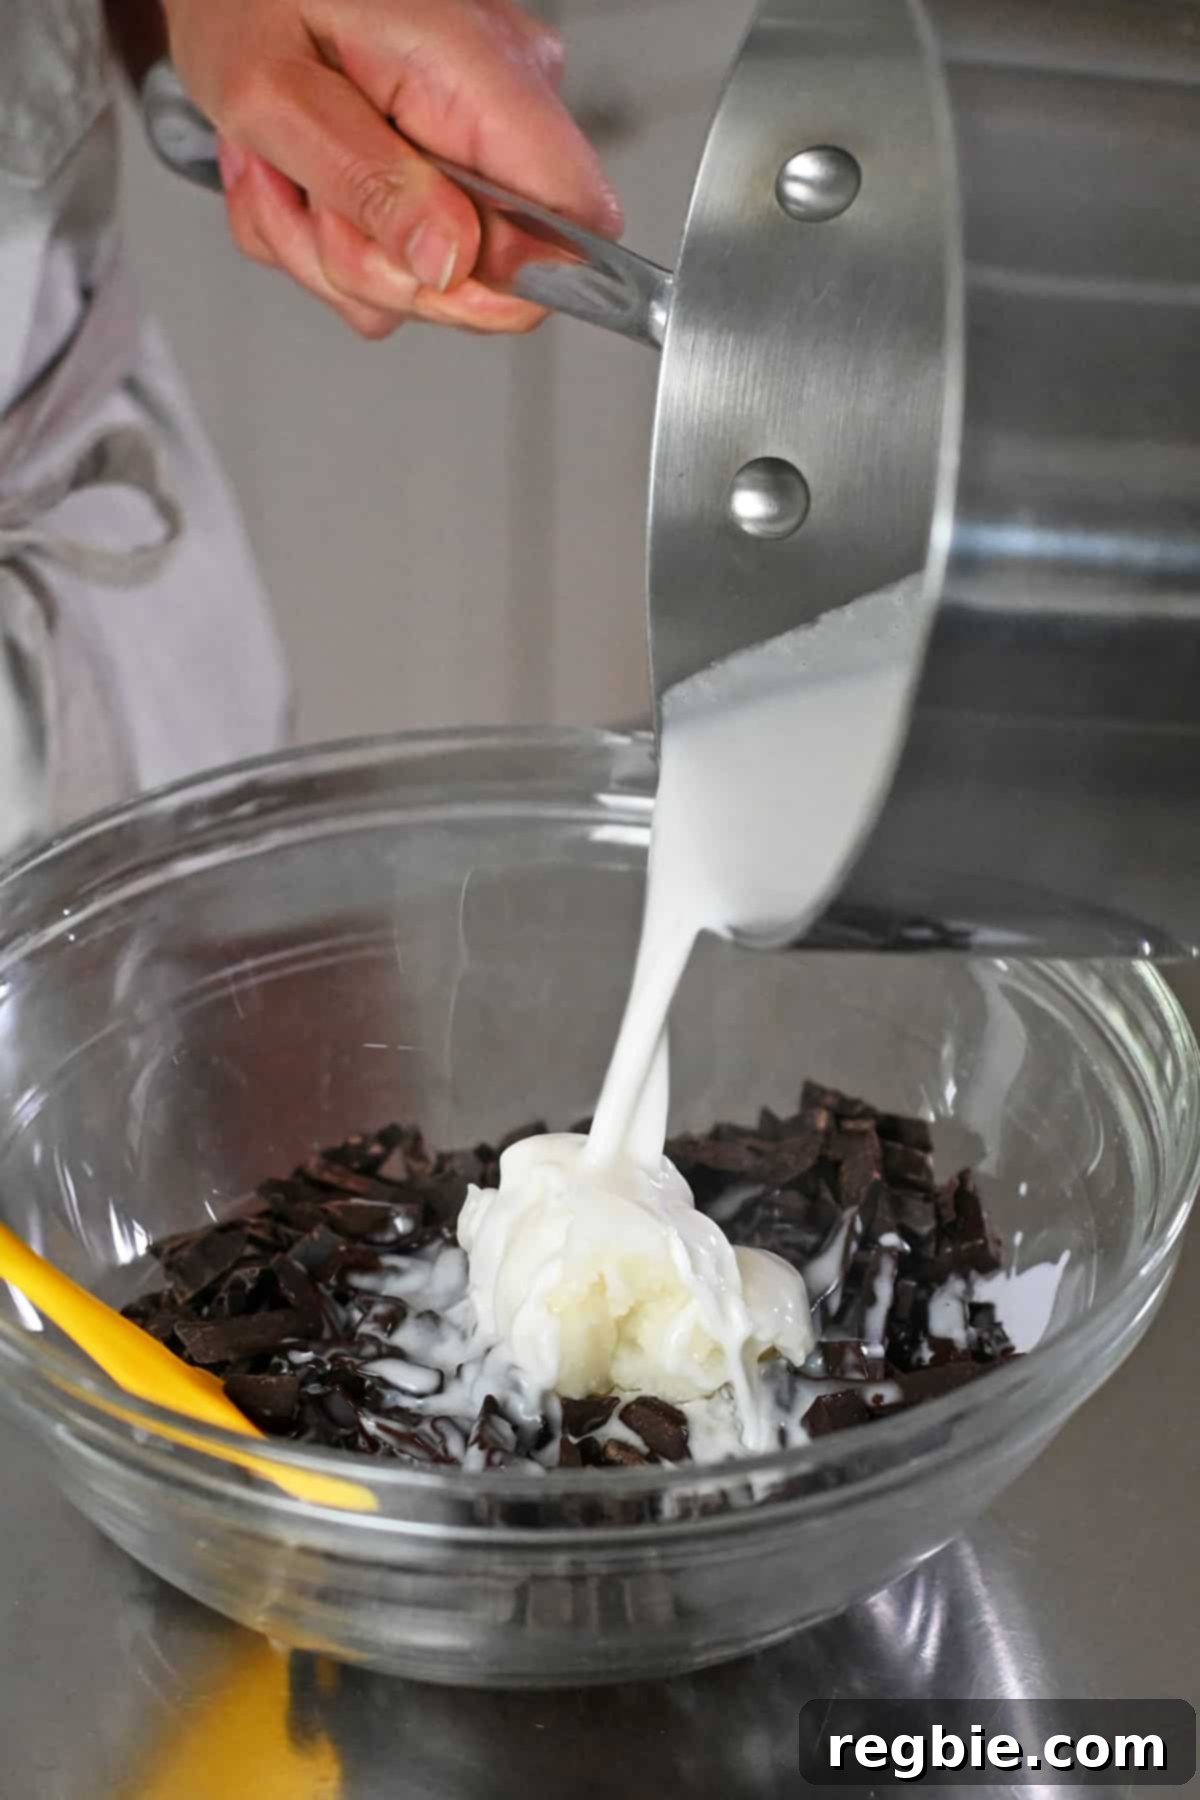
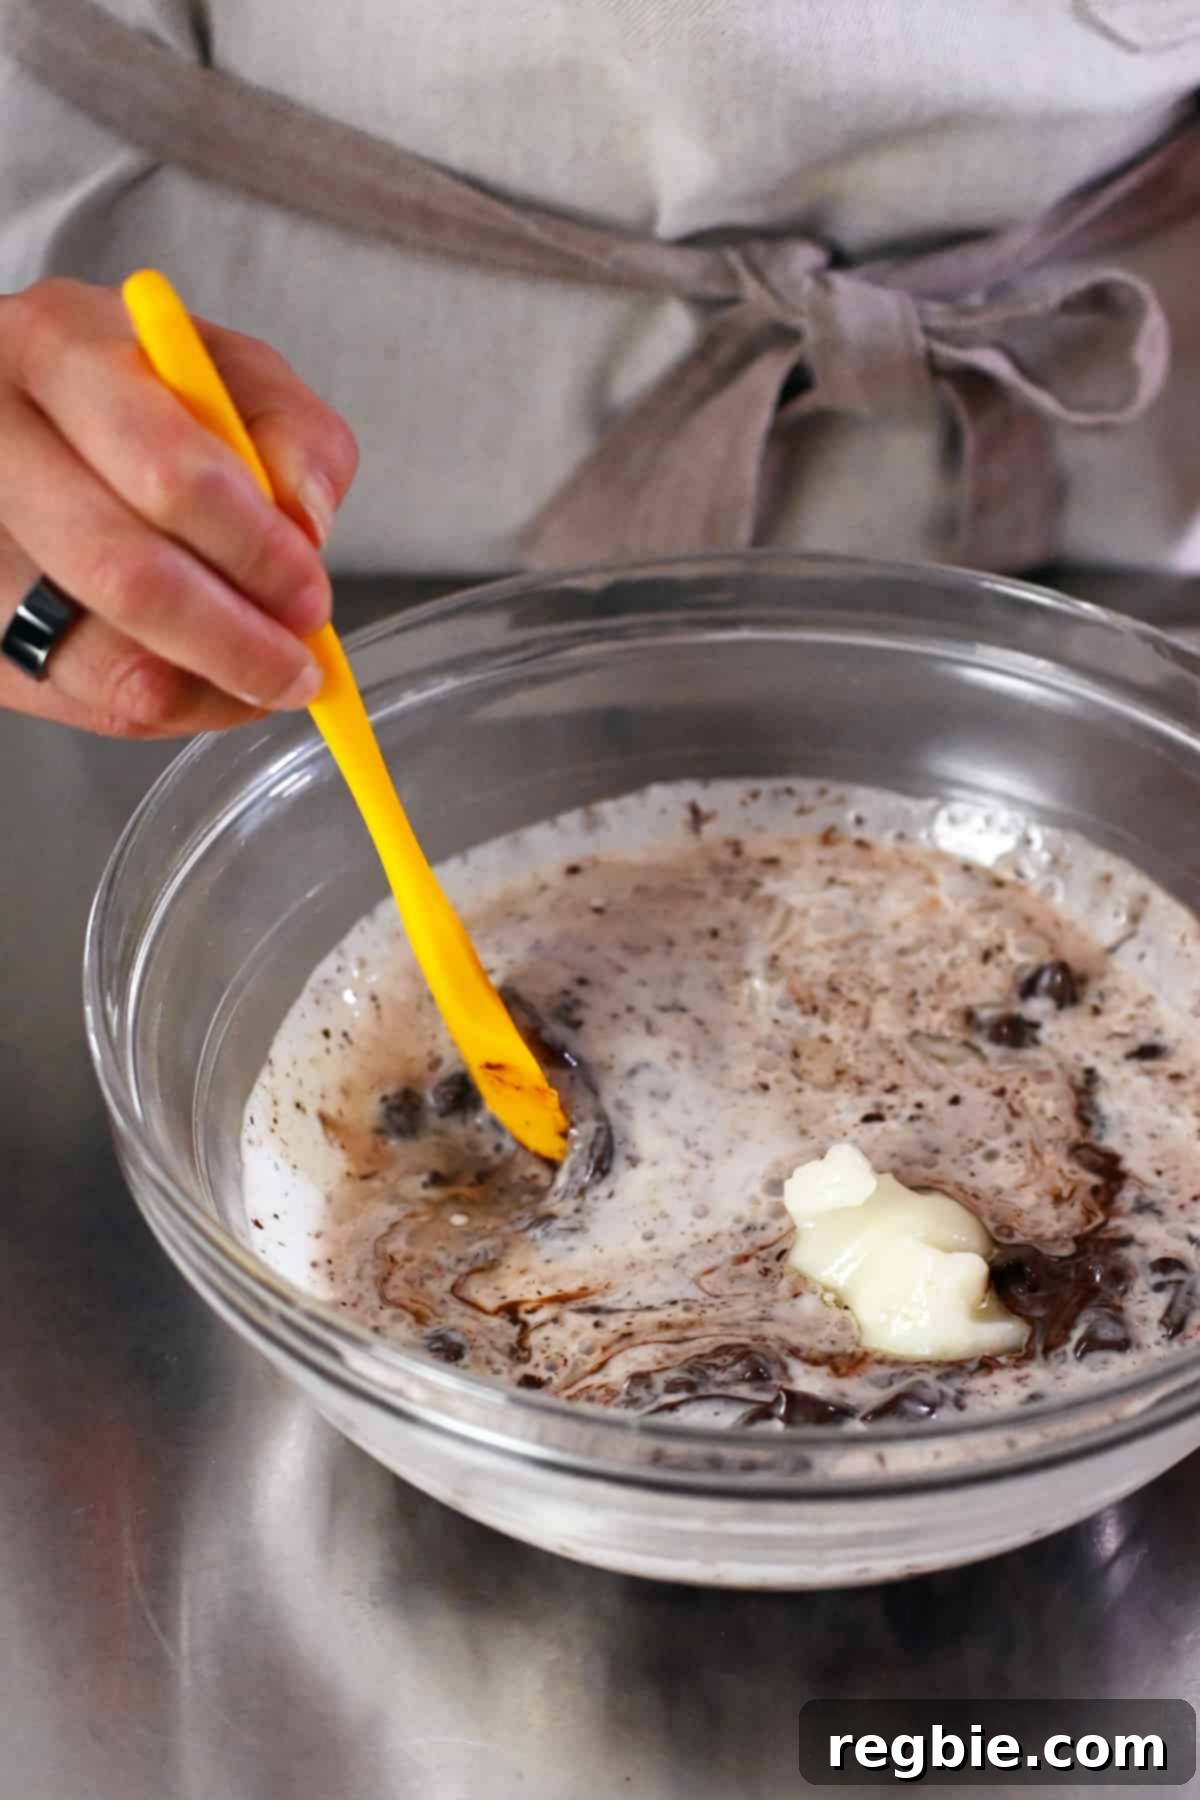
Once the coconut cream is simmering, carefully pour the hot liquid directly over the chopped chocolate and coconut oil mixture in the medium bowl. Allow the mixture to sit undisturbed for approximately 2 to 3 minutes. This crucial resting period allows the heat from the cream to gently melt the chocolate, preparing it for emulsification.
After the resting period, take a silicone spatula and gently begin to stir the mixture from the center outwards. Stir slowly and continuously until the chocolate is mostly melted and the ingredients start to come together.
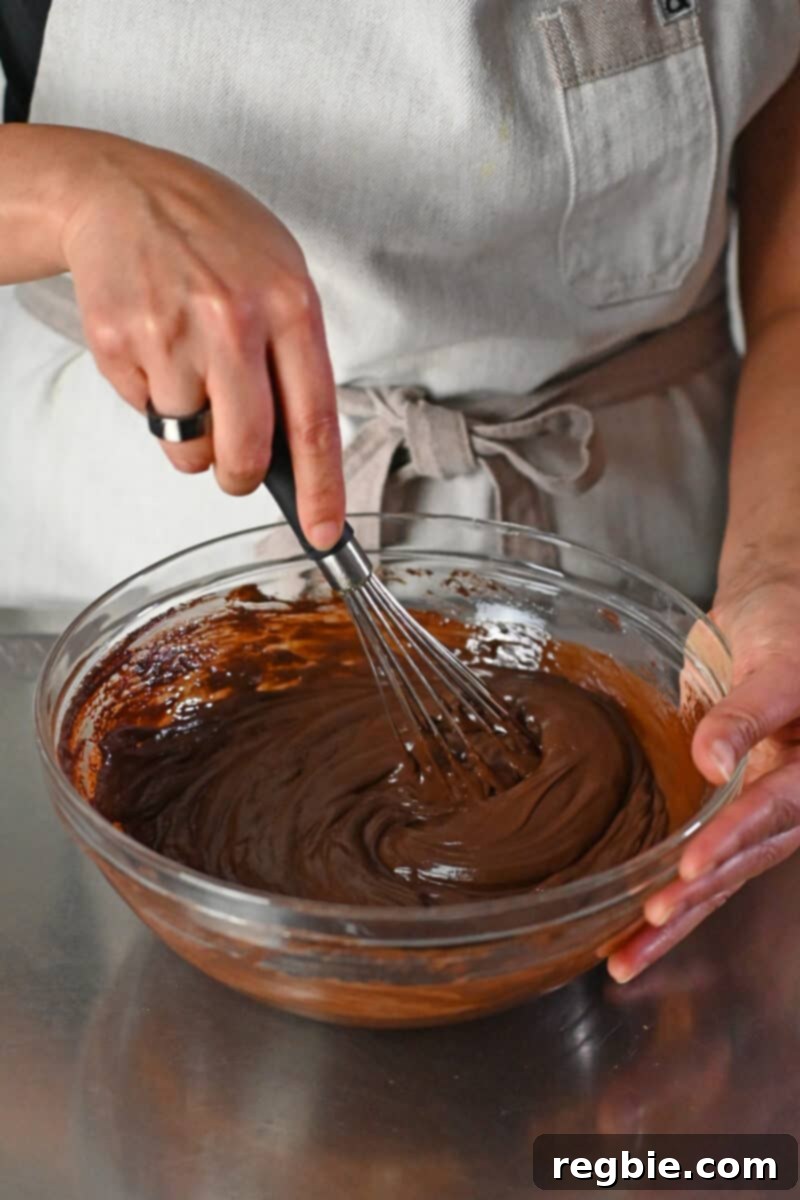
Switch from the spatula to a whisk. Vigorously whisk the mixture until it transforms into a beautifully smooth, glossy, and thick emulsion, reminiscent of a rich chocolate pudding. Continue whisking until no lumps remain and the ganache is utterly uniform. If, by chance, your ganache appears “broken” (looking oily or curdled), don’t despair! Gently whisk in an additional tablespoon or two of slightly warmed coconut cream (or full-fat coconut milk) to help re-emulsify the mixture.
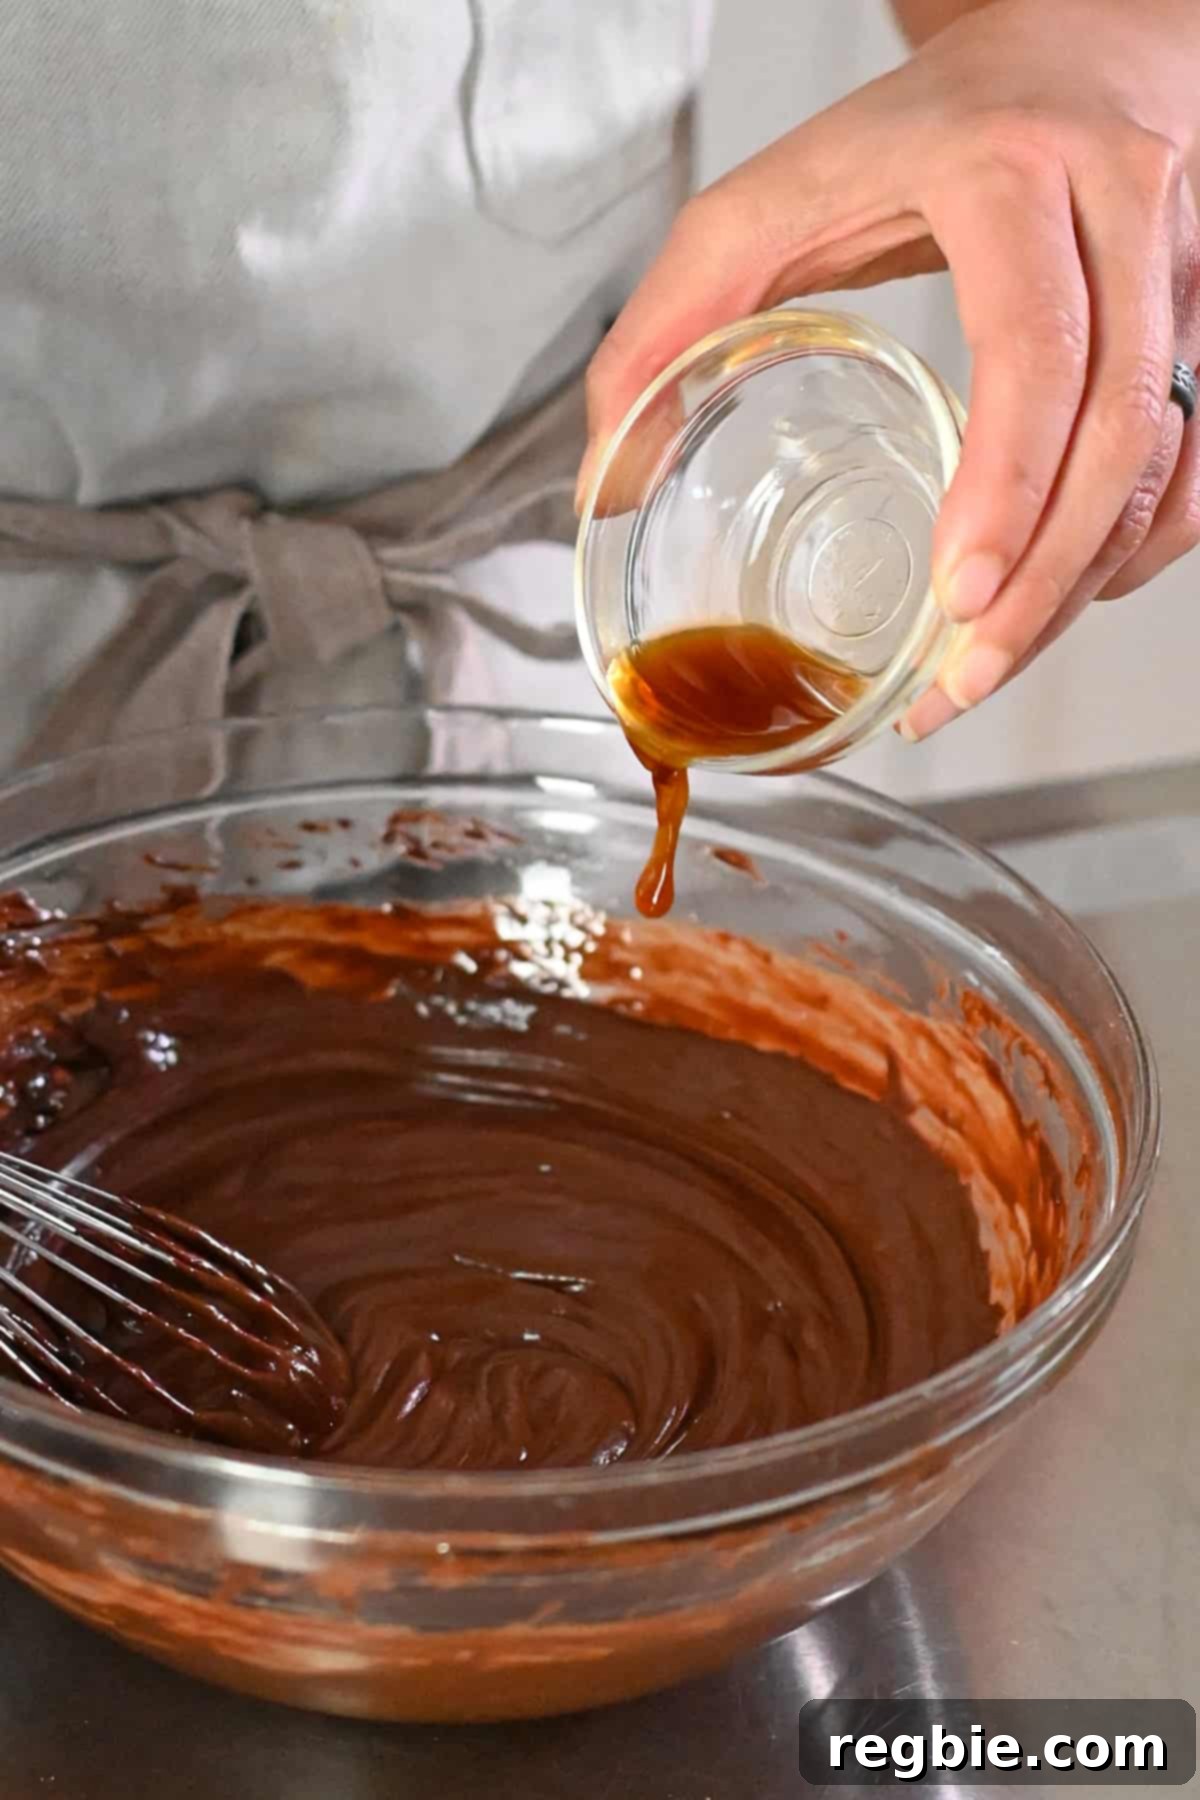
Finally, add the vanilla extract (or any other flavoring you’ve chosen) to the ganache. Stir it in thoroughly until it’s fully incorporated, ensuring an even distribution of flavor throughout the mixture.
Step 2: Chilling the Ganache to Perfection
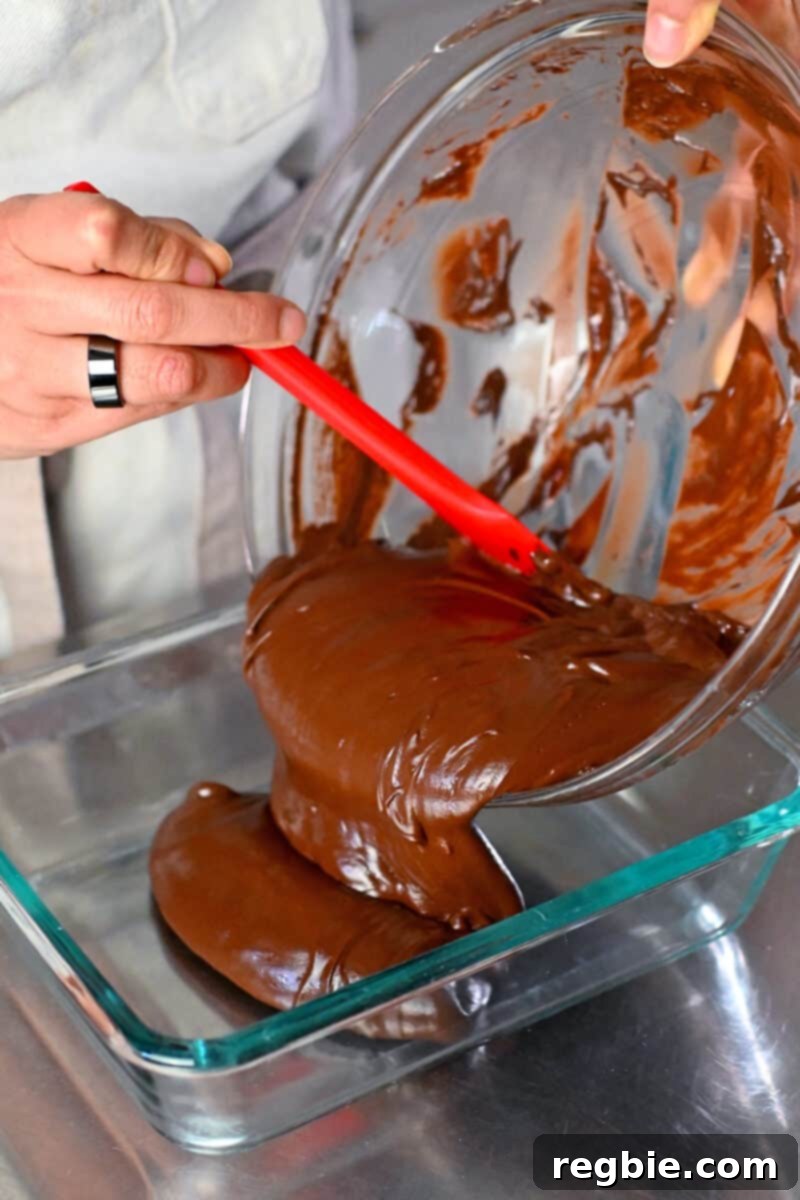
Once your ganache is smooth and flavorful, transfer it into a clean, airtight container. Place the container in the refrigerator and chill for at least 4 hours, or preferably overnight, until the ganache is completely firm and solid. This extended chilling time is vital for the truffles to hold their shape when rolled.
Step 3: Preparing Your Tempting Coatings
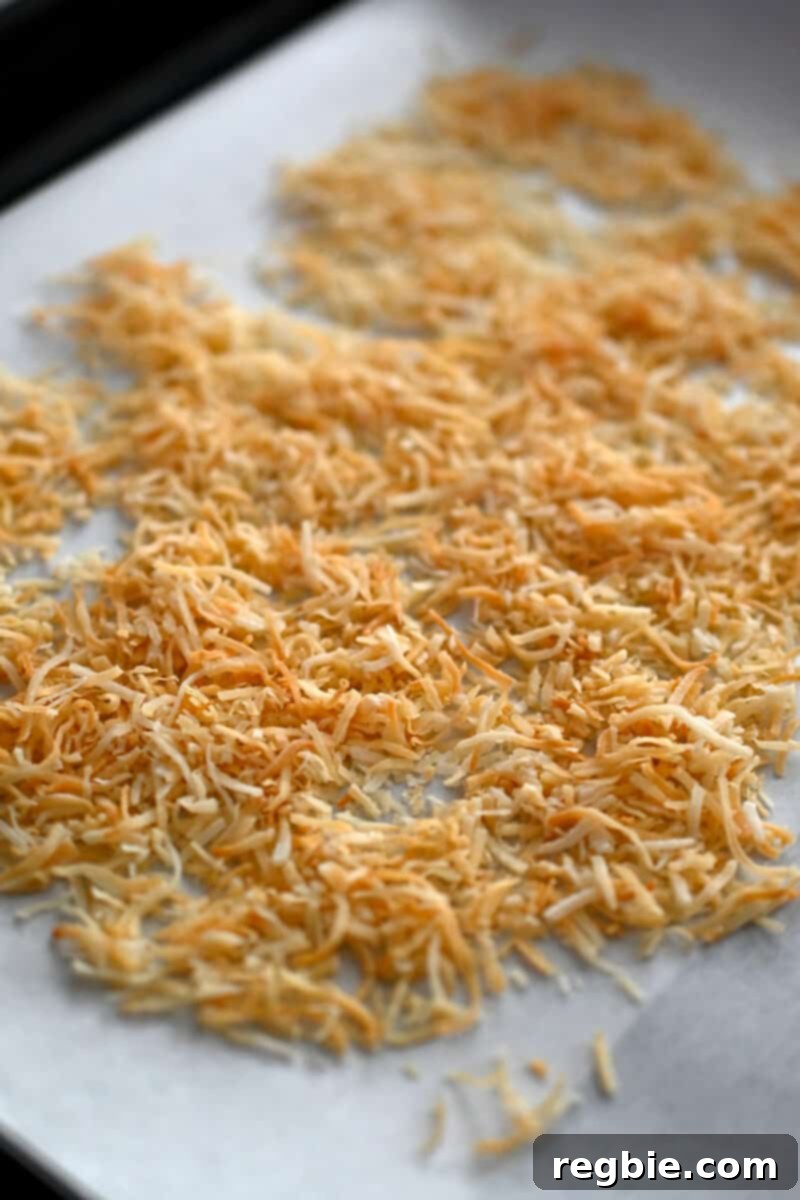
While the ganache is chilling, prepare your chosen coatings. If using shredded coconut, spread it in an even, thin layer on a sheet of parchment paper placed inside a rimmed baking dish. Toast in a preheated 300°F (150°C) oven for about 3 to 5 minutes, keeping a close eye on it, until it turns a beautiful golden brown and becomes fragrant. Toasted coconut has a much deeper, nuttier flavor than raw.
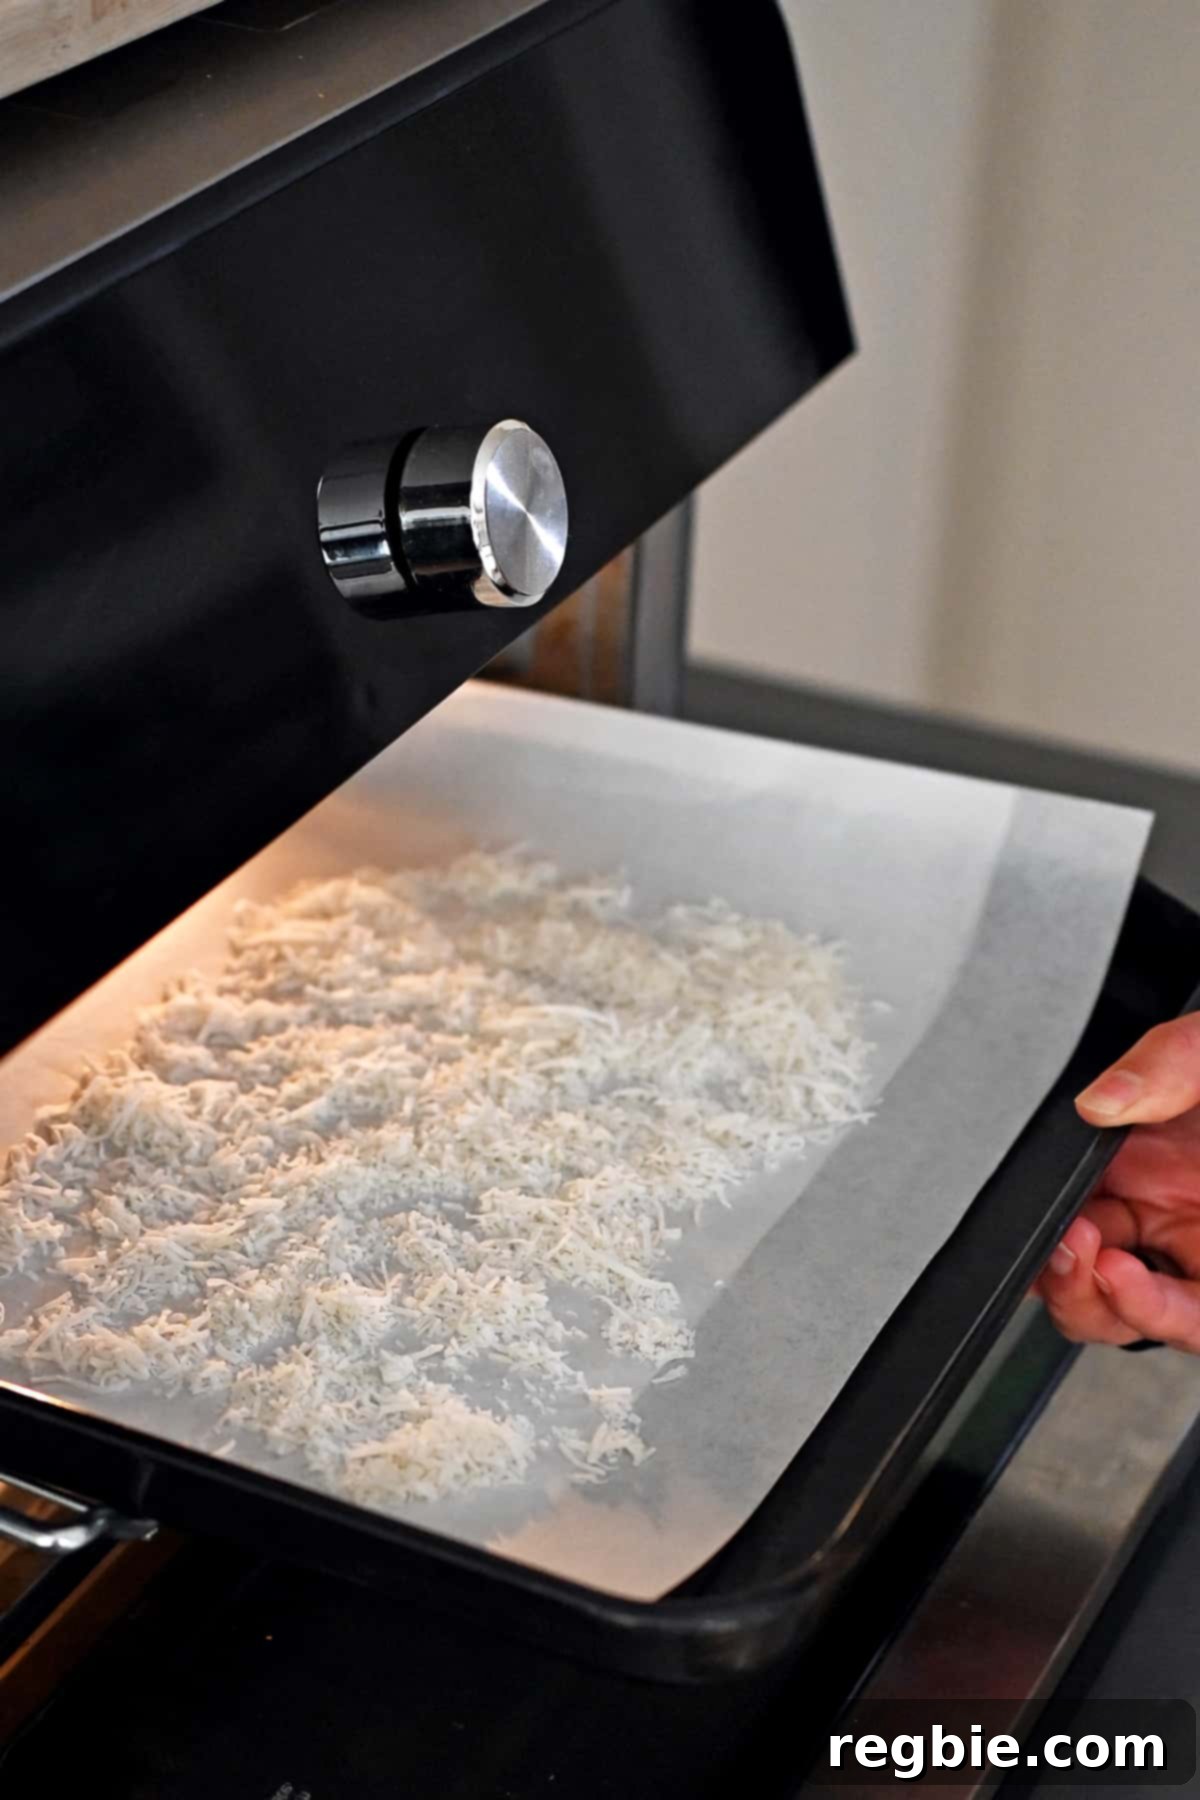
Once the toasted coconut has cooled completely, transfer it to a shallow bowl, ready for coating. If you’re using unsweetened cocoa powder, pour a generous amount into a separate shallow bowl as well. If you’re offering multiple coating options, set them all up in a row for easy access.
Step 4: Forming and Coating Your Exquisite Truffles
Once the ganache is fully firm, it’s time to form the truffles. Using a small melon baller, a small disher (cookie scoop), or even a teaspoon, scoop out approximately 36 uniform balls of the chilled chocolate ganache, each about 1 inch in diameter.
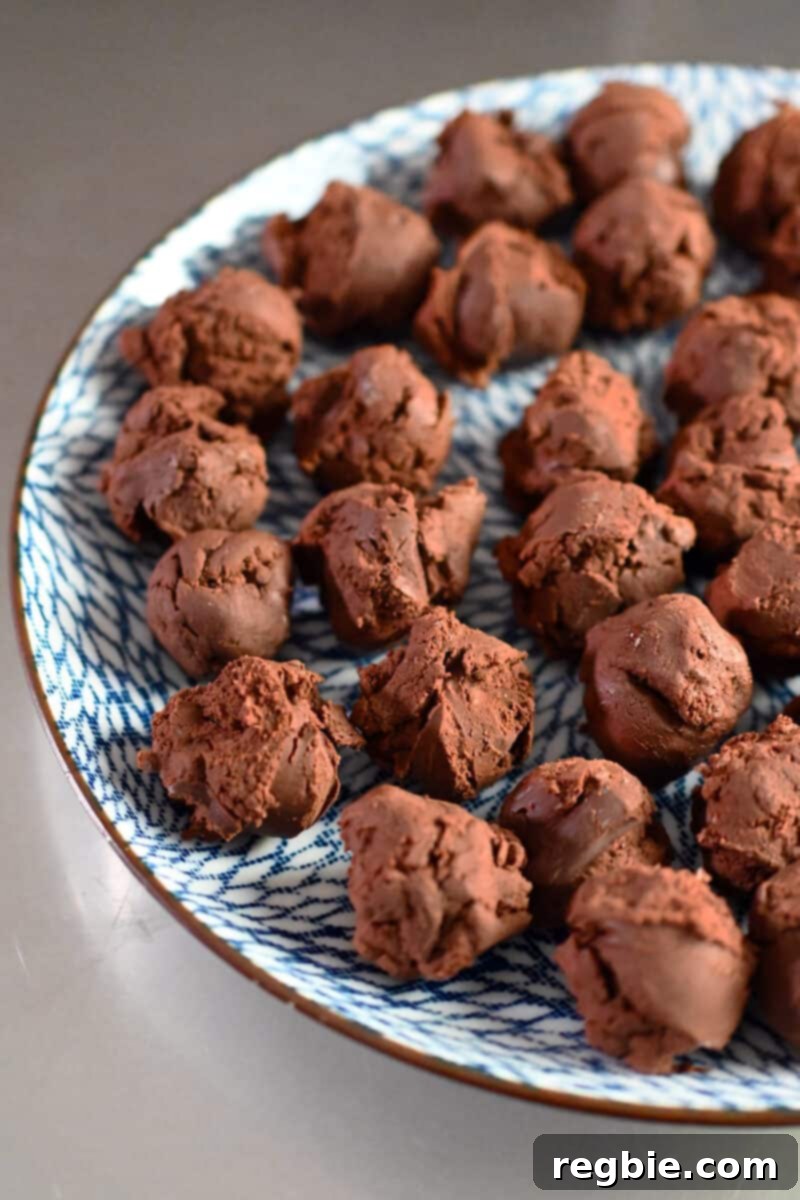
Take each scooped portion of chocolate and gently roll it between your palms to form a smooth, round ball. To keep your hands clean and prevent the chocolate from melting too quickly, I highly recommend wearing disposable food-safe gloves during this step. Remember, the beauty of homemade truffles often lies in their slight imperfections, so don’t stress if some aren’t perfectly symmetrical – they will still taste absolutely divine!
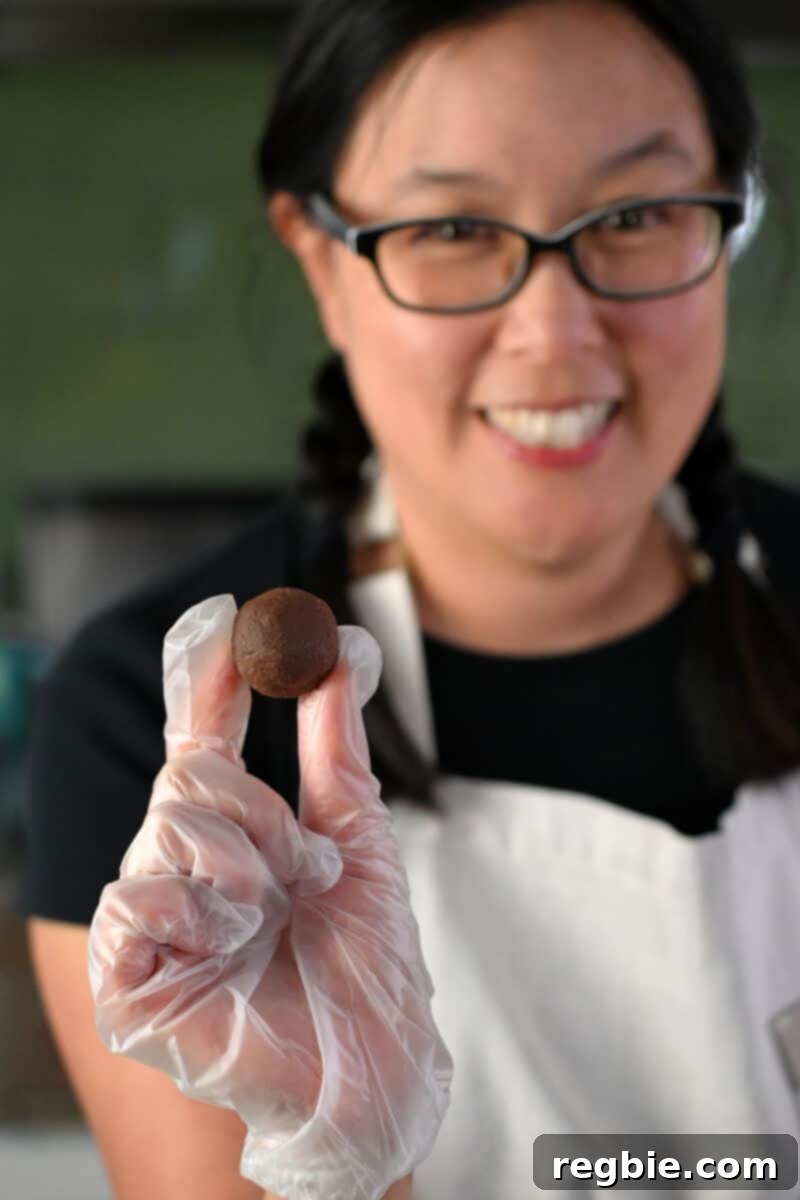
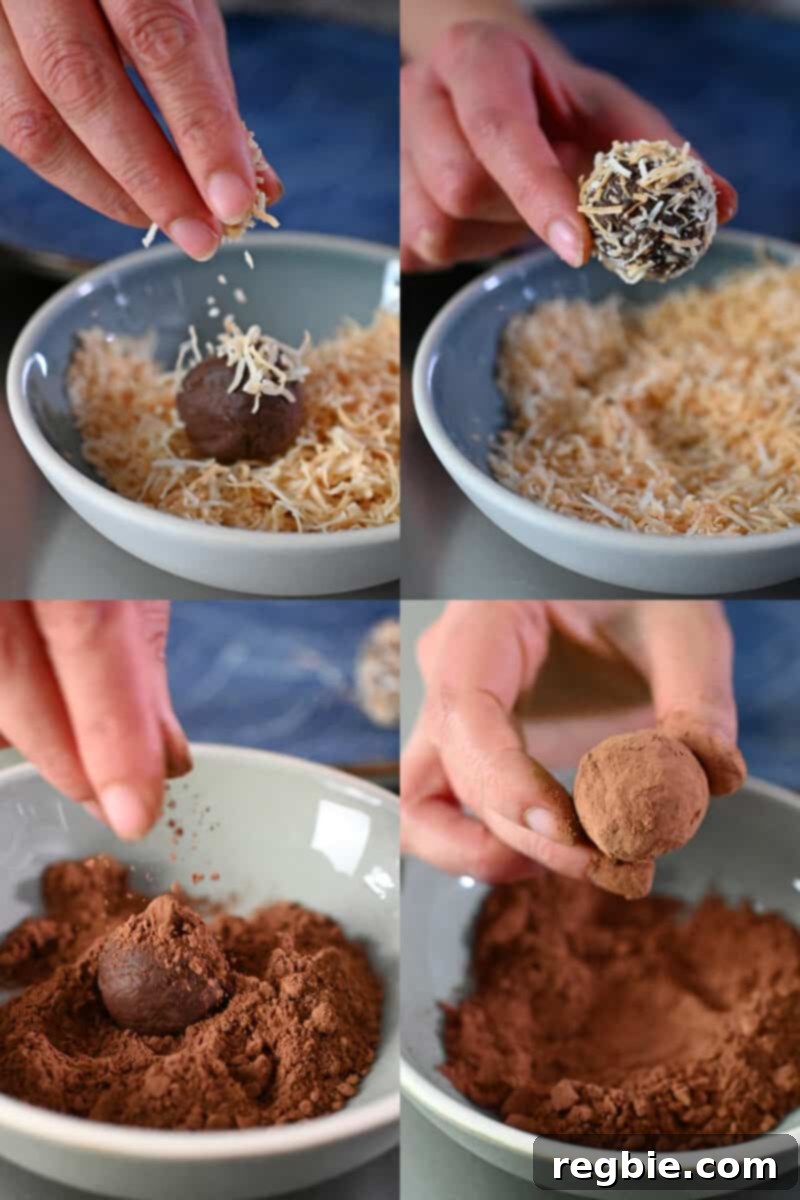
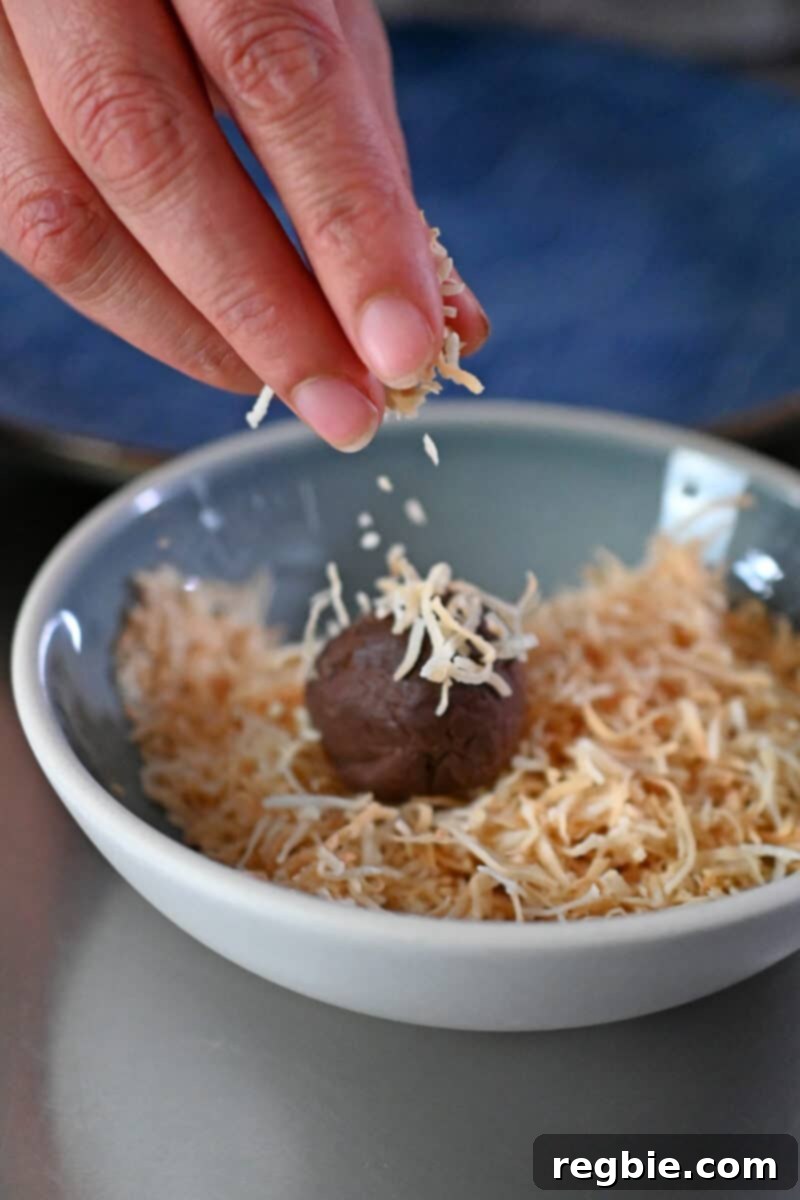
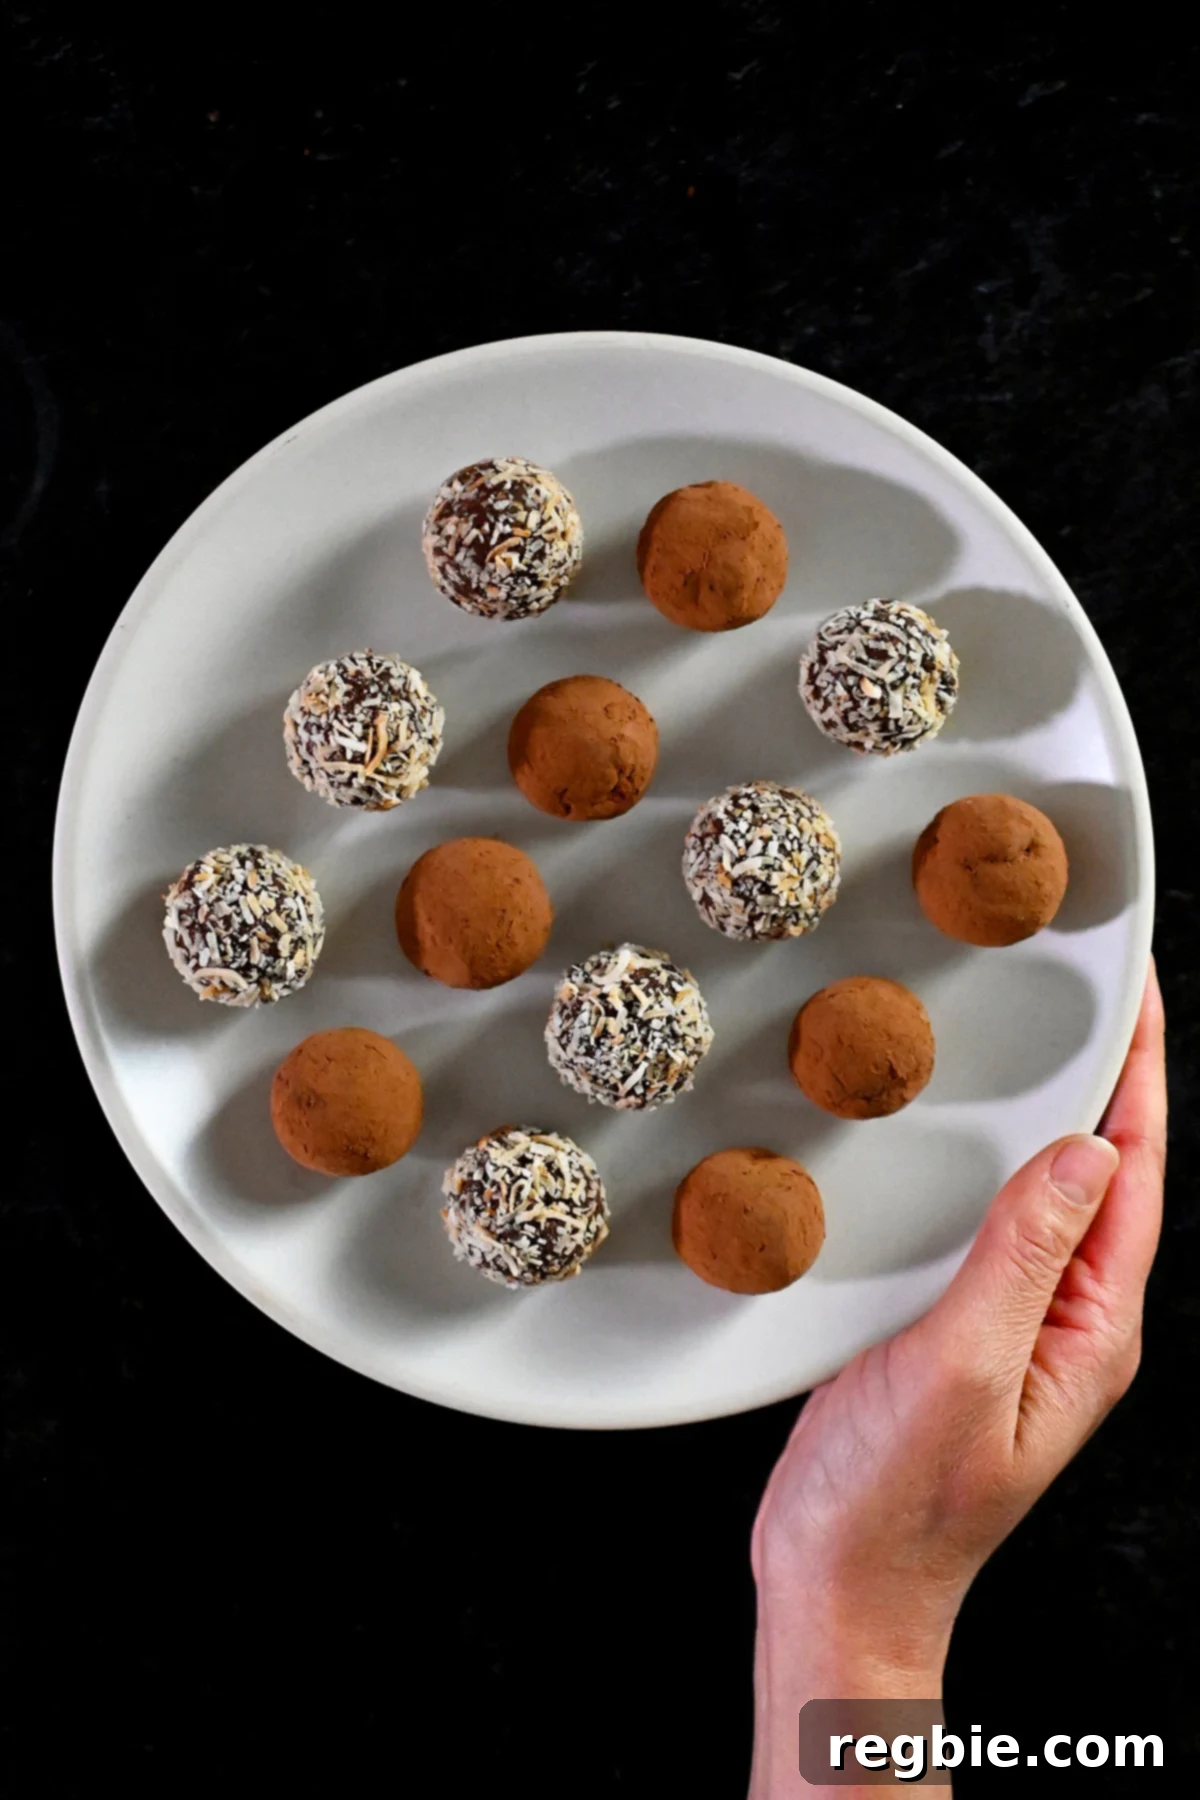
Immediately after rolling, drop each truffle into your chosen coating (toasted coconut or cocoa powder). Roll it around gently to ensure it’s fully coated. Lift the truffle and lightly sift off any excess coating through your fingers before placing it on a serving platter or into an airtight container. Repeat this process until all your truffles are beautifully coated and ready to be enjoyed!
Storing Your Decadent Dairy-Free Truffles
Proper storage is key to maintaining the freshness and exquisite texture of your homemade dairy-free chocolate truffles.
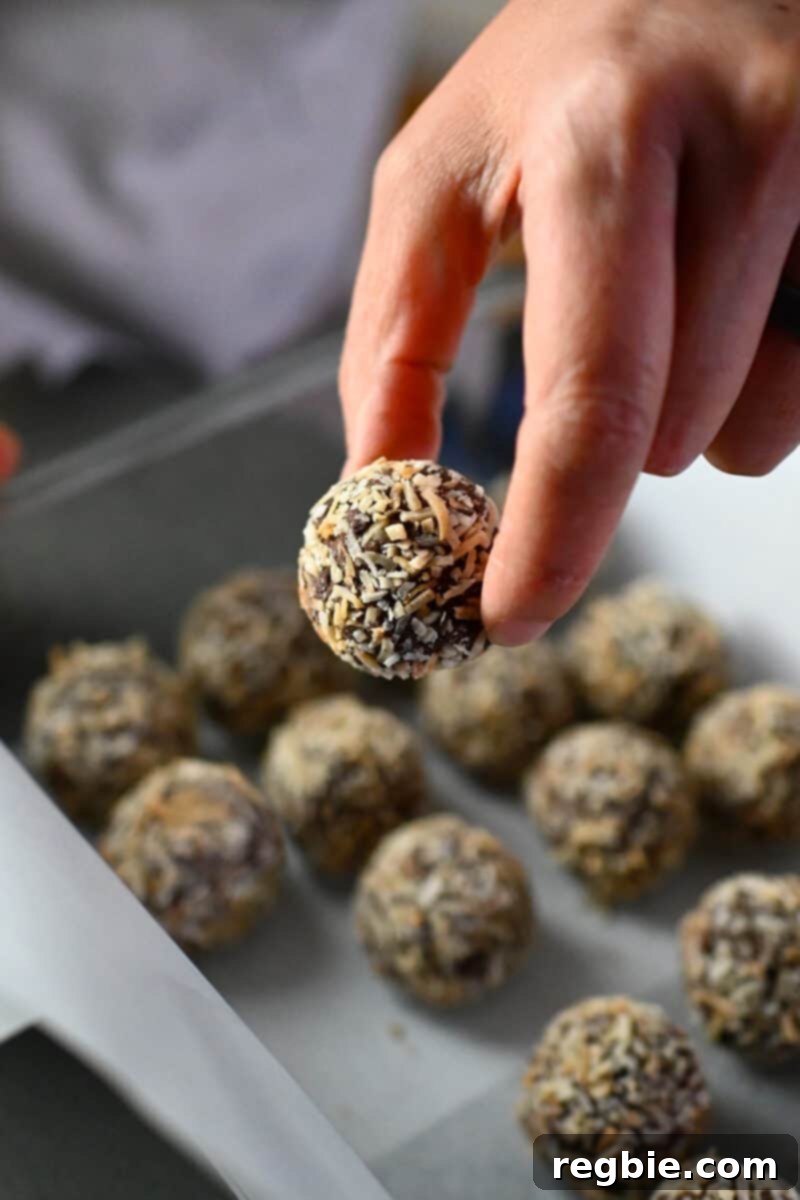
For immediate enjoyment or short-term storage, these truffles can be kept in an airtight container in the refrigerator for up to one week. Placing a sheet of parchment paper between layers can prevent them from sticking together.
Expert Tips for Freezing Chocolate Truffles
If you plan to prepare a batch of truffles in advance or wish to extend their shelf life, freezing is an excellent option. These dairy-free truffles can be stored in the freezer for approximately three months. However, there’s a crucial tip to remember when freezing:
Do not coat the truffles with shredded coconut or cocoa powder before freezing. Instead, freeze the plain ganache balls in a single layer on a parchment-lined tray until solid, then transfer them to an airtight freezer-safe container or bag.
When you’re ready to serve, remove the desired number of truffles from the freezer and allow them to come to room temperature for about 30 minutes. Once slightly softened on the exterior, gently roll each truffle between your palms. The warmth from your hands will create a slightly sticky surface, allowing the toasted coconut and/or cocoa powder to adhere beautifully. Then, coat and serve them fresh! This method ensures the coatings remain vibrant and prevents them from becoming soggy or losing their texture during thawing.
Happy holidays and happy indulgence! These dairy-free chocolate truffles are truly a gift that keeps on giving.
Explore More Healthy Chocolate Treat Recipes
- Paleo Chocolate Pudding: A rich, creamy, and guilt-free dessert.
- Coco-Nutty Dark Bark: Easy to make and perfect for a quick chocolate fix.
- Chunky Monkey Ice Cream Bon Bons: A refreshing and satisfying frozen treat.
[Originally posted on December 25, 2013. Updated with new information and photos on December 5, 2022.]
Looking for even more incredible recipe ideas? Dive into my comprehensive Recipe Index. You’ll also discover exclusive culinary creations on my iPhone and iPad app, and within my acclaimed cookbooks: Nom Nom Paleo: Food for Humans (Andrews McMeel Publishing 2013), Ready or Not! (Andrews McMeel Publishing 2017), and Nom Nom Paleo: Let’s Go! (Andrews McMeel Publishing 2022).
PRINTER-FRIENDLY RECIPE CARD
Nom Nom Chocolate Truffles
Rating: 5 out of 5 stars (12 votes)
Cook Time: 30 mins
Total Time: 4 hrs 30 mins
Servings: 36 truffles
Author: Michelle Tam
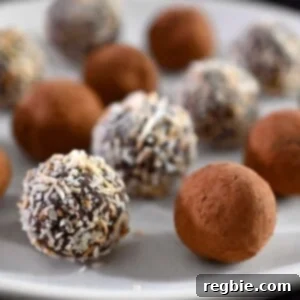
These paleo, vegan, and dairy-free chocolate truffles are perfect for homemade holiday gifts! Everyone will love them and request them year after year!
Ingredients
- 10 ounces dark chocolate (70% cacao content or higher)
- 3 tablespoons refined coconut oil
- 1 cup coconut cream or full-fat coconut milk
- 1 teaspoon vanilla extract
- ½ cup finely shredded unsweetened coconut or ½ cup unsweetened cocoa powder (for coating)
Instructions
- Start by cutting the chocolate into small shards on the diagonal. Try to keep the chocolate pieces relatively small so they will melt uniformly. Place the chocolate and coconut oil in a medium bowl and set it aside.
- Heat the coconut cream or coconut milk in a small saucepan over medium heat until it reaches a simmer.
- Pour the hot cream over the chocolate and coconut oil, and let the mixture sit for a couple of minutes. Then, gently stir with a silicone spatula until the chocolate is mostly melted.
- Switch to a whisk and stir well until the chocolate mixture transforms into a velvety smooth emulsion that resembles a thick, shiny chocolate pudding. If your ganache breaks (i.e., it looks curdled or oily), you can whisk in a little bit more heated cream to reform the emulsion.
- Add the vanilla extract and stir to incorporate.
- Transfer the chocolate mixture to a sealed container and chill in the fridge until solid (at least 4 hours).
- Meanwhile, spread the shredded coconut on a parchment-lined baking tray, and toast it in a 300°F oven for 3 to 5 minutes or until golden brown. Transfer the coconut to a shallow bowl when cooled. If you’re coating the truffles in cocoa powder, pour some into another bowl, too.
- Using a small (1-inch in diameter) melon baller or disher, scoop out 36 balls of chocolate. Roll each ball of chocolate between your palms to form a smooth ball. Wear disposable gloves if you want to keep your hands clean and don’t freak out if some of the truffles are misshapen—it’s just candy, people.
- Coat each truffle in the toasted coconut or cocoa and sift the excess through your fingers. Enjoy!
Notes
- These truffles can be kept in an airtight container for a week in the fridge, or about three months in the freezer.
- If you’re freezing the truffles, don’t coat them with shredded coconut or cocoa powder until you’re ready to serve them. Instead, bring them to room temperature (about 30 minutes) before coating and serving. Roll the truffles in your hands to melt the exterior and the toasted coconut and/or cocoa powder will adhere easily.
Nutrition
(Approximate values per truffle)
- Calories: 74 kcal
- Carbohydrates: 4 g
- Protein: 1 g
- Fat: 7 g
- Fiber: 1 g
- Sugar: 3 g
Nutrition information is automatically calculated, so should only be used as an approximation.