
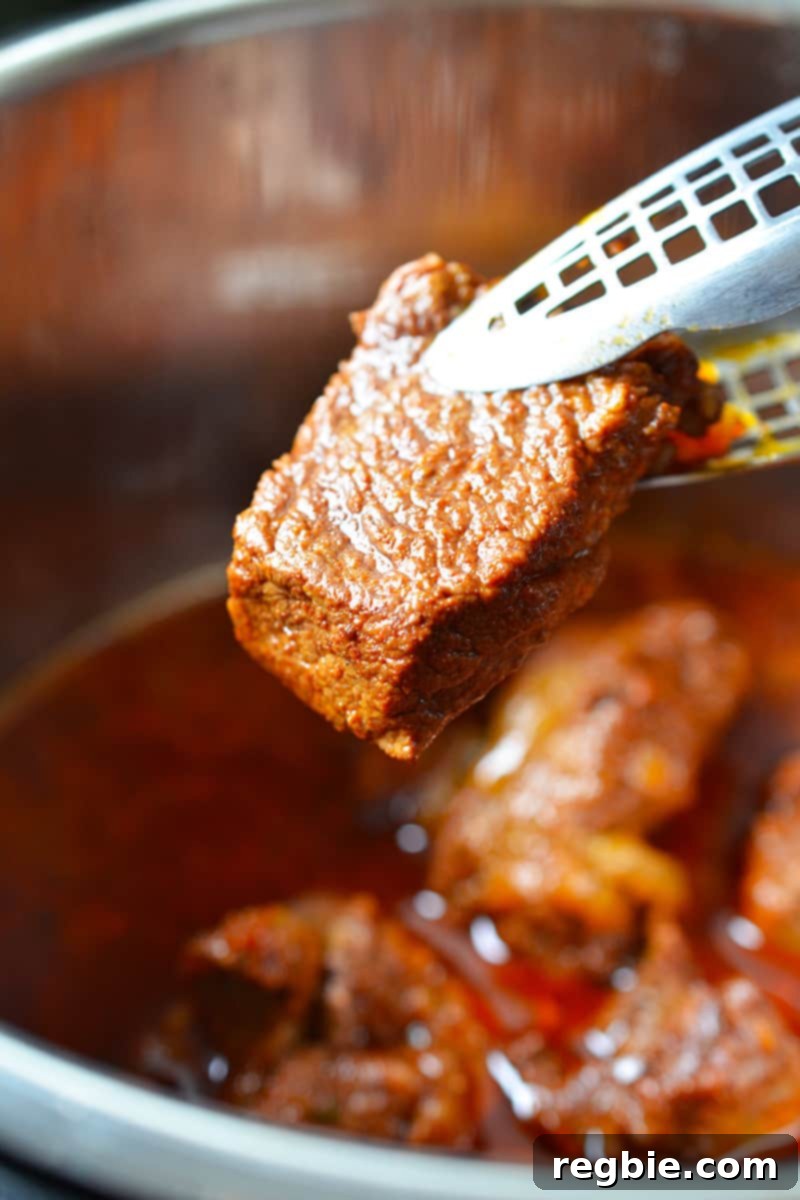
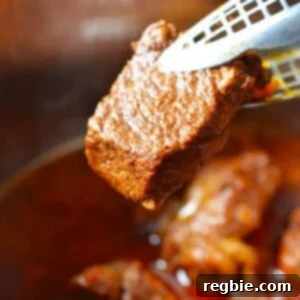
Transform your weeknight dinners with this Instant Pot Mexican Shredded Beef, a beloved recipe reimagined for ultimate ease and flavor! This incredible dish delivers unbelievably tender, fork-shredded beef infused with rich Mexican spices, all prepared quickly and effortlessly in your electric pressure cooker. Say goodbye to long hours in the kitchen and hello to a delicious, versatile meal that’s perfect for the whole family, aligning perfectly with Whole30, paleo, and gluten-free dietary needs.
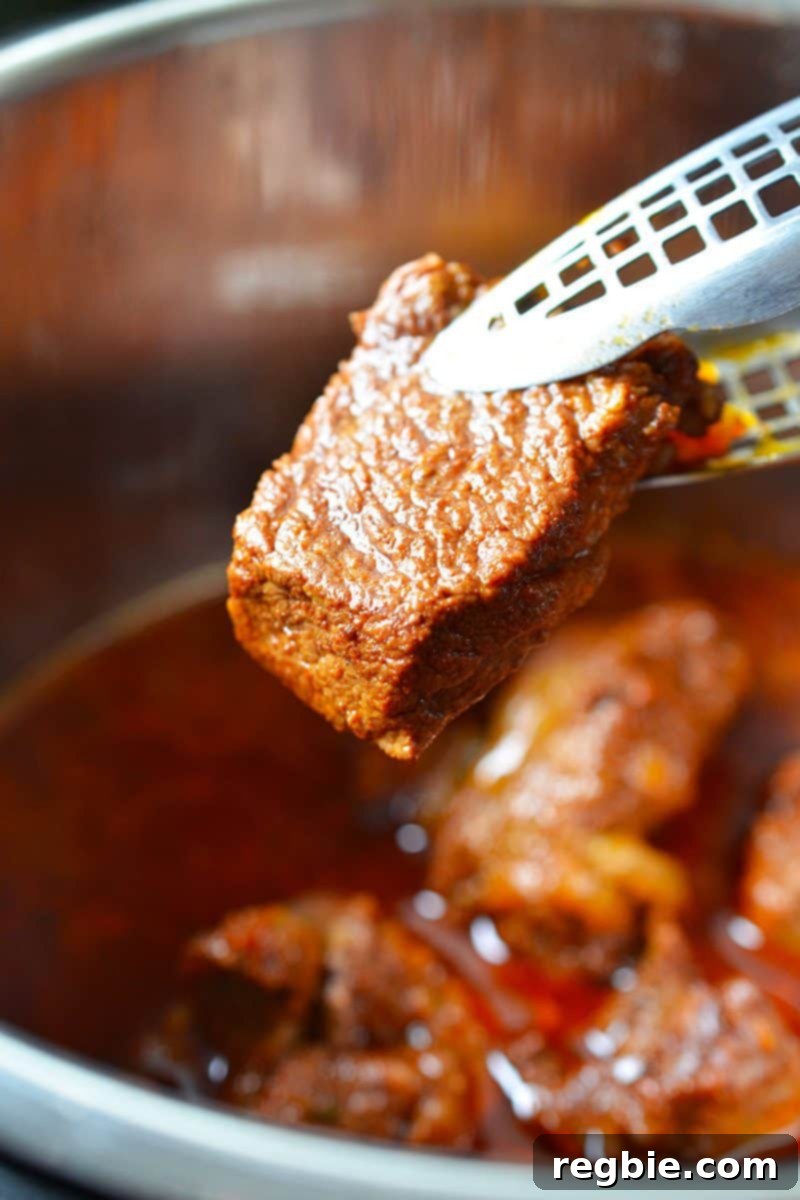
Table of Contents
- Effortless Excellence: The Instant Pot Advantage
- Instant Pot vs. Stovetop Pressure Cooker: A Closer Look
- Essential Ingredients for Irresistible Mexican Beef
- Step-by-Step: Mastering Instant Pot Mexican Shredded Beef
- Versatile Serving Ideas
- Storing and Reheating Leftovers
- Printer-Friendly Recipe Card
Effortless Excellence: The Instant Pot Advantage
For years, our Oven Braised Mexican Shredded Beef has been a staple in countless homes, admired for its simplicity and the sheer joy it brings, even to the pickiest eaters. However, modern culinary advancements have offered an even more efficient path to perfection: the Instant Pot. This electric programmable multi-cooker has revolutionized how we approach slow-cooked dishes, delivering comparable, if not superior, results in a mere fraction of the time.
The transition from traditional oven braising to pressure cooking has been a game-changer for home cooks seeking efficiency without compromising on flavor. As a busy individual, anything that helps put satisfying, healthy meals on the table quickly is a true blessing. While stovetop pressure cookers have long been reliable workhorses in the kitchen, the Instant Pot takes convenience to a whole new level. Its multifaceted capabilities, including pressure cooking, slow cooking, sautéing, and keeping warm, streamline the entire cooking process. It’s not just a kitchen gadget; it’s a time-saving culinary partner that allows you to create incredible meals without constant supervision, making it ideal for busy weeknights and efficient meal prepping.
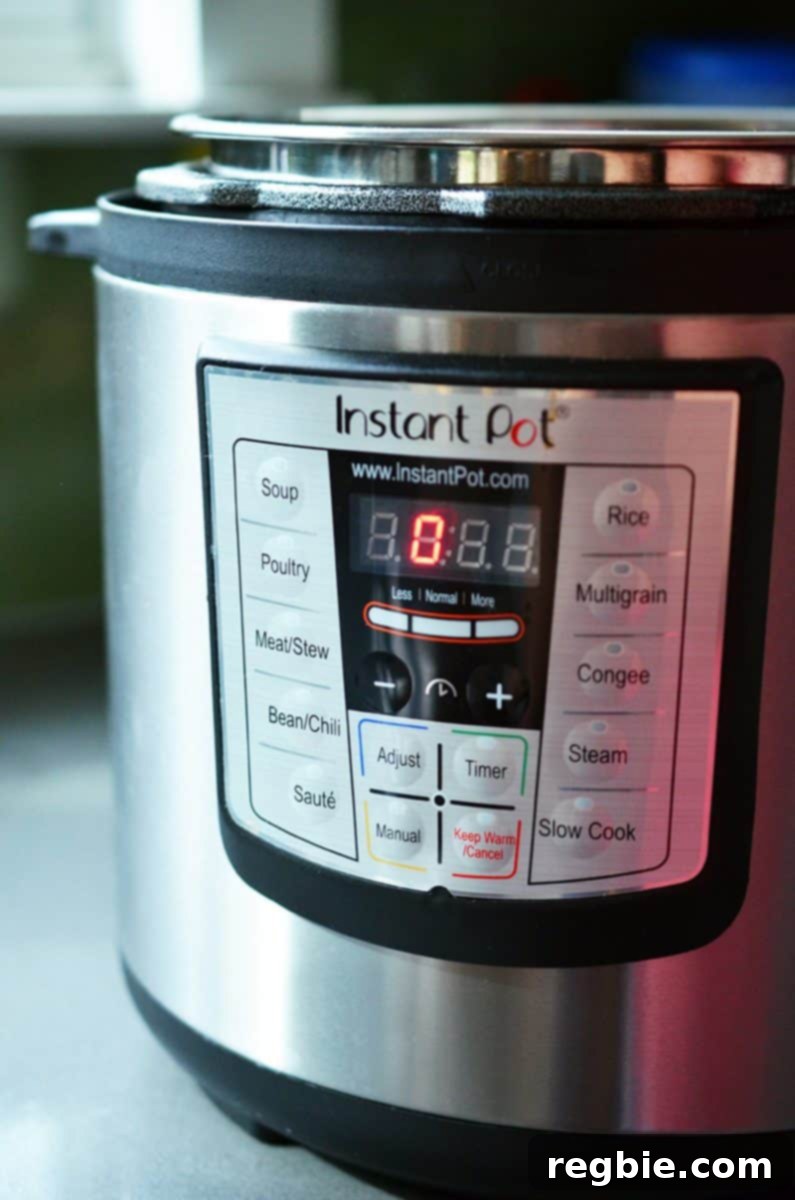
Initially, like many exciting new kitchen tools, my Instant Pot sat patiently in its box, awaiting its moment in the spotlight. But once I cleared enough counter space and finally embraced its potential, there was no turning back. This appliance quickly became an indispensable part of my daily routine, especially for recipes like this Mexican shredded beef. Its standout features include the ability to whip up nutrient-rich bone broth with minimal fuss, eliminating the need to babysit a simmering pot for hours. Furthermore, the built-in sauté function is a true revelation, allowing you to brown aromatics and sear meat directly in the pot before pressure cooking. This means fewer dishes to wash and more concentrated flavors, simplifying meal preparation from start to finish. It’s an investment that truly pays off in convenience, versatility, and the consistent production of incredibly delicious food.
Instant Pot vs. Stovetop Pressure Cooker: A Closer Look
While both electric and stovetop pressure cookers rely on steam and pressure to tenderize food quickly, there are subtle yet significant differences to note, particularly regarding pressure levels and operational convenience. An Instant Pot typically operates at a slightly lower pressure (around 10-12 psi) compared to many stovetop models (which often reach 15 psi). This minor difference means you might need to adjust your cooking times, generally increasing them by about 7 to 15% in an Instant Pot to achieve the same fall-apart tenderness as a stovetop unit. Resources like Hip Pressure Cooking and its comprehensive charts are invaluable for precise time conversions, ensuring your dishes come out perfectly every time.
Beyond pressure levels, the “set-it-and-forget-it” nature is a key differentiator for the Instant Pot. Unlike stovetop versions that require careful monitoring of heat and pressure, electric multi-cookers maintain consistent pressure automatically. This allows you to simply program the cooking time and walk away, freeing you up to attend to other tasks without worrying about burnt food or over-pressurization. For dishes like this Mexican shredded beef, another important aspect is the pressure release method. While a quick release (manual venting) is faster, allowing the pressure to release naturally (which takes about 10-15 minutes) often results in even more tender meats and helps prevent foaming or sputtering. The gentle, gradual decrease in pressure allows the meat to relax, retaining more moisture and yielding a melt-in-your-mouth texture that is simply unparalleled.
It’s also worth noting that many stews and braises, including this Mexican beef, often taste even better the day after they’re prepared. This isn’t just an old wives’ tale; there’s a scientific reason why leftovers can be superior. Over time, flavors meld and deepen, allowing the spices and aromatics to fully infuse the meat and sauce, creating a richer, more harmonious taste profile. So, if you can resist the temptation, making this dish ahead of time and enjoying it the next day can truly elevate your culinary experience!
Essential Ingredients for Irresistible Mexican Beef
Crafting truly memorable Mexican shredded beef starts with selecting the right ingredients. Each component plays a vital role in building the deep, complex flavors that define this hearty dish:
- Boneless beef short ribs, beef brisket, or boneless beef chuck roast: These cuts are paramount for pressure cooking as they contain abundant connective tissue and marbling. Under high pressure, this breaks down beautifully, resulting in incredibly tender, fall-apart beef that’s rich in flavor. For the best results, opt for well-marbled cuts to ensure maximum juiciness and a luscious texture.
- Chili powder: This essential blend of ground dried chilies, often combined with cumin, oregano, and sometimes garlic powder, is the cornerstone of our Mexican seasoning. It provides a warm, earthy heat and a vibrant red hue that’s characteristic of authentic Mexican cuisine.
- Diamond Crystal kosher salt: Known for its coarse, flaky texture and clean flavor, this particular salt is excellent for seasoning meat. Its larger crystals are easier to control, allowing for precise seasoning and ensuring an even distribution of flavor throughout the beef.
- Ghee or fat of choice: Used for sautéing the aromatics, ghee (clarified butter) adds a rich, slightly nutty flavor that complements the Mexican spices. However, if ghee isn’t available or preferred, any high-heat cooking fat such as avocado oil or coconut oil will work effectively.
- Onion: Sautéing thinly sliced onions forms the sweet and aromatic base of our sauce. As they caramelize slightly, they contribute a crucial depth of flavor, enhancing the overall savory profile of the dish.
- Tomato paste: A concentrated burst of umami and sweetness, tomato paste helps build a rich, savory foundation for the sauce. It adds body and intensifies the tomato flavor without making the dish overly watery.
- Garlic: Freshly smashed garlic cloves infuse the dish with pungent, aromatic notes that are absolutely essential to the vibrant flavors found in Mexican cuisine.
- Roasted tomato salsa: Whether homemade (like the Salsa Roja Asada from the cookbook) or a high-quality store-bought variety, a good roasted salsa adds a smoky, tangy, and slightly spicy dimension. This brightens the entire dish and provides a complex background note.
- Bone broth: Provides a rich, savory liquid base that infuses the beef with deep flavor and helps create a luscious, flavorful sauce. Beyond taste, it also offers a nutritional boost.
- Red Boat Fish Sauce: Our secret weapon for an incredible depth of flavor! Just a hint of this high-quality fermented fish sauce amplifies the savory notes (umami) in the beef without imparting any discernible “fishy” taste. It subtly enhances the overall complexity and satisfaction of the dish.
- Freshly ground black pepper: Adds a sharp, piquant finish and helps to balance the warmth and earthiness of the other Mexican spices.
- Minced cilantro (optional): For a burst of vibrant freshness and a classic bright, herbaceous flavor when serving. It adds a beautiful contrasting note to the rich beef.
- Radishes, thinly sliced (optional): Offer a refreshing crunch and a hint of peppery bite. Their crisp texture and mild spiciness beautifully complement the rich, tender beef, adding an unexpected layer of dimension.
Step-by-Step: Mastering Instant Pot Mexican Shredded Beef
Making this succulent Mexican shredded beef is incredibly straightforward, whether you’re using an electric Instant Pot or a traditional stovetop pressure cooker. The core method remains consistent, with the primary difference being a slight adjustment in cooking time under high pressure: electric models typically require a few extra minutes compared to stovetop versions (e.g., 35 minutes versus 30 minutes). Follow these steps for perfectly tender, flavorful results every time:
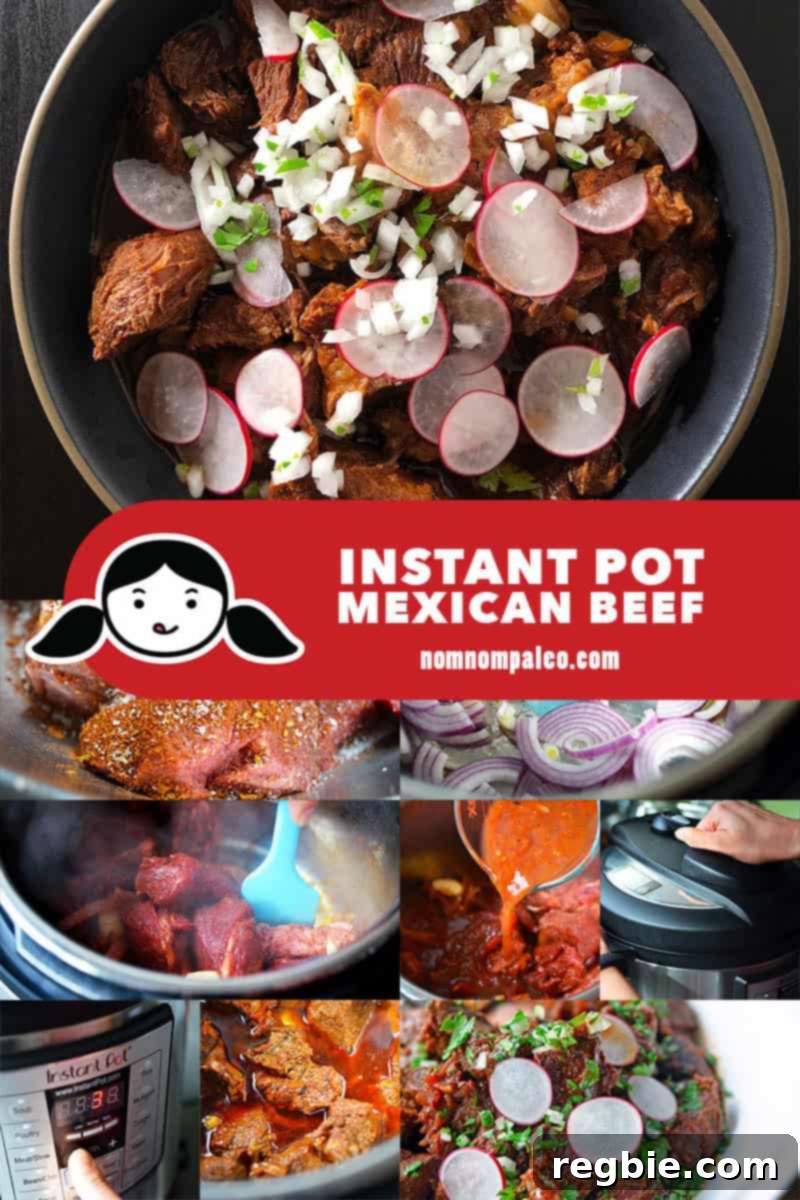
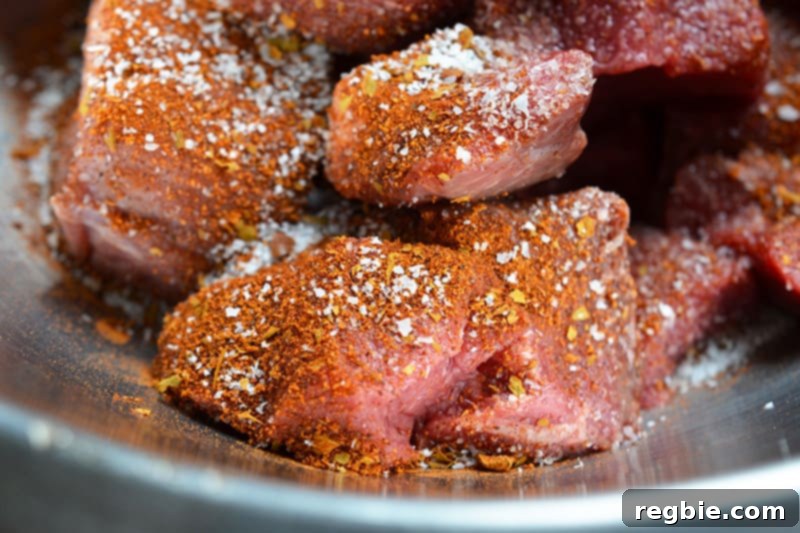
- Prepare the Beef: In a spacious bowl, combine your cubed beef (short ribs, brisket, or chuck roast) with the chili powder and Diamond Crystal kosher salt. Toss well with your hands or tongs to ensure every piece of beef is thoroughly coated with the vibrant seasoning blend. This initial step is crucial for infusing the beef with flavor from the start.
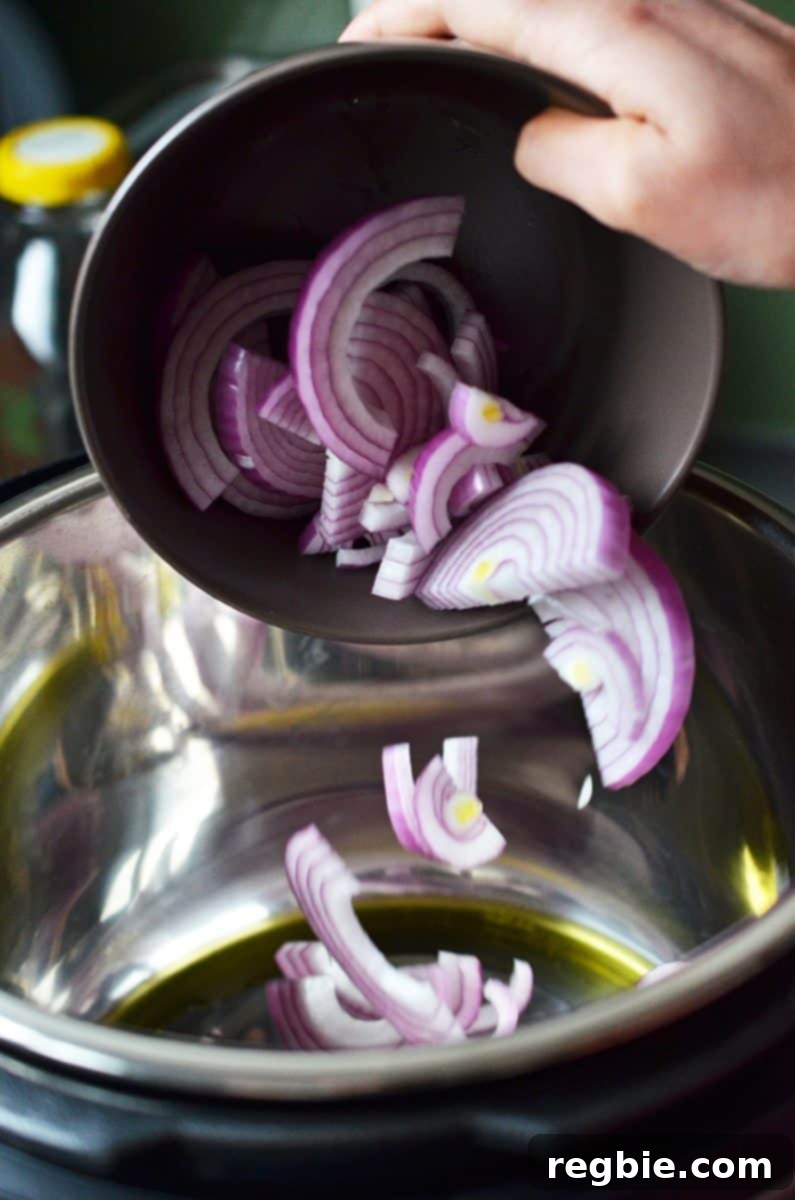
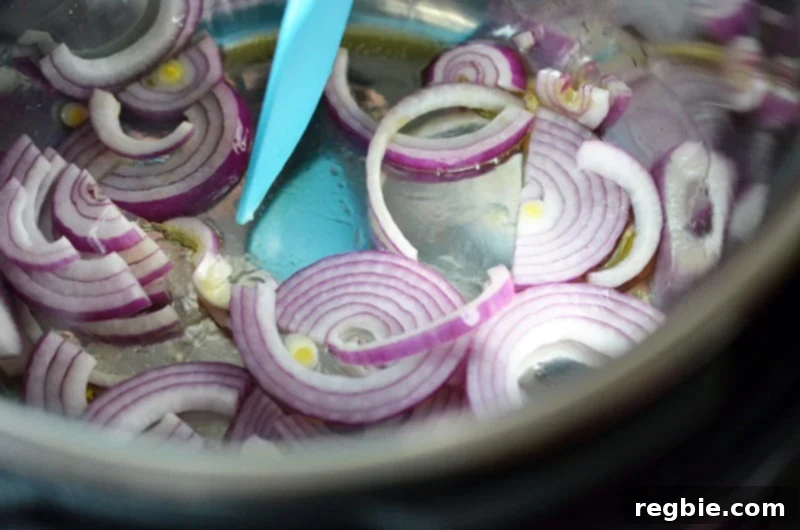
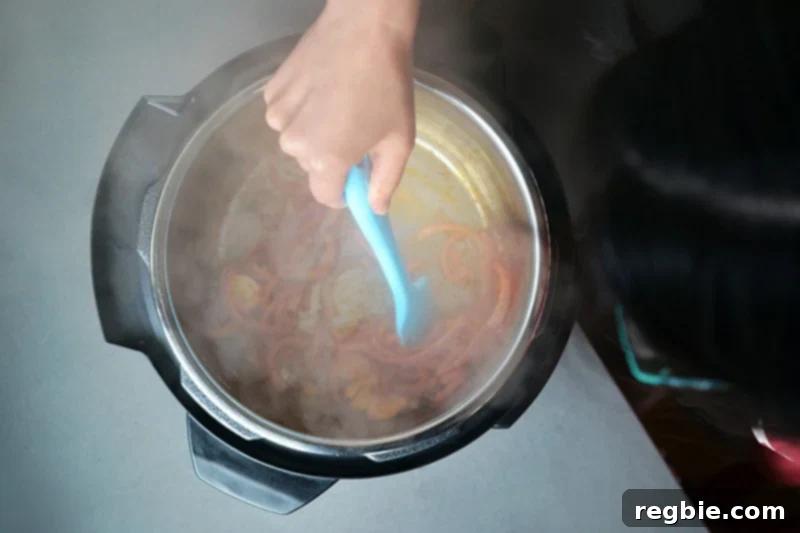
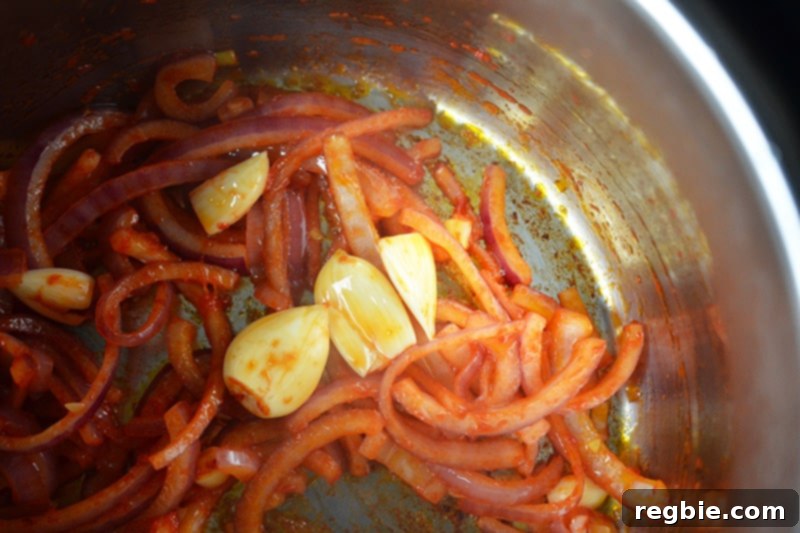
- Sauté Aromatics: Activate the “Sauté” function on your Instant Pot (set to Normal or Medium) and add the ghee (or your chosen cooking fat) to the cooking insert. Allow the fat to melt and become shimmering hot. Once ready, add the thinly sliced onions. Sauté them, stirring occasionally with a wooden spoon or spatula, until they become soft, translucent, and slightly caramelized, typically about 5-7 minutes. If you’re using a stovetop pressure cooker, simply melt the fat over medium heat in the pot and sauté the onions in the same manner until softened.
- Infuse More Flavor: Stir in the tomato paste, ensuring it fully coats the sautéed onions, and then add the smashed garlic cloves. Cook for a brief 30 seconds, stirring constantly, until the aromatics become incredibly fragrant and slightly darkened. This quick cook time helps to deepen the flavors of the tomato paste and garlic without burning them, forming a robust base for your beef.
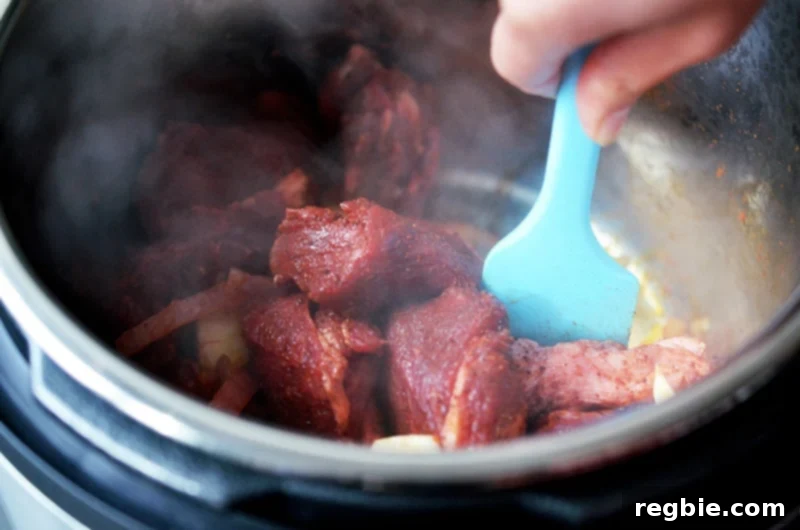
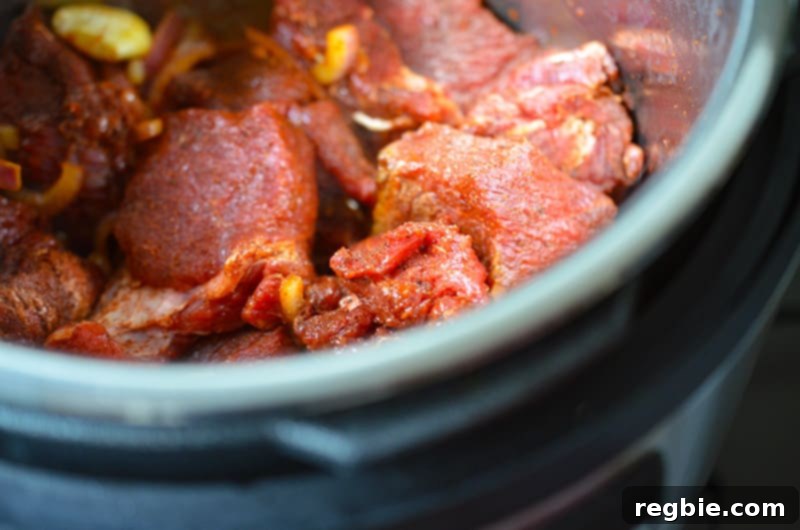
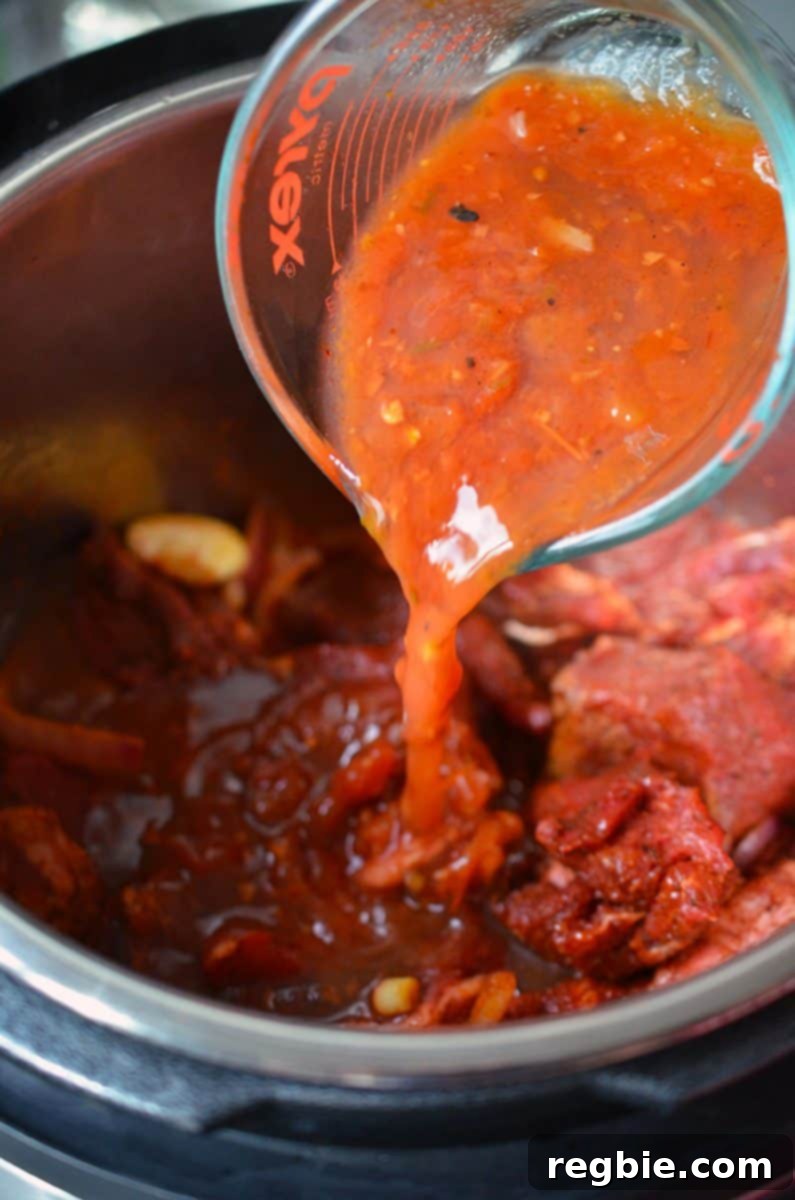
- Combine All Ingredients: Add the seasoned beef to the pot, gently stirring it with the sautéed aromatics until well combined. Next, pour in the roasted tomato salsa, the rich bone broth, and the crucial dash of Red Boat fish sauce. Give everything a good stir to ensure all ingredients are evenly distributed and submerged in the flavorful liquid.
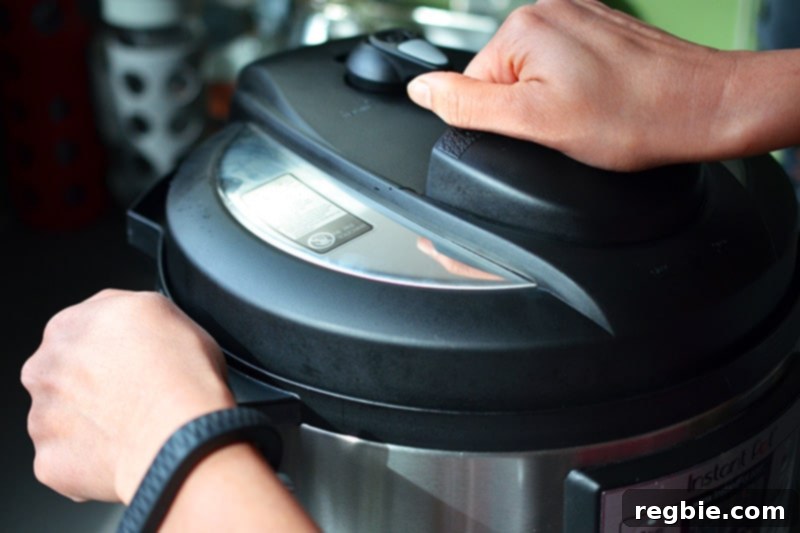
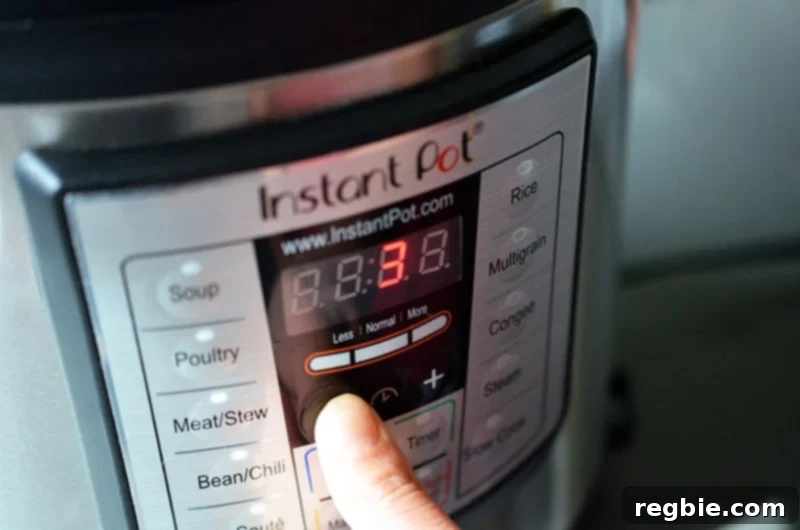
- Pressure Cook to Perfection: Securely cover and lock the lid of your Instant Pot. Ensure the steam release valve is set to the “Sealing” position. Press “Keep Warm/Cancel” to clear any previous settings, then select the “Manual” or “Pressure Cook” button and set the cooking time to 35 minutes under high pressure. If your beef cubes are particularly small or you prefer slightly firmer beef, you might reduce the time slightly. Once programmed, you are free to walk away and let the Instant Pot do its magic! For stovetop pressure cookers, simply cook over high heat until high pressure is achieved, then reduce the heat to low to maintain high pressure for approximately 30 minutes.
- Natural Pressure Release: Once the cooking cycle is complete, the Instant Pot will automatically switch to “Keep Warm” mode. Resist the urge to do a quick release! If using a stovetop pressure cooker, remove it from the heat. In both scenarios, allow the pressure to release naturally for about 15 minutes. This natural release is crucial for tenderizing the beef and preventing it from becoming tough, as it allows the internal temperature to drop gradually.
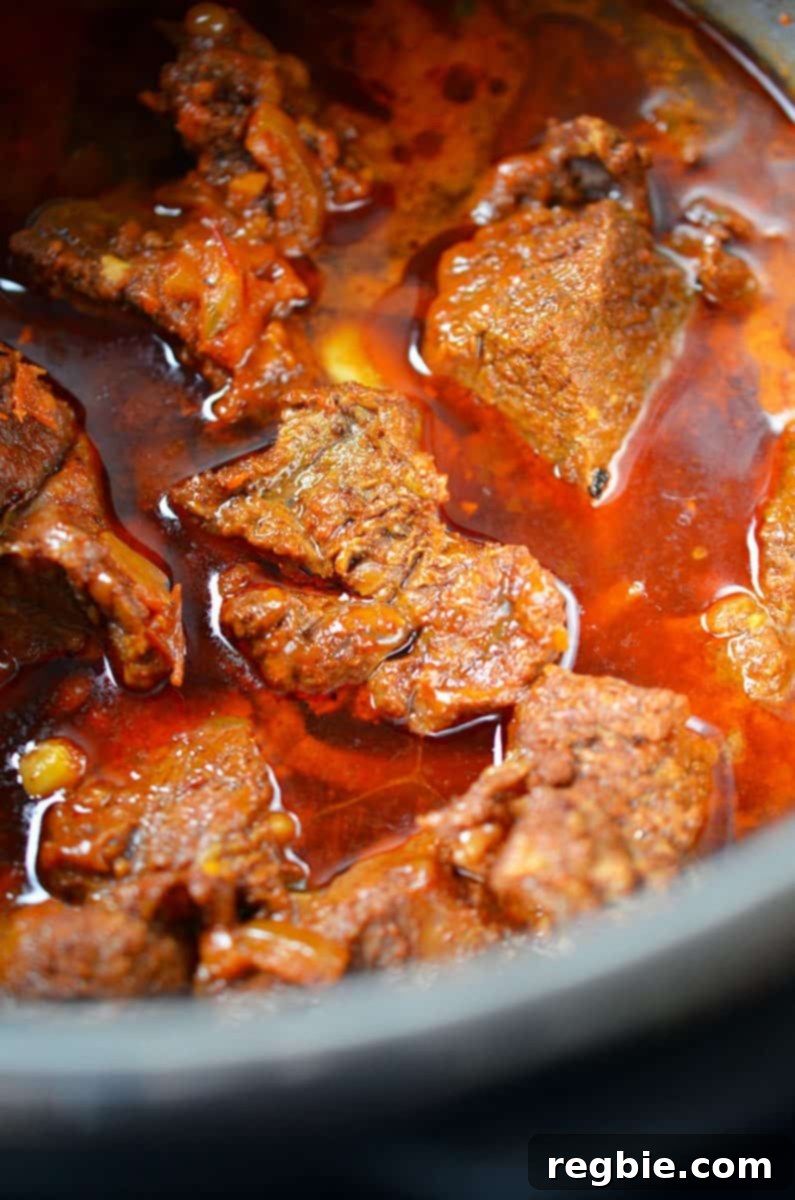
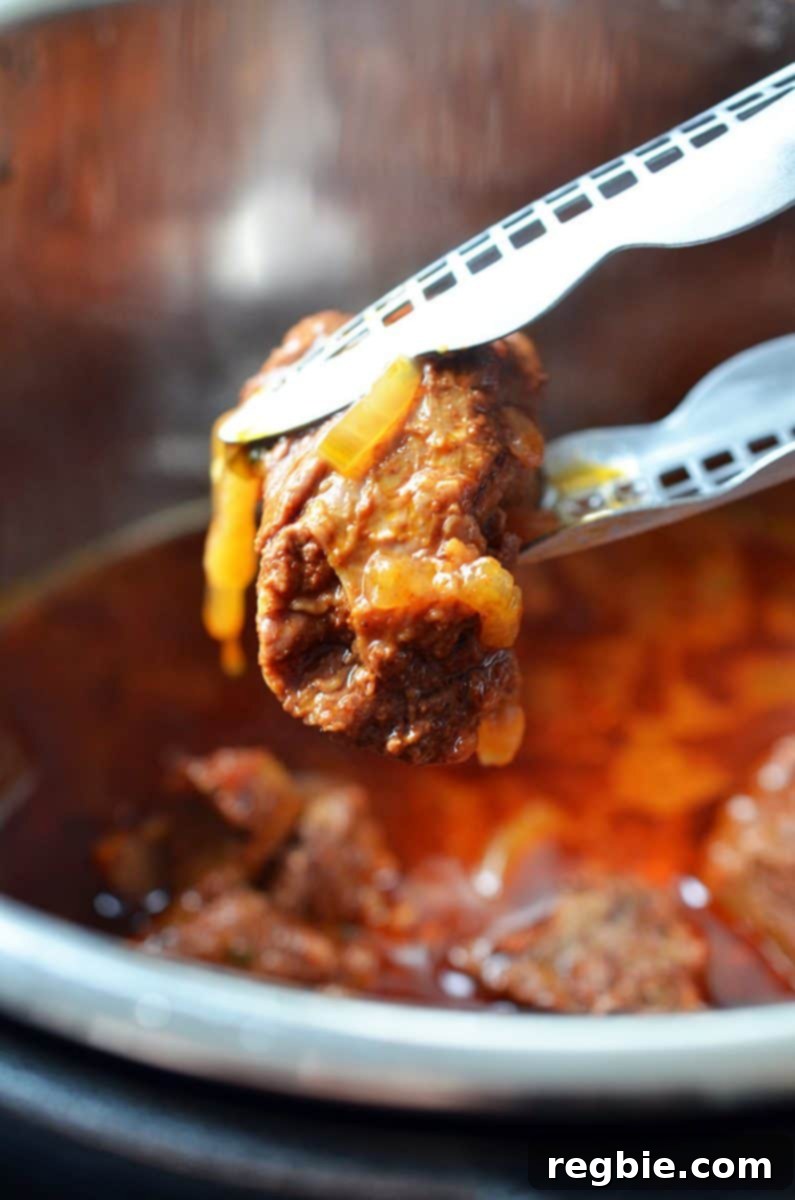
- Finish and Serve: Carefully unlock and remove the lid. The beef should be incredibly fork-tender and shred effortlessly with two forks. Taste the stew and adjust the seasoning with additional salt and freshly ground black pepper as needed. You can serve it immediately for a piping hot meal, or for even deeper, more integrated flavors, store it in the refrigerator for up to 4 days and gently reheat before serving.
- Garnish: Just before serving, top your hot shredded beef with a generous sprinkle of fresh minced cilantro and thinly sliced radishes for a burst of vibrant color, refreshing crispness, and a delightful peppery crunch. A squeeze of fresh lime juice also adds a wonderful bright finish.
Versatile Serving Ideas
The beauty of this Instant Pot Mexican Shredded Beef lies in its incredible versatility, making it a perfect component for a multitude of meals throughout the week. It pairs wonderfully with a variety of sides and can be transformed into numerous delicious dishes:
- Low-Carb & Whole30 Options: For those following a Whole30, paleo, or low-carb lifestyle, this shredded beef is an absolute dream come true. Serve it generously alongside a crisp green salad, a colorful medley of roasted vegetables (such as bell peppers, zucchini, or asparagus), or a generous portion of flavorful Mexican Cauliflower Rice. It also makes a fantastic, satisfying base for a hearty “power bowl” topped with creamy avocado slices, extra salsa, and a squeeze of fresh lime juice.
- Classic Mexican Feasts: For a more traditional and comforting Mexican-themed dinner, pile the tender, juicy beef into warm grain-free tortillas (or your favorite corn or flour tortillas) to create mouth-watering tacos, burritos, or enchiladas. Don’t forget to offer a selection of vibrant toppings like extra roasted salsa, creamy guacamole, tangy pickled onions, or a sprinkle of fresh cotija cheese (if not adhering to Whole30).
- Beyond the Dinner Plate: Get creative with leftovers! This versatile shredded beef is excellent in breakfast scrambles or served alongside fried eggs for a savory and protein-packed morning meal. Use it to stuff bell peppers for a wholesome baked dish, layer it into quesadillas, or add it to a robust chili or soup for an extra layer of deep, complex flavor and satisfying protein. Its rich taste holds up beautifully in various culinary applications.
Storing and Reheating Leftovers
This Instant Pot Mexican Shredded Beef is an excellent recipe for meal prep, as it stores beautifully and tastes even better the next day. For optimal freshness and flavor, transfer any leftovers, including the delicious sauce, to an airtight container and refrigerate for up to 4 days. If you’re planning further ahead or want to stock your freezer, the cooked beef freezes wonderfully for up to 3 months. To freeze, divide the beef and sauce into individual portions in freezer-safe containers or heavy-duty freezer bags. Ensure minimal air is trapped to prevent freezer burn. Thaw overnight in the refrigerator before reheating.
To reheat, gently warm the beef on the stovetop over medium-low heat until heated through, adding a splash of bone broth or water if the sauce has thickened too much. Stir occasionally to ensure even heating. Alternatively, you can microwave individual portions in 30-second intervals, stirring in between each interval, until piping hot. Avoid overheating to maintain the beef’s tender texture.
Looking for more delicious recipe ideas? Be sure to explore our extensive Recipe Index. You’ll also discover exclusive recipes and culinary inspiration in our award-winning cookbooks: Nom Nom Paleo: Food for Humans (Andrews McMeel Publishing 2013), Ready or Not! (Andrews McMeel Publishing 2017), and Nom Nom Paleo: Let’s Go! (Andrews McMeel Publishing 2022).
Printer-Friendly Recipe Card
Instant Pot Mexican Beef
15 minutes
45 minutes
1 hour
6
servings
Michelle Tam
Ingredients
- 2½ pounds boneless beef short ribs beef brisket, or beef chuck roast cut into 1½- to 2-inch cubes
- 1 tablespoon chili powder
- 1½ teaspoons Diamond Crystal kosher salt
- 1 tablespoon ghee or fat of choice
- 1 medium onion thinly sliced
- 1 tablespoon tomato paste
- 6 garlic cloves peeled and smashed
- ½ cup roasted tomato salsa like the Salsa Roja Asada from my red cookbook or—or just buy some
- ½ cup Instant Pot bone broth
- ½ teaspoon Red Boat fish sauce
- freshly ground black pepper
- ½ cup minced cilantro optional
- 2 radishes thinly sliced (optional)
Instructions
-
The cooking process is largely consistent whether you opt for an electric Instant Pot or a stovetop pressure cooker. The main variation lies in the high-pressure cooking duration: electric models typically require about 35 minutes, whereas stovetop versions usually take around 30 minutes.
-
In a large bowl, combine your cubed beef with the chili powder and salt, tossing thoroughly to ensure even coating.
-
For the Instant Pot, press “Sauté” and add ghee to the cooking insert. Once melted, add onions and sauté until translucent. For stovetop cookers, melt fat over medium heat and sauté onions.
-
Stir in tomato paste and garlic, cooking for 30 seconds until fragrant, being careful not to burn the garlic.
-
Add the seasoned beef, then pour in the salsa, bone broth, and fish sauce. Stir to combine all ingredients.
-
Cover and lock the Instant Pot lid. Press “Keep Warm/Cancel” then “Manual” or “Pressure Cook” and set for 35 minutes on high pressure. For stovetop models, cook on high heat until high pressure is reached, then reduce heat to low and maintain high pressure for approximately 30 minutes.
-
Once cooking is finished, the Instant Pot will switch to “Keep Warm” (or remove stovetop pot from heat). Allow pressure to release naturally for about 15 minutes.
-
Unlock the lid, taste, and season with salt and pepper as needed. The beef should be incredibly tender and easily shredded. Serve immediately or store for later.
-
Before serving, garnish the hot stew with fresh cilantro and thinly sliced radishes for added flavor and texture.
Nutrition
Carbohydrates: 6g |
Protein: 38g |
Fat: 22g |
Fiber: 1g
Nutrition information is automatically calculated, so should only be used as an approximation.