
Indulge Guilt-Free: The Ultimate Paleo Dairy-Free Chocolate Pudding Recipe
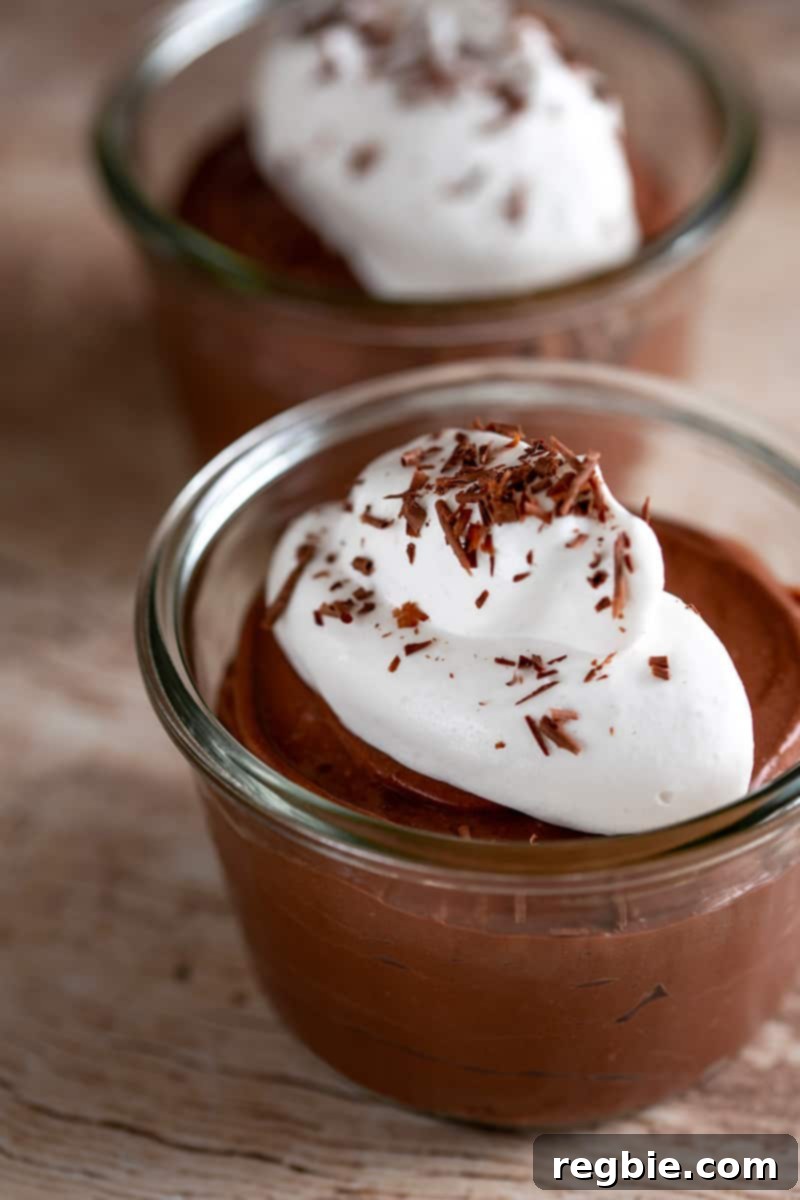
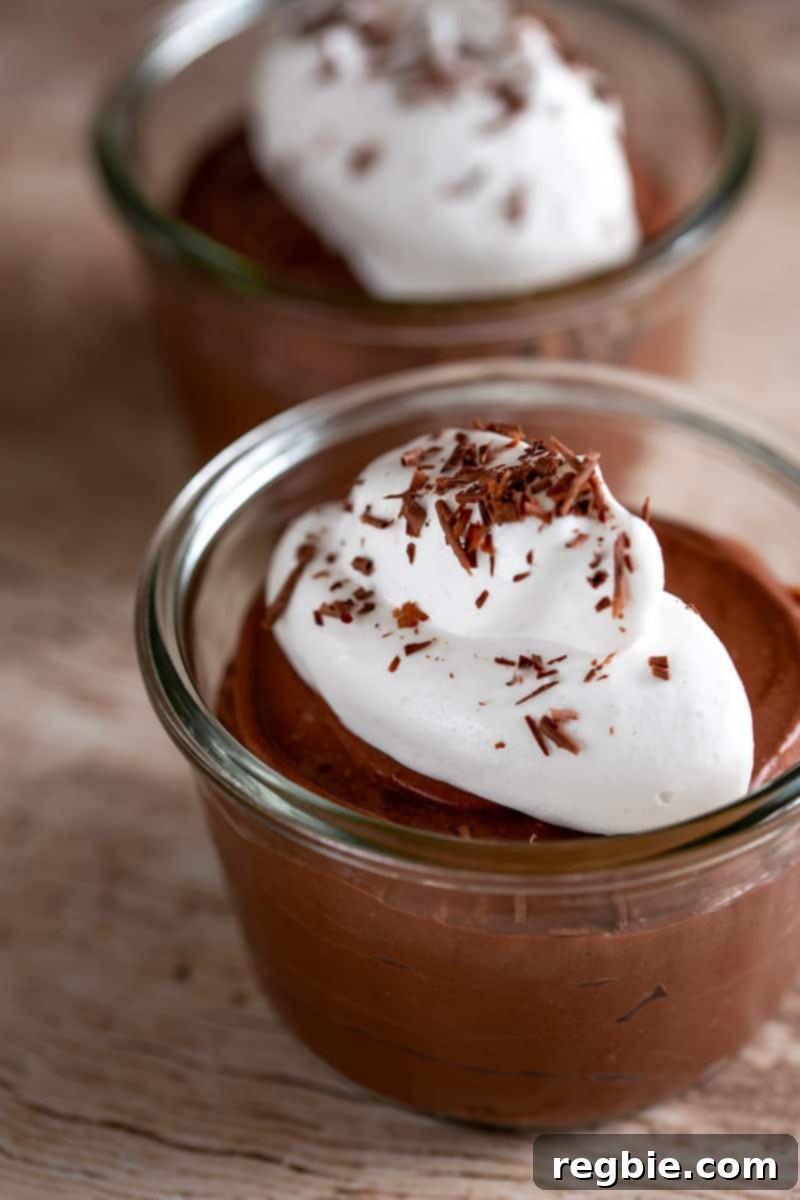
Hey there, paleo enthusiasts and chocolate lovers! Do you find yourself longing for that classic, creamy JELL-O style chocolate pudding from childhood? Fret no more! This incredible homemade dairy-free chocolate pudding recipe is crafted with just six simple ingredients, and it’s guaranteed to be a huge hit with your entire family. It’s so rich and decadent, no one will guess it’s a healthy, paleo-friendly treat!
The inspiration for this recipe struck shortly after I perfected my Matcha Pudding recipe. My younger son, Ollie—who, unlike his mama, isn’t quite as smitten with matcha—made a very specific request. He wanted a chocolate version, one that reminded him of the boxed pudding mixes I used to whip up for him. And he added one more crucial detail: “It can’t taste too healthy, mom.” Challenge accepted, indeed! This quest led me to create a dairy-free chocolate pudding that’s not only delicious but also meets my high standards for wholesome ingredients, without compromising on that nostalgic, comforting flavor.
Table of Contents
- Craving Classic Chocolate Pudding? Look No Further!
- Why Choose Dairy-Free & Paleo?
- The Secret to Non-Coconutty Chocolate Flavor
- Achieving Dreamy Creaminess: The Whipping Method
- Essential Ingredients for Your Paleo Pudding
- Step-by-Step: How to Make This Irresistible Pudding
- Pro Tips for Perfect Paleo Chocolate Pudding
- Storing Your Homemade Chocolate Delight
- More Healthy Chocolate Dessert Recipes to Explore
- Paleo Chocolate Pudding (Dairy Free, Gluten Free) – Full Recipe Card
Craving Classic Chocolate Pudding? Look No Further!
I completely understood Ollie’s preference. JELL-O chocolate pudding was one of my all-time favorite childhood desserts—a creamy, rich treat that I, even as a middle schooler, could easily prepare myself. It was a simple joy, a sweet escape after school. However, years later, long after becoming a mom and starting to pay closer attention to what went into our food, I began scrutinizing the ingredient lists on those familiar cardboard cartons. What I discovered led me to stop buying it altogether. It wasn’t until Ollie’s innocent request that I seriously considered recreating this beloved dessert from scratch. Thankfully, I found that with a few paleo-friendly ingredients readily available in my pantry, I could craft a version that tasted good enough to earn my picky son’s enthusiastic approval. This recipe delivers all the comforting nostalgia without any of the questionable additives, proving that healthy can indeed be delicious!
Why Choose Dairy-Free & Paleo?
Embracing a dairy-free and paleo lifestyle offers numerous health benefits, from improved digestion to reduced inflammation. However, finding satisfying desserts that fit these dietary guidelines can sometimes be a challenge. Many traditional puddings rely heavily on dairy and refined sugars, making them off-limits. This recipe provides a delicious solution, allowing you to enjoy a classic comfort food without straying from your health goals.
Going dairy-free means avoiding lactose and casein, which can be problematic for many people. By using full-fat coconut milk, we not only achieve a wonderfully creamy texture but also introduce healthy fats. The paleo aspect focuses on whole, unprocessed ingredients, eliminating grains, legumes, and refined sugars. This pudding uses honey as a natural sweetener, aligning perfectly with paleo principles. It’s a testament to how flavorful and indulgent a dessert can be while still supporting your well-being.
The Secret to Non-Coconutty Chocolate Flavor
One of Ollie’s frequent complaints about my coconut milk-based paleo desserts is that they often taste “too much like coconuts.” While I’ve experimented with almond milk and cashew milk, I genuinely adore the rich, silky creaminess that canned full-fat coconut milk provides (specifically, I swear by the 365 Everyday Value brand organic full-fat canned coconut milk). Therefore, my mission became finding a clever way to mask the distinctive coconut flavor.
The ultimate solution was surprisingly simple: significantly boost the amount of cocoa powder! When I increased the cocoa powder to a generous ⅓ cup, Ollie devoured his pudding without a single mention of coconut. All he noticed was the delightful, intense chocolatey goodness. The increased cocoa not only deepens the flavor but also transforms the color into a rich, dark brown, enhancing the overall experience. You have the flexibility to use either natural cocoa powder or Dutch-processed cocoa powder in this recipe. Natural cocoa typically has a fruitier, more acidic flavor, while Dutch-processed cocoa is darker, milder, and less acidic. Both work beautifully here, so feel free to use whichever you have on hand or prefer for its subtle nuances!
Achieving Dreamy Creaminess: The Whipping Method
Just like my successful gelatin-thickened matcha pudding, this chocolate version requires a crucial step to achieve its signature ultra-creamy, smooth texture: whipping the chilled pudding. Gelatin, while excellent for setting, can sometimes result in a slightly jiggly, JELL-O-like consistency if not handled correctly. The magic happens after the pudding has fully chilled and solidified.
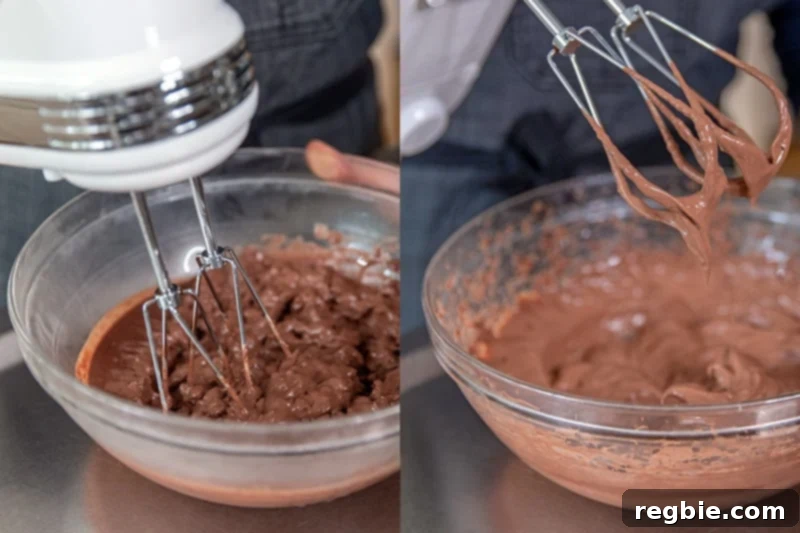
The key to transforming this firm gel into a luscious, velvety pudding is a hand mixer or a sturdy whisk. You’ll need to vigorously beat the chilled mixture. Initially, it might seem a bit lumpy, but with persistent whipping, the gelatinous chunks will break down and emulsify, gradually morphing into a perfectly smooth and incredibly creamy homemade chocolate pudding. This process aerates the pudding, giving it a light, airy quality that melts in your mouth. A vital tip to remember: if you refrigerate the whipped pudding and plan to enjoy it later, it will firm up again. To restore that irresistible soft, dreamy texture, simply give it another quick whip right before serving.
Essential Ingredients for Your Paleo Pudding
- Full-Fat Canned Coconut Milk: This is the star ingredient for creaminess! Make sure to use full-fat for the richest texture; light coconut milk won’t yield the same luxurious result. I prefer organic brands like 365 Everyday Value. While you *can* try almond milk or oat milk, be aware that the pudding might not be as rich or thick.
- Gelatin: Absolutely essential for setting the pudding. Double-check that you are using unflavored gelatin powder, not collagen peptides! Collagen peptides do not have the gelling properties needed for this recipe, so they won’t work as a thickener.
- Unsweetened Cocoa Powder: As discussed, this is key for a deep chocolate flavor that masks any coconut notes. Use a good quality cocoa powder for the best taste.
- Honey: A wonderful natural sweetener that perfectly complements the chocolate. If you’re aiming for a low-carb or keto version, liquid allulose is an excellent substitute for honey, providing sweetness without the sugar. Adjust to your desired level of sweetness.
- Diamond Crystal Kosher Salt: A tiny pinch of salt is crucial for enhancing the chocolate flavor and balancing the sweetness. Diamond Crystal is often preferred for its larger crystals and milder saltiness, but any fine sea salt will work.
- Vanilla Extract: A classic pairing with chocolate, vanilla extract adds depth and warmth to the pudding’s flavor profile. Use pure vanilla extract for the best results.
- Whipped Coconut Cream (optional): For an extra touch of decadence and presentation, a dollop of whipped coconut cream makes a fantastic topping.
- Dark Chocolate Shavings (optional): Shaved dark chocolate adds visual appeal and an extra layer of chocolatey texture.
Step-by-Step: How to Make This Irresistible Pudding
Crafting this dairy-free chocolate pudding is surprisingly simple and incredibly rewarding. Follow these steps for a perfect, creamy batch every time:
Step 1: Bloom the Gelatin
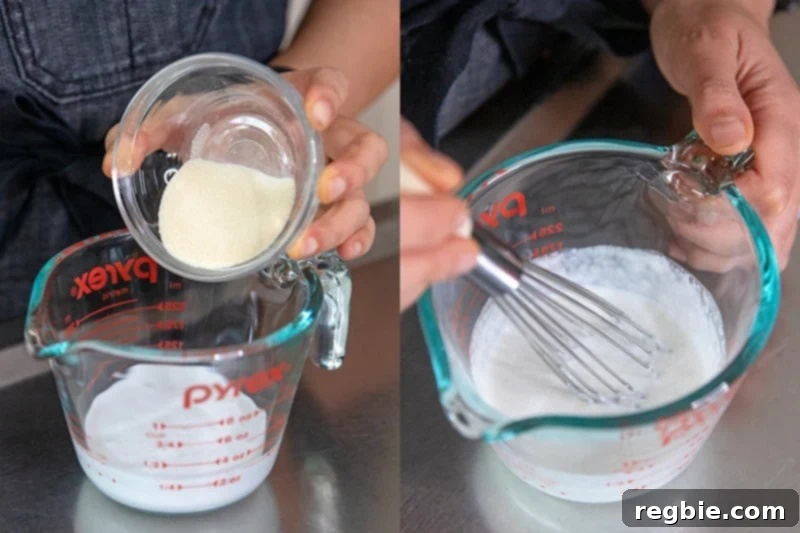
Begin by giving your can of full-fat coconut milk a good shake to ensure its contents are well mixed. Pour exactly ¼ cup of this coconut milk into a small measuring cup. Add the gelatin powder to the coconut milk and whisk vigorously until it’s completely incorporated and smooth. This process, known as “blooming,” allows the gelatin to soften and dissolve evenly later. Set this mixture aside for a few minutes while you prepare the rest of the ingredients.
Step 2: Heat the Chocolate Base
Next, pour the remaining coconut milk into a medium saucepan. Add the generous ⅓ cup of unsweetened cocoa powder, the ¼ cup of honey (or your chosen sweetener), and the ⅛ teaspoon of kosher salt. Place the saucepan over medium heat, stirring frequently with a whisk or spoon. Continue stirring until all these ingredients are thoroughly combined and the mixture is smooth and uniform in color.
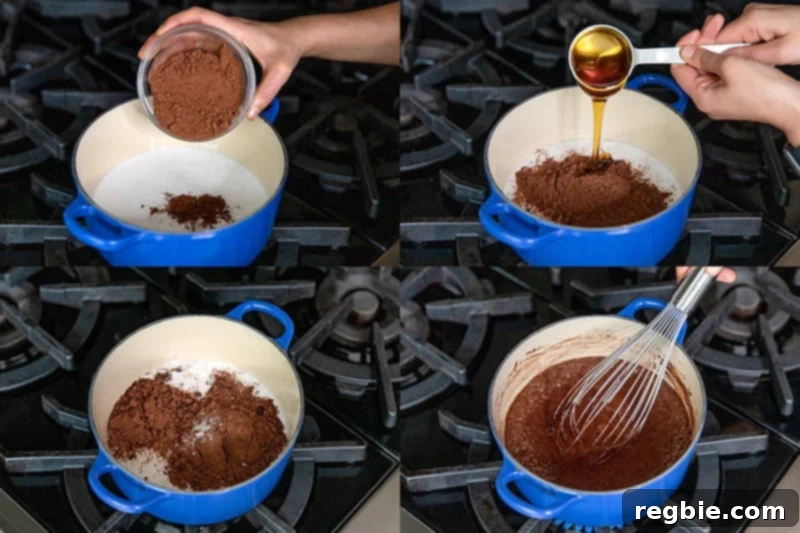
Step 3: Bring to a Gentle Simmer
Continue cooking the chocolatey mixture, stirring often, until you start to see small bubbles forming around the edges of the saucepan. This indicates it’s reached a gentle simmer, which is essential for activating the gelatin when it’s added. Once you see these bubbles, immediately turn off the heat to prevent scorching and ensure the perfect consistency.
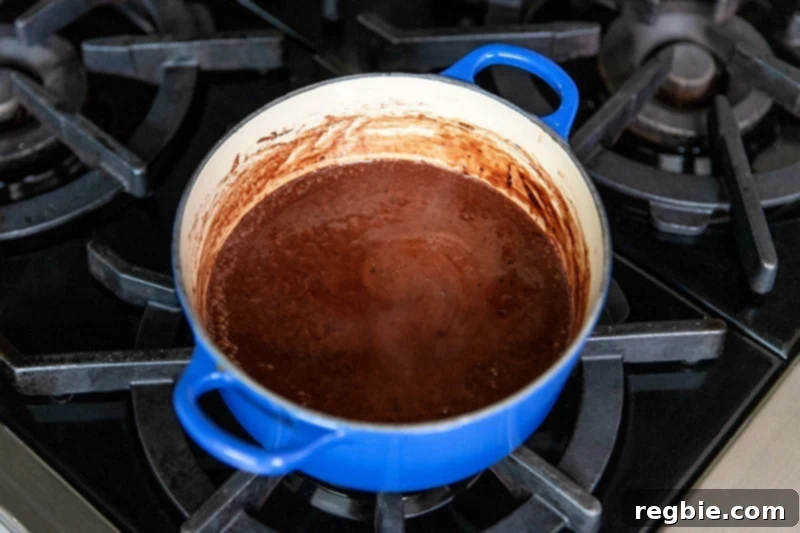
Step 4: Incorporate Gelatin and Vanilla
Now, add the bloomed gelatin-coconut milk mixture (from Step 1) and the 2 teaspoons of vanilla extract directly into the warm chocolate base in the saucepan. Stir everything together exceptionally well, making sure the gelatin completely dissolves and integrates into the warm liquid. The residual heat from the pudding will melt the bloomed gelatin, smoothly incorporating it into the mixture.
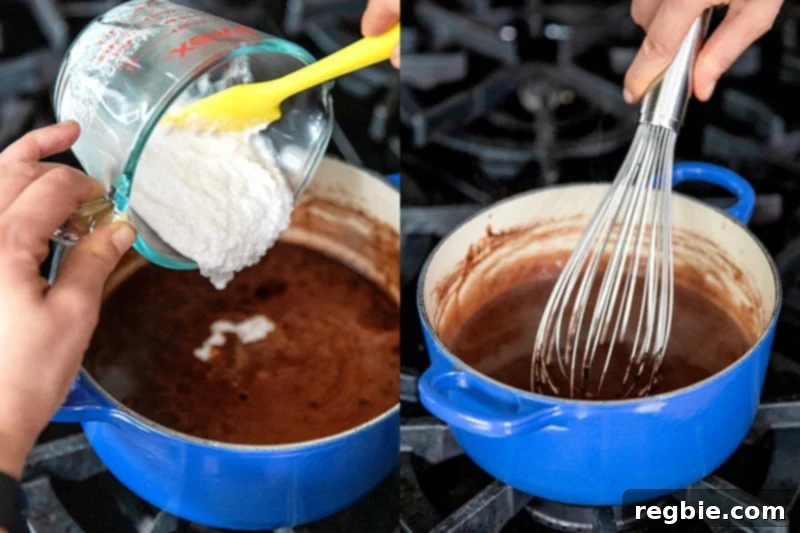
Step 5: Chill to Perfection
Once everything is thoroughly mixed, transfer the pudding mixture to a heat-safe container or individual bowls. Chill the mixture in the refrigerator for the first 30 minutes uncovered. After this initial cooling, cover it tightly (to prevent a skin from forming) and continue chilling for an additional 1½ hours, or until the pudding is completely solid and firm. This chilling time is crucial for the gelatin to set properly. (Pro tip: You can prepare this mixture up to 4 days in advance and keep it in the fridge before the final whipping step, making it a fantastic make-ahead dessert!)
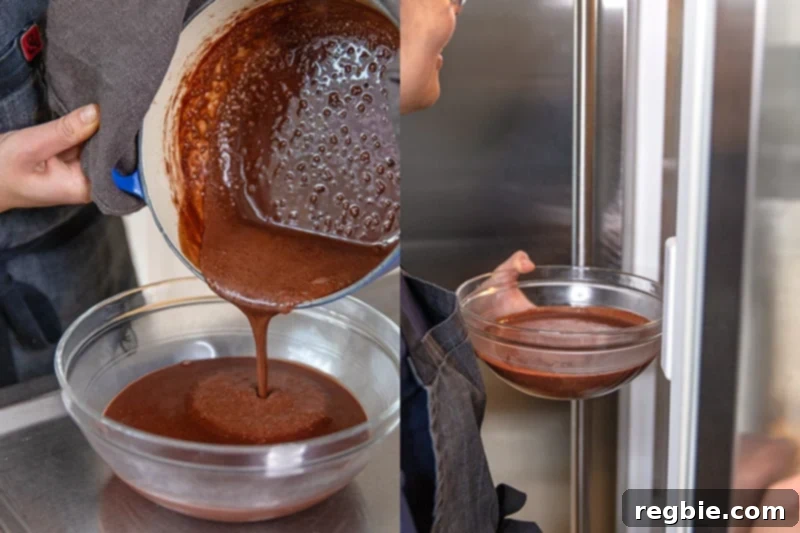
Step 6: Whip for Creaminess
Once the pudding is thoroughly chilled and firm, it’s time for the magic! With a hand mixer or a sturdy whisk, beat the solid pudding. Don’t be alarmed if it initially looks lumpy or stiff; keep beating. The pudding will gradually transform from its stiff, JELL-O-like texture into a wonderfully thick, smooth, and fluffy consistency. This whipping process incorporates air and breaks down the gelatin’s structure, creating that dreamy, melt-in-your-mouth pudding texture we’re aiming for.
Step 7: Serve and Enjoy!
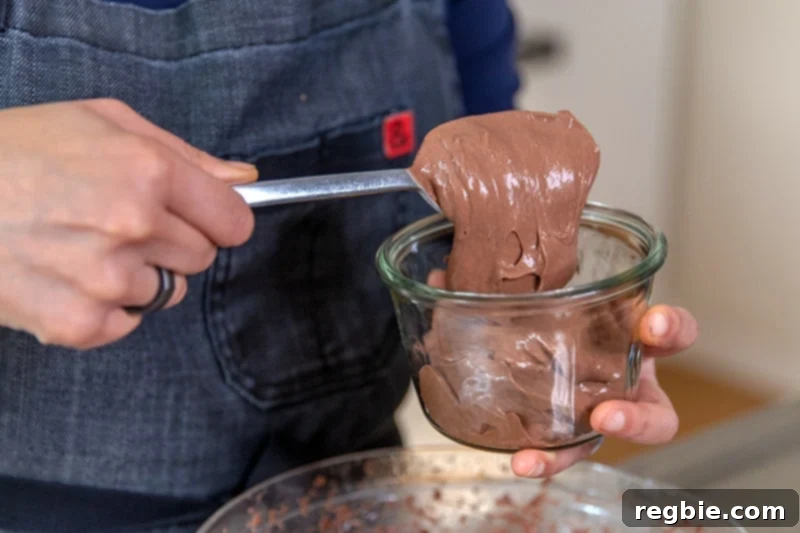
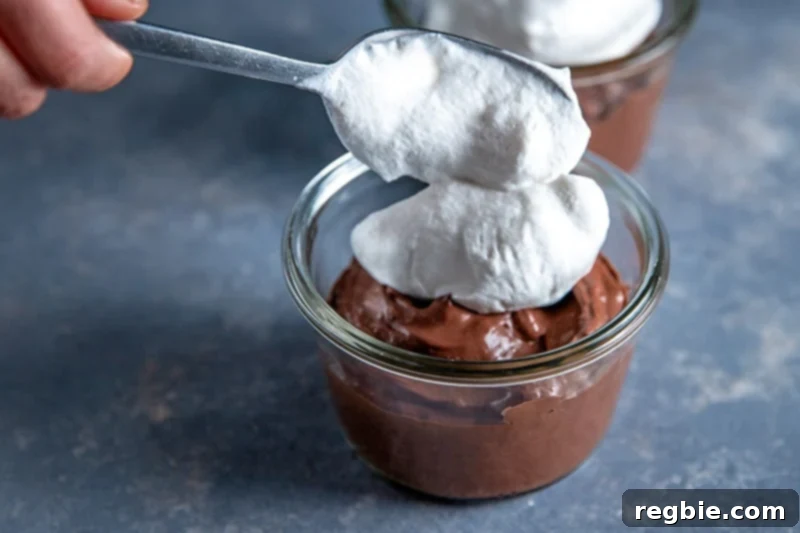
Divide the freshly whipped pudding into four individual bowls or cups. Now comes the fun part: garnishing! Spoon a generous dollop of whipped coconut cream on top if desired for an extra layer of rich flavor and creamy texture. For an elegant finish and an extra chocolatey kick, you can also shave some dark chocolate over the top. Serve immediately and savor every spoonful of this homemade paleo chocolate pudding!
Pro Tips for Perfect Paleo Chocolate Pudding
- Ensure Full-Fat Coconut Milk: This cannot be stressed enough. The fat content is crucial for the pudding’s creamy texture. Light coconut milk will result in a much thinner, less satisfying pudding.
- Proper Gelatin Blooming: Don’t skip whisking the gelatin into a small portion of cold coconut milk first. This prevents clumps when it’s added to the warm mixture.
- Don’t Boil the Mixture: While you want the chocolate base to be hot enough to dissolve the gelatin, avoid a rolling boil. A gentle simmer is perfect to ensure even heating without scorching the coconut milk or changing the flavor of the honey.
- Sweetness Adjustment: Taste the warm chocolate mixture before adding the gelatin. If you prefer it sweeter, add a bit more honey or allulose. Remember, flavors can mellow slightly when chilled.
- Patience with Chilling: The chilling time is essential for the gelatin to set. Resist the urge to rush it! A fully set pudding is easier to whip into the desired creamy consistency.
- Whipping Technique: Use a hand mixer for the quickest and easiest whipping, but a sturdy whisk and a little arm strength will also get the job done. The goal is to break down the gelled structure and aerate it.
- Serving Temperature: This pudding is best served chilled. The cold temperature enhances its rich flavor and creamy texture.
How to Store Your Homemade Chocolate Delight
Proper storage ensures your dairy-free chocolate pudding stays fresh and delicious. You can store the un-whipped, chilled pudding in the refrigerator in a sealed airtight container for up to 4 days. This makes it an excellent option for meal prep or a make-ahead dessert. Simply whip it up right before serving to achieve that perfect, fluffy pudding texture.
It’s important to note that if you refrigerate the pudding *after* it has been whipped, it will re-solidify and regain a more JELL-O-like texture due to the gelatin. While still perfectly edible, it won’t have the desired smooth, creamy consistency of freshly whipped pudding. To restore the correct pudding texture, you’ll simply need to re-whip it with a hand mixer or whisk for a minute or two before serving again. This quick re-whip makes it easy to enjoy perfectly creamy pudding throughout the week!
More Healthy Chocolate Dessert Recipes to Explore
If you’re a chocolate lover seeking more healthy, paleo-friendly treats, explore these delightful recipes:
- Fudgy Paleo Brownies
- Easy Chocolate Lava Cake
- Nom Nom Chocolate Truffles
- Coco-Nutty Dark Chocolate Bark
- Torta Caprese
- Mexican Chocolate Pots de Creme
- Kelly Brozyna’s Chocolate Pie
- Chocolate Zucchini Muffins
Looking for even more incredible recipe ideas? Head on over to my Recipe Index for a treasure trove of delicious and healthy meals. You’ll also discover exclusive, mouth-watering recipes in my acclaimed cookbooks: Nom Nom Paleo: Food for Humans (Andrews McMeel Publishing 2013), Ready or Not! (Andrews McMeel Publishing 2017), and the latest hit, Nom Nom Paleo: Let’s Go! (Andrews McMeel Publishing 2022). Happy cooking!
Paleo Chocolate Pudding (Dairy Free, Gluten Free)
5 minutes
25 minutes
2 hours
2 hours 30 minutes
4
Michelle Tam
Ingredients
- 13.5 ounces full-fat canned coconut milk divided
- 2 teaspoons gelatin
- ⅓ cup unsweetened cocoa powder
- ¼ cup honey
- ⅛ teaspoon Diamond Crystal kosher salt
- 2 teaspoons vanilla extract
- whipped coconut cream optional
- shaved dark chocolate optional
Instructions
-
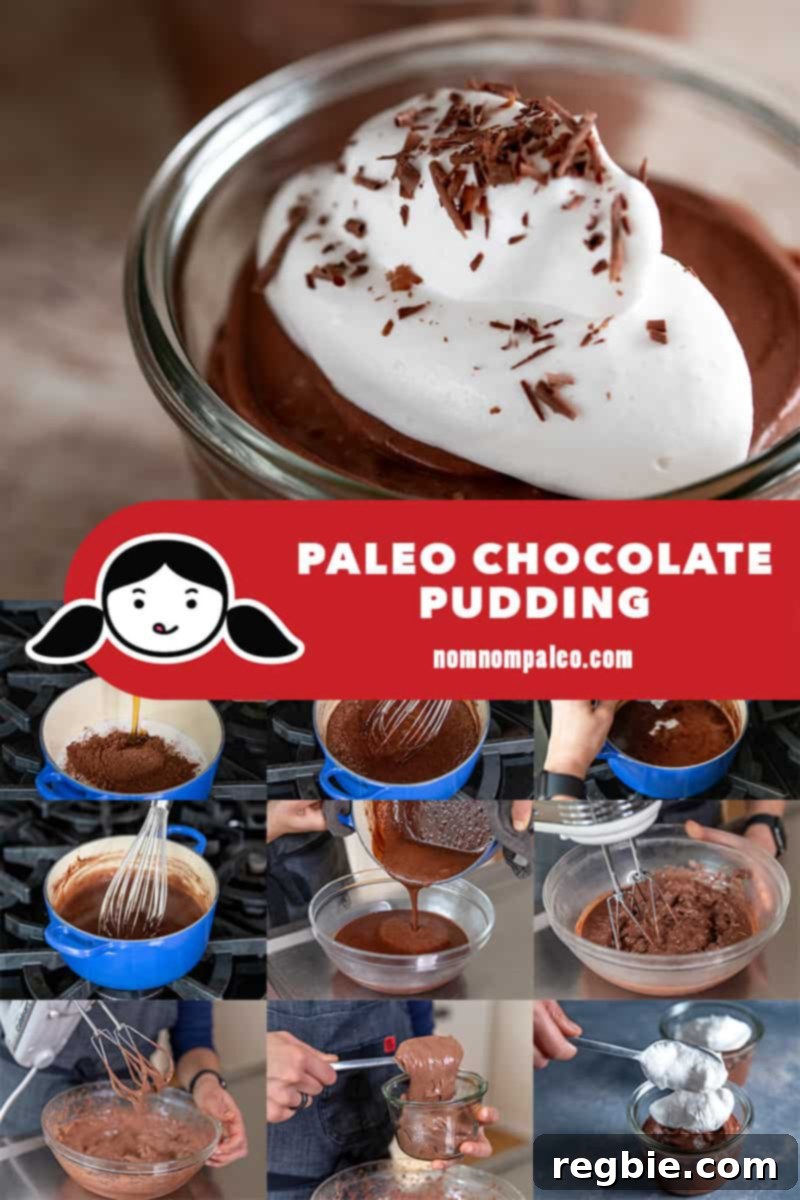
Shake the can of coconut milk well, and pour a ¼ cup of it into a measuring cup. Add the gelatin and whisk it into the coconut milk until well incorporated. Set the mixture aside.
-
Next, heat the remaining coconut milk, cocoa powder, honey, and salt over medium heat, stirring frequently, until these ingredients are well mixed. Cook the chocolatey mixture until bubbles appear on the edges of the saucepan. Turn off the heat.
-
Add the reserved gelatin/coconut milk mixture and vanilla extract to the pan. Stir well.
-
Chill the mixture for 30 minutes uncovered and then covered for an additional 1½ hours or until solid. (Pro tip: You can keep it in the fridge for up to 4 days before serving.)
-
With a hand mixer or whisk, beat the pudding until it’s nice and fluffy and transforms from a stiff JELL-O-like texture to a thick and smooth pudding.
-
Divide the pudding into four bowls or cups. Spoon on a dollop of whipped coconut cream if desired. You can also shave some dark chocolate on top to make it extra!
Notes
If you refrigerate the whipped pudding it will solidify and get a jell-o texture and you’ll have to re-whip it again to get the correct pudding texture.
Nutrition
Nutrition information is automatically calculated, so should only be used as an approximation.
Like this? Leave a comment below!